2.3 Bootsup your RStudio
Once you boots up your RStudio, you are ready to kick off your R coding. However, the first thing you may want to do is to set up your working directory. This will change the default location for all file input and output that you will do in the current session.
RStudio makes this easy, simply click “Session -> Set Working Directory -> Choose Directory…”. See figure Figure 2.17 below,
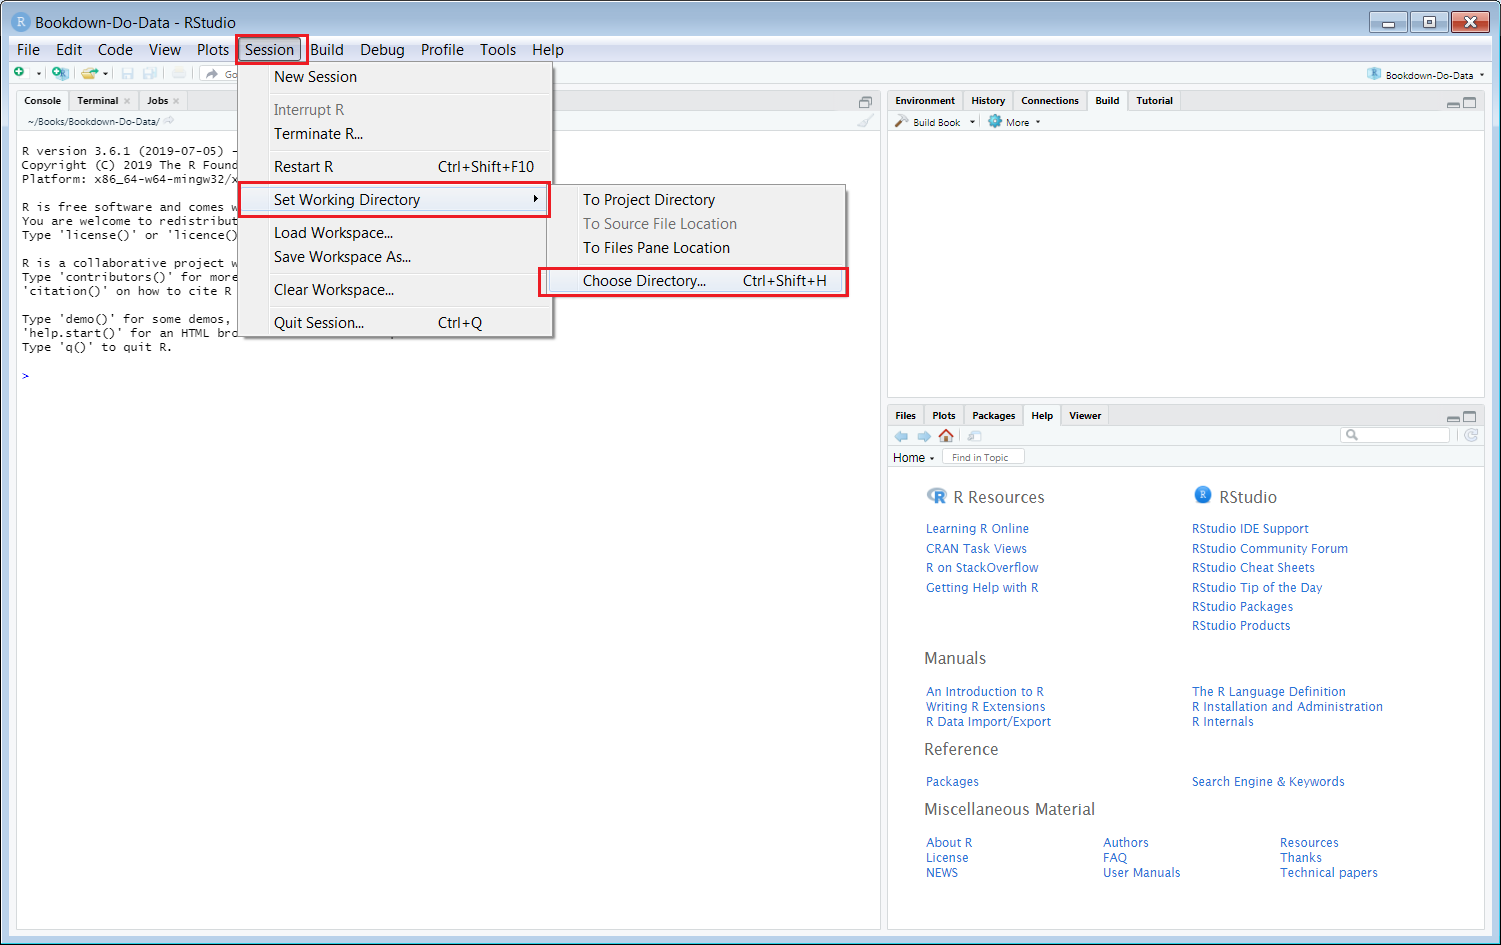
Figure 2.17: Set workling Directory by Session
Then you need to navigate to where you want your project to be sit. For example, in my case I used "D:/Teach2020/short course/Data analysis - prediction with Rstudio/IntroToDataScience-master", it is silly to be so long, you can certainly set up for a shorter one. Anyway, the point is choose your won directory and remember it. If you tried it, you should notice that once you have chosen a directory, A command appeared in the Console pane and this is the command R executes when you set your working directory from the session menu. To achieve the same result you normally would have typed this manually in the console. See Figure 2.18 below,

Figure 2.18: Set a working directory with R command in Console
Type command or instructions on command line at Console is what the general data scientists do when they try to analysis some data or prove some ideas. You can complete this tutorial at the command line in Console pane. I would suggest you, instead, creating a script to save all your hard work. This way you can easily reproduce the results or make changes without retyping everything.
To do so, you need to create a new file by click the “File ->New file”, and select “R Script”. See Figure 2.19,
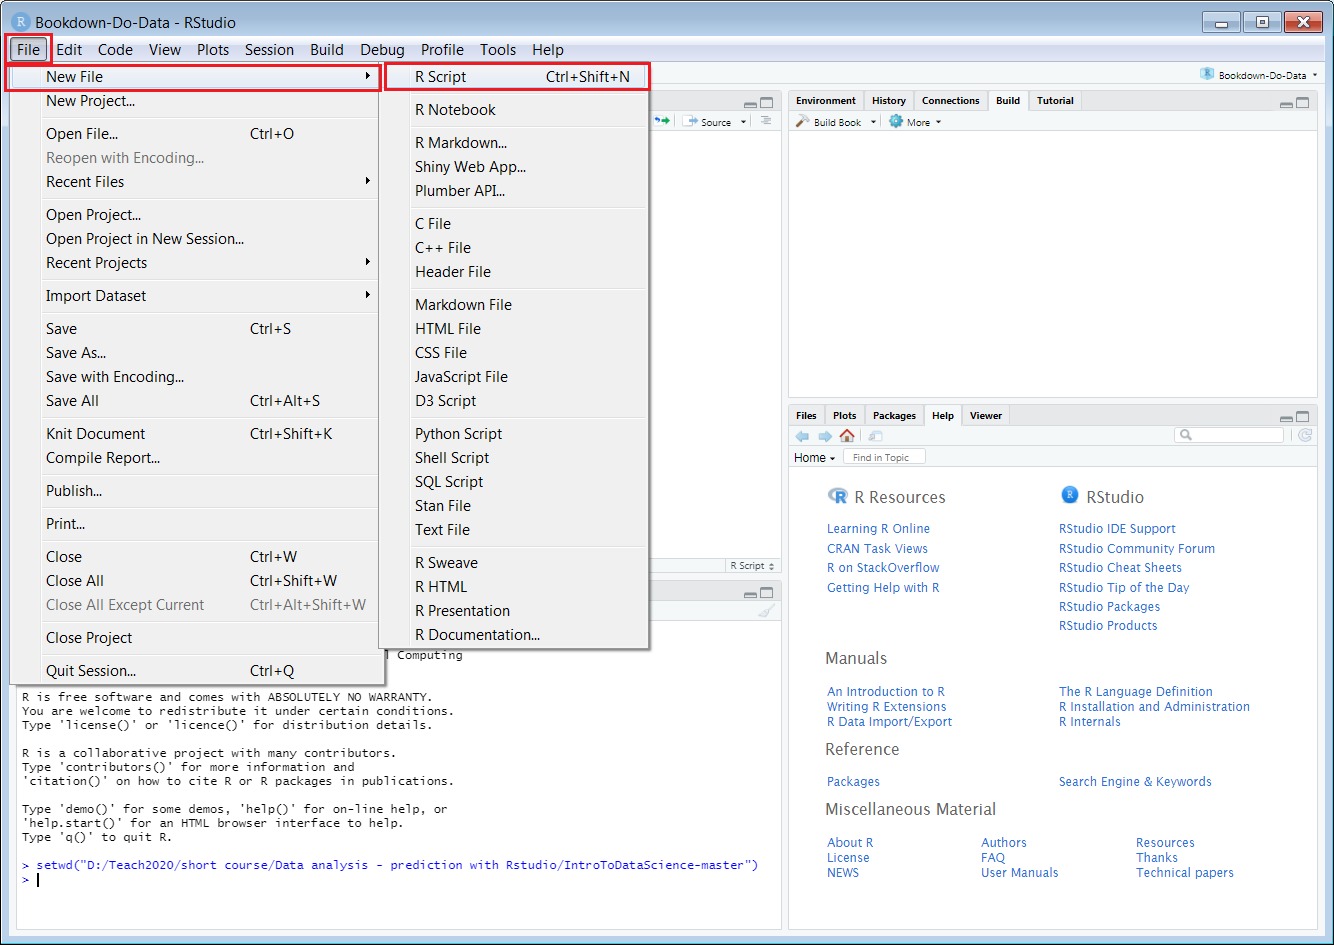
Figure 2.19: Creat a new file in RStudio
If you do so, you should notice that a new tab appeared on the script pane with a name of “Untitled1” and the script editor is now opened for you with the cursor flashes on line number 1. See Figure 2.20,
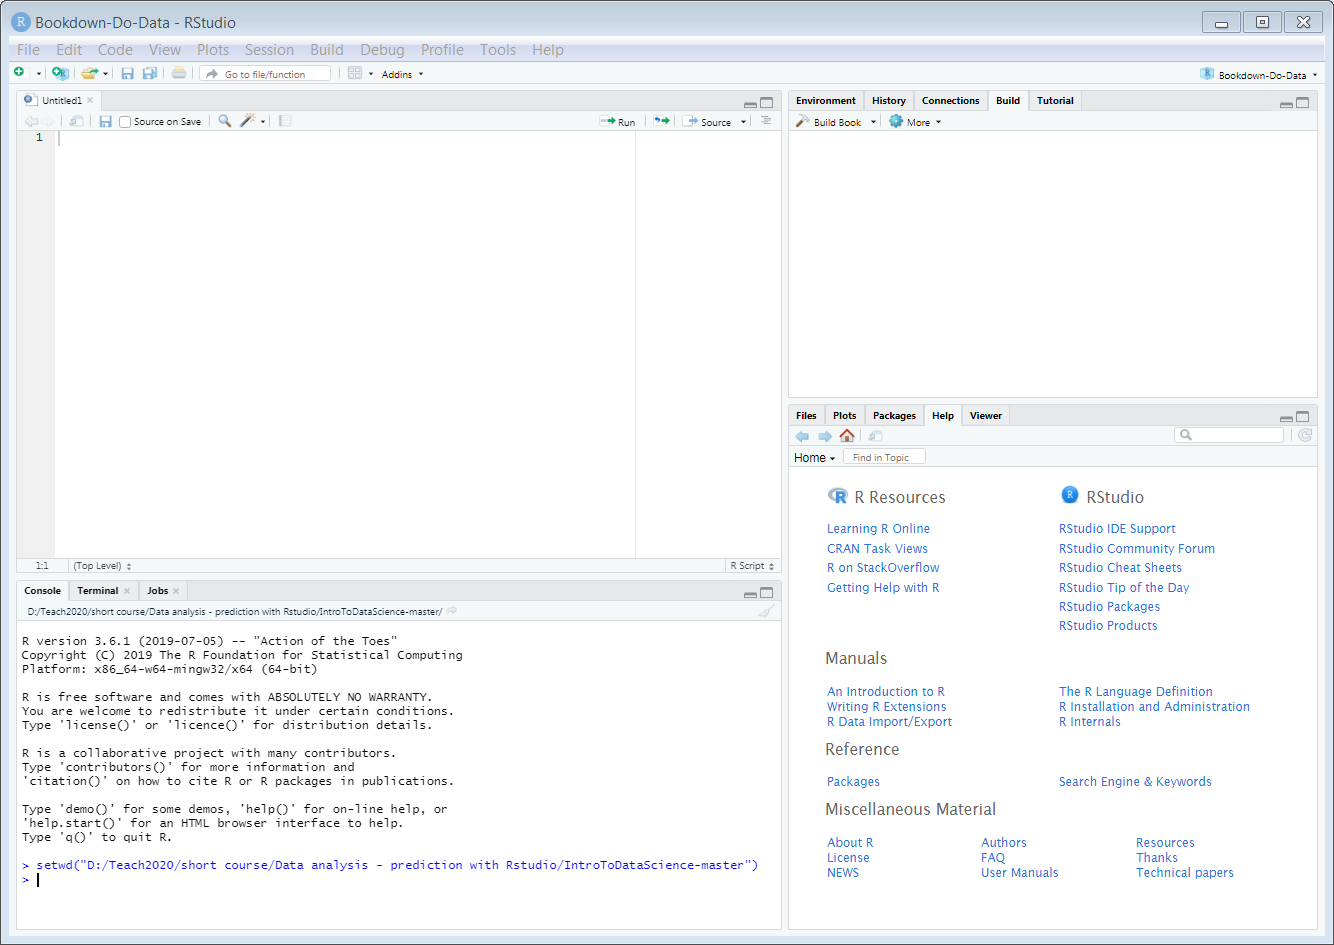
Figure 2.20: Creat a new file in RStudio and ready to enter code
Now in side the script editor, you can type you code! Let us try this first, type
# This is my first R codeand hit “Return”, see next image (Figure 2.21),
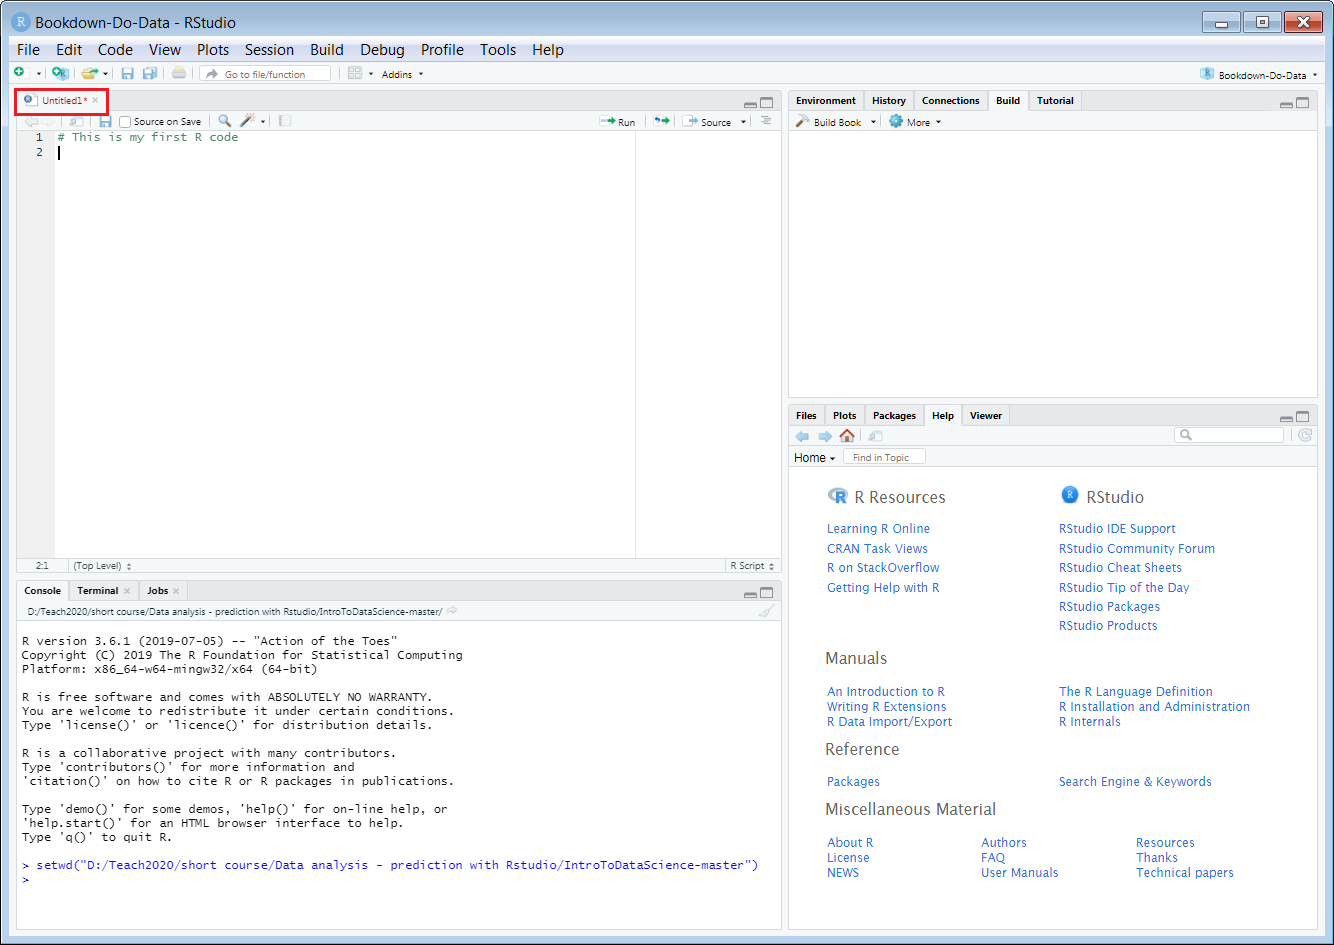
Figure 2.21: New R Script file with one line
Notice that the tab “Untitled1” has changed to red colour and with a "*" as superscript. It means that the current file has been changed and not saved.
Go ahead and copy the setwd command from the console and paste it into your script.
Now save the script to your working directory, give it a name my first R, or any name you prefer4.
Now you have your first R code!
The entire code is in the Appendix and is available on line to download too↩︎