1.2 Saving Excel Files
On the main menu, click File > Save As when saving for the first time. A dialog will appear, similar to the one in figure 1.3 on a PC or figure 1.4 on a MAC. Fill in the file name, select the directory of your choice where the file will be saved on your machine, and the file type, for example, file with extensions .xlsx or .xls.
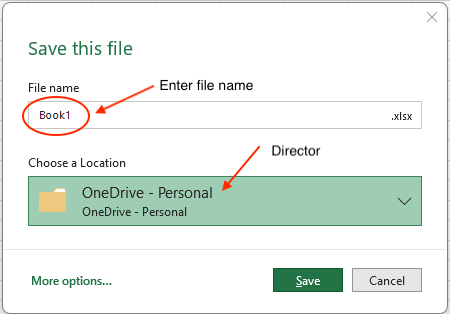
Figure 1.3: Dialog window when saving a workbook on a PC.
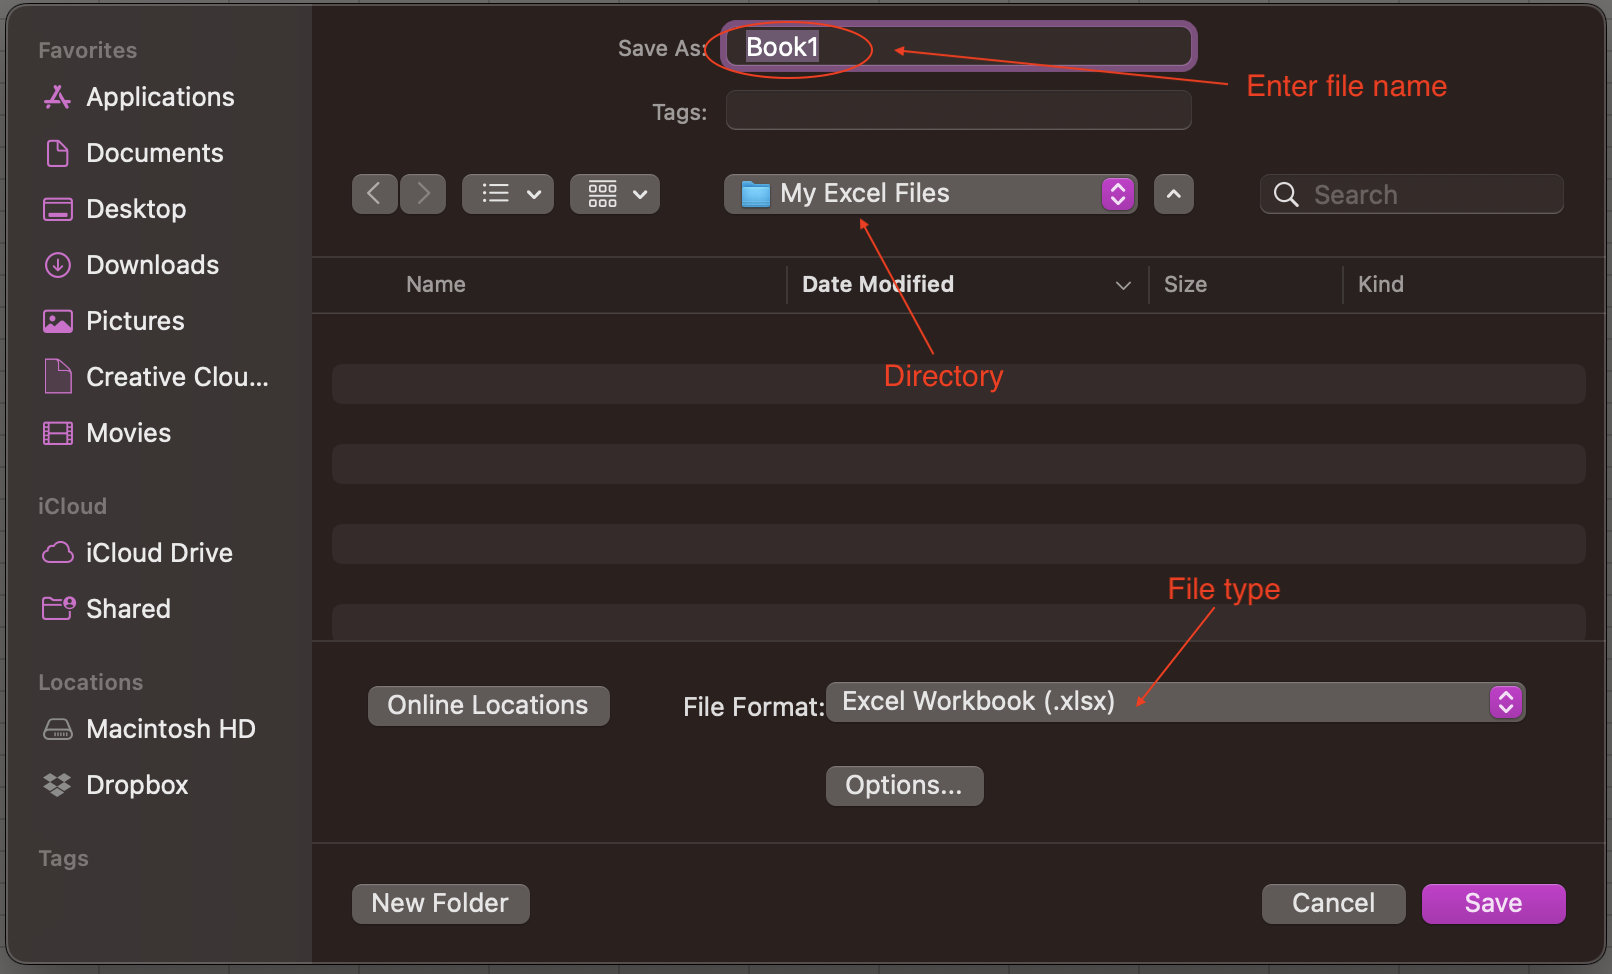
Figure 1.4: Dialog window when saving a workbook on a MAC.
After using the Save As feature, you can use the Save command to overwrite your previously saved file with the file in its current state. After saving the Excel file for the first time, you can save the updates during your working session using the save button on the title toolbar.
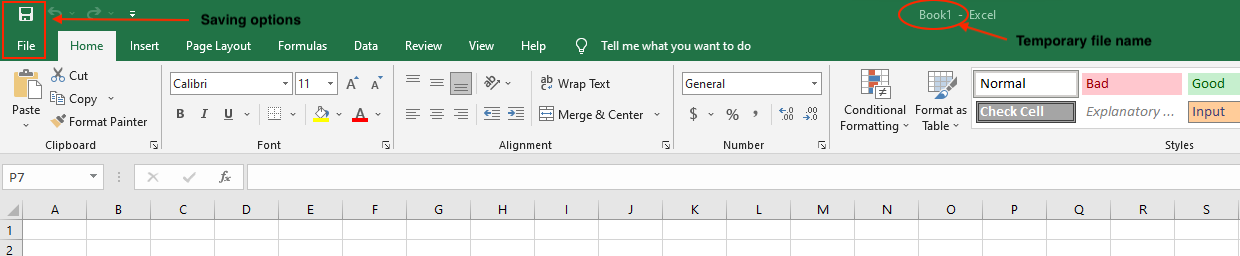
Figure 1.5: Saving options.
It is essential to save your Excel files whenever you start a new project or periodically when you make changes to an existing file. Saving early and often can prevent your work from being lost. You’ll also need to pay close attention to where you save the workbook so it will be easy to find later.
You can also turn on the AutoSave feature to save your data automatically while working on Excel. The following are the steps to turn on Auto-save.
1.2.1 AutoSave on a PC
- Click the
Filetab. - Click on
Options. - In the Options dialog window, click on the
Saveoption on the left. - Check the option
Save AutoRecover information every. By default, the value is 10 minutes, but you can choose a lower or higher value. - Then click
Ok.
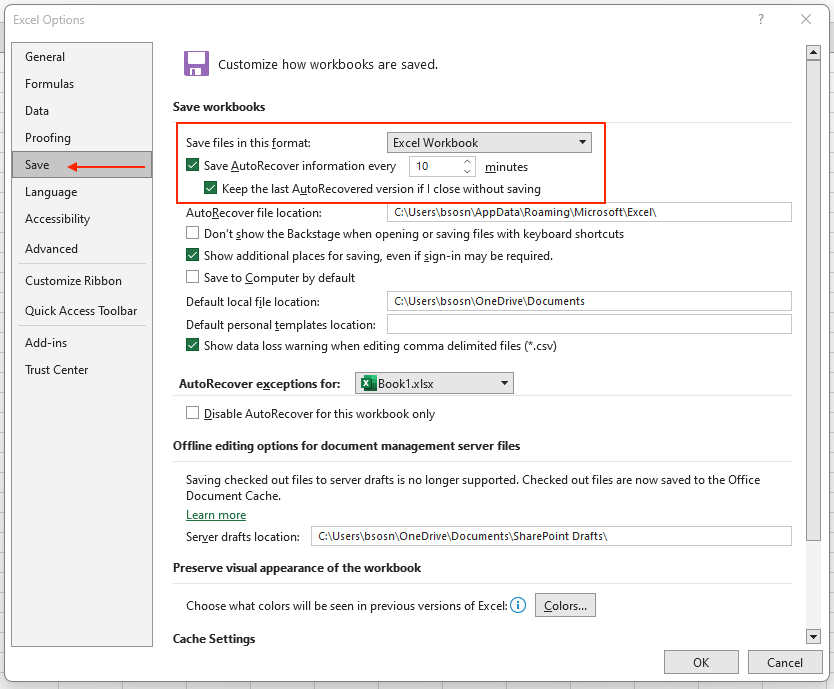
Figure 1.6: AutoSave option on PC.
1.2.2 AutoSave on a Mac
- On the Excel title bar, click
Preferences. - Under the category
Sharing and Privacy, clickSave. - Select the
AutoSaveorAutoRecoverinfo in every check window, and then enter how frequently you want to save the Excel files.
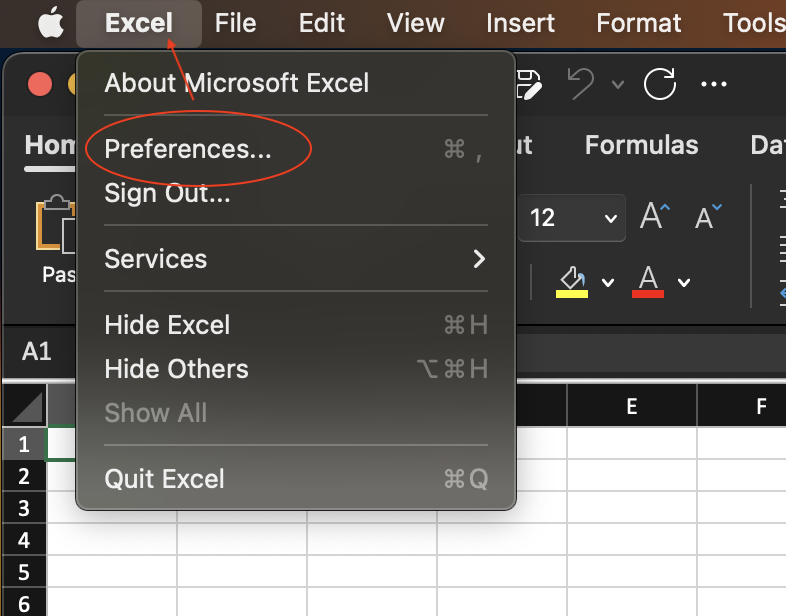
Figure 1.7: Dropdown menu in the Excel title bar.
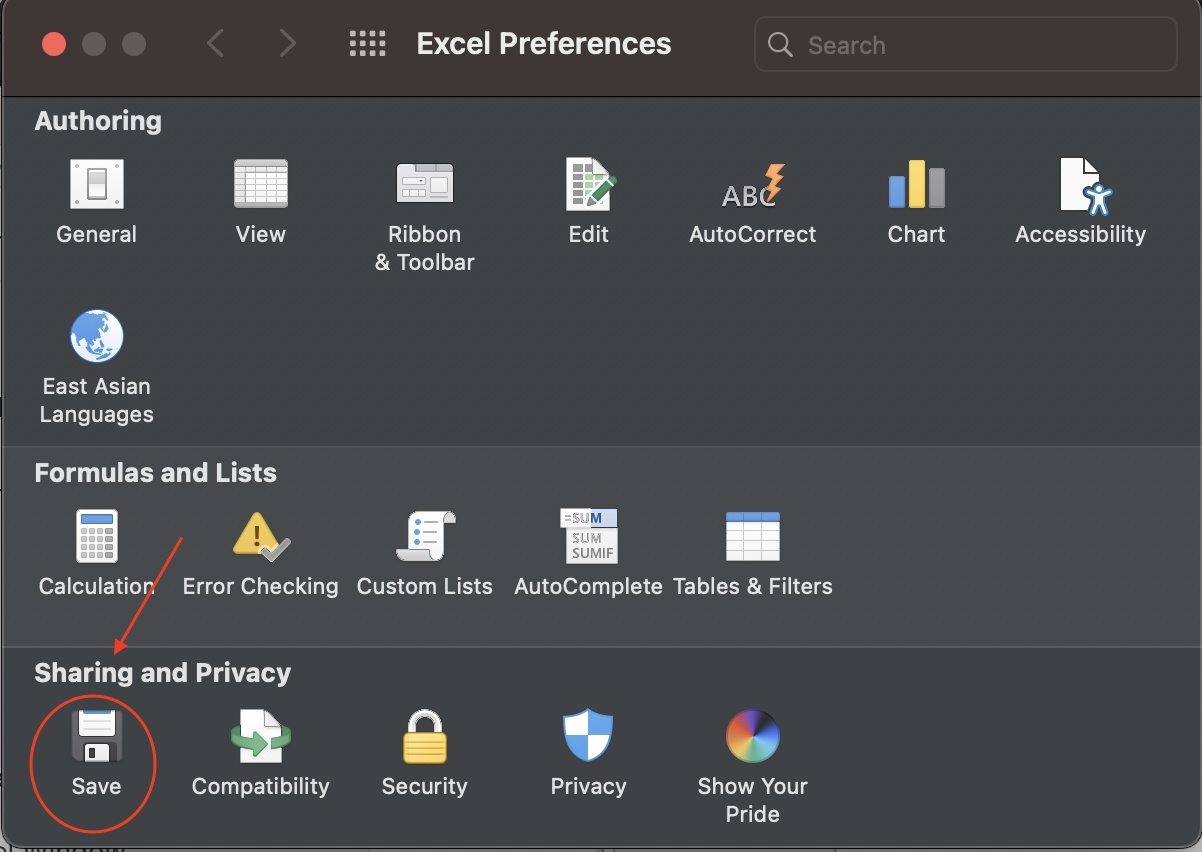
Figure 1.8: Save option in Excel Preferences
A shortcut is available on Mac to activate the AutoSave. You can just toggle ON the AutoSave option in the Toolbar of the program.
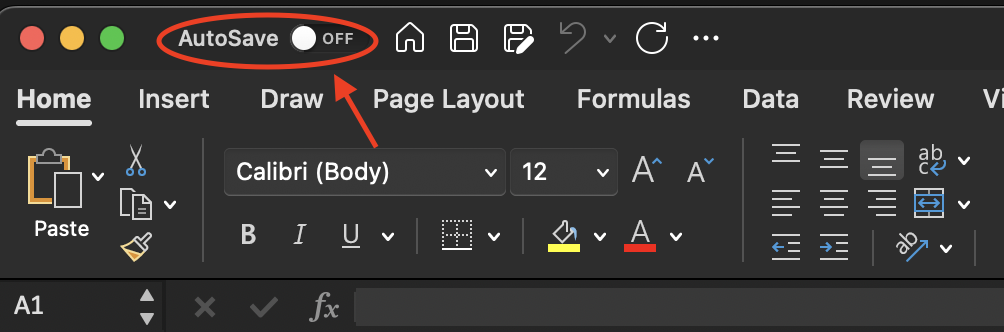
Figure 1.9: AutoSave option in the Toolbar.
Note: AutoSave in Excel is a special feature for Microsoft 365 subscription accounts. When you save your Excel spreadsheet online on OneDrive or SharePoint, Excel activates the AutoSave feature. AutoSave in Excel saves your progress every few seconds so that all changes appear online if someone else is working on the same file.