Chapter 2 Introduction
Hi! Today, we’re going to be talking about installing R and RStudio. To use this textbook, you will need to download R and RStudio.
It is worth noting that this textbook is written by a Windows users, not a Mac user. Additional Mac tips will be included when possible. While the Windows and Mac version of RStudio are similar, there are obviously not the exact same (shortcuts with cmd in a Mac would be cntl on a PC).
2.1 Installing R
This section is modified from Reporting with Data.
Our first task is to install the R programming language onto your computer.
- Go to the https://cloud.r-project.org/ website.
- The following steps will differ slightly based on your operating system.
- For Macs, you’ll need to know if you have an Apple or Intel chip. You can find this information by going to the Apple menu and navigating to “About this Mac”. You will download the right file based on this.
- For Windows, use the “base” package. You may be directed to choose either the 32- or 64-bit version. Chances are, you’ll want the 64-bit (32-bit systems were more common in the early 2000’s).
- Once you download the installation file, run the file to install R.
You’ll never “launch” R as a program in a traditional sense, but you need it on your computers (it’s mostly so that the computer can recognize R as a “language”). In practically all situations we’ll use RStudio.
2.2 Installing RStudio
This section is modified from Reporting with Data.
In this class, we will be writing in R (the programming language) by using the Rstudio Integrated Development Environment (IDE). An IDE is a program you use to write, automate, and debug code (in this case, R code). Generally, IDEs help make writing code easier.
R comes with its own rudimentary IDE (this is automatically installed when you download R), but RStudio is the standard IDE used because it provides greater control over the interface and can assist greatly with longer programming scripts (basically anything with more than 5 lines of code).
- Go to https://posit.co/downloads/.
- Click “DOWNLOAD RSTUDIO”. This will download the file.
- Once you download the installation file, run the file to install RStudio. This should be like installing any other program on your computer.
MAC TIP: If, during package installation, you get errors that mention “git” or “xcode-select” then say yes! and do it. It might take some time. If it doesn’t finish, then try again the next time it comes up.
2.3 The R Interface
Here is a common layout for RStudio:
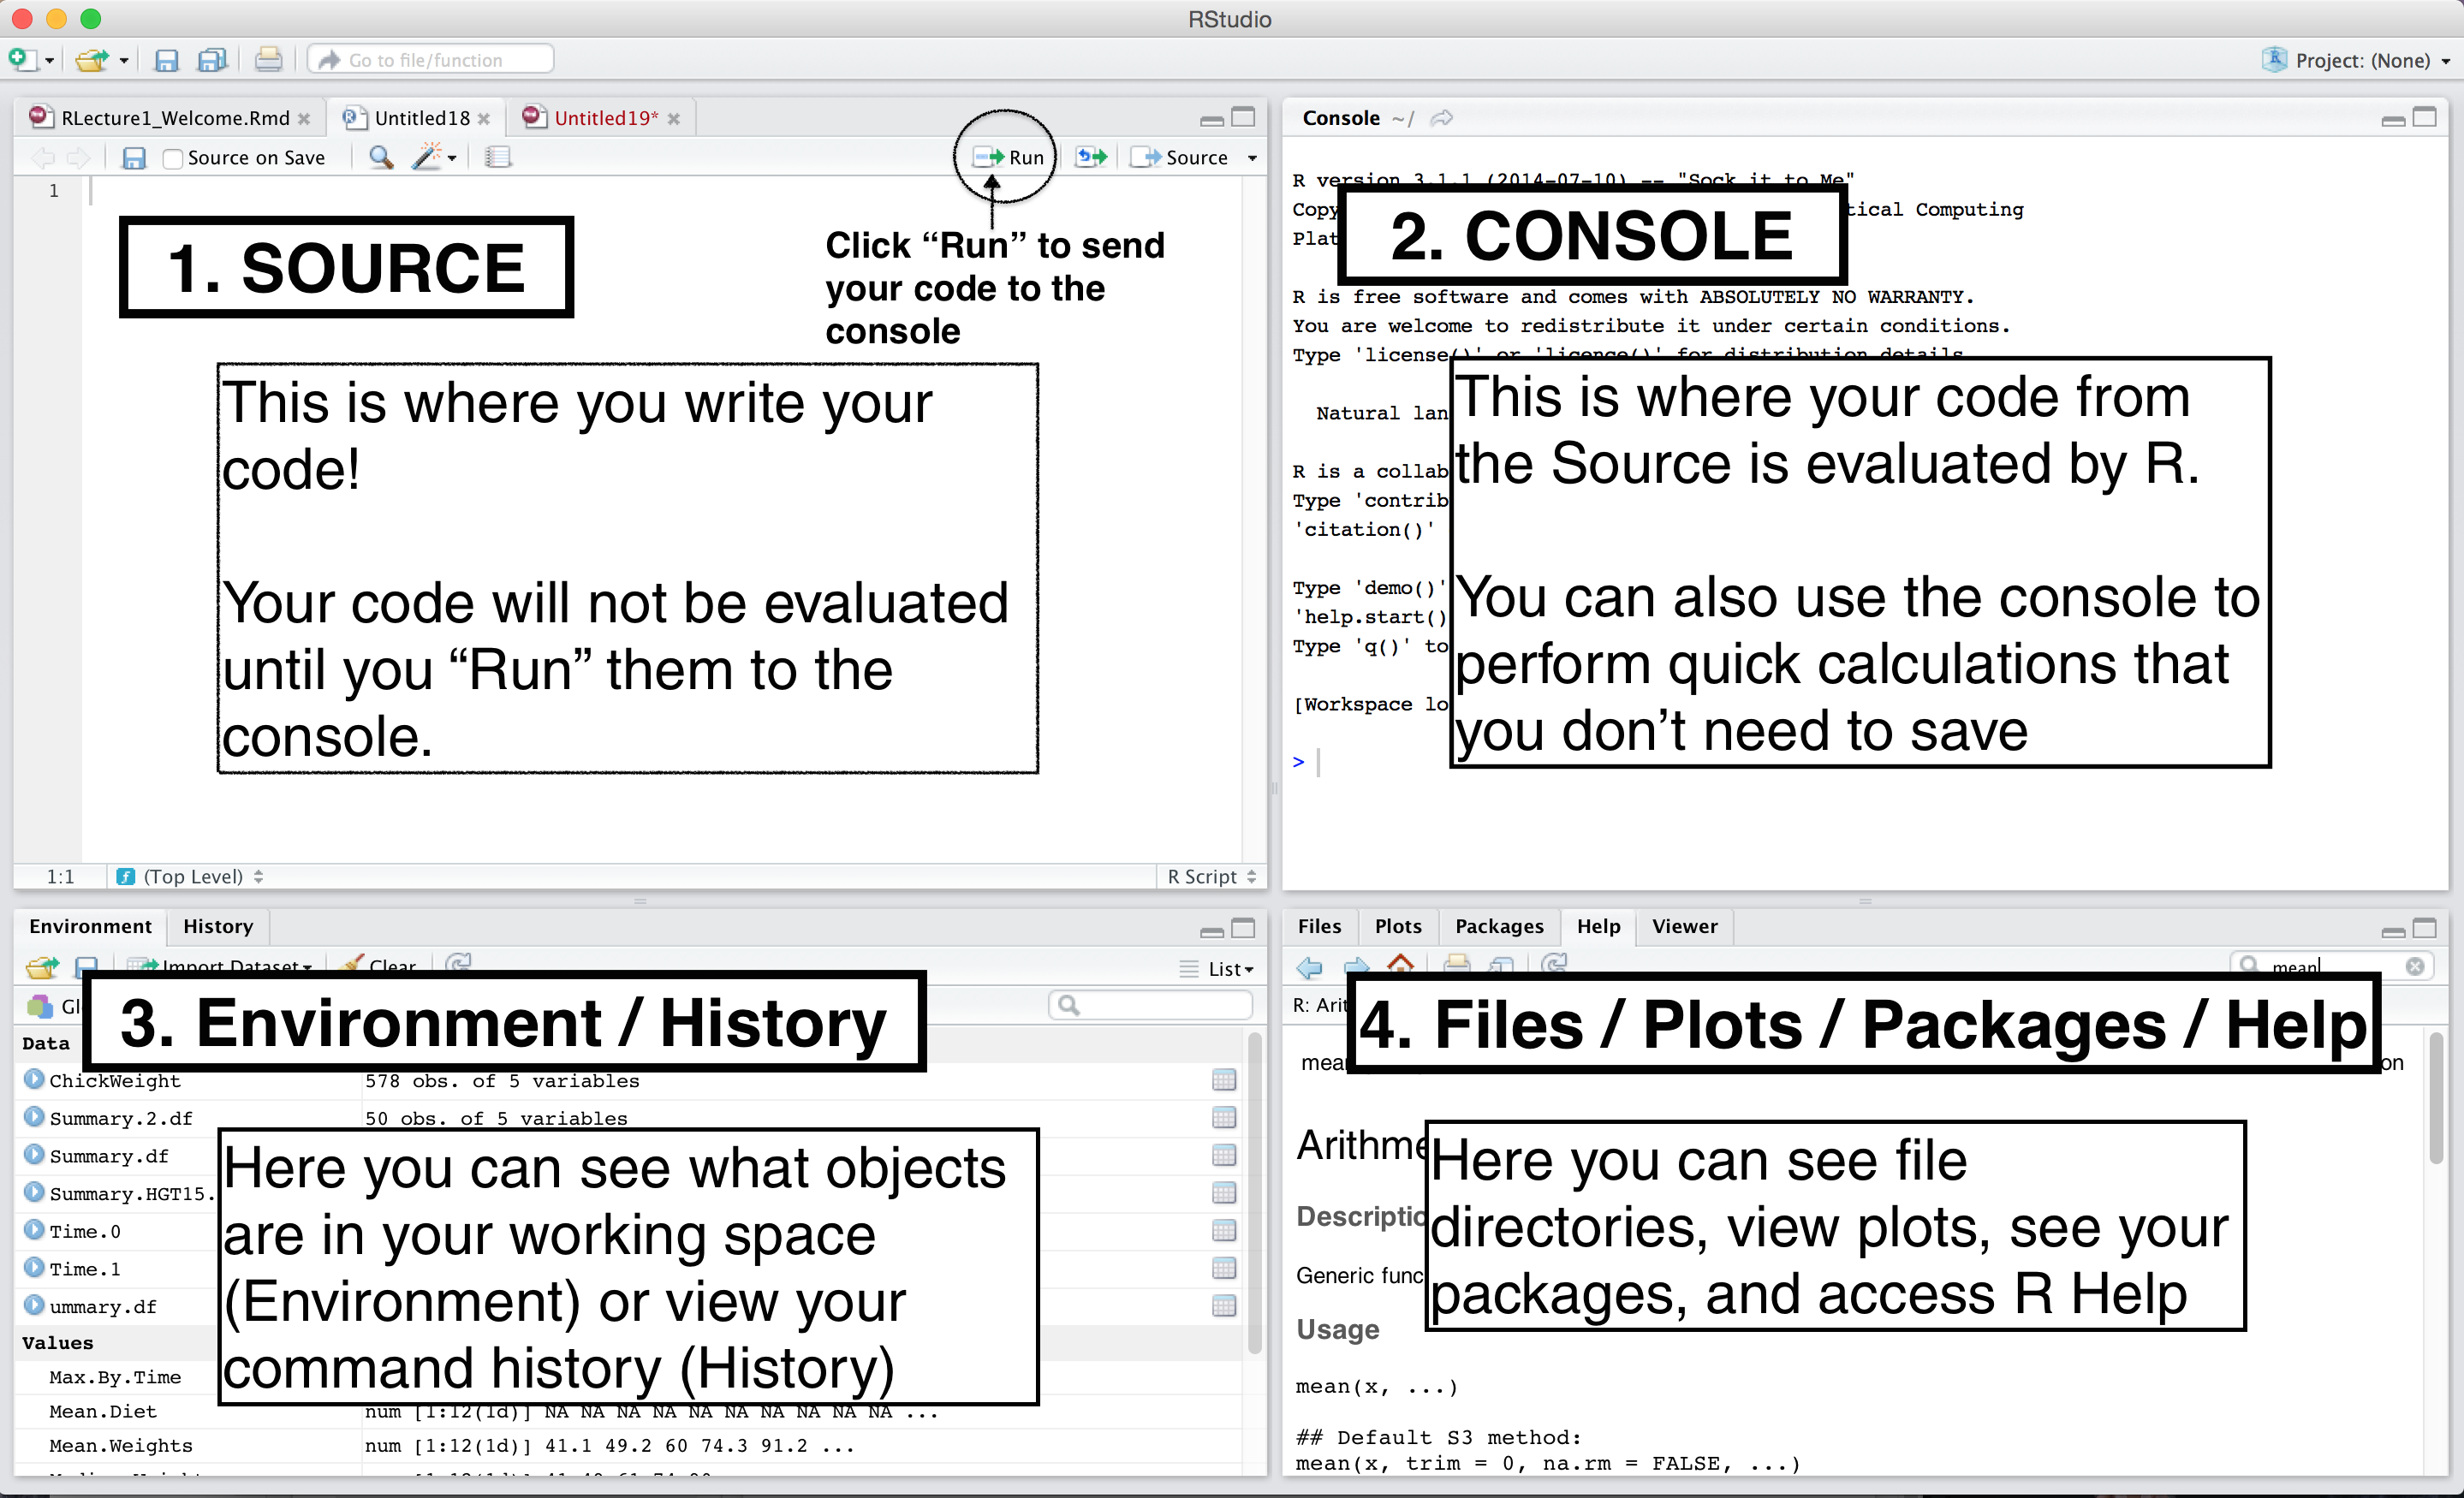 Source: YaRrr
There are four parts to the display: 1. Source: This is where you will write the majority of your code. Files that you write here are called “scripts” (scripts are basically R code files that you write and save). 2. Console: This is where the results of your code will be displayed. You can also run individual lines in the console. Think of scripts in the source window as save-able and console code as… not. 3. Environment/History: You’ll probably set this as your environment most of the time (your environment displays your values, functions, and datasets). 4. Files/Plots/Packages/Help: These tabs tend to be more variable—you will move back and forth between the more often. + Files: Files in your working directory + Plots: Any plots you create can be displayed here + Packages: Packages that you have installed will be displayed here + Help: The help tab displays documentation that should help you understand a function.
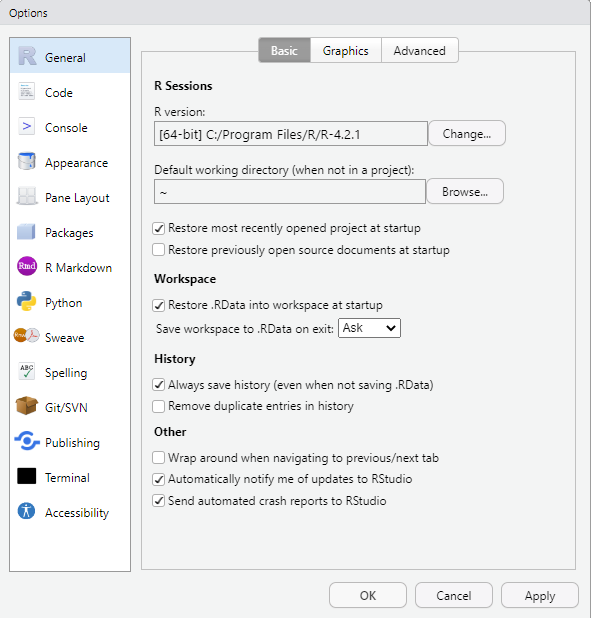
All of these areas can be rearranged and resized. You can also move the tabs around (so, for example, you can put your environment, history, files, and packages in the same box) by going to your Global Options.
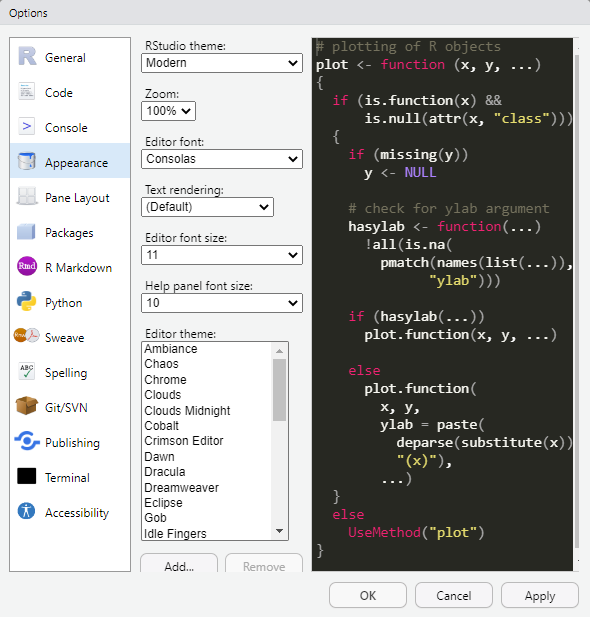
You can also use the global environment to change the font, the font size, and the theme (color):
2.4 Lingo Recap
- IDE: Integrated Development Environment. A program you can use to write code.
- Programming Language: A system that allows you to tell a computing device to do something.
- Script: A file that contains code you can “run”. In this class, we will use R scripts with two file types:
.Rand (more frequently).RMD - Running Code: Implementing or executing a script on a computing device (e.g., your computer/laptop, cloud computing, smartphones).