Chapter 6 Z-Stacks
The following outline of steps should get any user a single Z-stack of multiple-channel images. These steps can be used in combination with the steps in Multiple Image Acquisition to produce many Z-stacks in a single experiment.
6.1 Optimize Your Acquisition Scheme
Refer to the instructions in Single Image Acquisition to do this.
6.2 Check the Z-Stack Option
Check the following box in the experimental options:
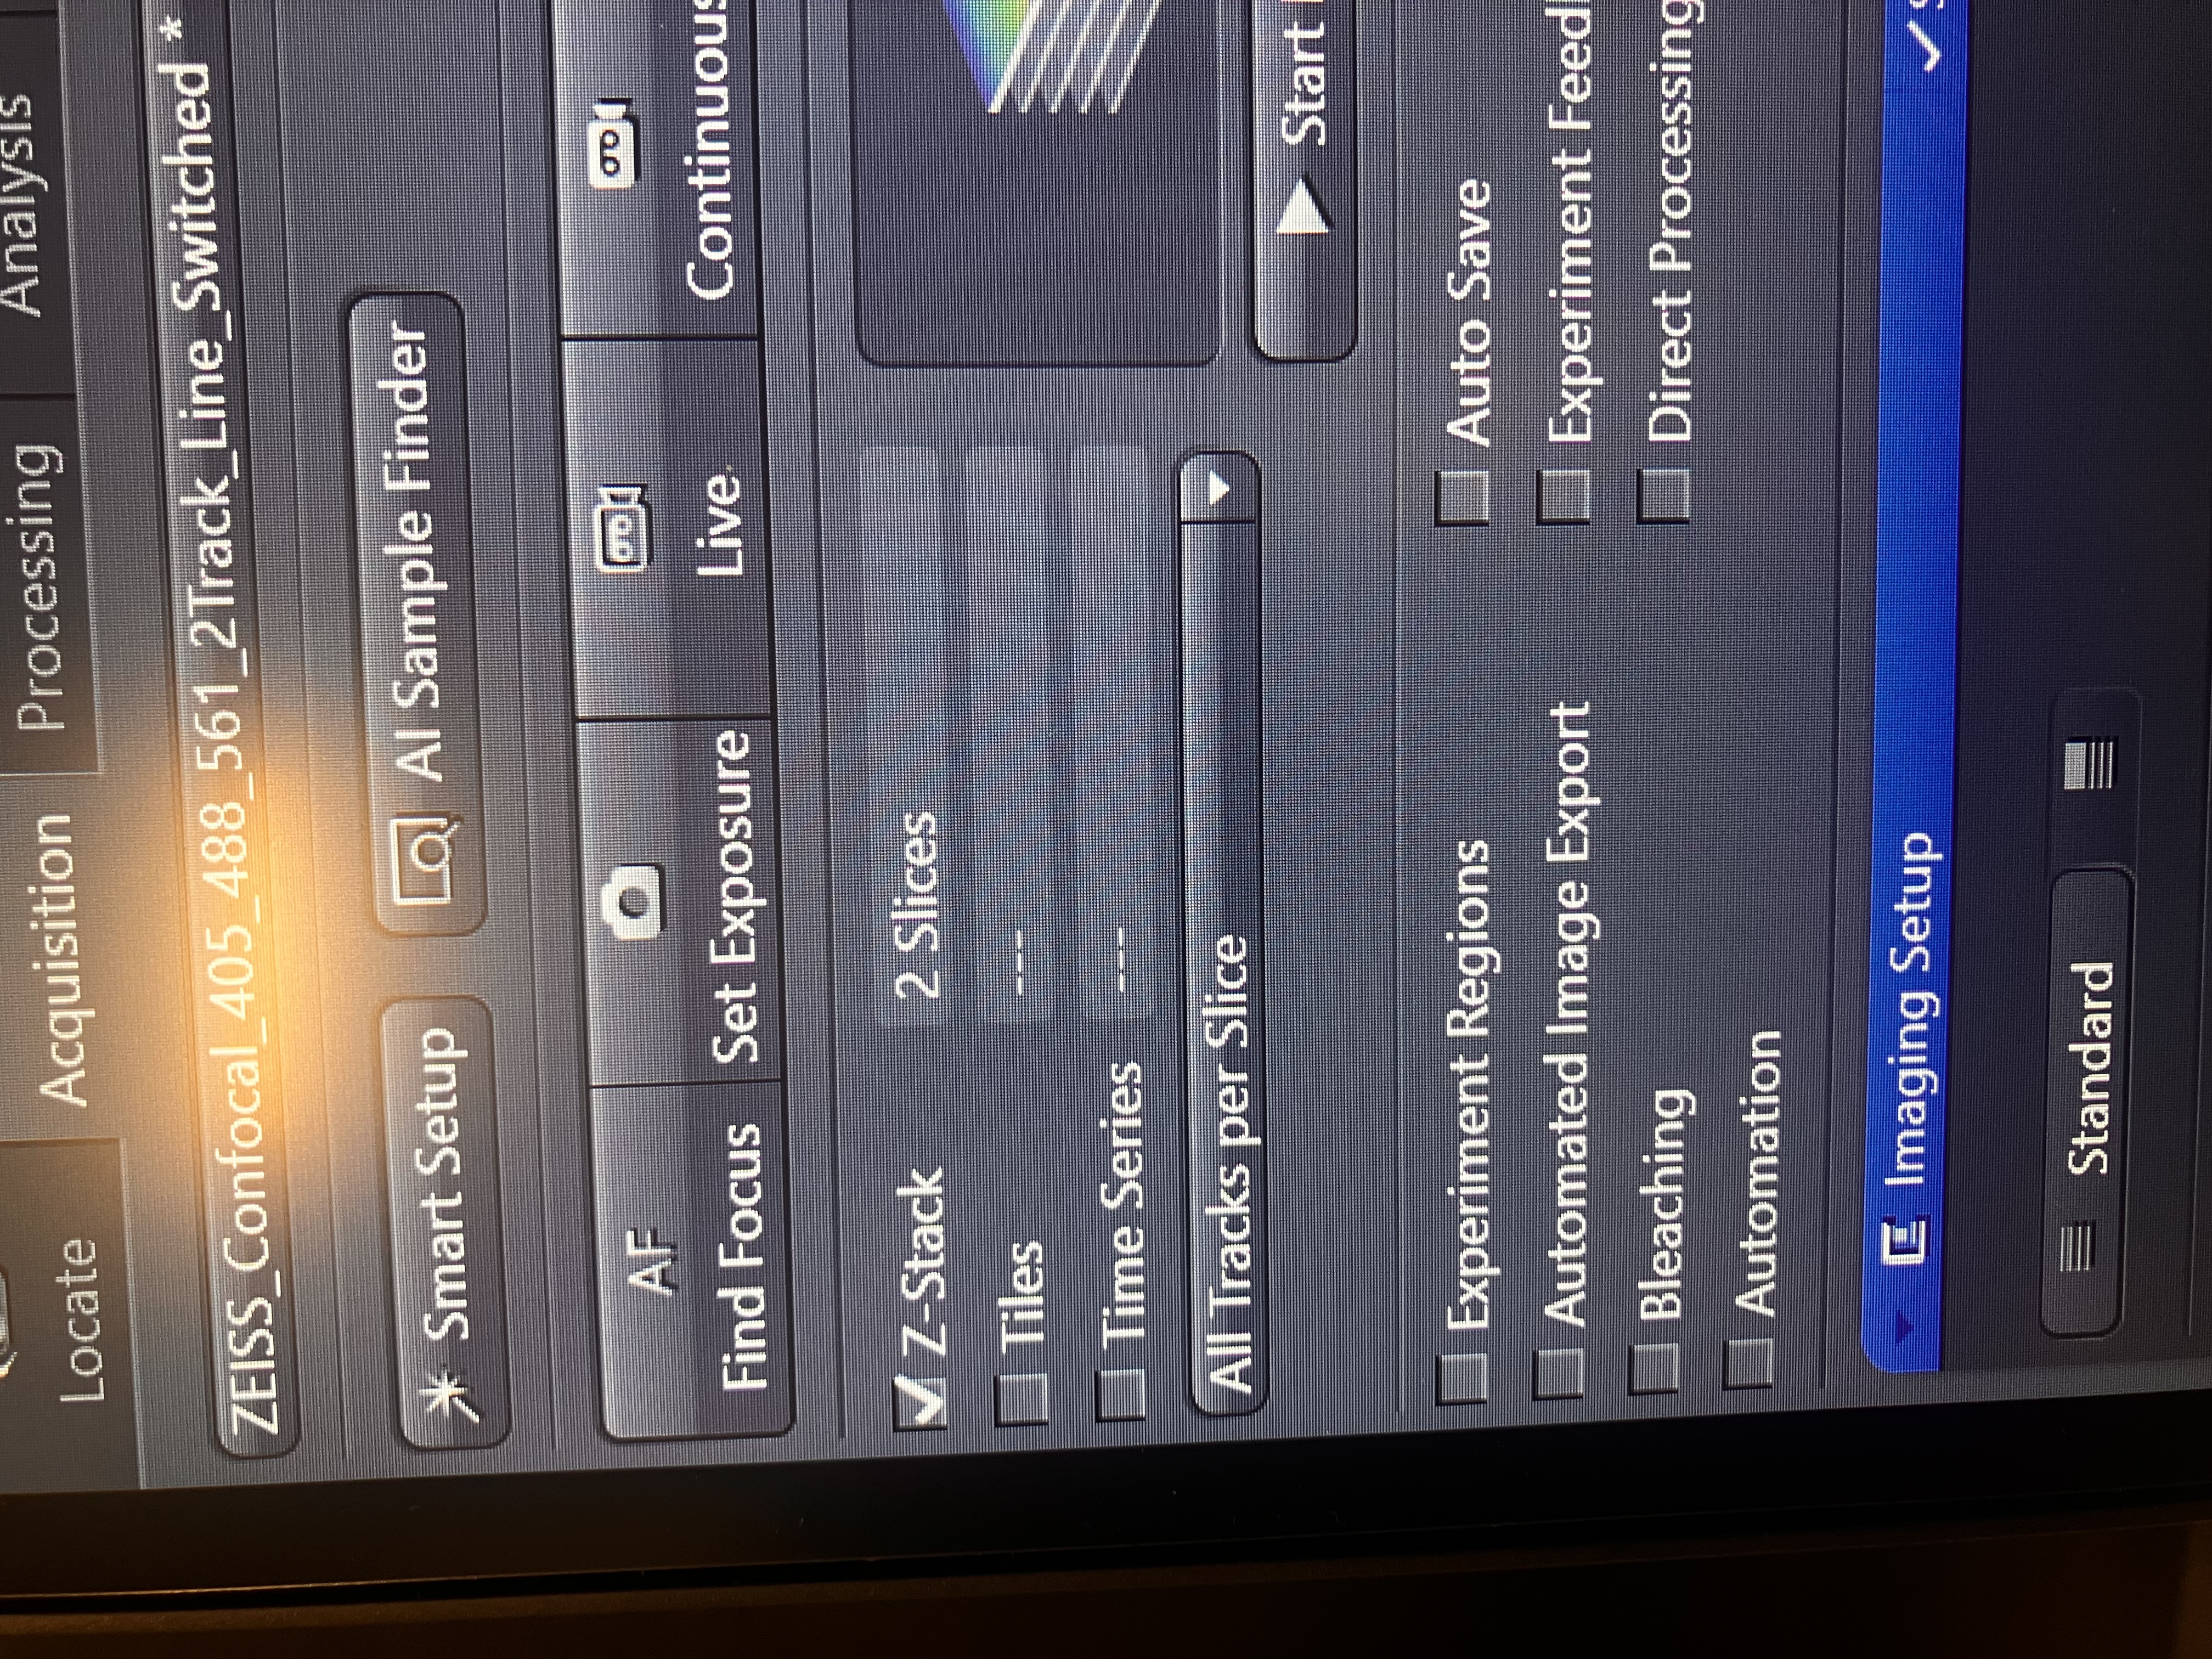
For a single z-stack, you would not want to have tiles or time series checked. However, you can combine these functions, if you so desire. One thing to note here is the “All Tracks per Slice” option. The way it is set above, all channels will be imaged for a slice, then the scope will move into the next slice and image all the channels again, and so on. You could change this option so that, instead, one channel is imaged for all the slices, then another channel is imaged for all the slices, and so on. You may want to do this to save time; if you image every slice per track, there will be less switching of internal hardware when acquiring a z-stack. However, if what you are imaging is moving, it would not make sense to do this, since the images of each channel will no longer match up over time. Just try to keep this in mind.
6.3 Set Your Focus Strategy
Using the same tab as used in Multiple Image Acquisition, set your focus strategy to “None,” as you should already be in focus:
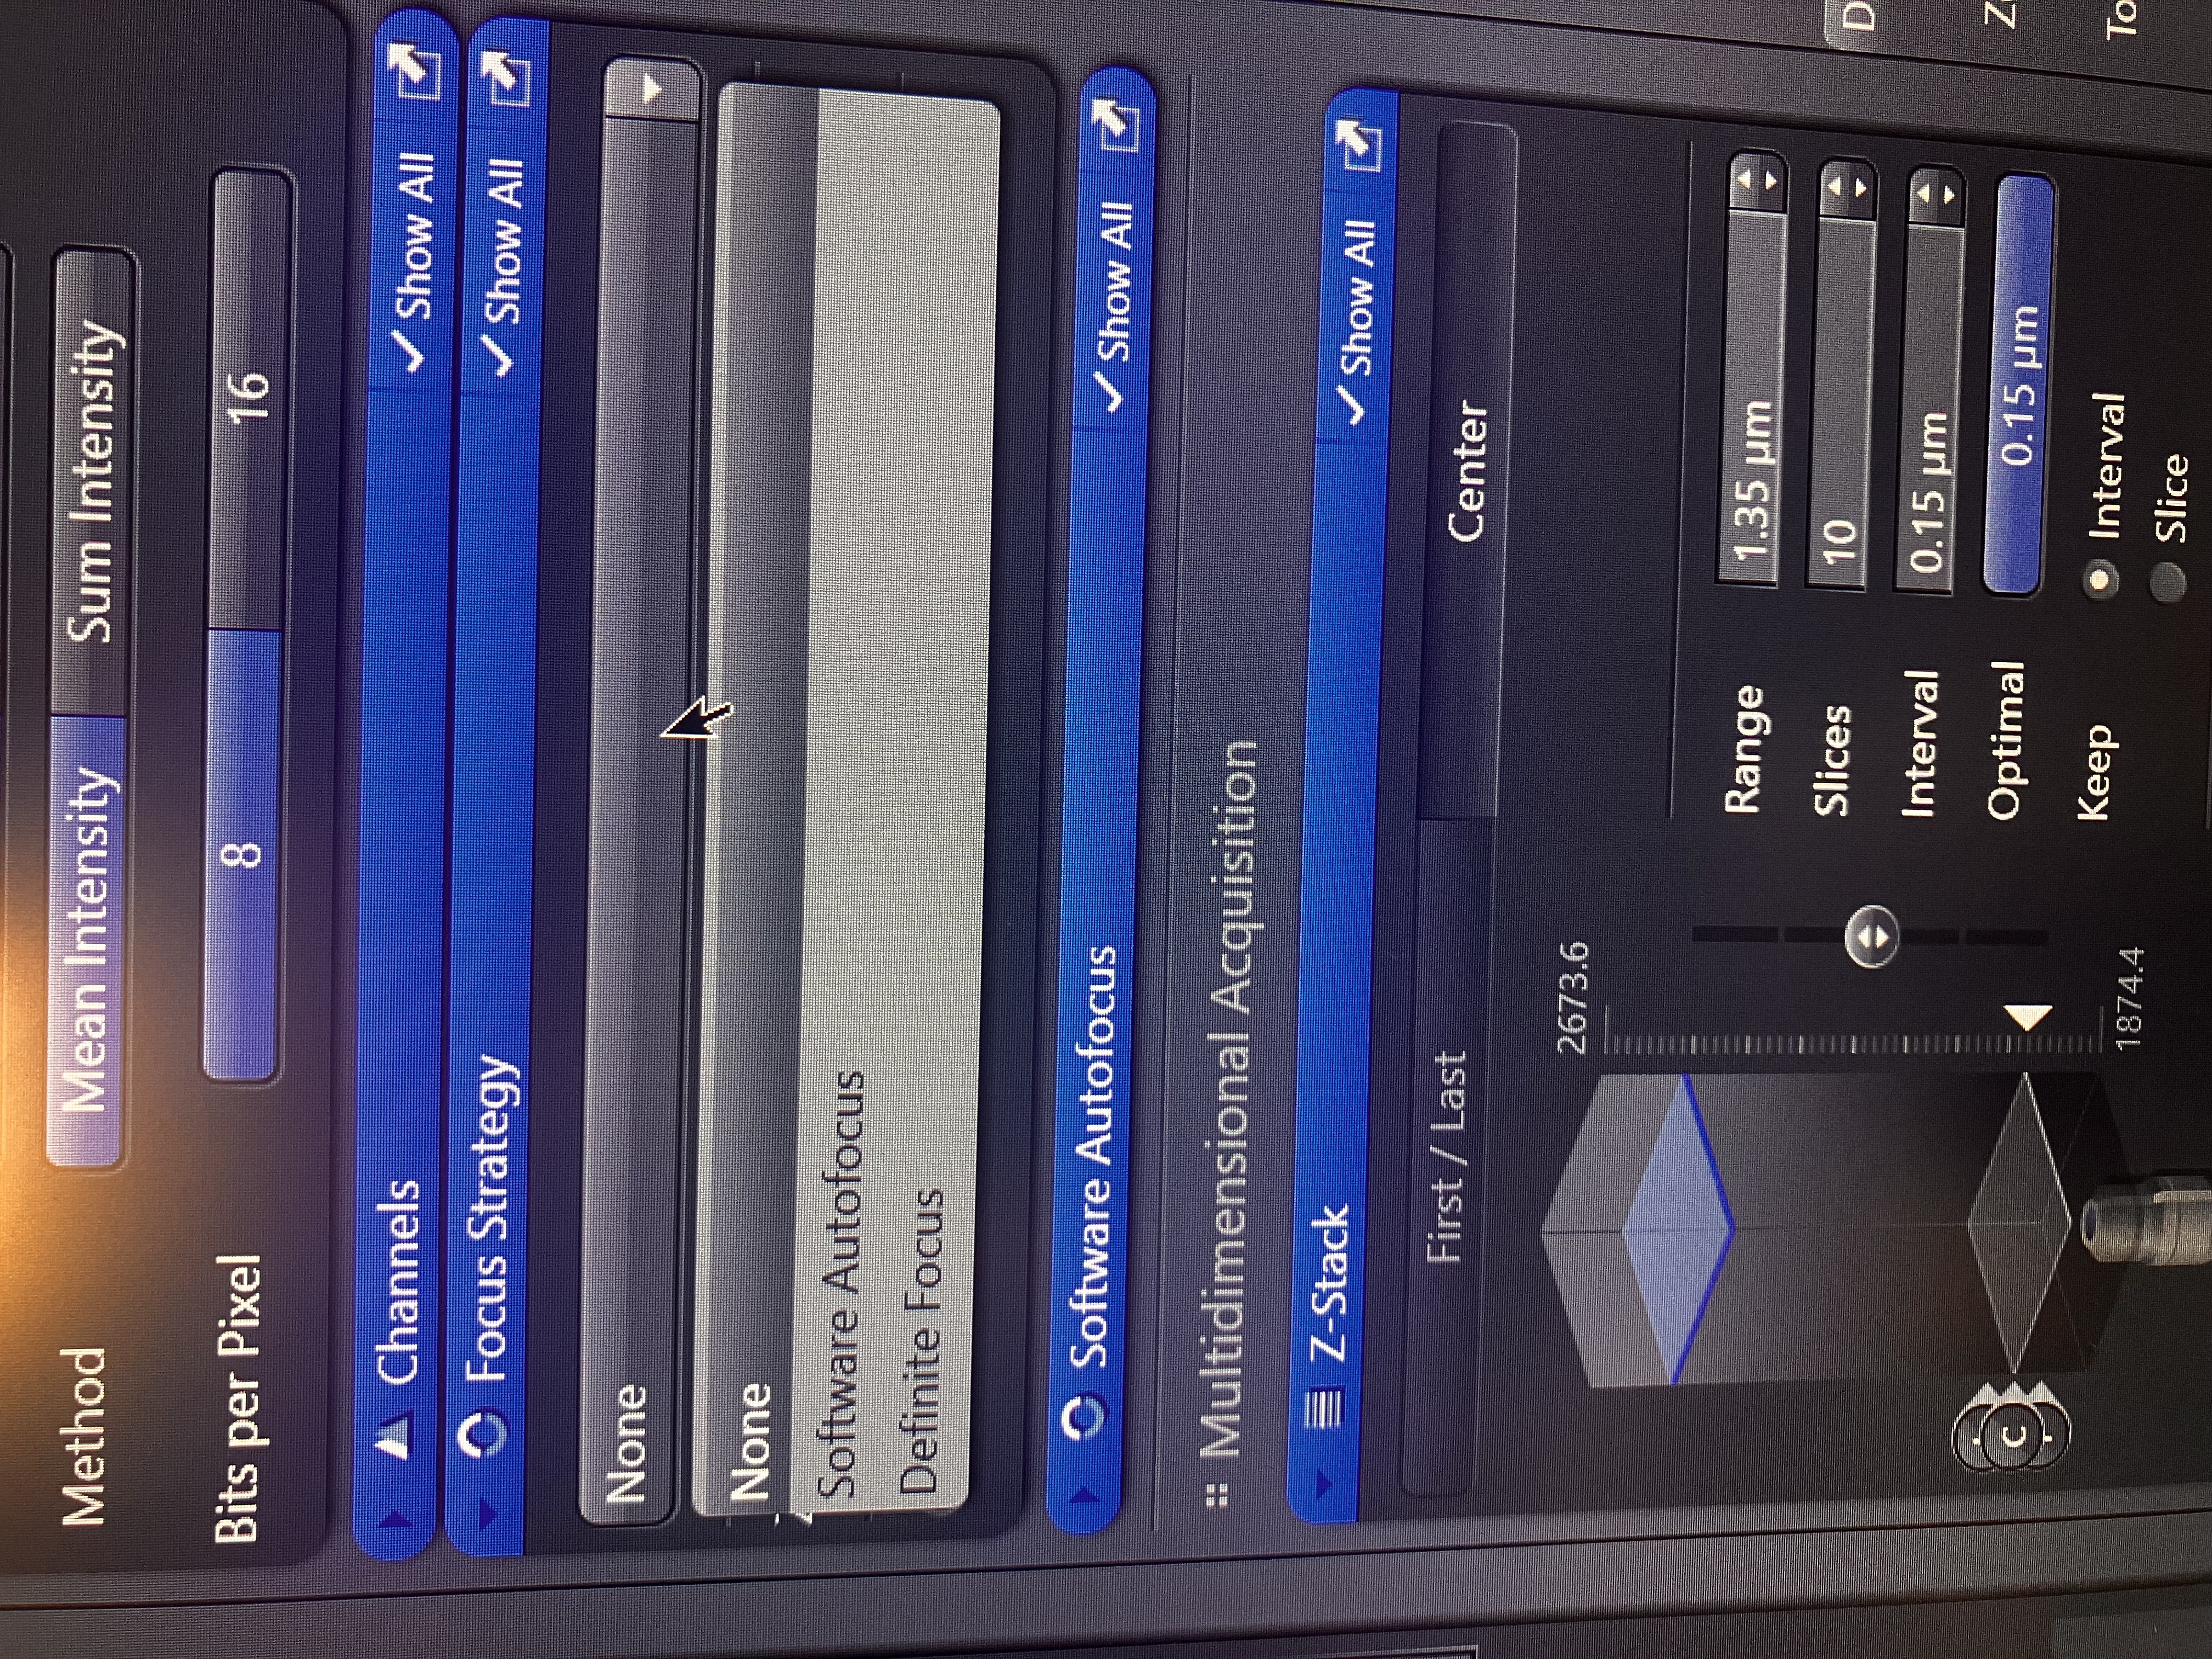
This is crucial. If you select a different option, the exact focal plane will change when you actually run your experiment, since the ZEN software will attempt to automate finding said plane. So, for one z-stack, select “None” to leave the focal plane as is. If you are finding z-stacks for many positions, you likely want to use “Definite Focus,” as described in Multiple Image Acquisition.
6.4 Set Z-Stack Settings
Find the Z-Stack tab and adjust your settings:
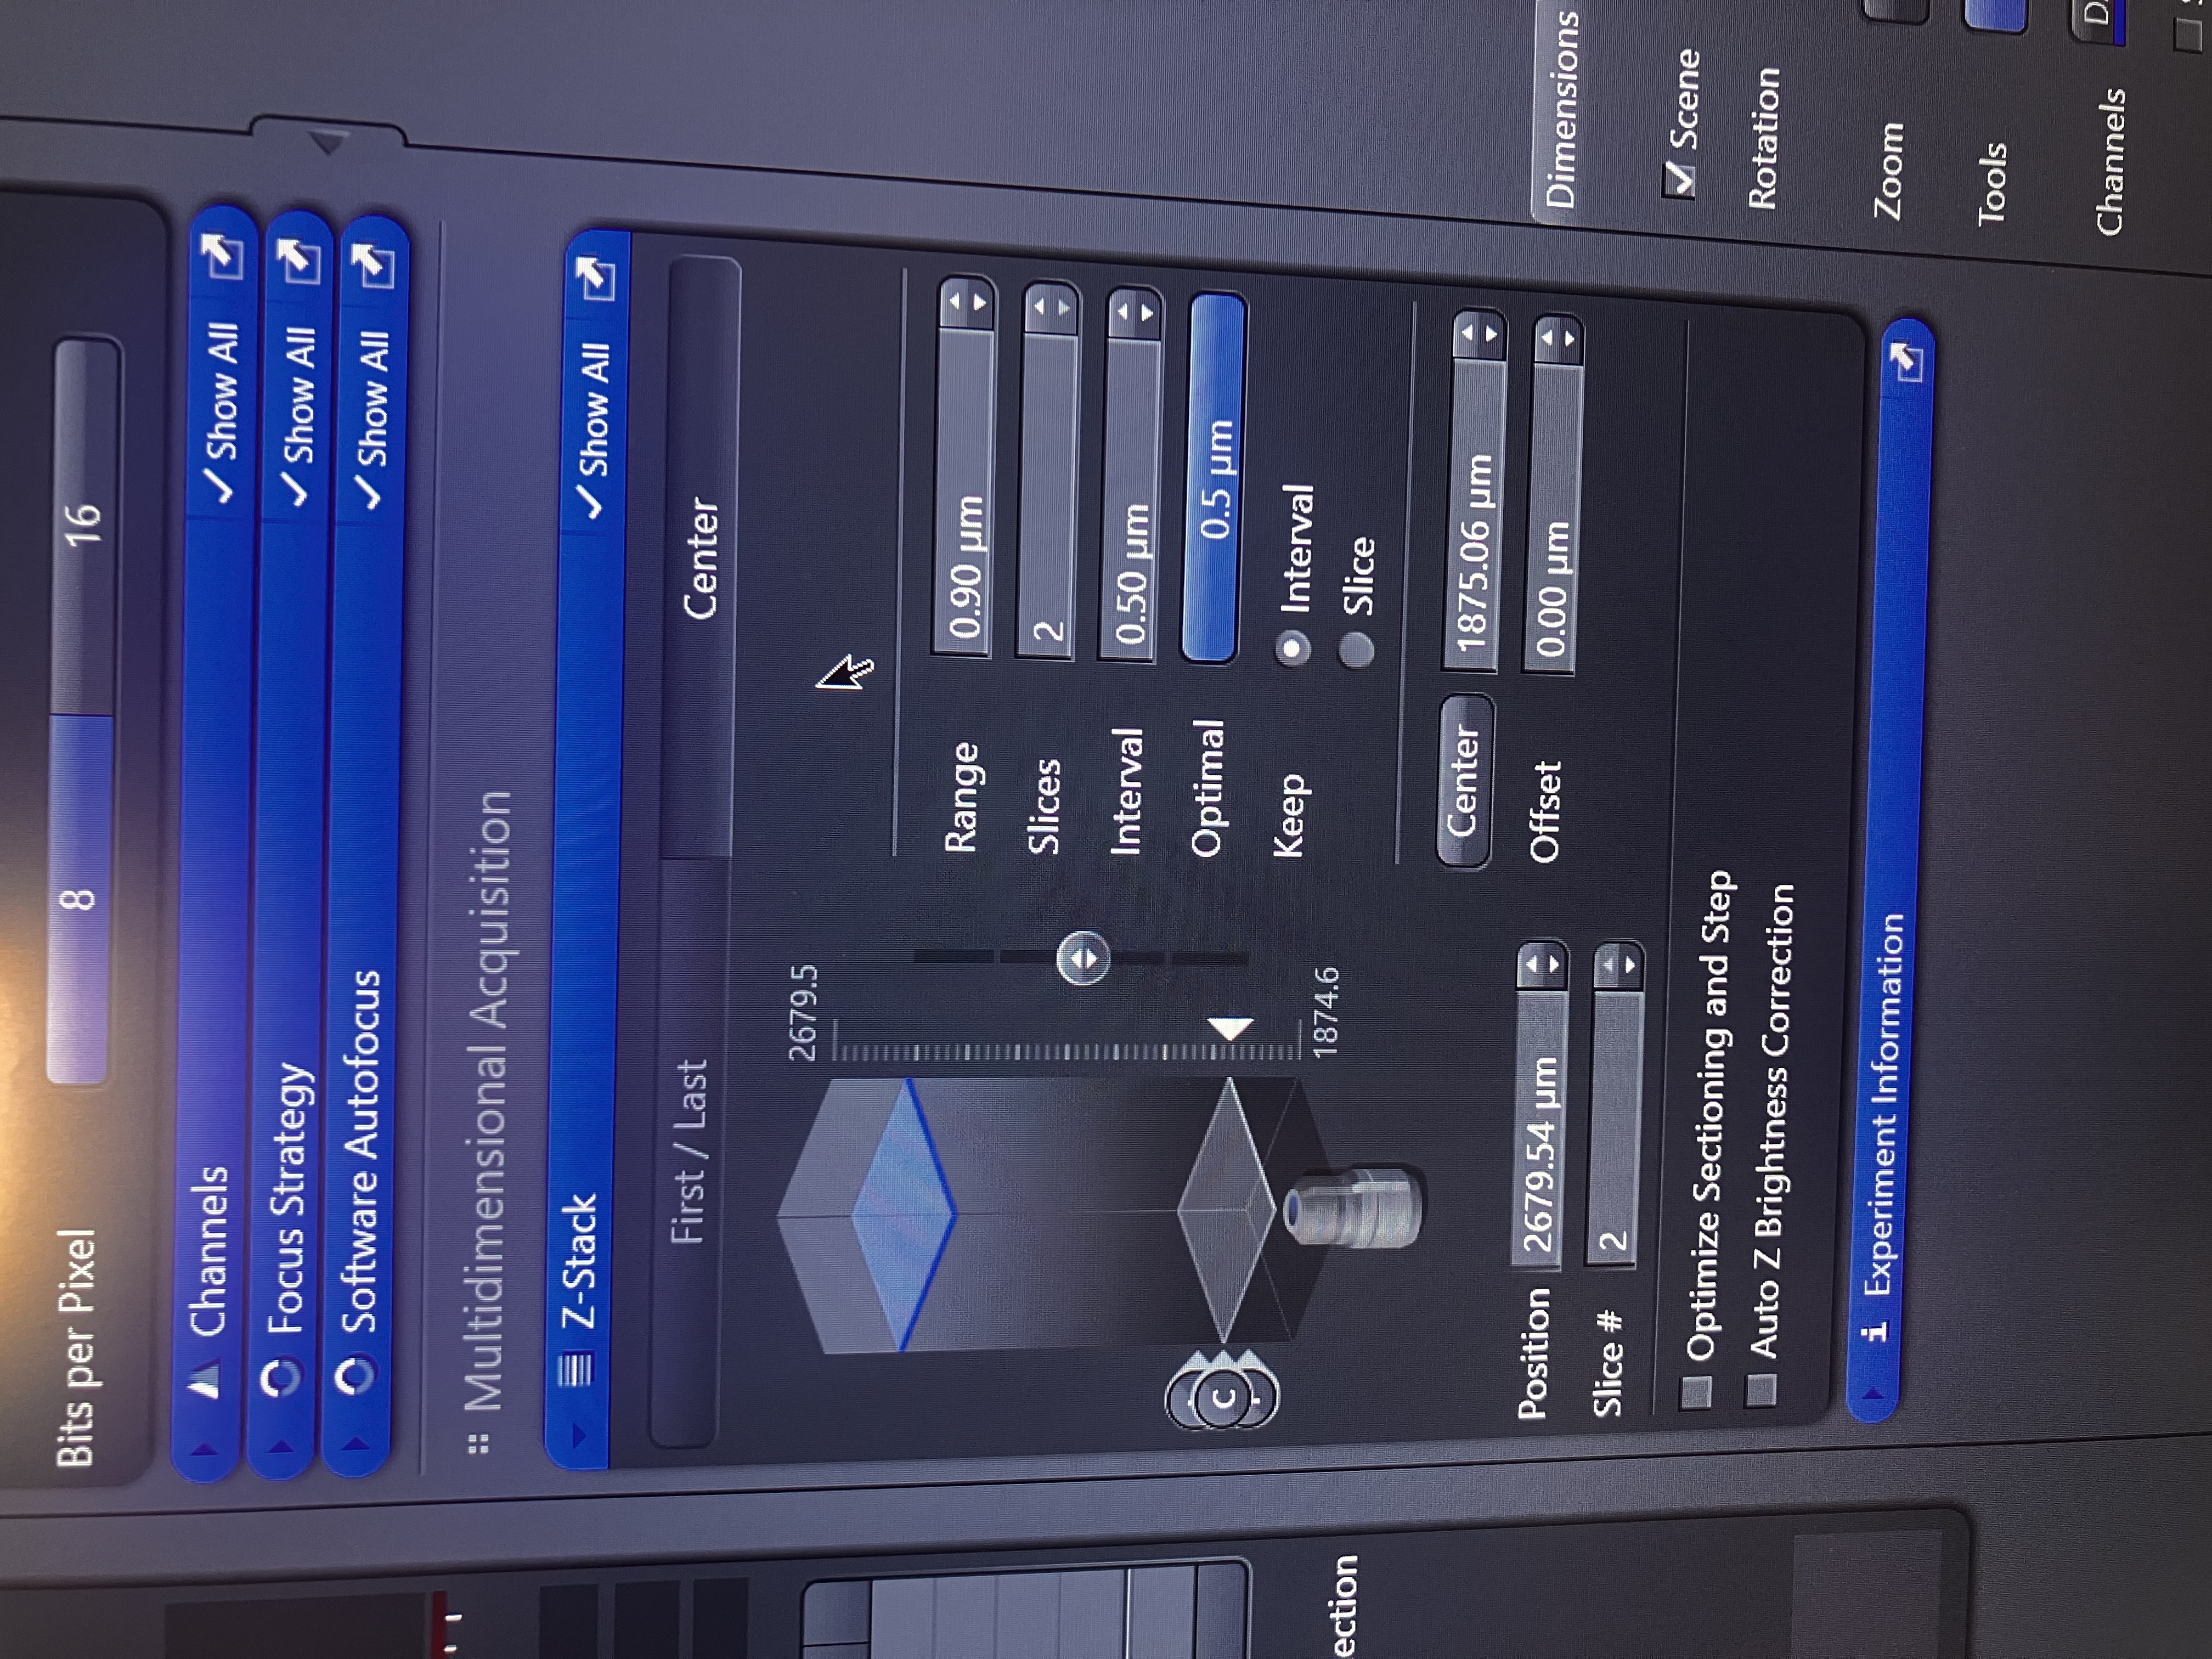
This tab is where you will define your stack dimensions. You can adjust the number of slices, the total range in microns (i.e. how thick the stack will be), and the interval in microns (i.e. the distance between adjacent slices). The most important setting on this tab is choosing “Center” or “First Last.” Center means that the stack will be defined by the center slice and then slices will be added both above and below the center. The center slice will be the focal plane. First/Last means that you will define the bottom z coordinate and the top z coordinate and slices will be taken in that pre-defined range of coordinates in z space. First/Last can be useful if you are taking one z-stack and you know the thickness of your sample. In this case, you would just take a thick z-stack by setting the z coordinate bounds liberally. This will ensure that you capture the entire thickness of your sample. However, First/Last does not make much sense in cases where you are taking multiple z-stacks. This is because the sample is never perfectly flat. So, even if you set a range in z that truly makes sense based on you sample’s thickness, it will be to no avail, as when the system navigates to a new position, this entire range will not be translated up or down with the tissue’s slope. Further, if you set the range to be really large, you may capture everything that you want to, but you will also capture a ton of black, empty space. Thus, for multiple z-stacks, it makes much more sense to use Center with a Definite Focus for the focus strategy. Center will work well for a single z-stack as well. Therefore, the Core recommends that you just get in the habit of using Center.
6.5 Run Your Experiment
Click “Start Experiment” as shown below and make sure that the file size makes some sense:
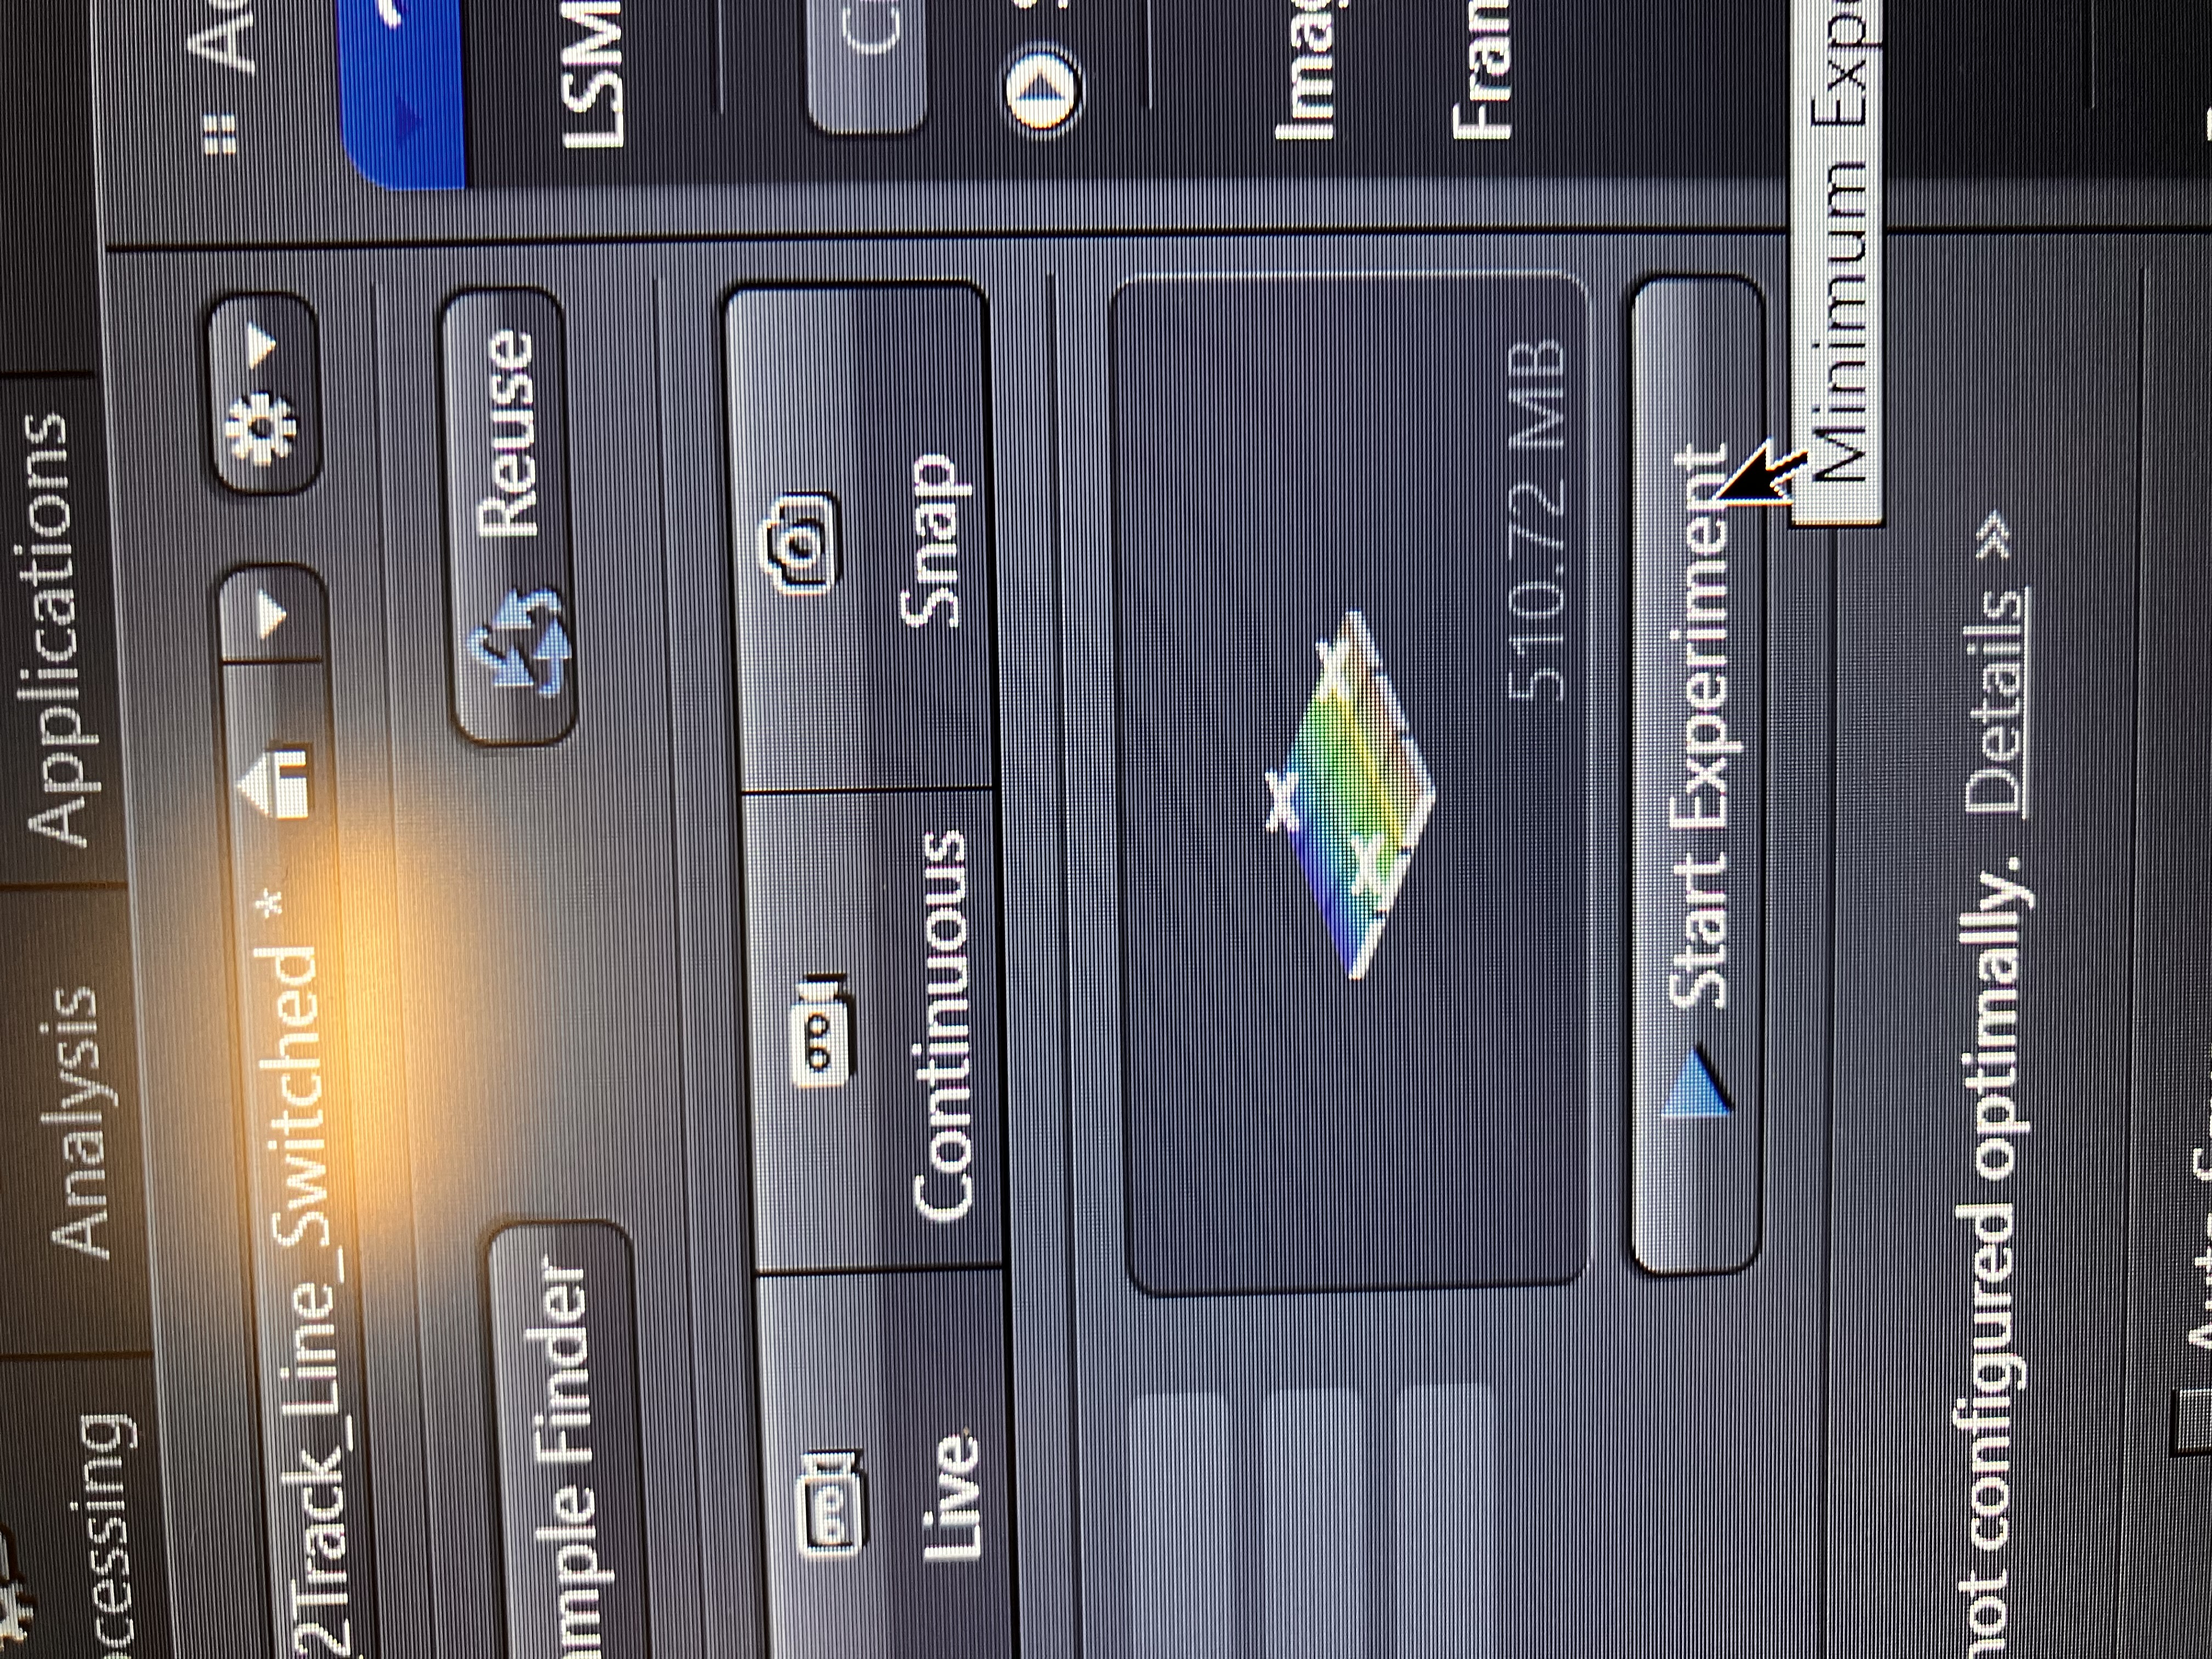
You should begin seeing your image slices being captured.
6.6 Process Your Z-Stack
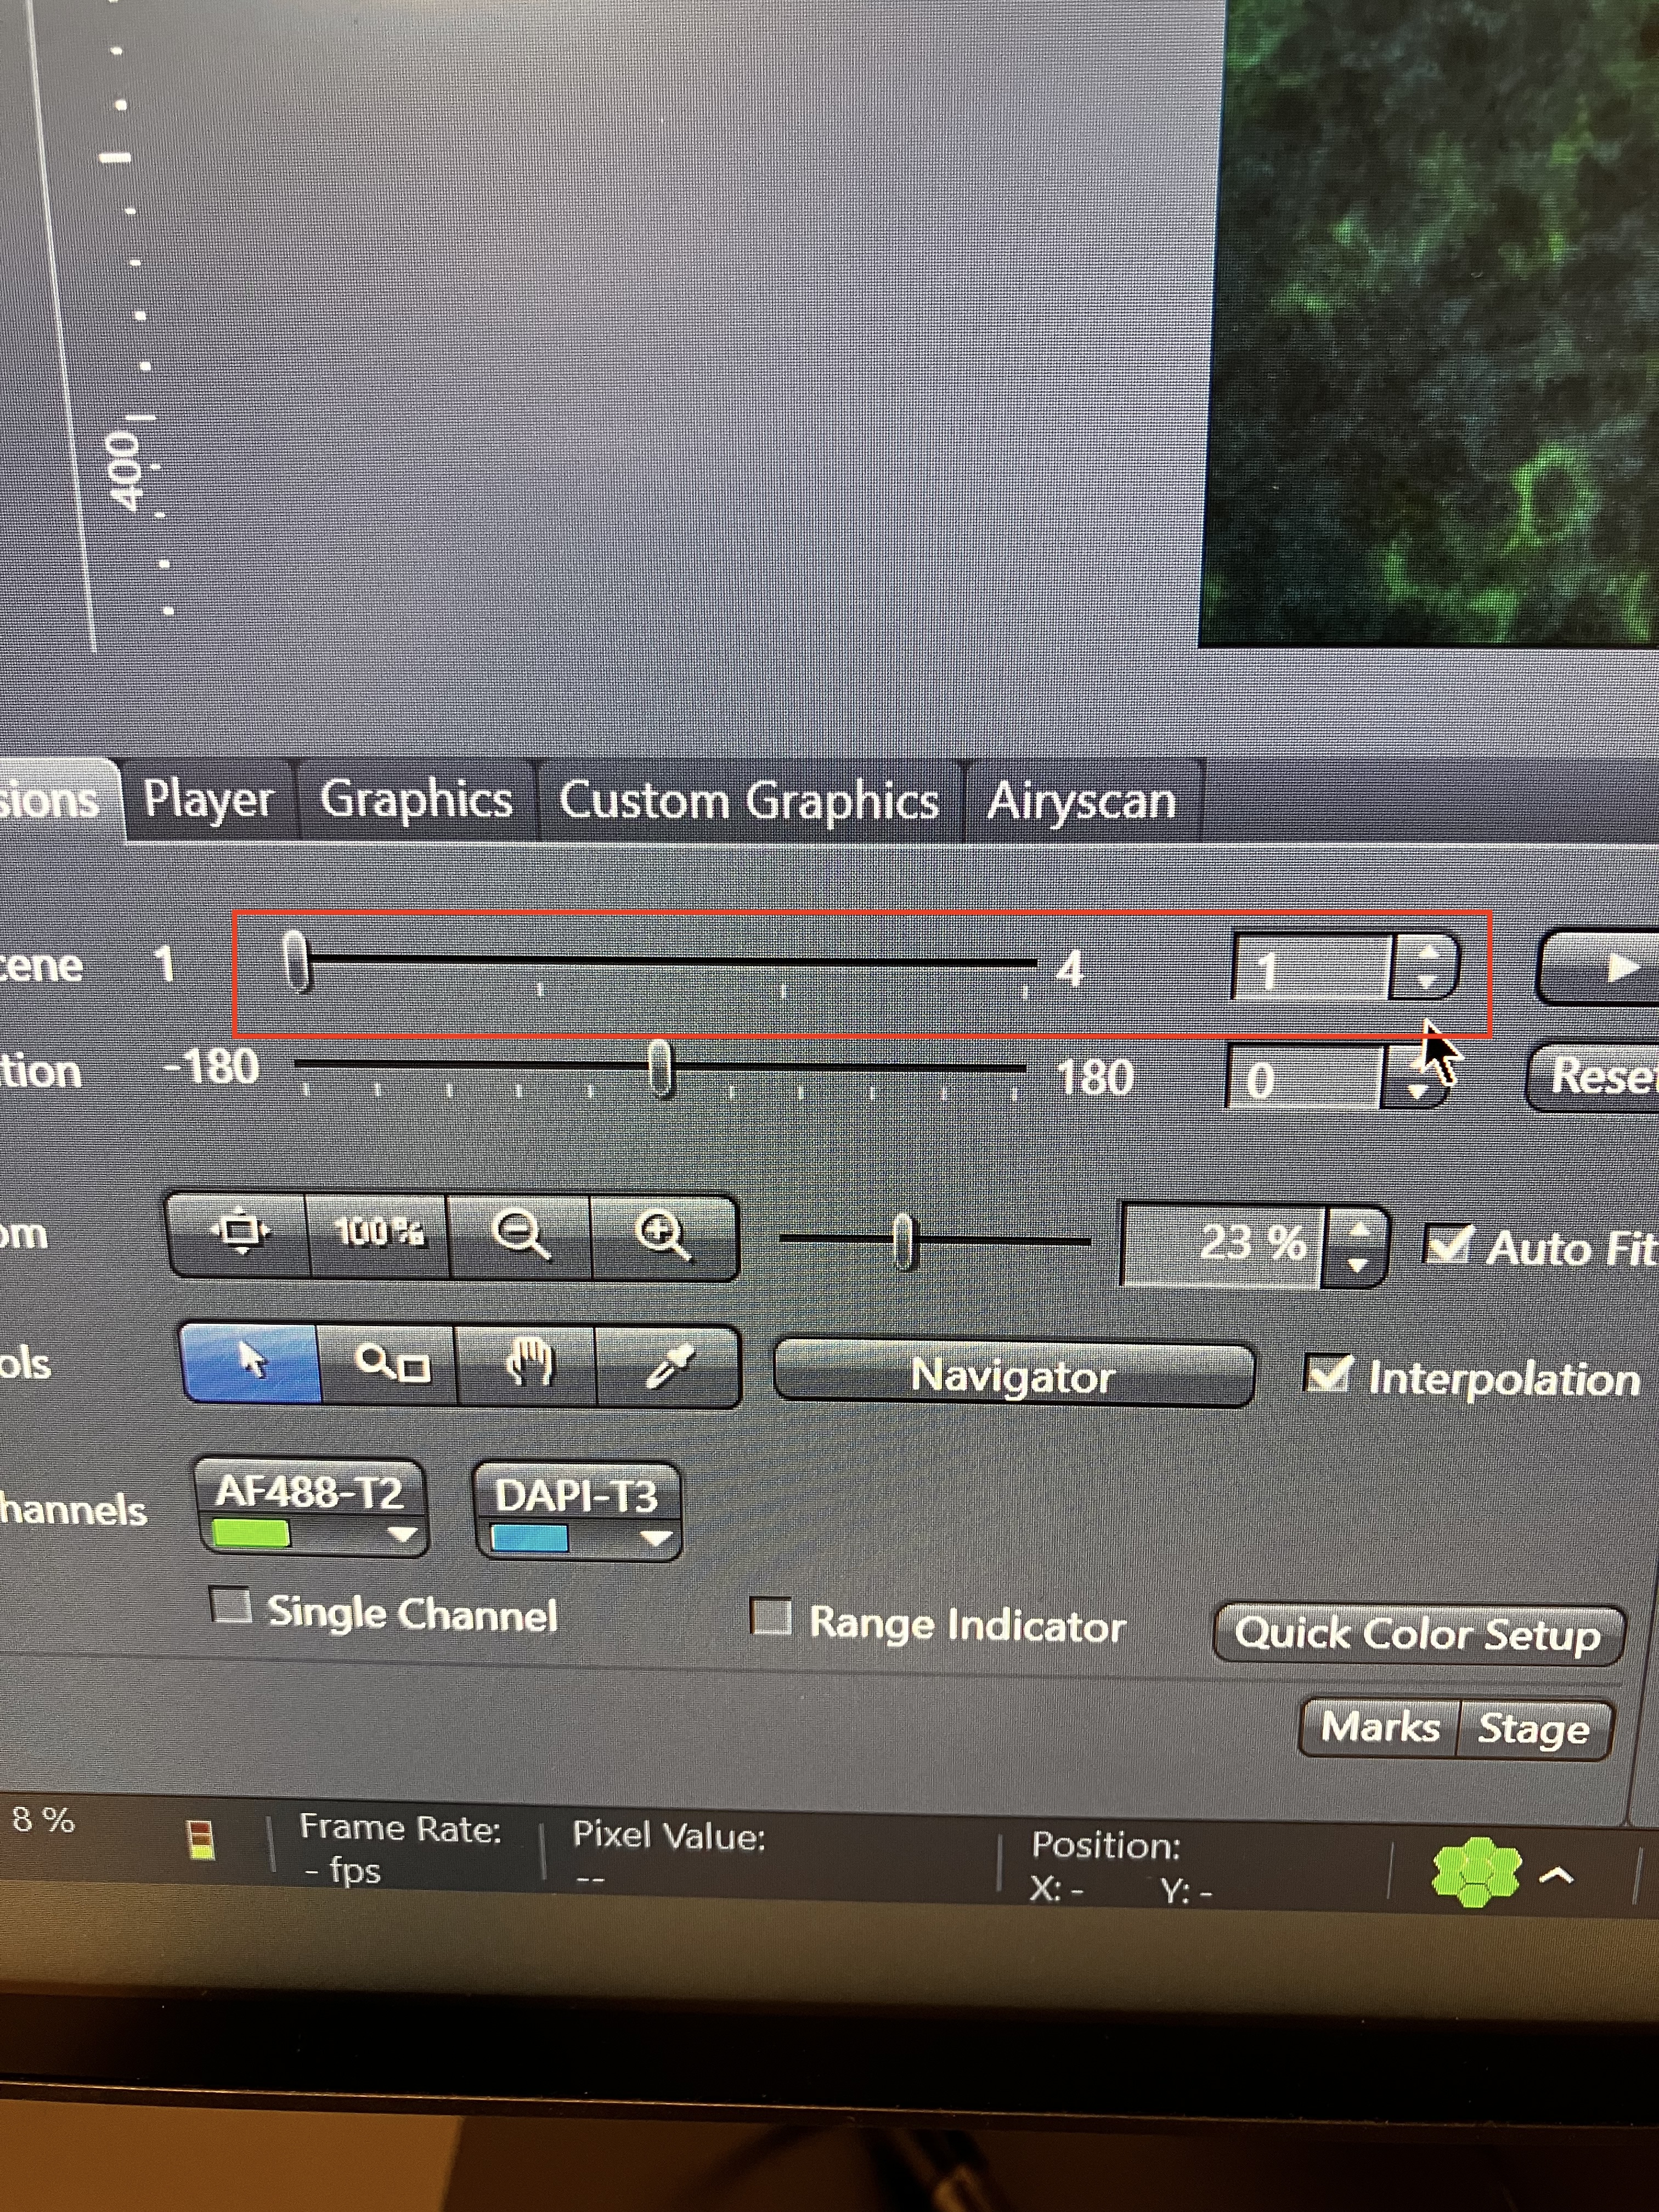
You can pan through your slices in the same way that you can toggle through tiles, as shown here:
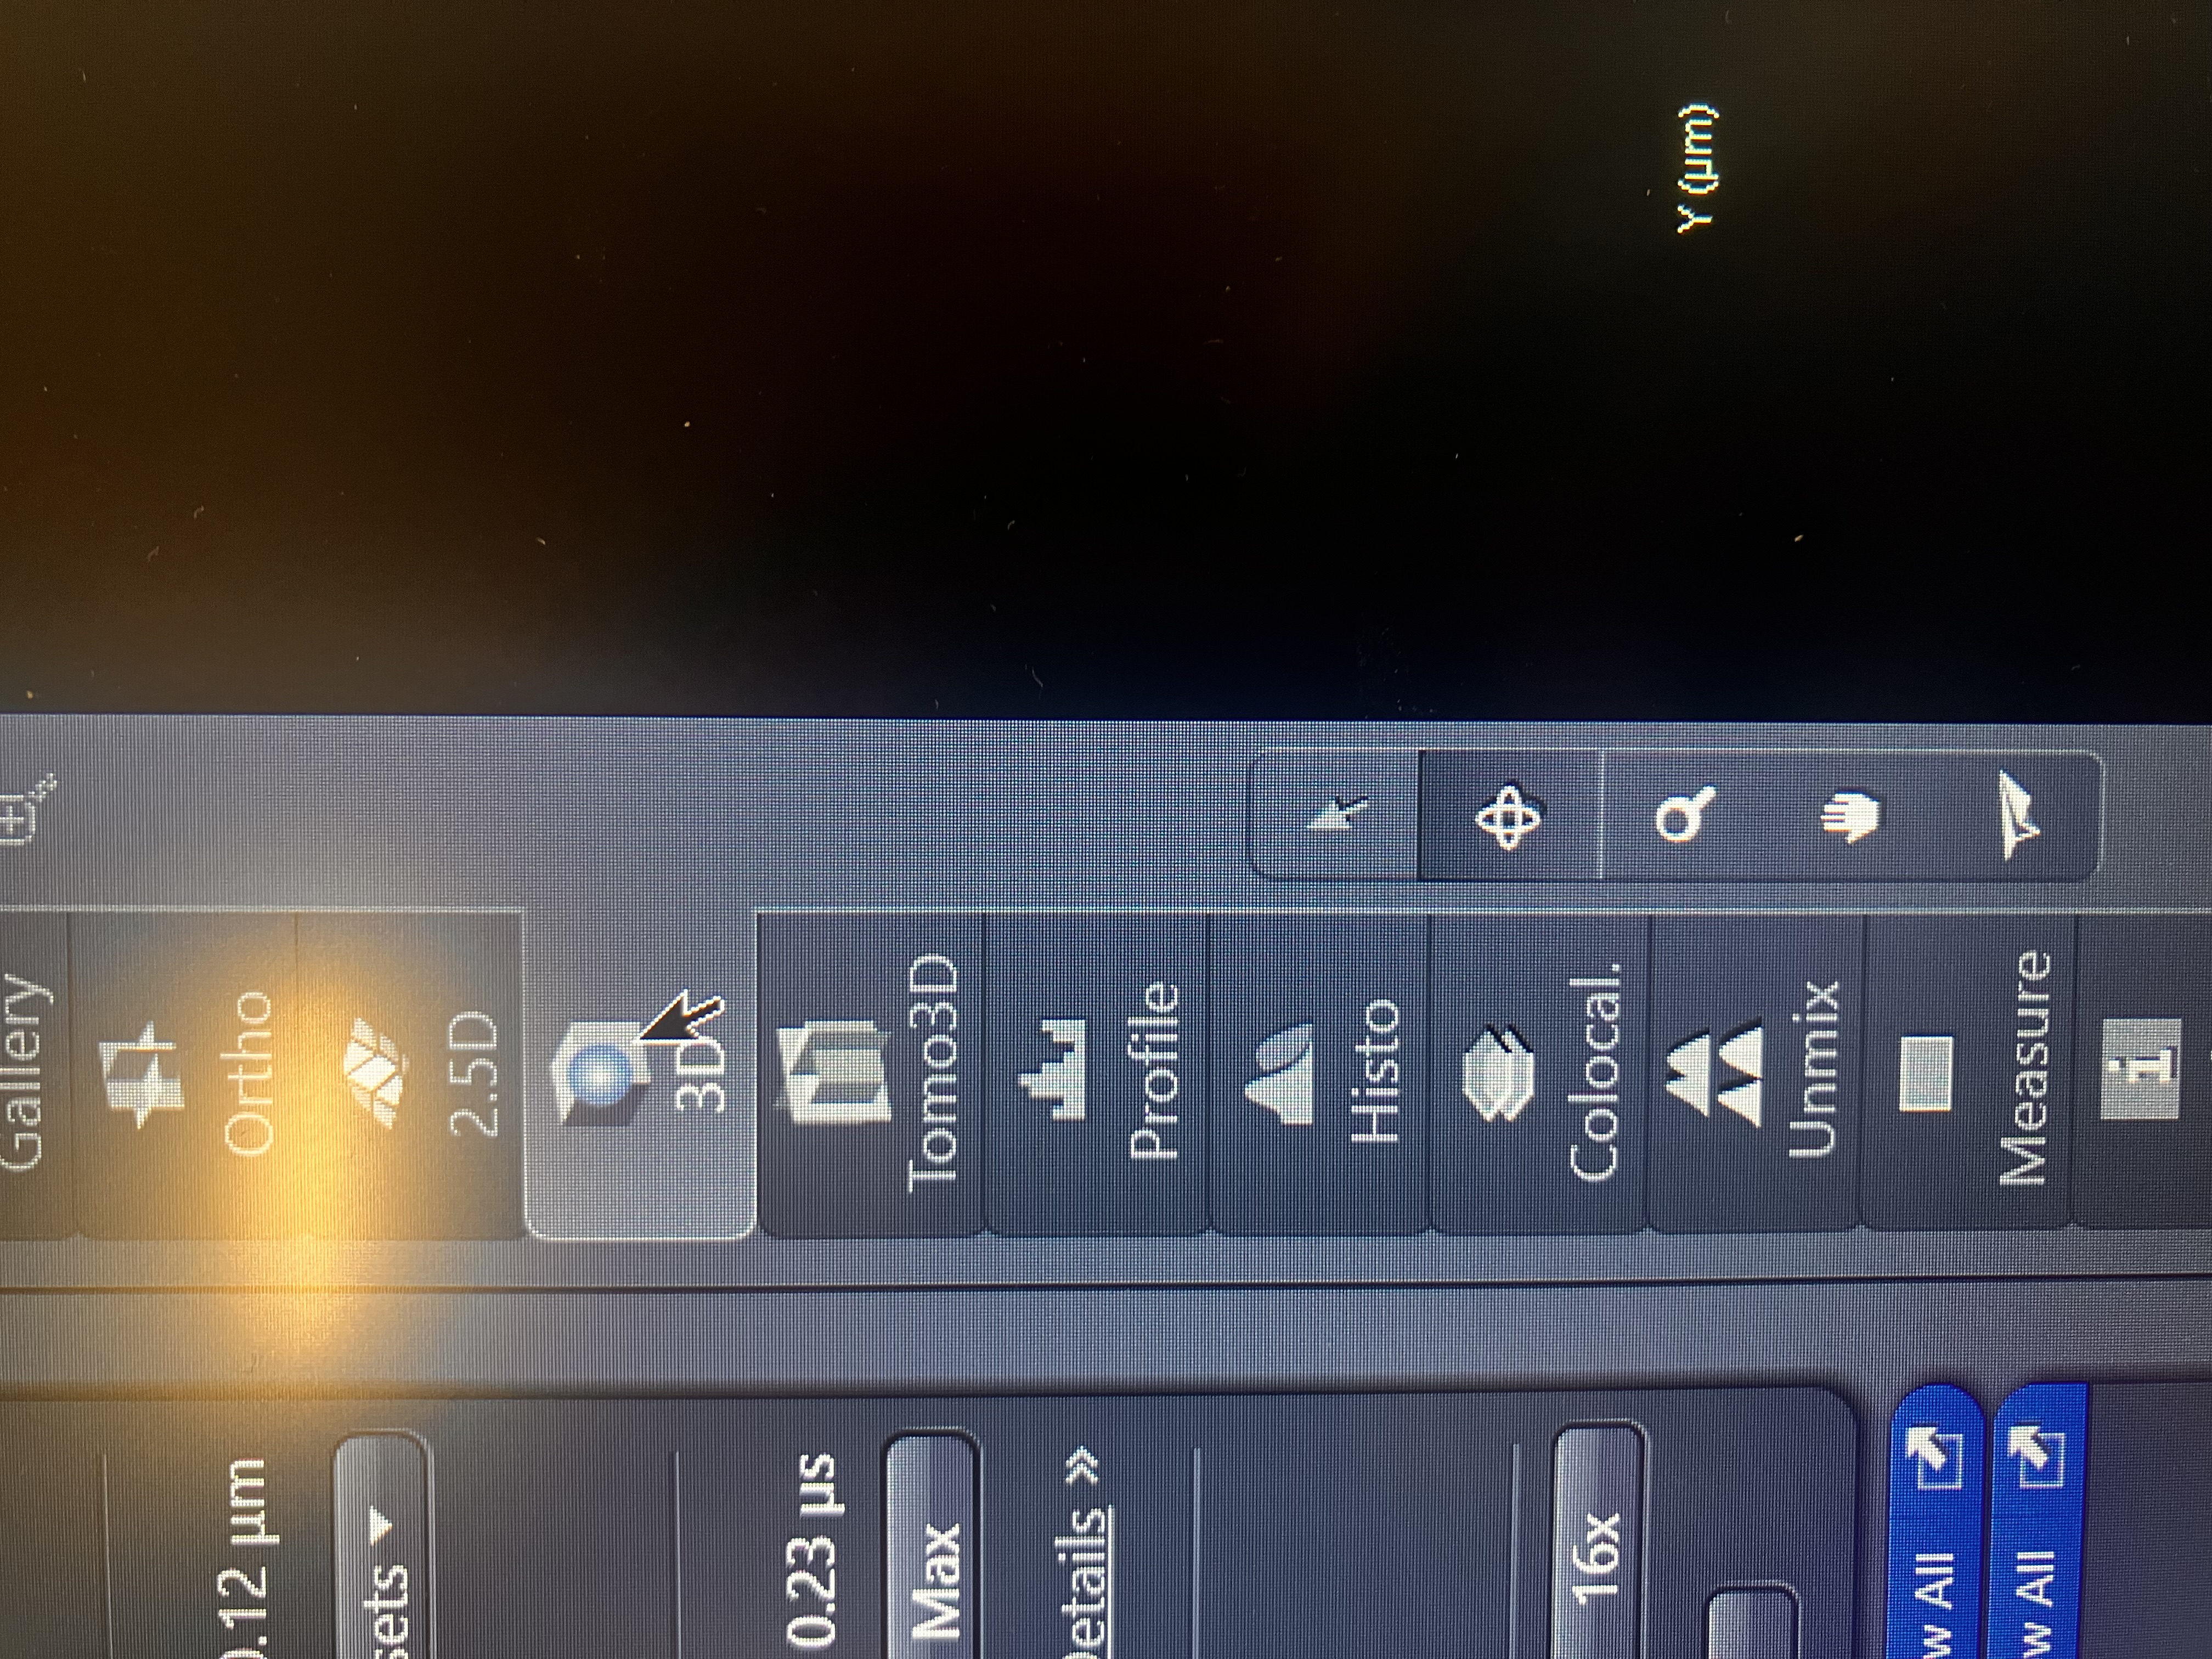
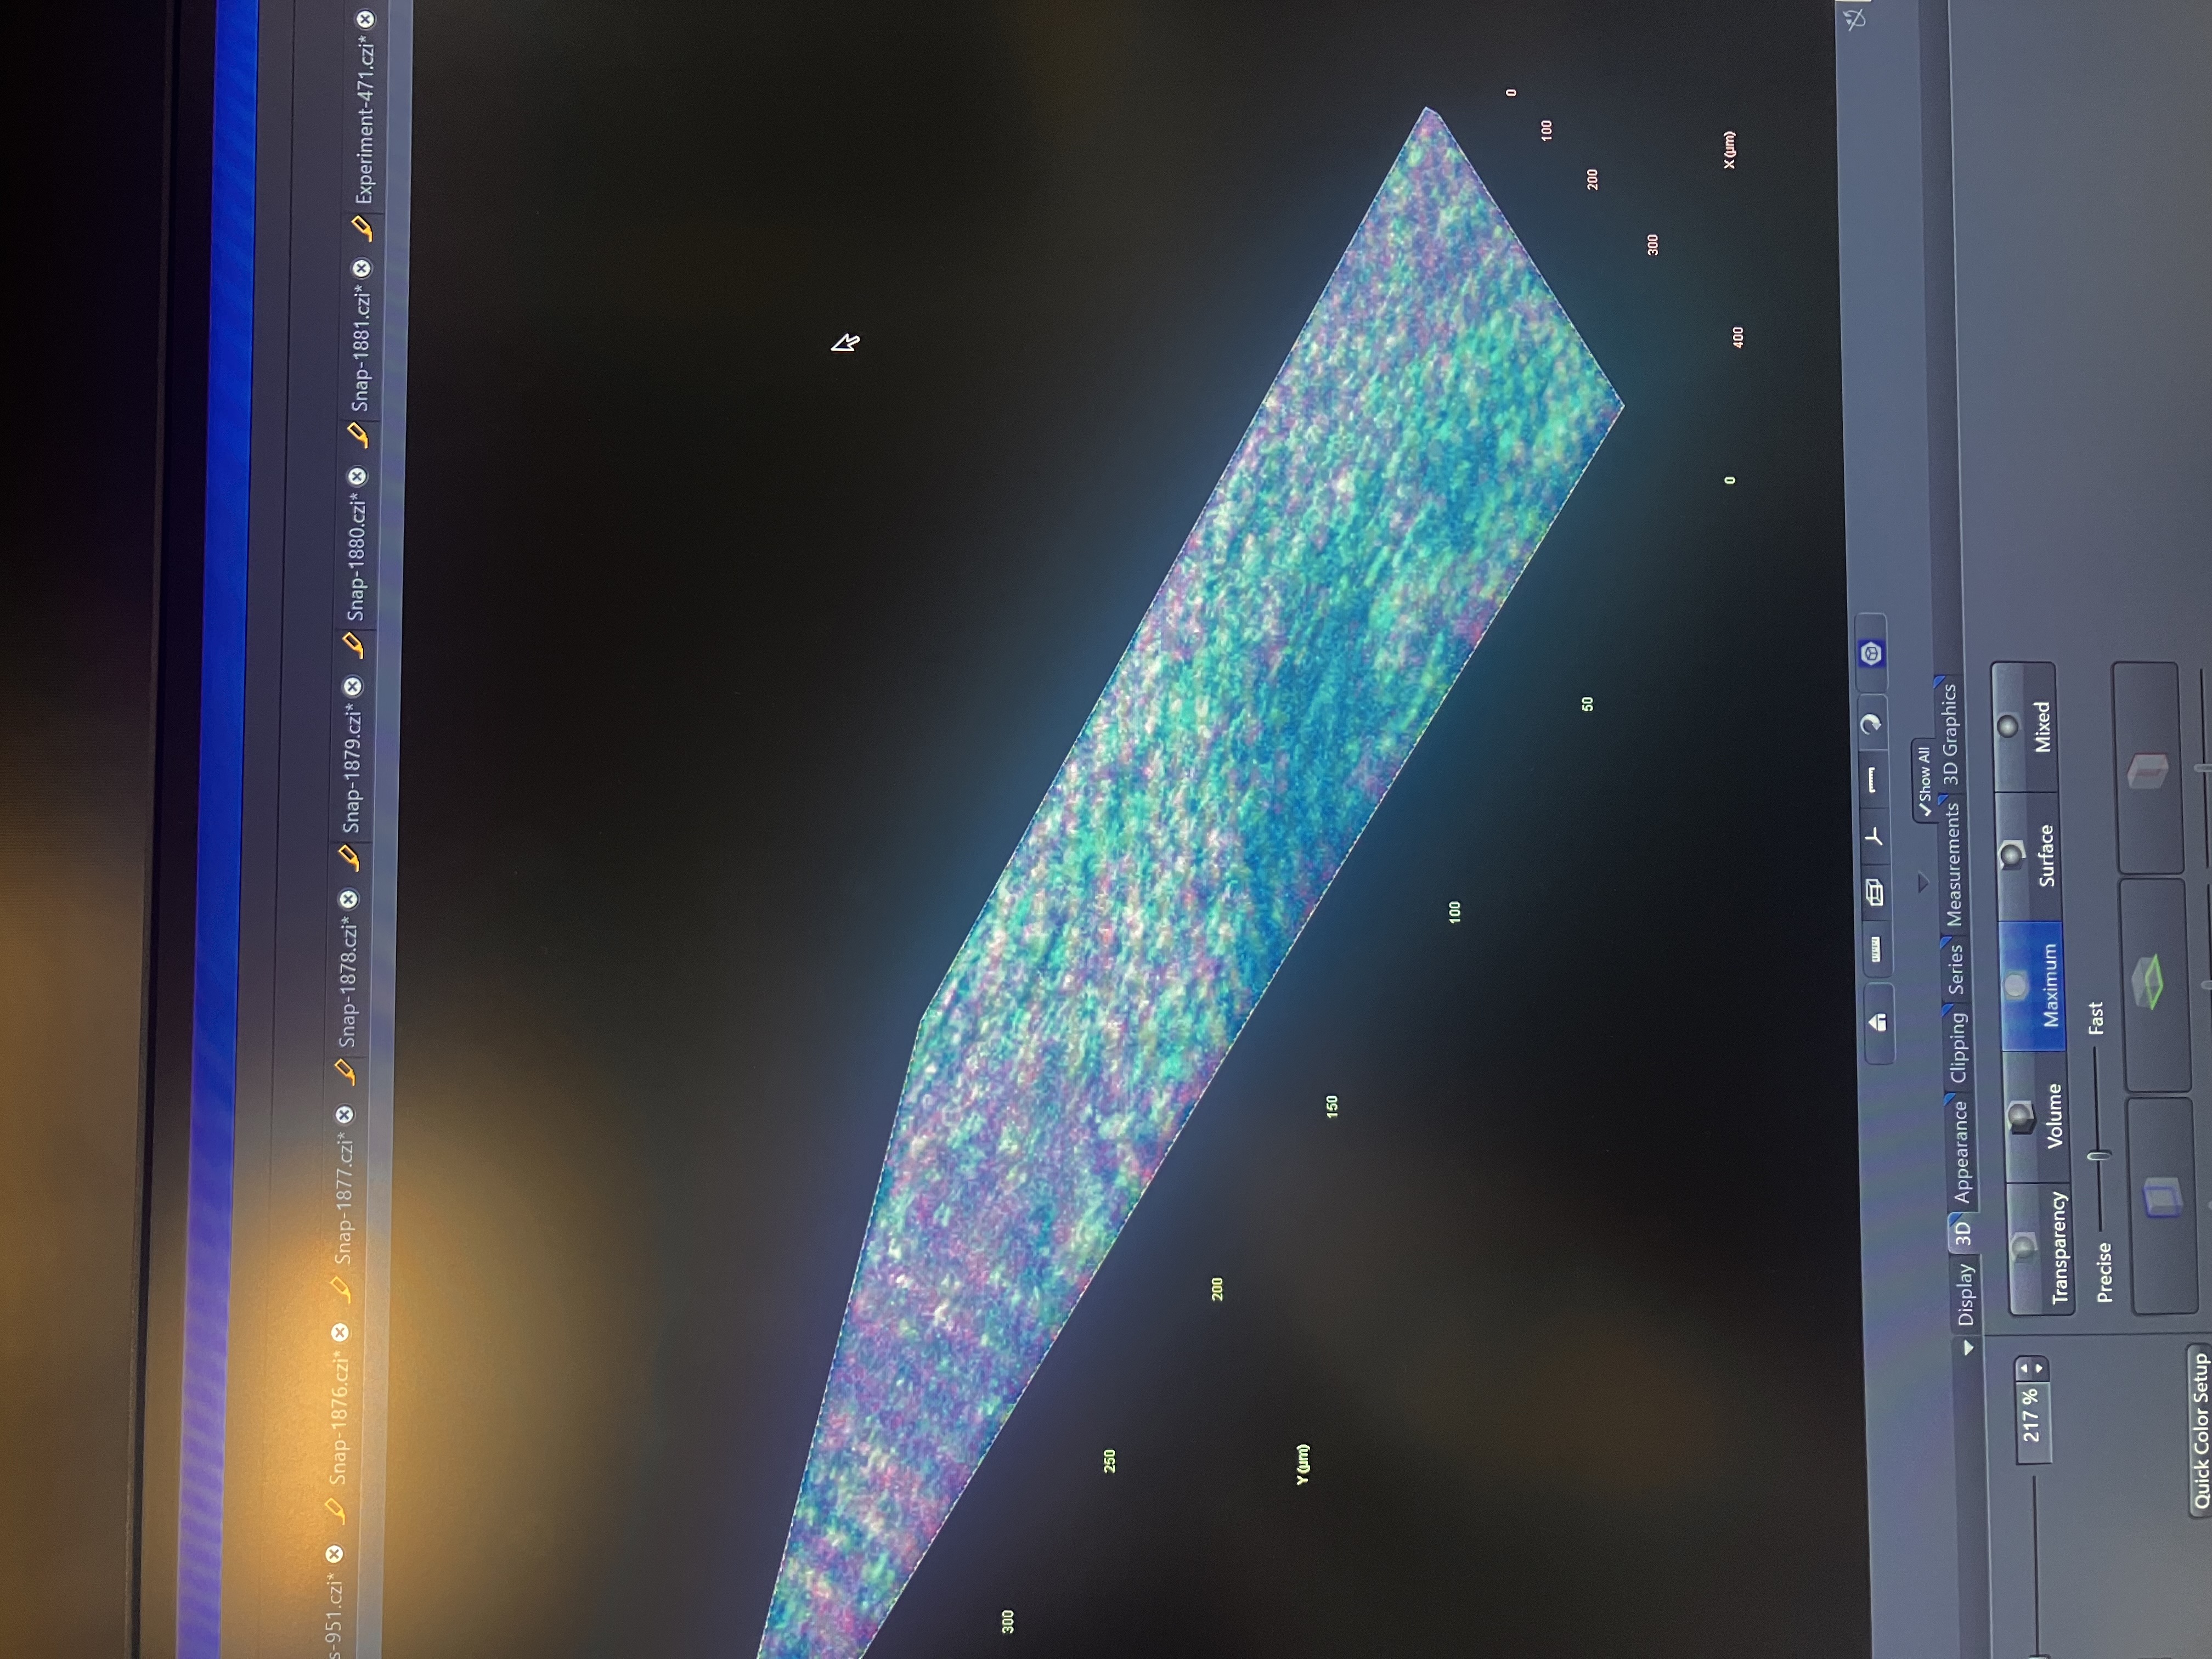
You can see a 3D rendering of your experiment as shown:
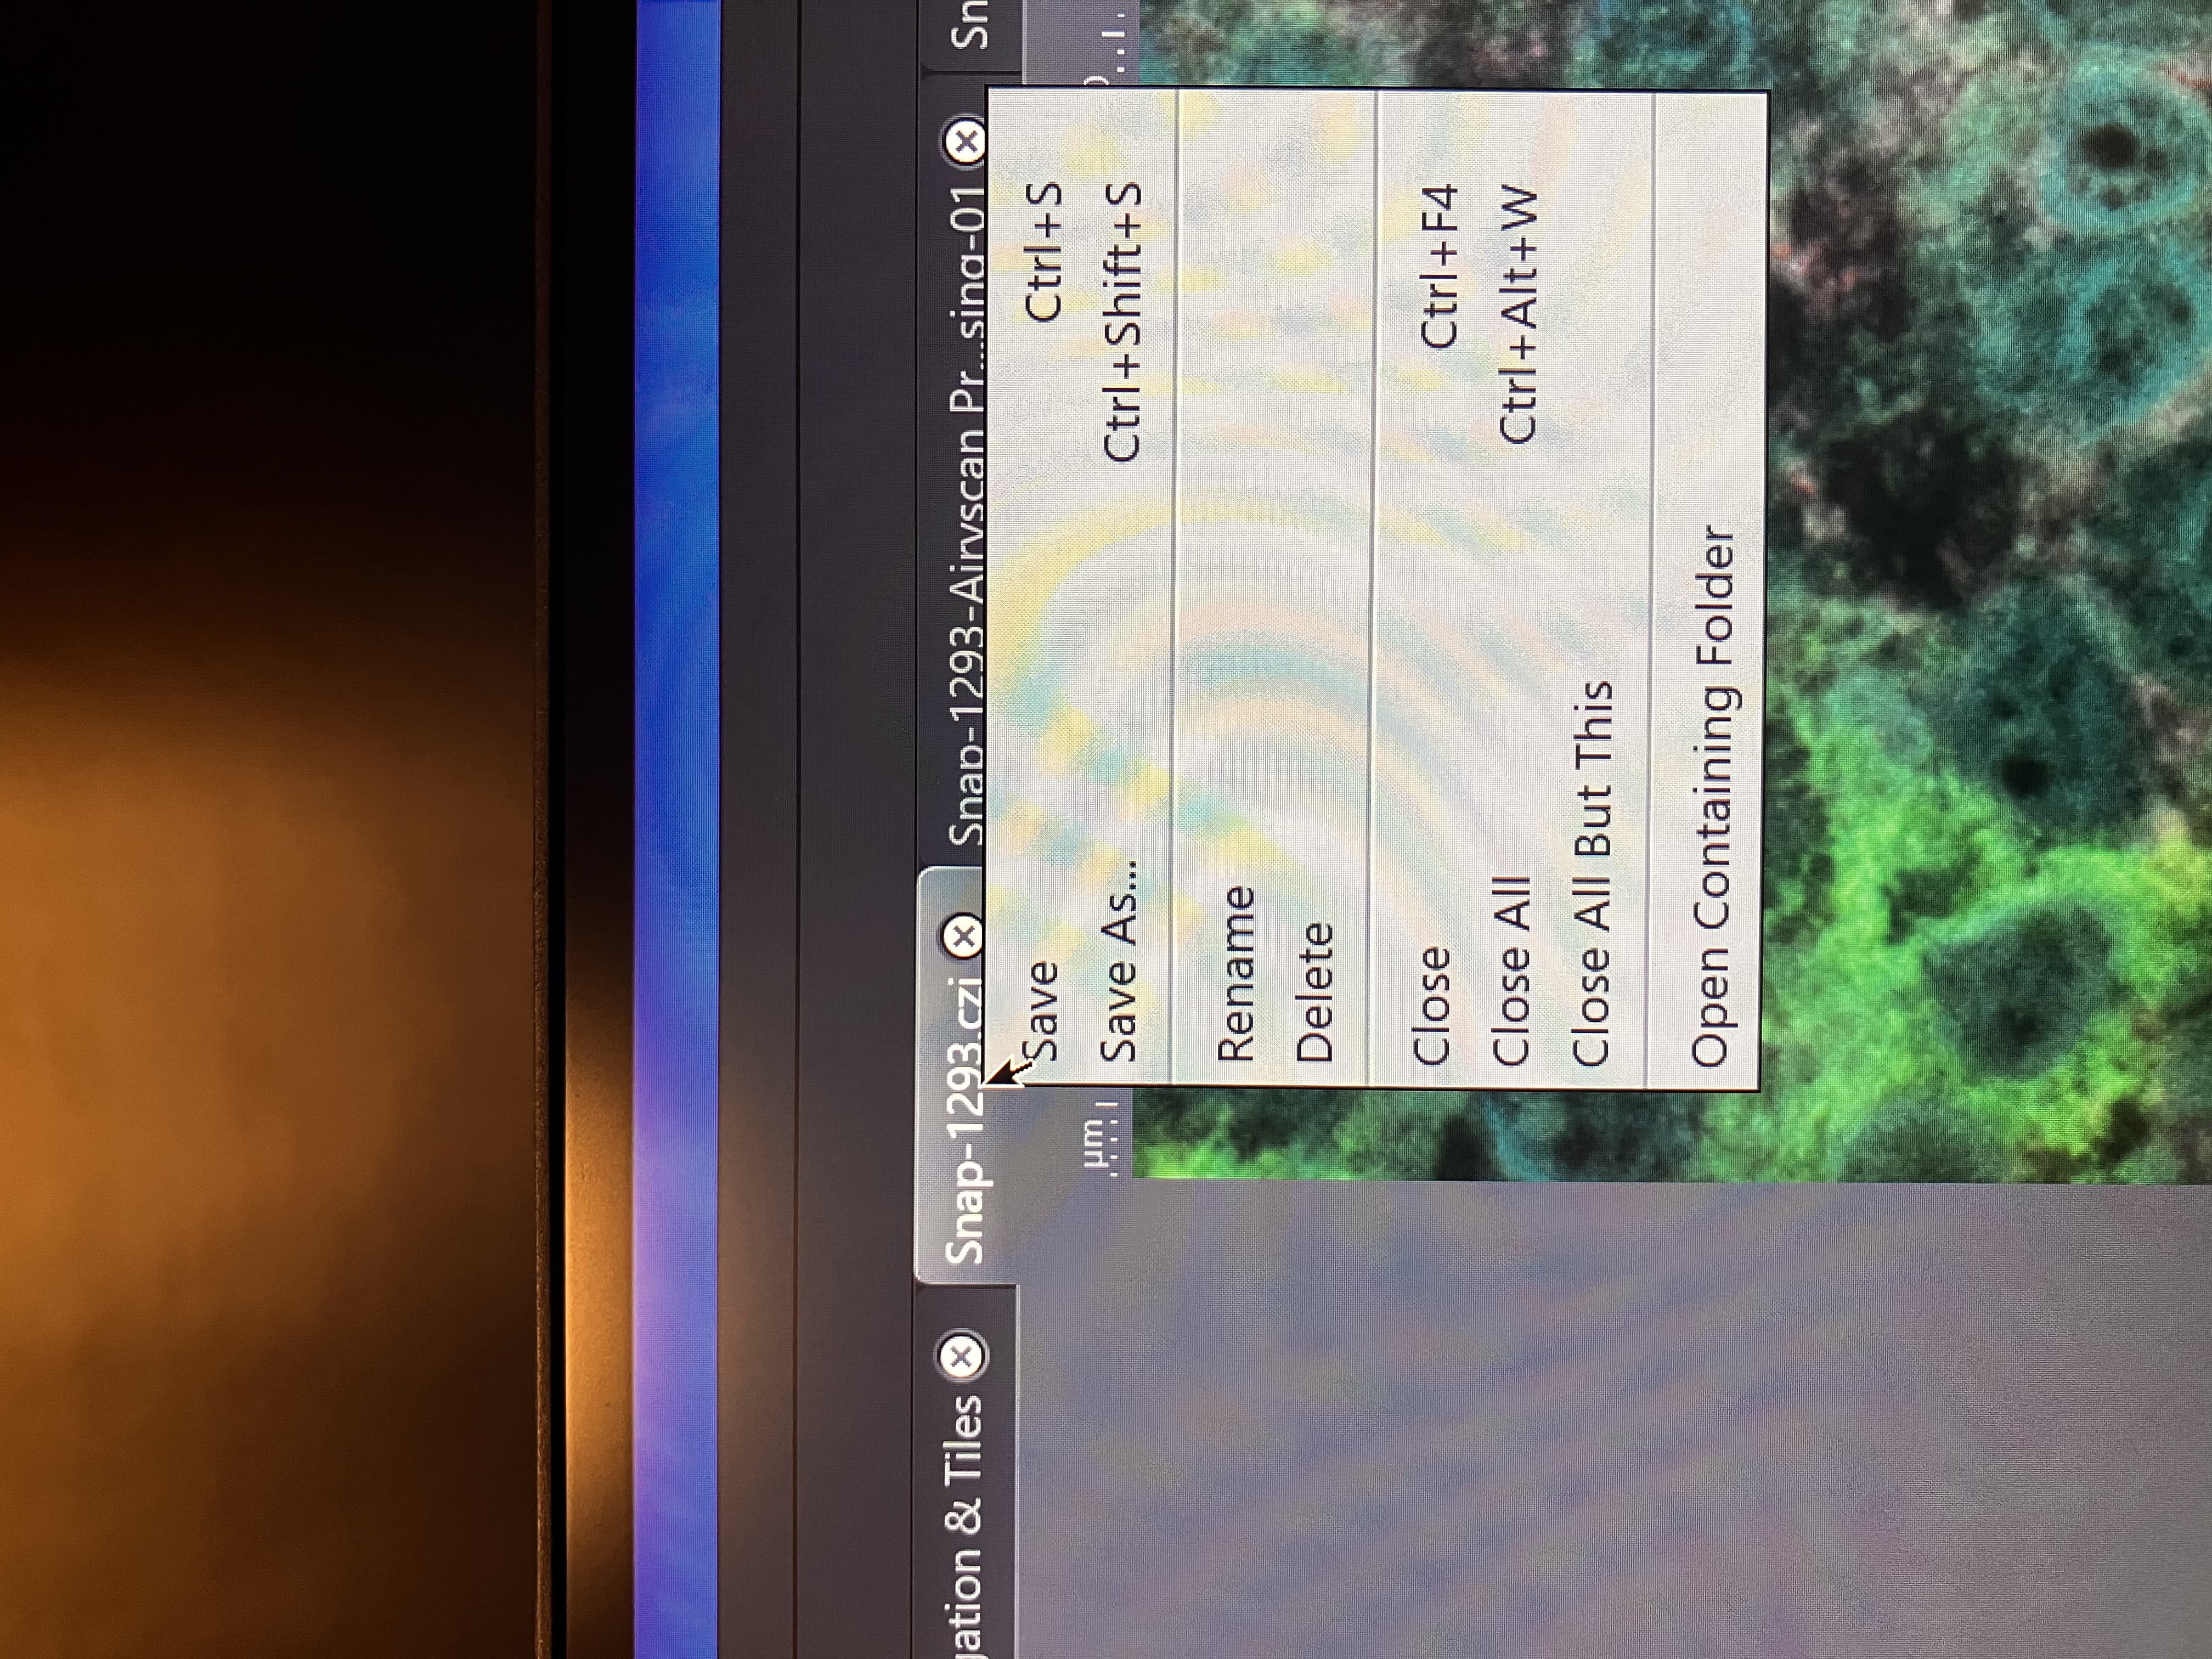
You can perform Airyscan processing if you used SR or Multiplex mode and then you can create files for the processed data by selecting any of the following options:
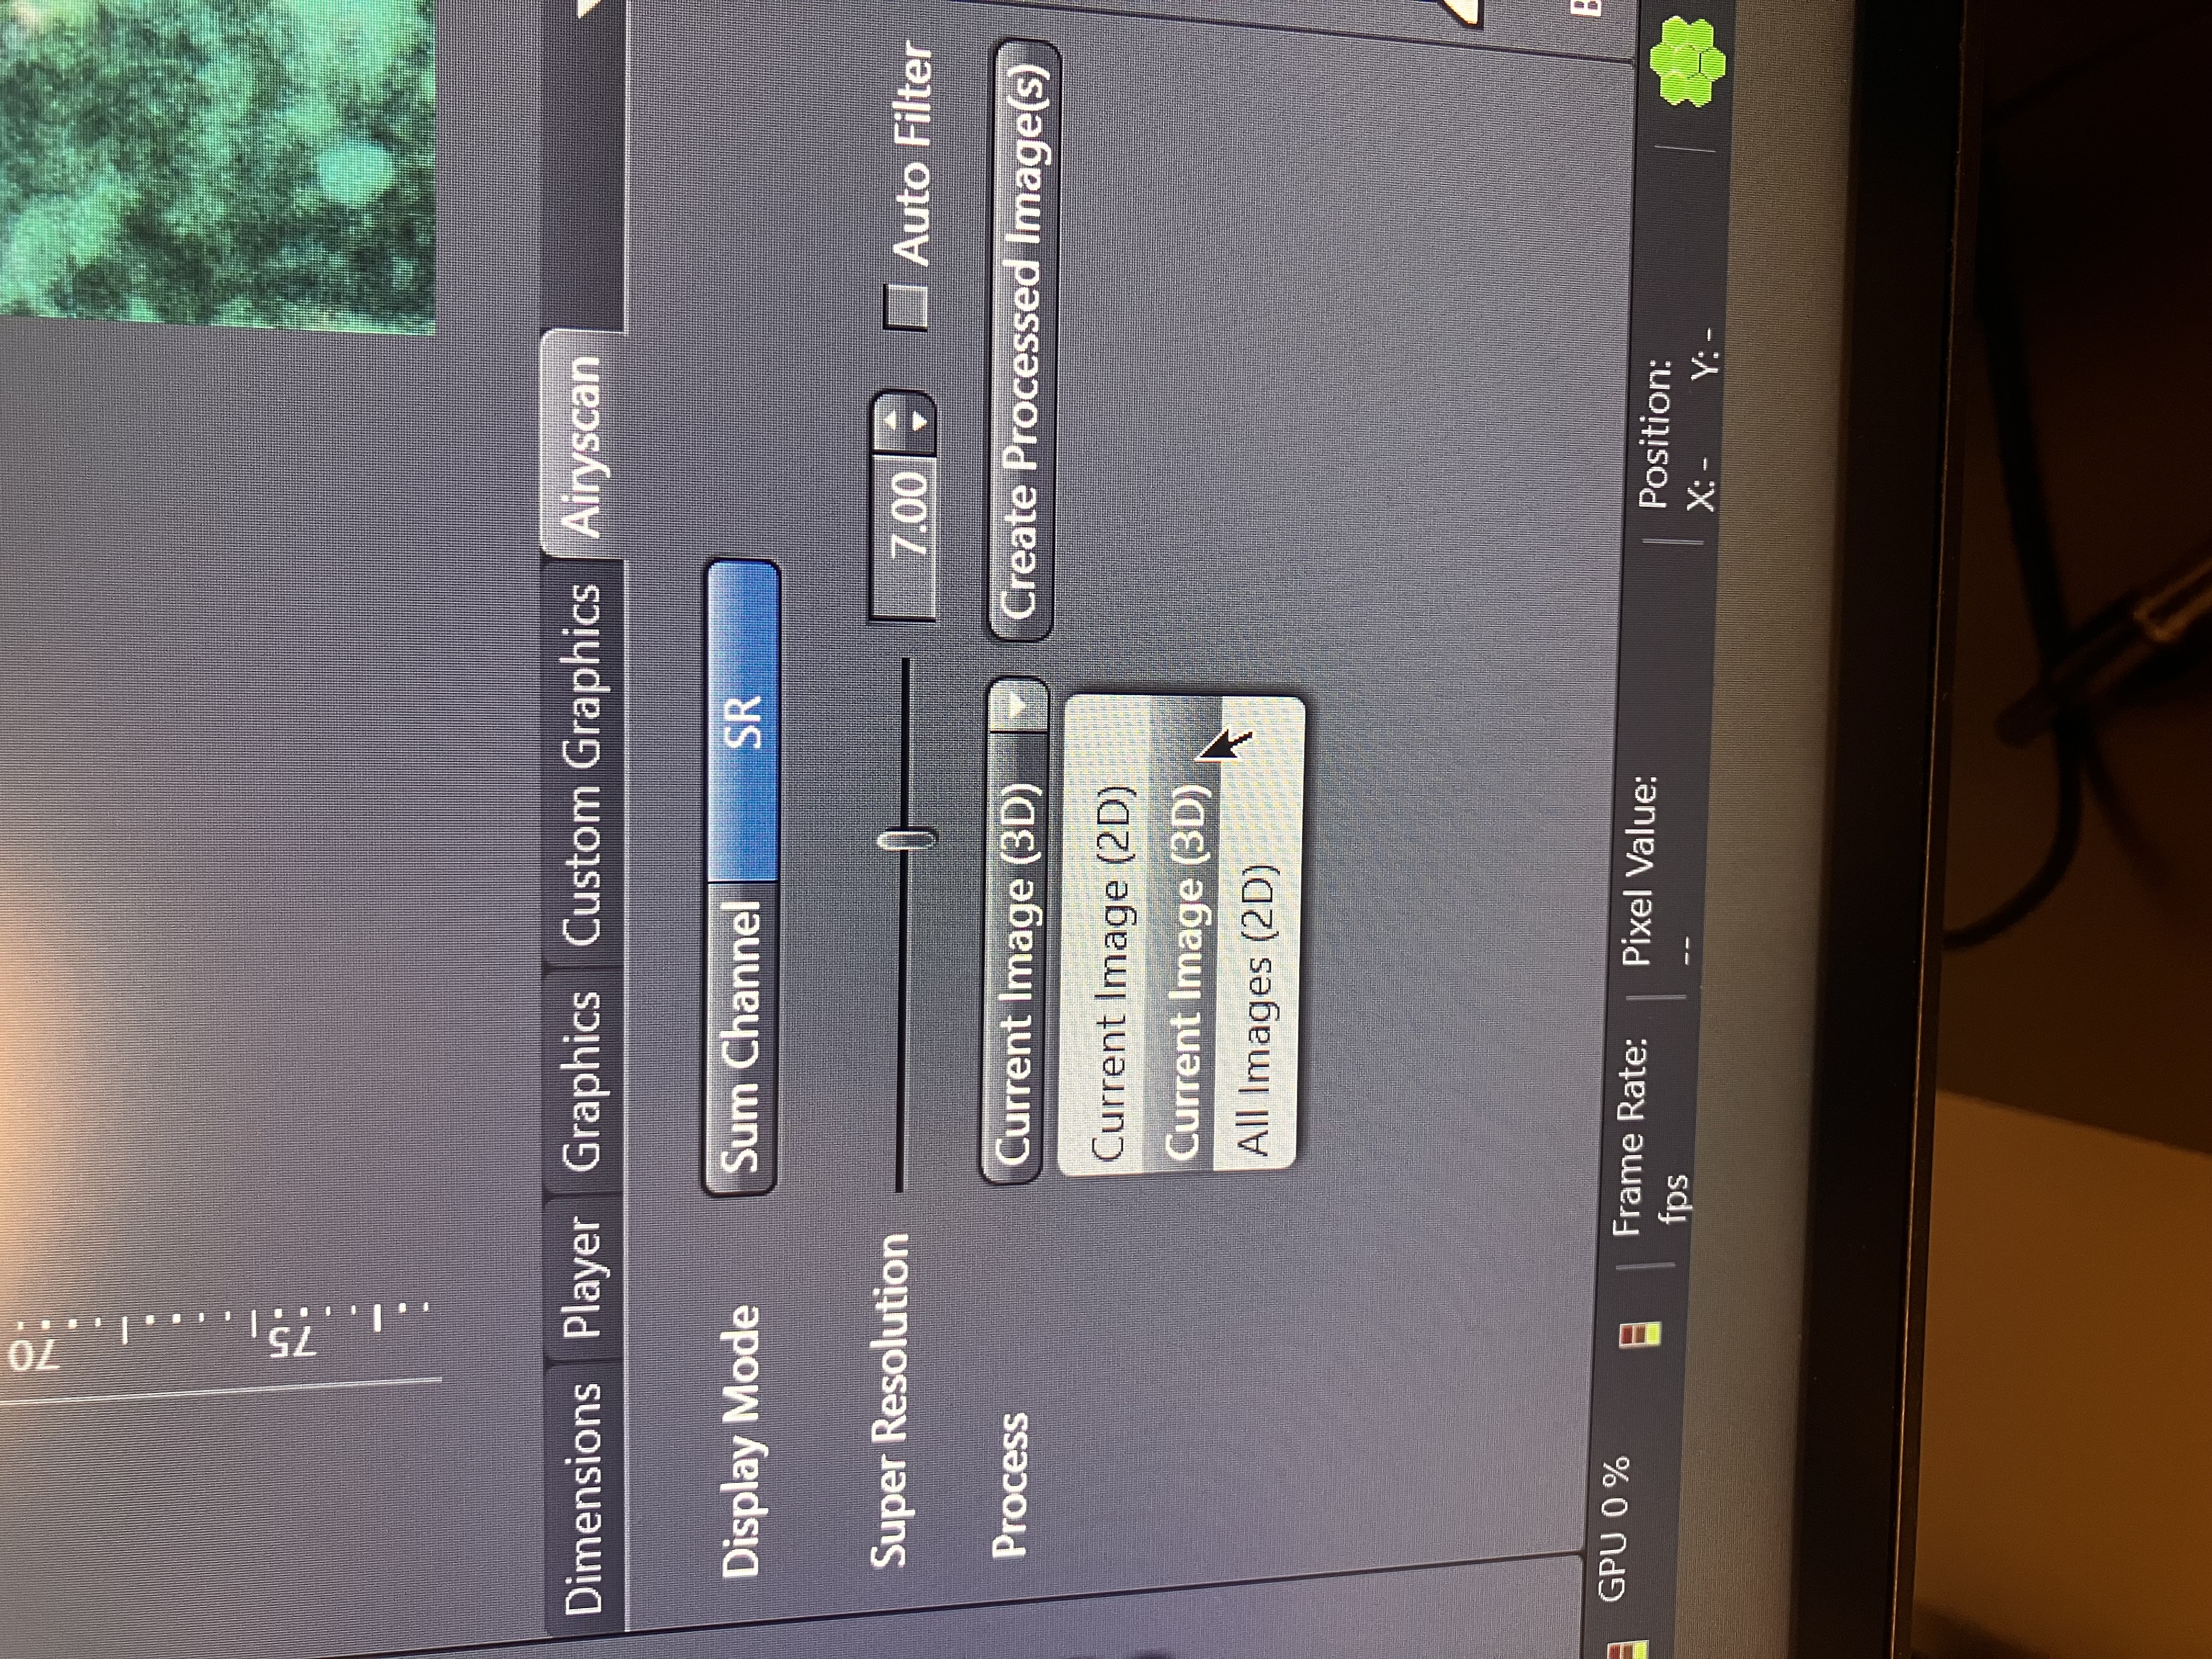
Current Image (2D) will simply save the single image you are looking at as a flat file. Current Image (3D) will save the z-stack as a multidimensional file (a stack of 2D images). All Images (2D) will save each slice as its own flat file. Note here that you will need the raw Airyscan data from your experiment to perform Joint Deconvolution downstream. This applies to SR only.