Chapter 10 Troubleshooting
10.1 Help! I can’t see anything!
Identifying the issue\(\backslash\)potential
solution:
\(1\)) Was the system turned on in the correct order? Is the laser on?
If you are unsure whether or not you turned the system on in the
correct order, turn it off in the reverse order in which things are
labelled, and turn it back on following the numbered tape next to each
step.
\(2\)) Is your sample wobbling in and out of focus?
It may sound silly, but make sure you’re not touching the table that
the microscope sits on (the air table will move and can cause your
sample to come out of focus). Please also check that the insert you’ve
chosen for the stage is properly locked in. The insert should be flat
and all four corners should be flush with the stage. This requires
pushing in the tabs that stick out on either side of the corner with the
red dot.
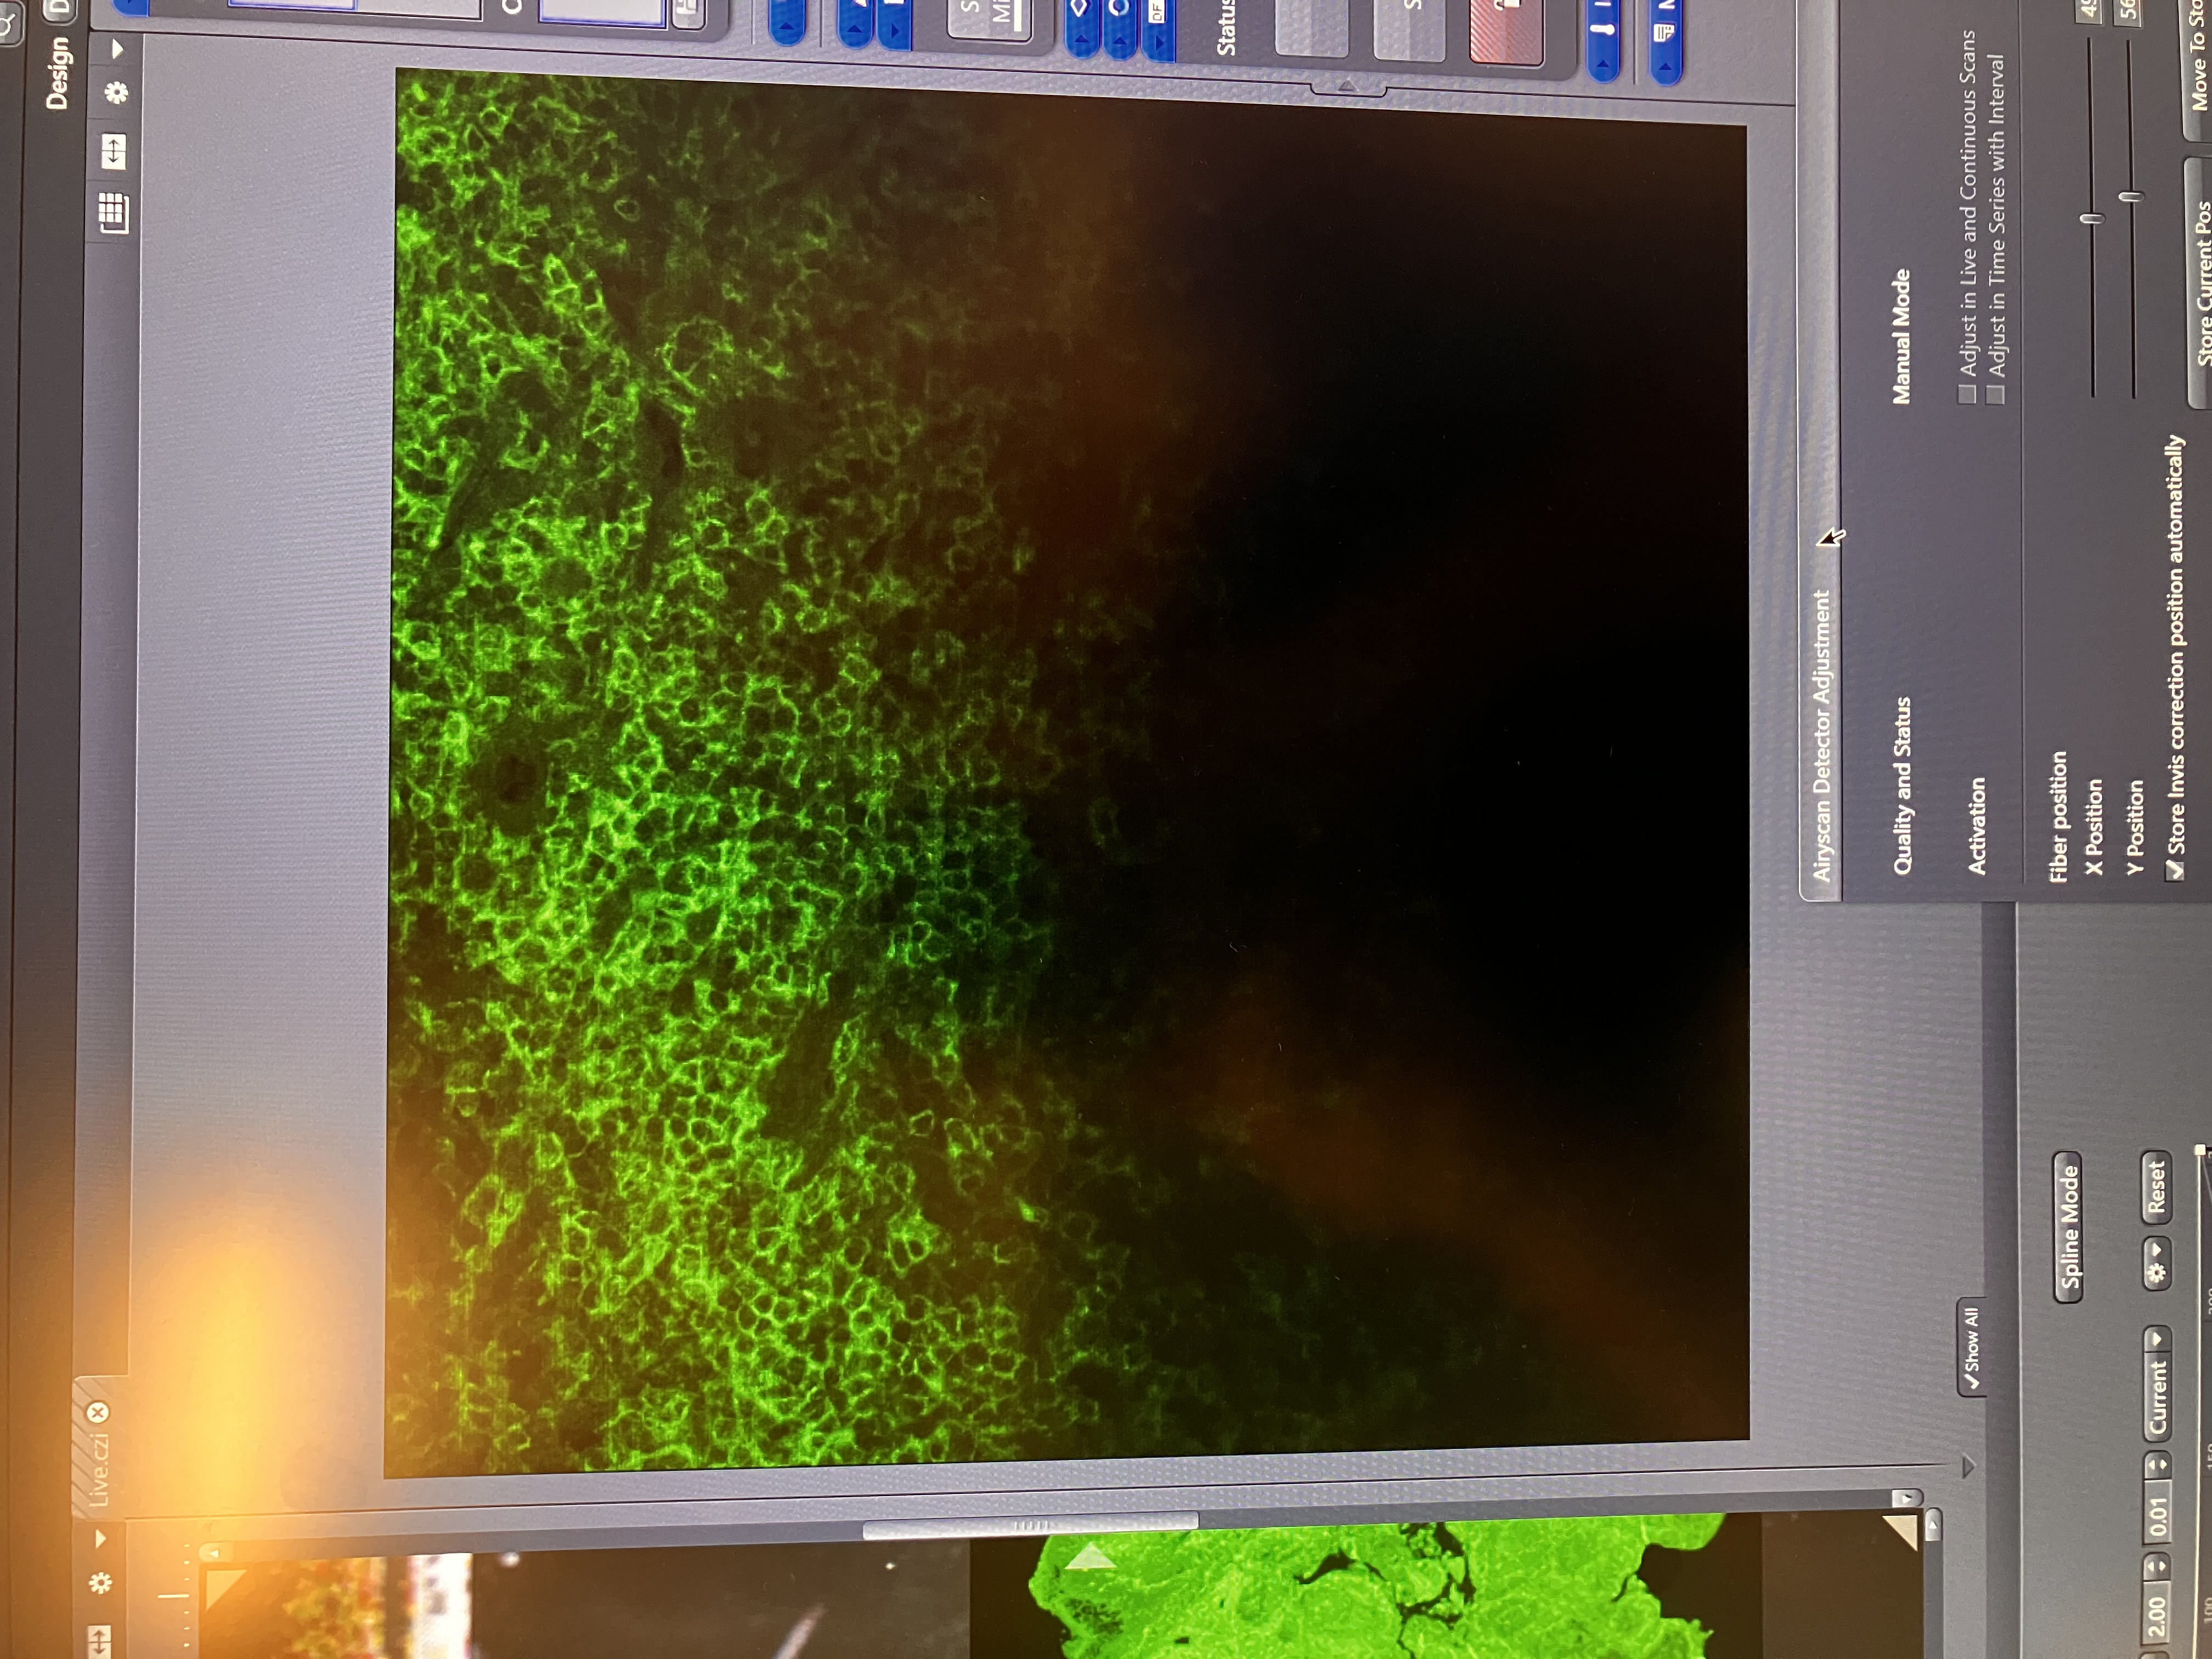
\(3\)) Are you getting any signal on the histogram?
If you have some signal on the histogram but are not seeing anything
live, make sure your sample is focused and try increasing the exposure
and/or gain. Once you have enough signal to calibrate you can align the
Airyscanscan, which should also increase the amount of signal. Don’t
forget to adjust the gain and exposure again after calibrating the
Airyscanscan in order to avoid
over-saturation.
\(4\)) Did you select the correct laser track?
If you are using the microscope in Confocal Mode, it is possible that
you do not have the correct channel checked. Make sure that there is a
check in the box next to the channel you want, and that you have clicked
on that channel. It is also important to verify that you are using the
correct excitation laser for your
fluorophore.
10.2 The Software Crashed :(
Identifying the issue\(\backslash\)potential
solution:
\(1\)) Did you click the Gallery Viewer while a multidimensional scan was
still running?
This crash is due to there being GB of data being acquired fast,
especially with the Multiplex modes, that we’re trying to visualize
unprocessed in a live feed from the Airyscanscan array in gallery view,
while the acquisition is actually ongoing. It may be fine for short
stacks or small times/timelapses, but more likely to happen with larger
files. Zeiss is hopefully working on a fix for this bug. You should
completely restart the computer if this happens (restarting the software
isn’t enough). Please respect the dialogue box from Zeiss, and wait to
restart the computer until it tells you
to.
\(2\)) Did it crash/freeze during Airyscanscan alignment? The best (and
actually most efficient solution) is to be patient and wait. If it has
been five or ten minutes, feel free to
restart.
10.3 My Image is dim or grainy
Potential solution:
First, make sure that your image is focused. A slightly out of focus
image will appear dimmer. Next, ensure that the Airyscanscan detector is
properly aligned for each channel. A properly aligned Airyscan detector
will transmit more signal. Next, examine the histogram below the live
view. For optimized settings, your signal should be in the first 50% of
the histogram. If it is above this and your image is grainy, you can
lower the master gain so that your signal falls at the 50% mark on the
histogram. If your signal is below 50%, try increasing the exposure
and/or gain until the optimum signal is
reached.
10.4 I have a fluor that is not in the dropdown list
Potential solution:
If you are using Confocal Mode the solution is simple: select a
detecting range that matches the excitation/emission of your fluor.
Because Airyscanscan spans a spectrum, you cannot match the fluor
exactly. However, you can use bandpass, as well as short-and-long-pass,
filters to approximately meet your excitation/emission spectrum.
10.5 My scan is taking too long
Identifying the issue\(\backslash\)potential
solution:
\(1\)) Are you using a tile scan?
The easiest way to reduce the time for a tile scan is to confirm on the
AI Sample Finder that you are scanning only the region you need to. See
below for other suggestions that are also applicable to tile
scans.
\(2\)) Are you taking a single image? Resolution and sampling time are a trade
off. If resolution is less important to your experiment, but taking a
quicker scan is more important, then there are a few adjustments that
you can make to decrease the scan time. The following changes will
reduce your scan time: changing the crop area, reducing the frame size,
decreasing the sampling, using line switching (as opposed to frame
switching) and increasing the scan speed. All of the above can be
adjusted in the "Acquisition Mode" tab.
10.6 My stitching looks bad
Potential solution:
Stitching can be adjusted in the "Processing Tab." It is important to
note that other processing, such as joint deconvolution, must be done
prior to adjusting the stitching. While the auto-filled settings usually
work well for stitching, de-selecting edge detect, and generally
adjusting different settings can help if the initial stitching is not
ideal. A good indication that you have successfully stitched your tile
scan is that there will be very little to no black border around the
edge of your image.