Chapter 5 Multiple Image Acquisition
The following outline of steps should help any user with tasks that involve acquiring multiple images (i.e. images at different XY locations of your sample). These tasks include imaging specific positions, imaging position arrays, and tiling. Z-stacks are technically collections of multiple images, but this is a topic that will be covered in the dedicated Z-Stacks section.
5.1 Imaging Specific Positions
5.1.1 Save the Positions
Open the navigation tab:
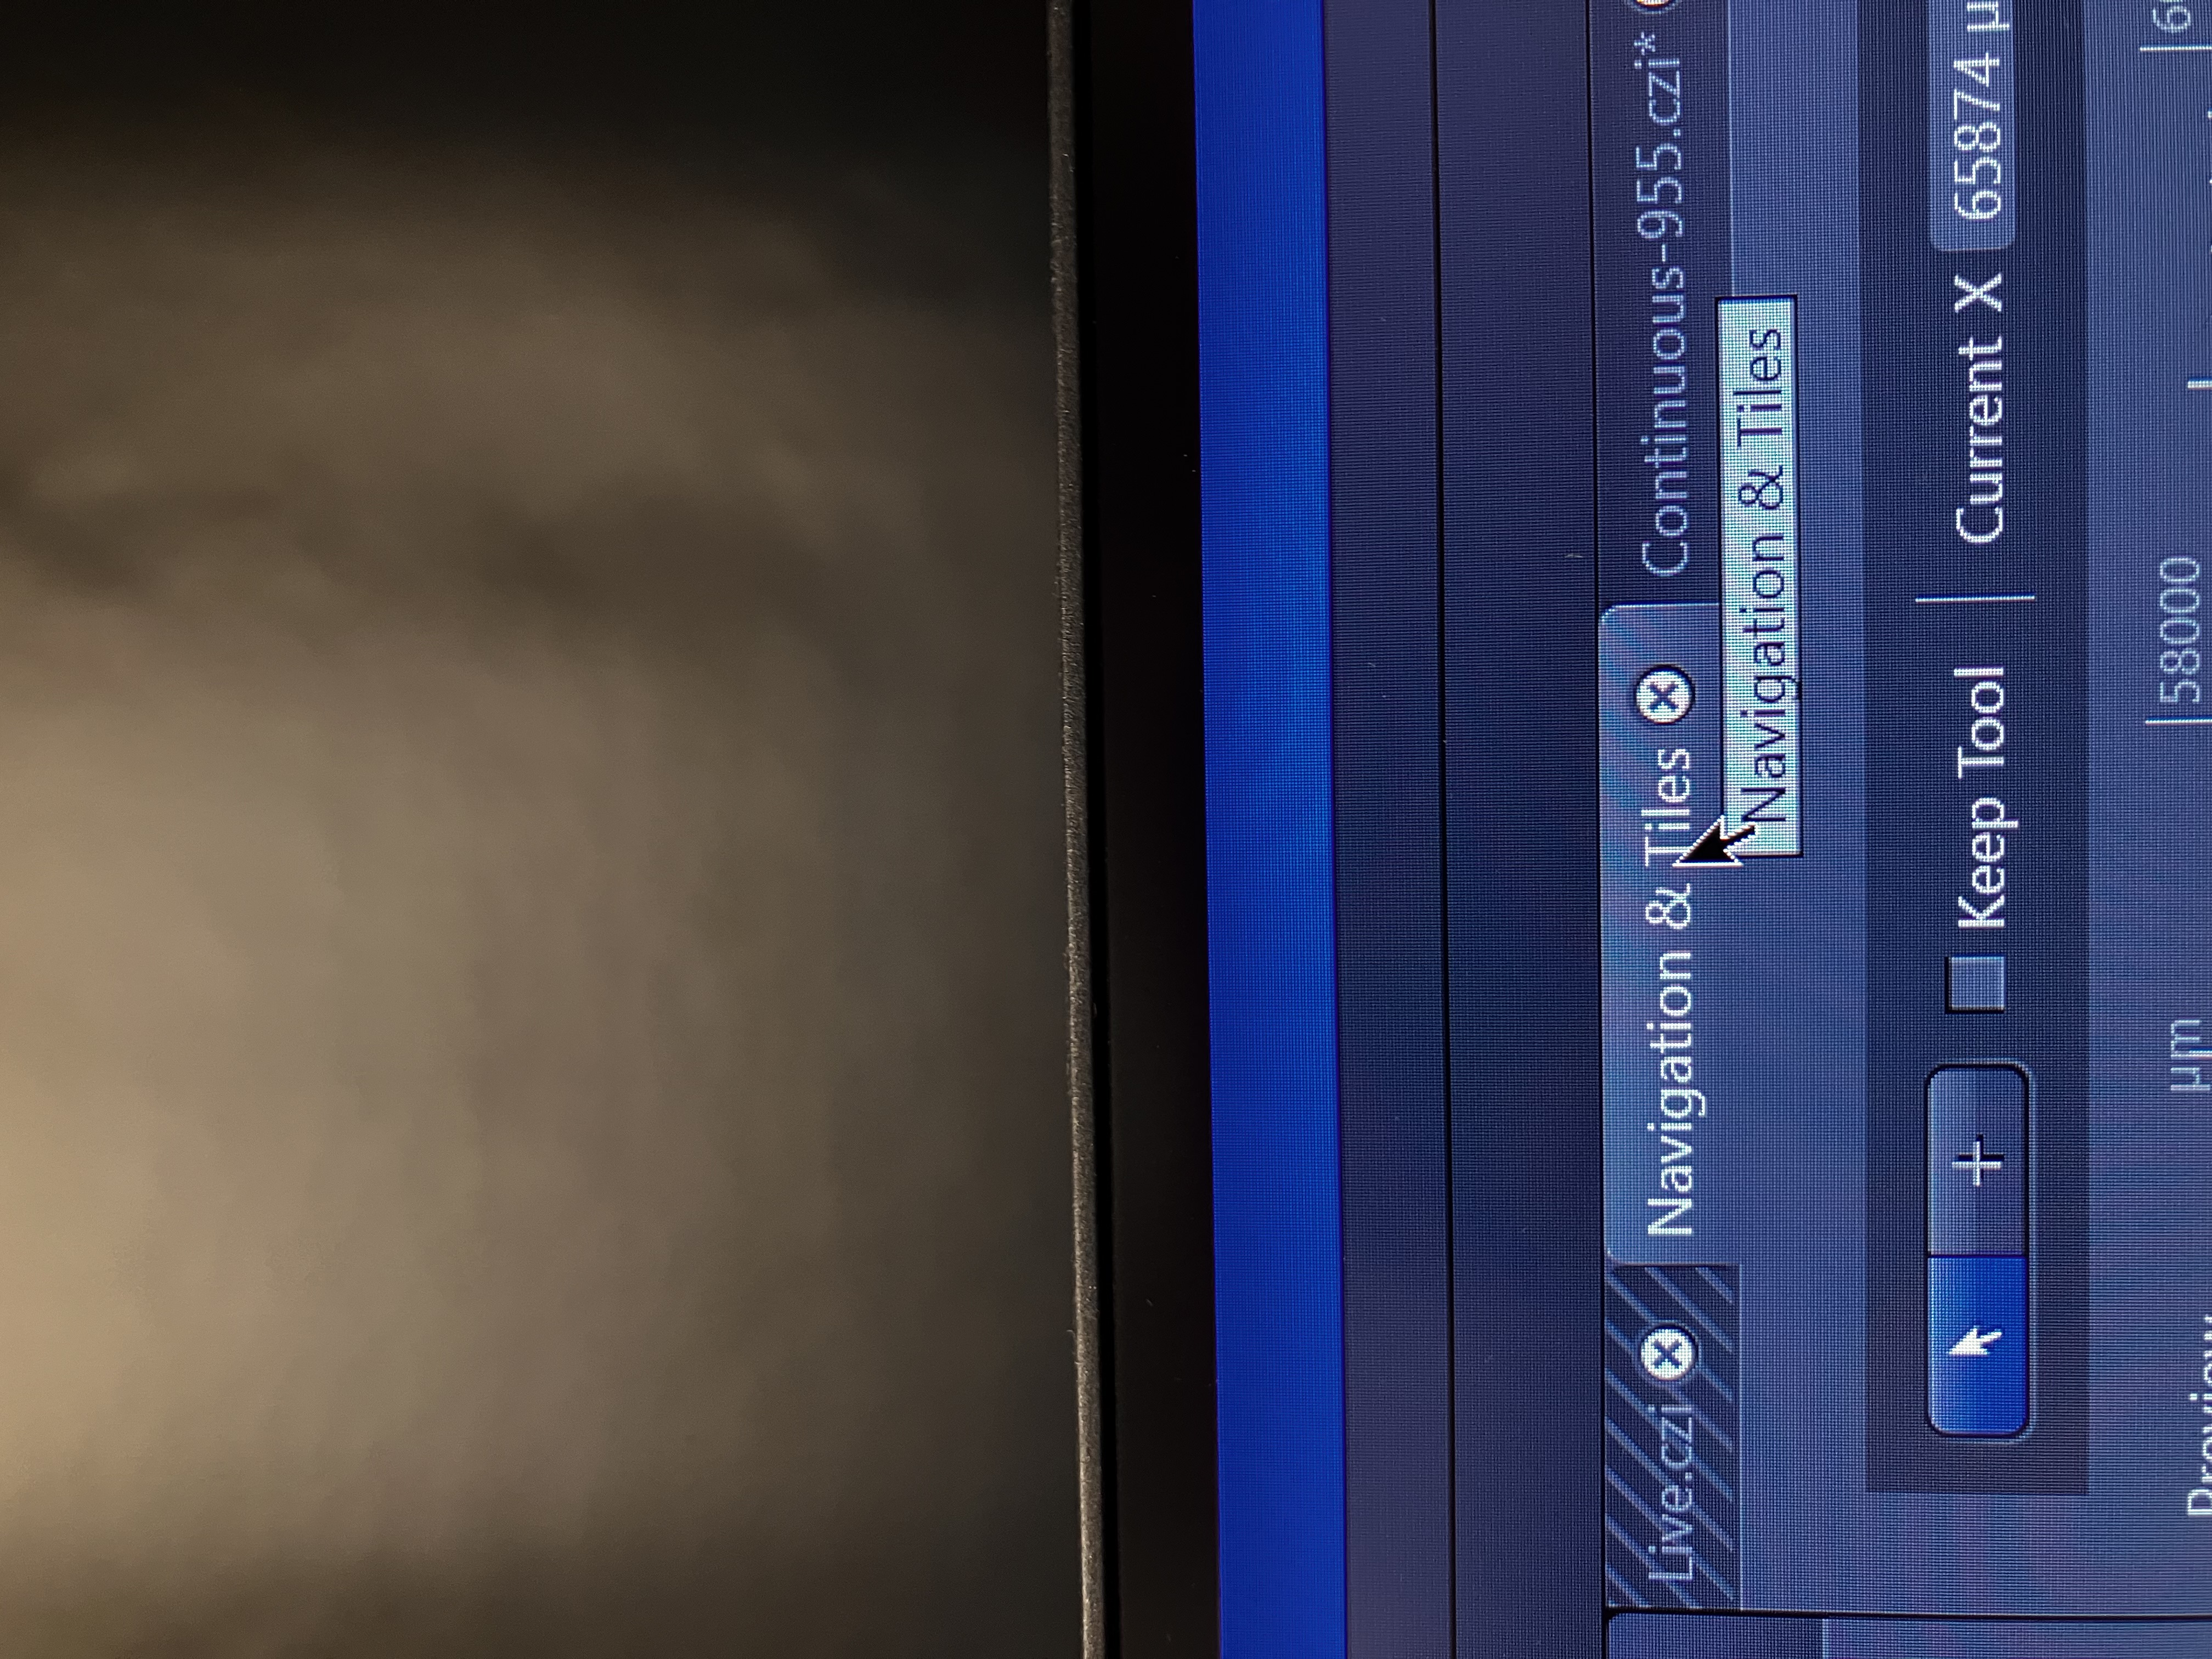
Double click on a position on the screen or use the joystick to navigate to a position that you want to image.
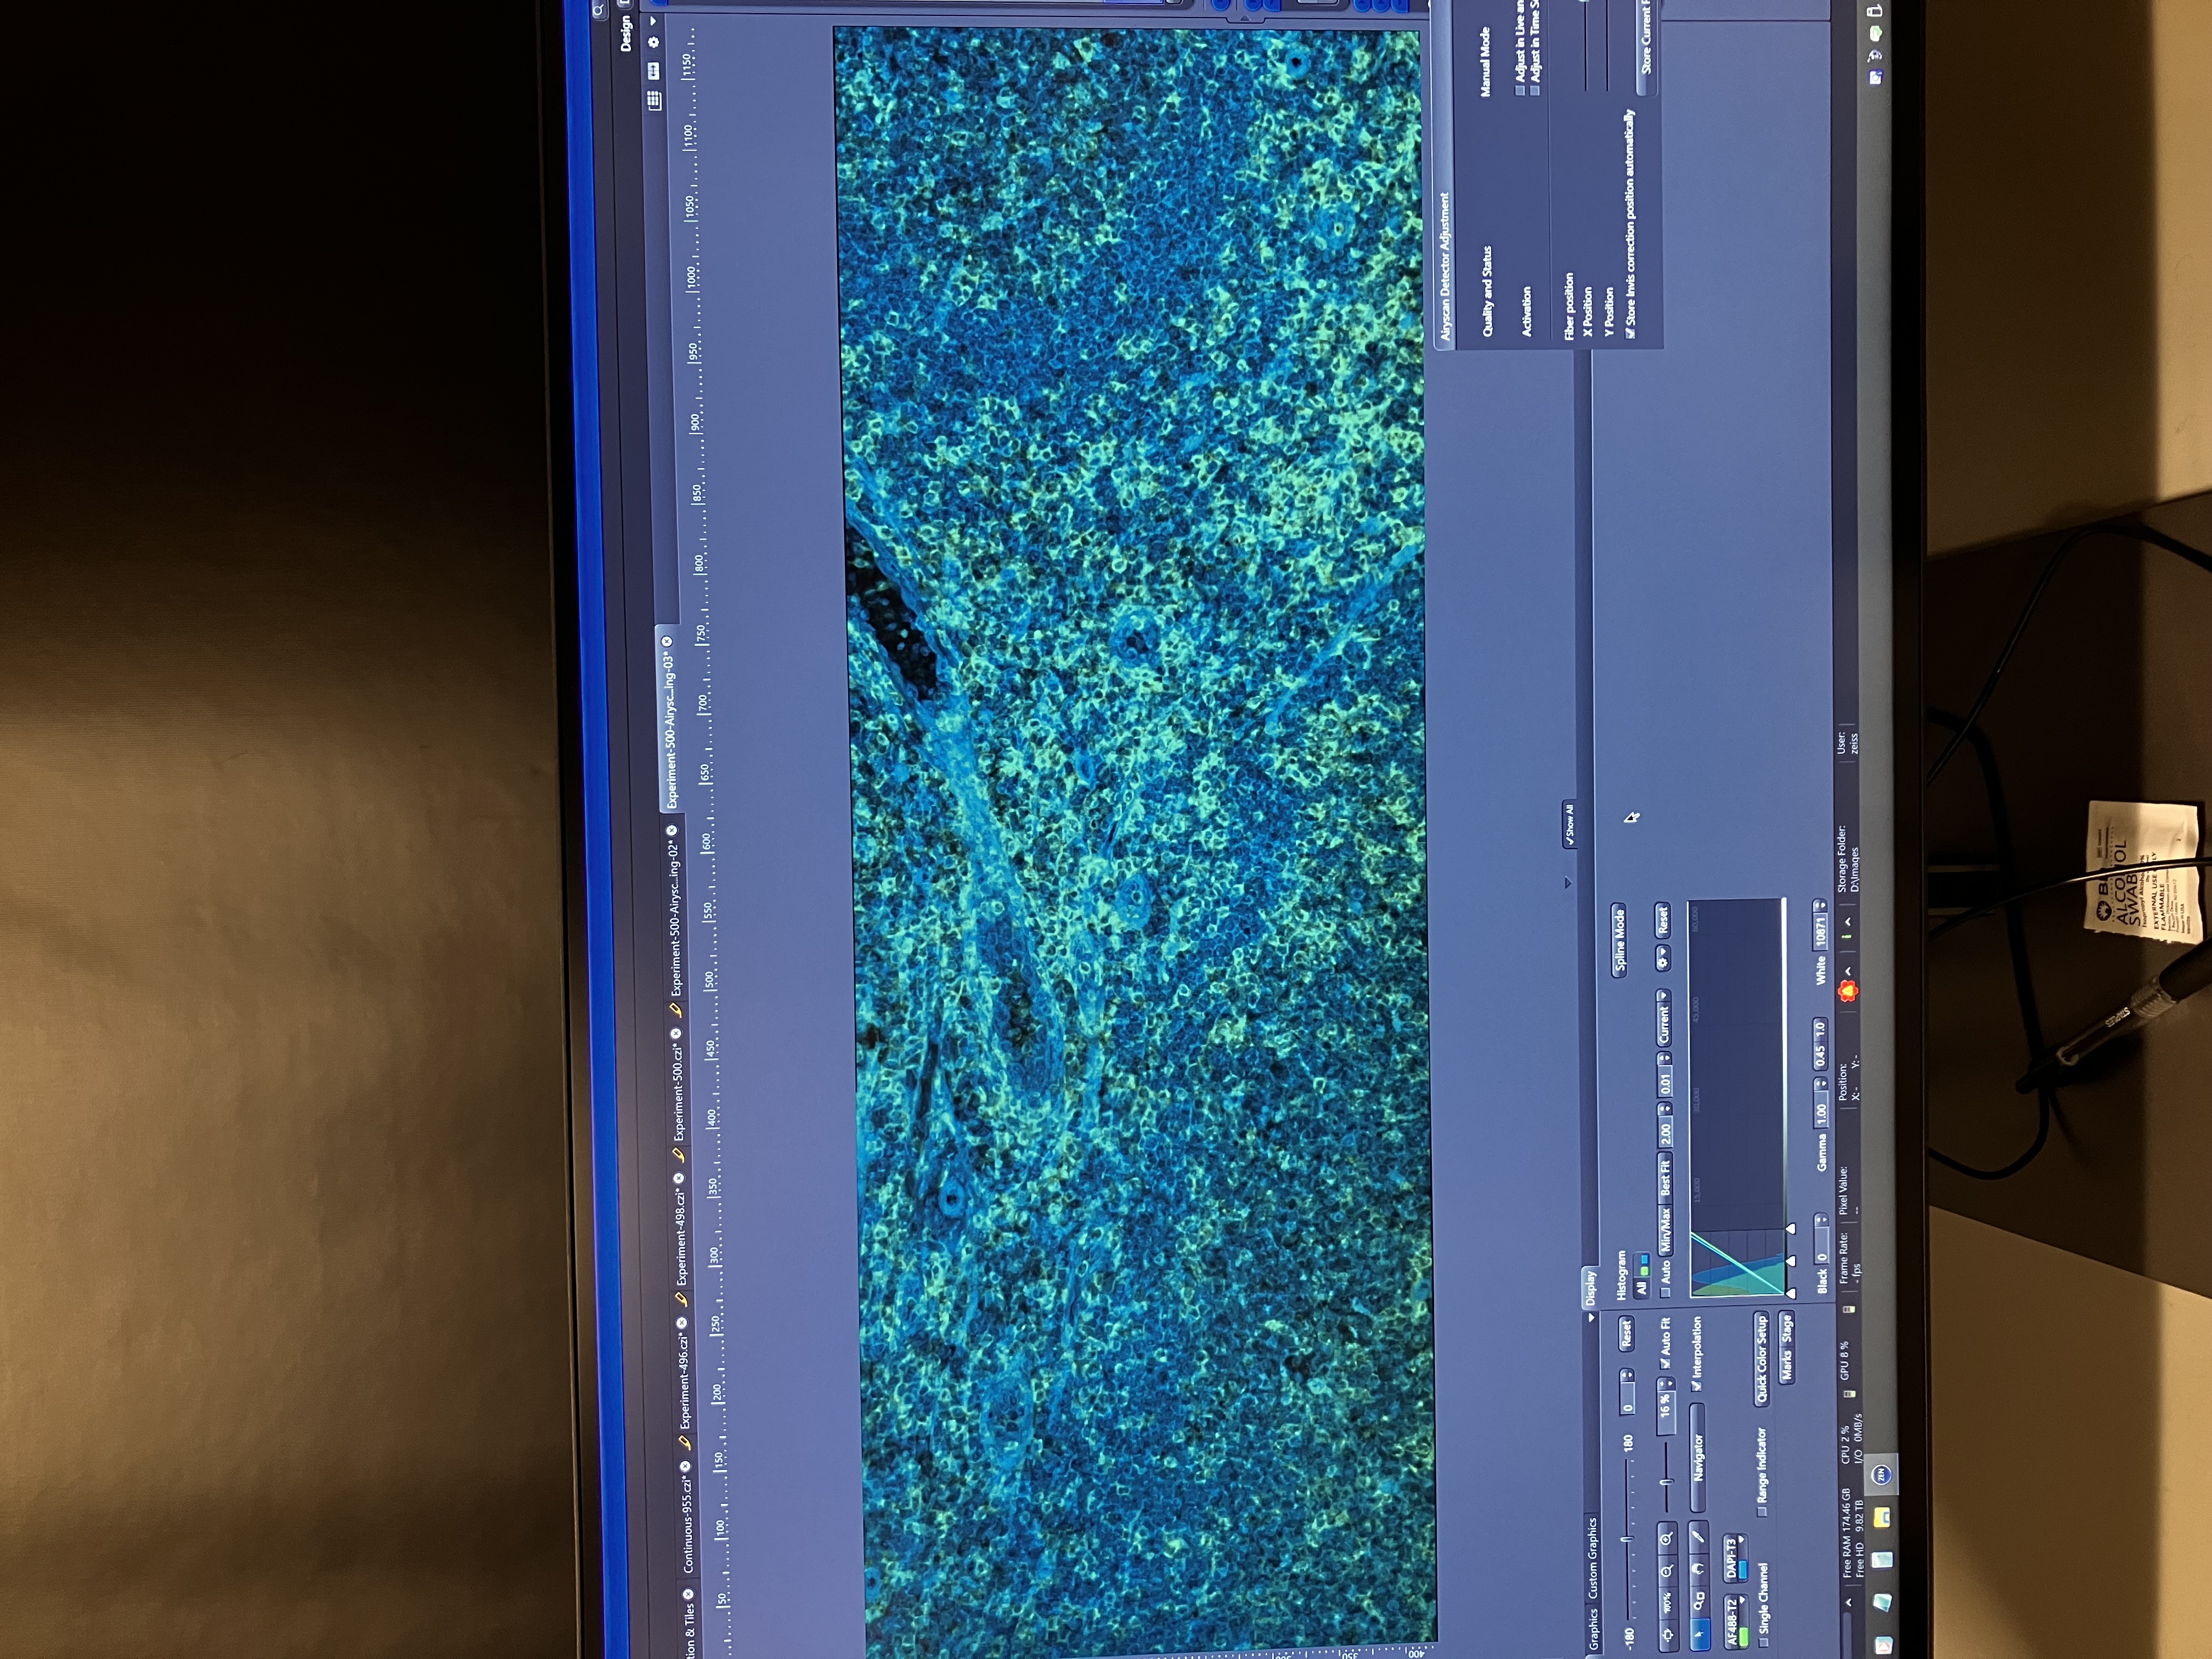
Get in focus, using the find surface button and/or the fine focus knob, after turning on “Live” and adjusting your view settings as described in the Single Image Acquisition section:
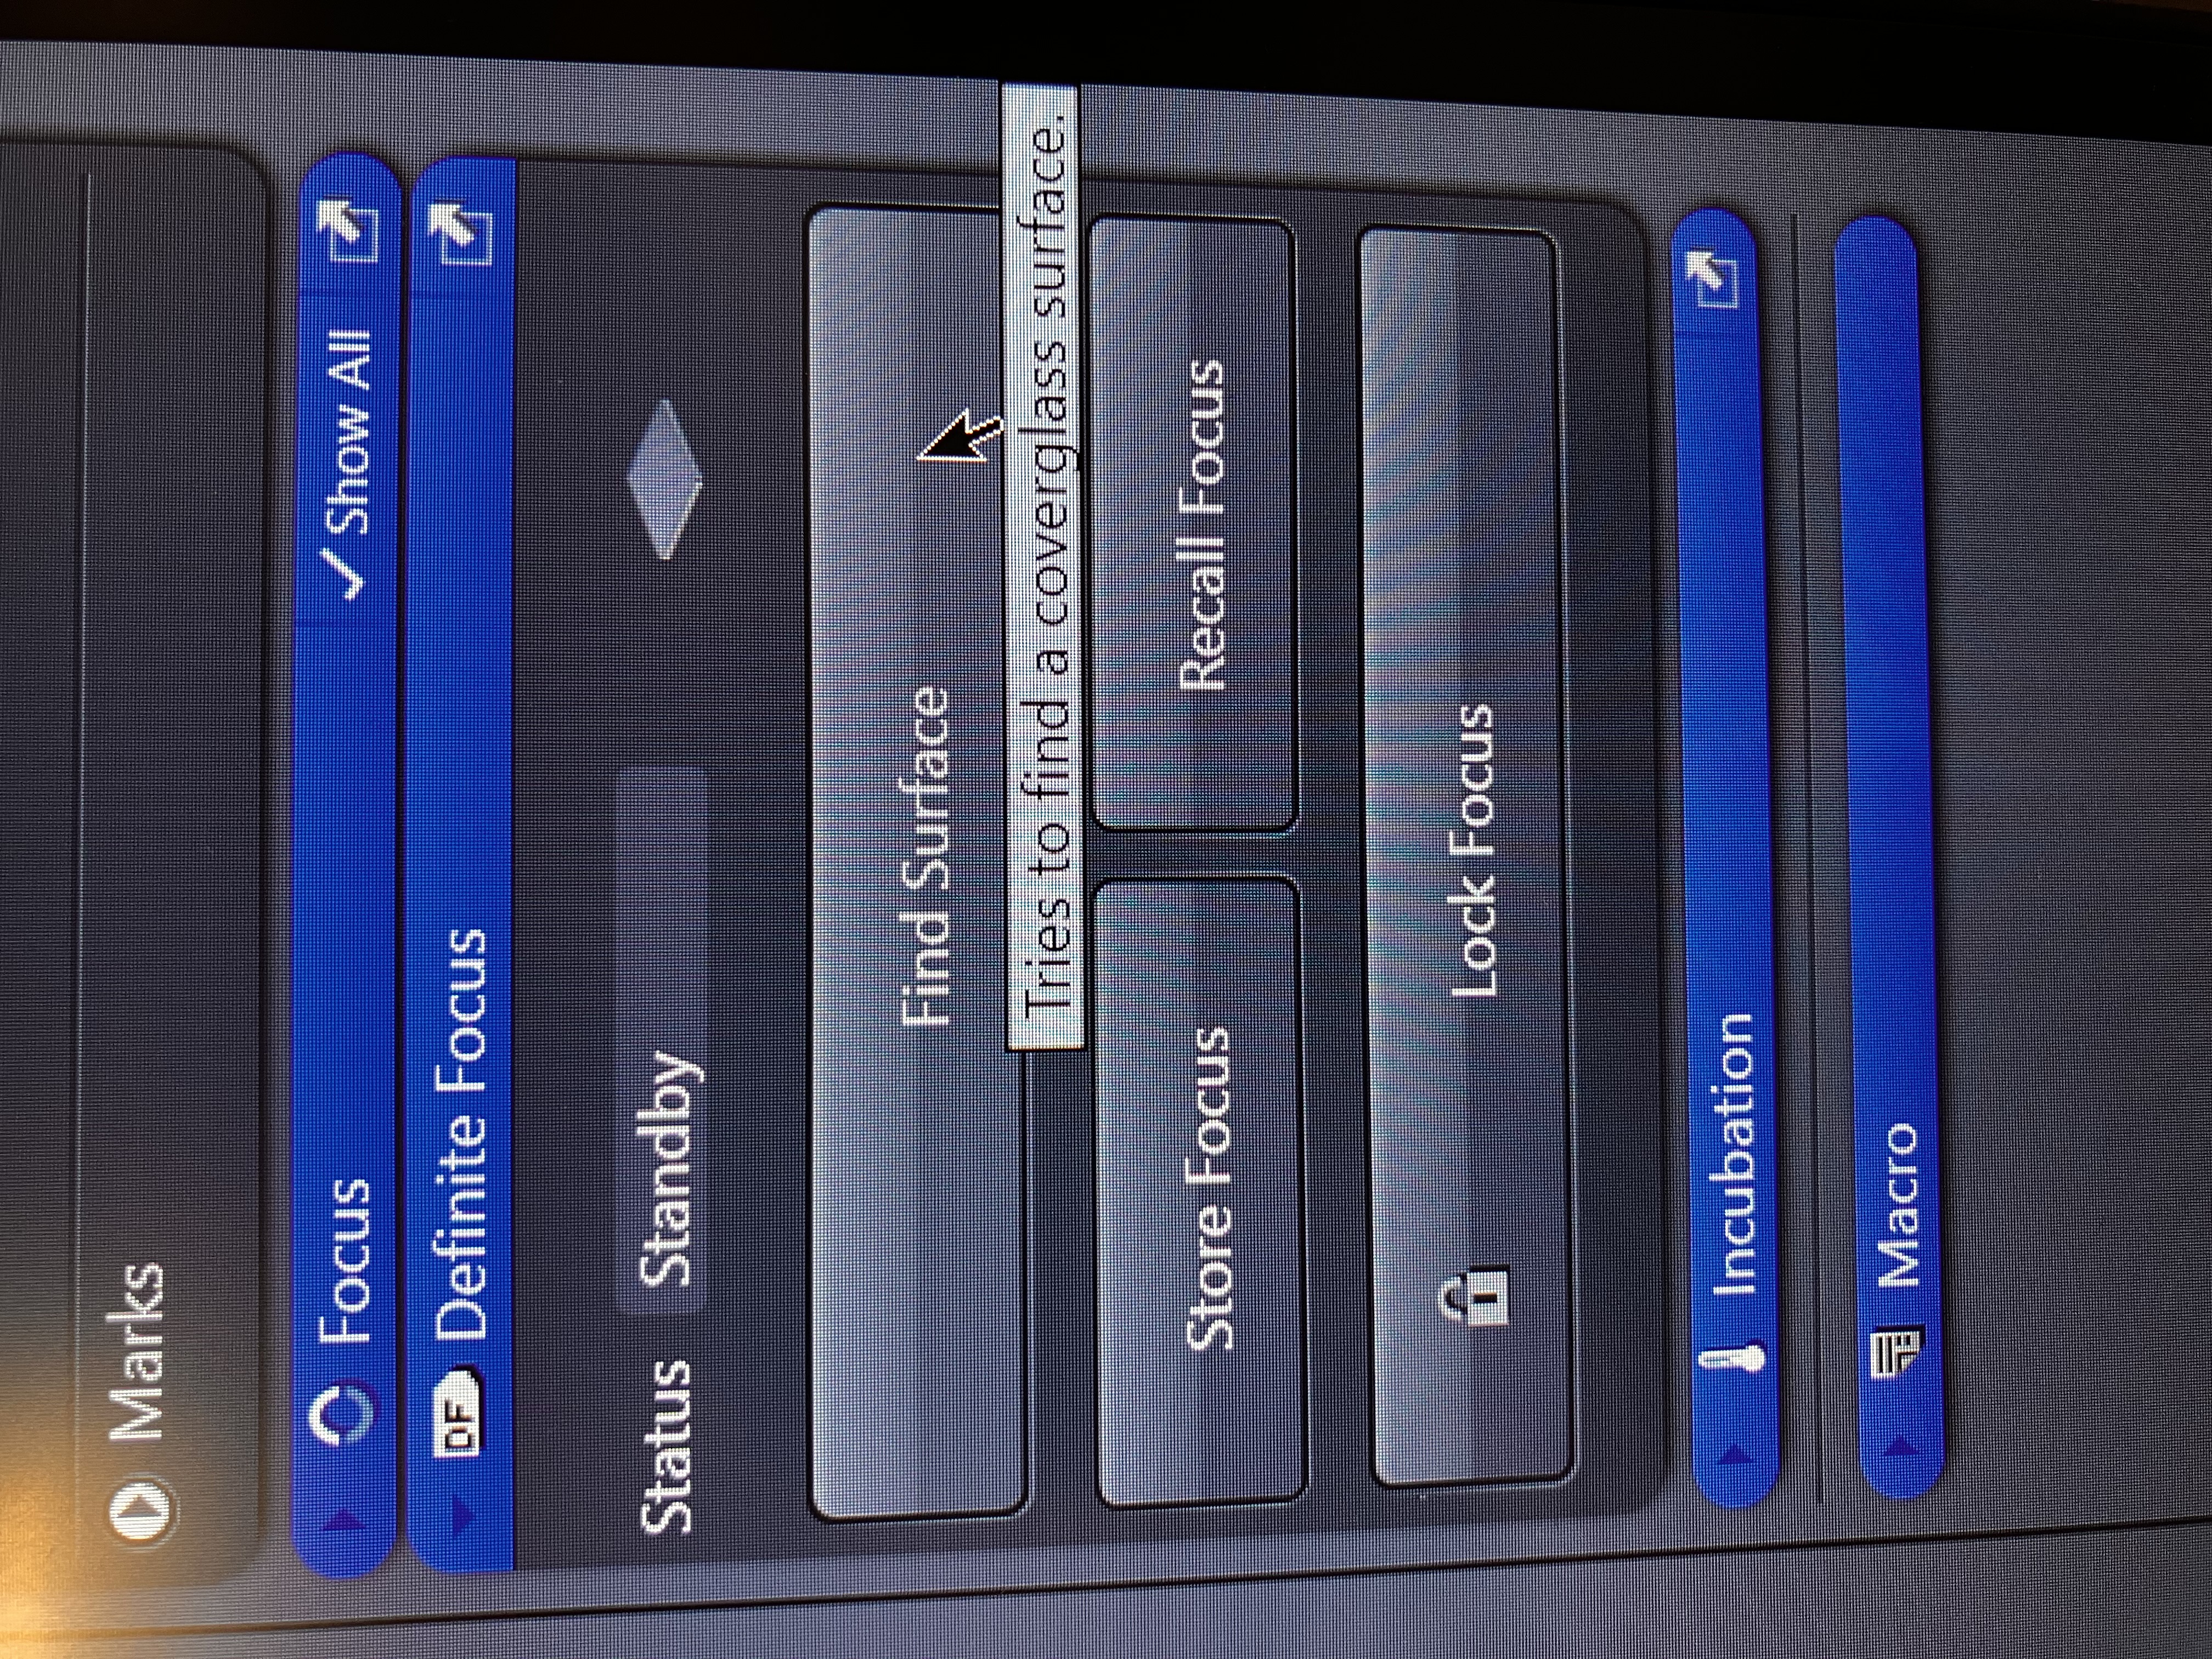
Note that you may want to adjust the view settings based on looking at a few regions of your sample so as not to bias your imaging parameters to one single field of view.
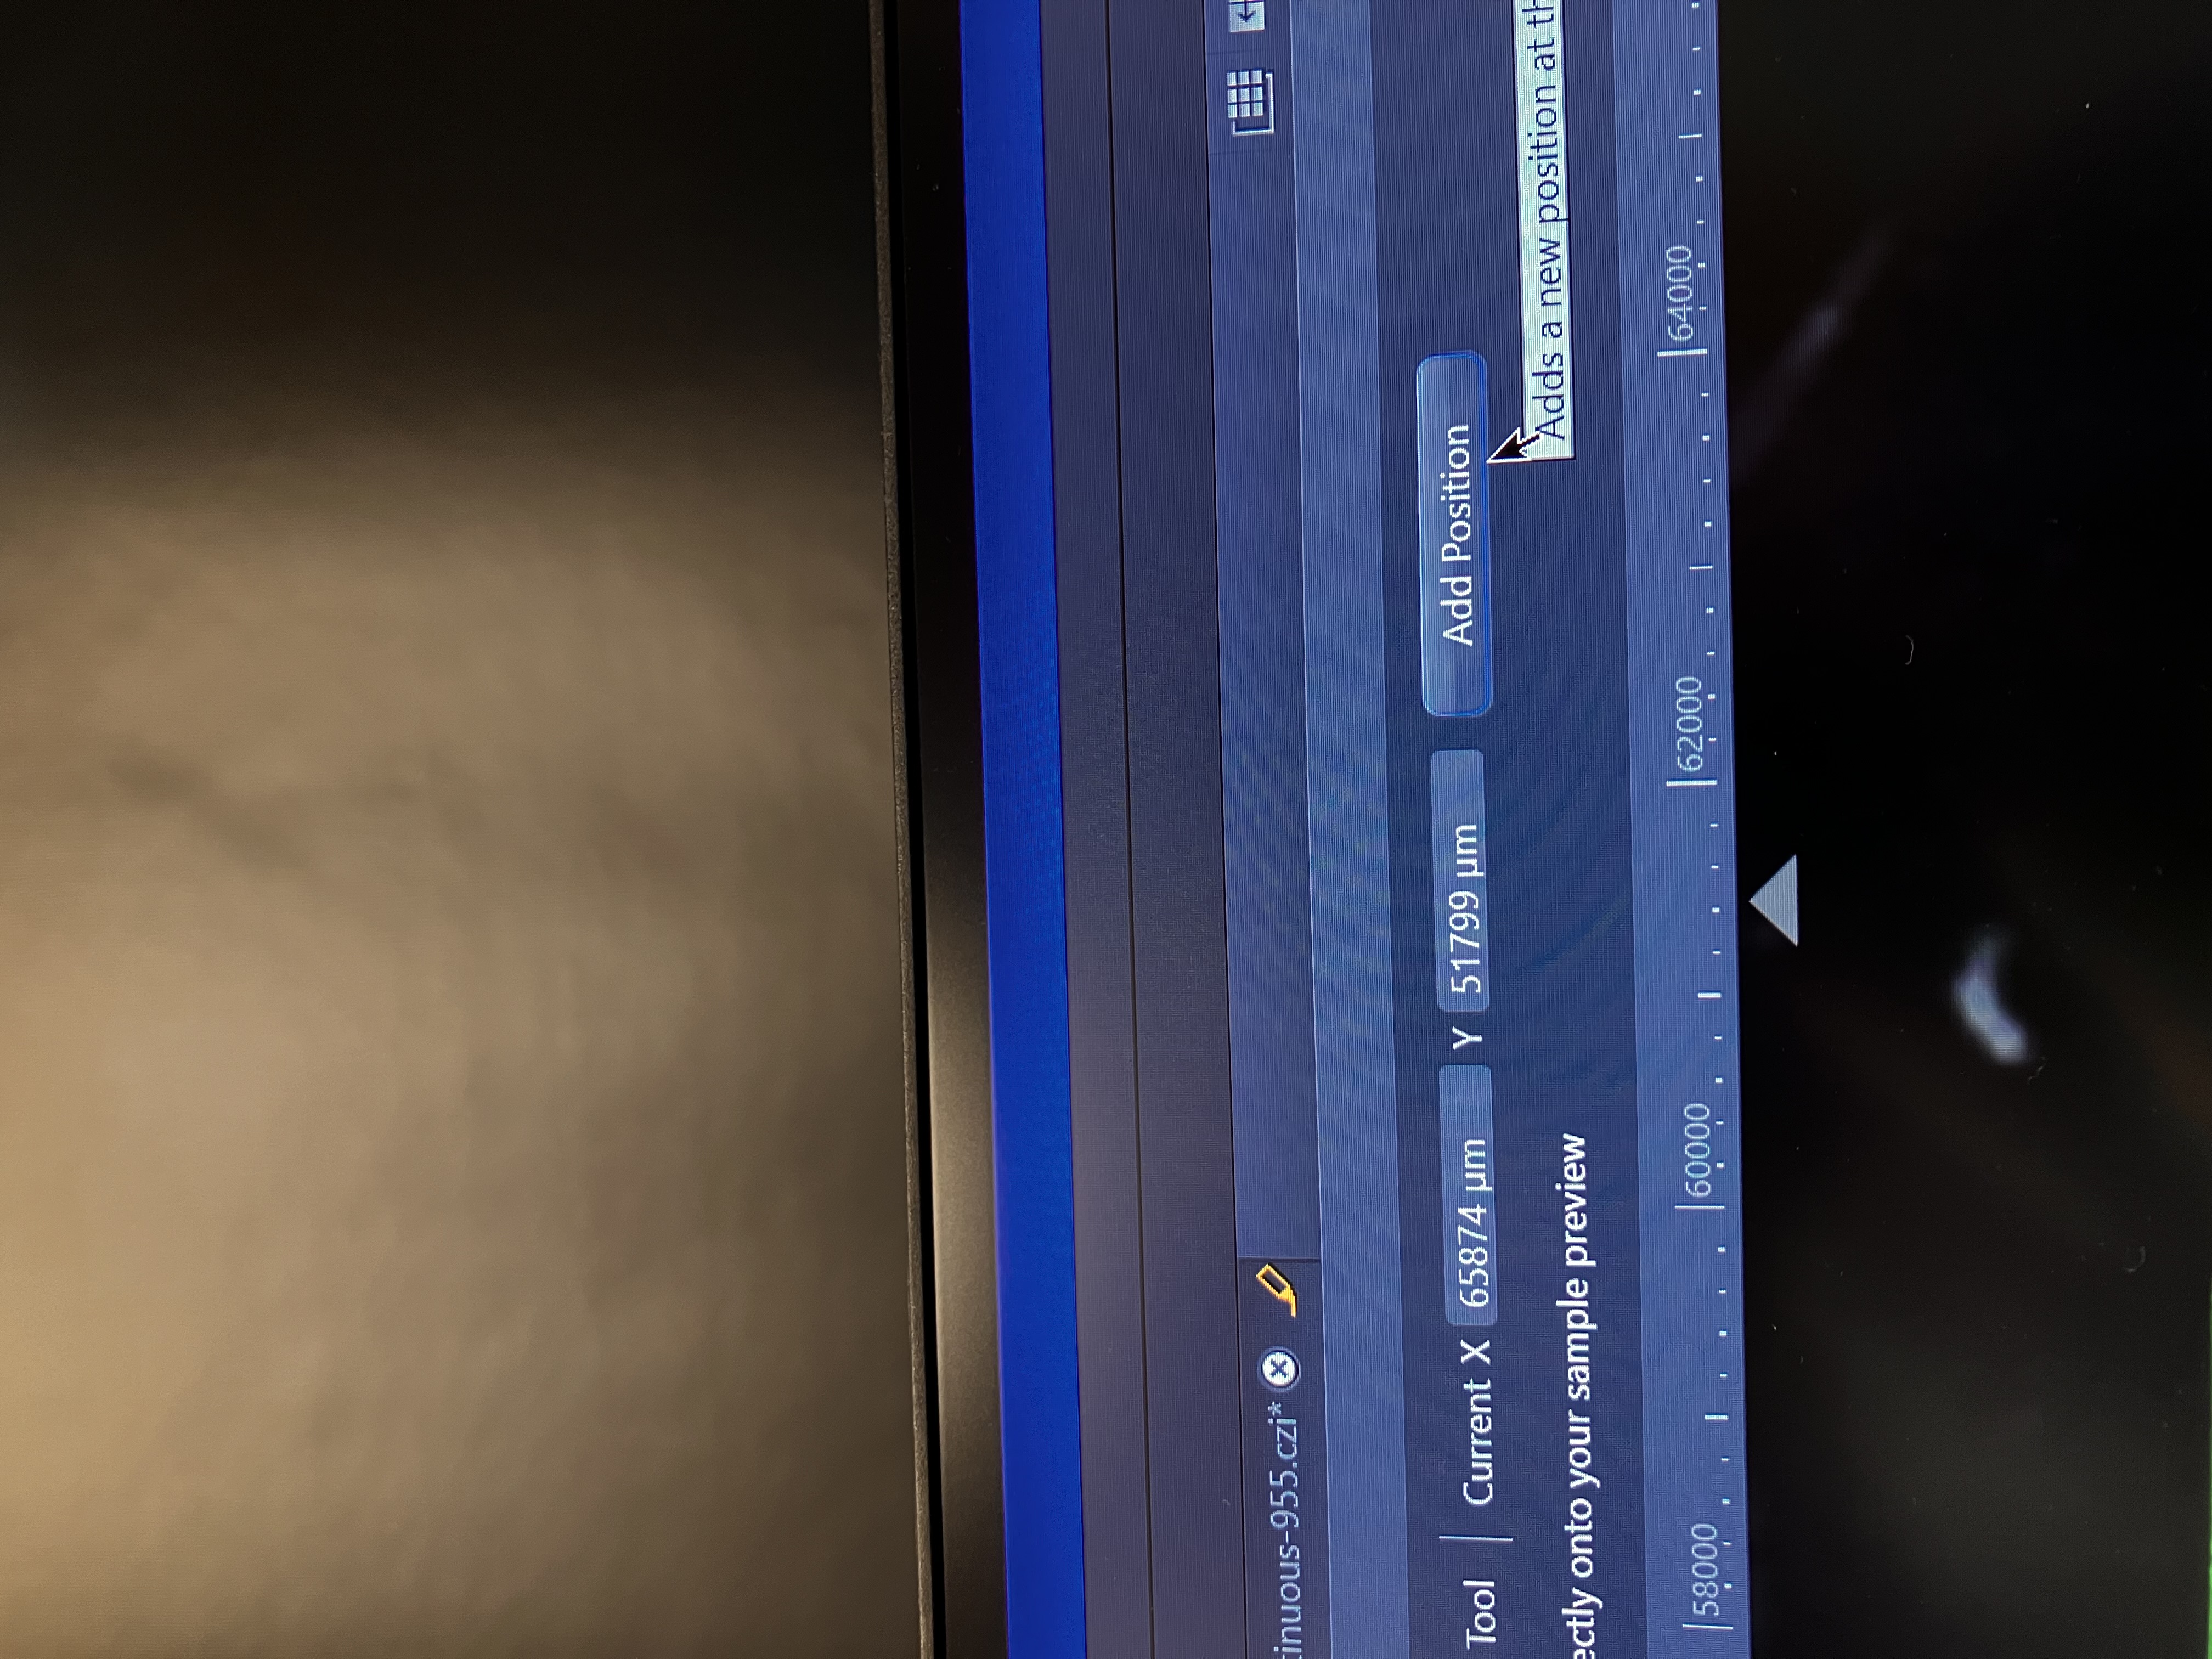
Click this button within the navigation tab:
Record the position by click this button:
Lock the definite focus tool, by clicking “Lock Focus” under where you clicked “Find Surface.”
Move to your next position of interest. The definite focus tool will help you stay relatively in focus.
Once you get to a position that you want to add, add the position as you did before. If you suspect that definite focus is not working, just turn it off, adjust the fine focus knob to get in the best focus possible, record the position, then turn on definite focus again and move on to the next position of interest.
Repeat this process until you have recorded all positions of interest.
5.1.2 Ensure Only These Positions Will Be Imaged
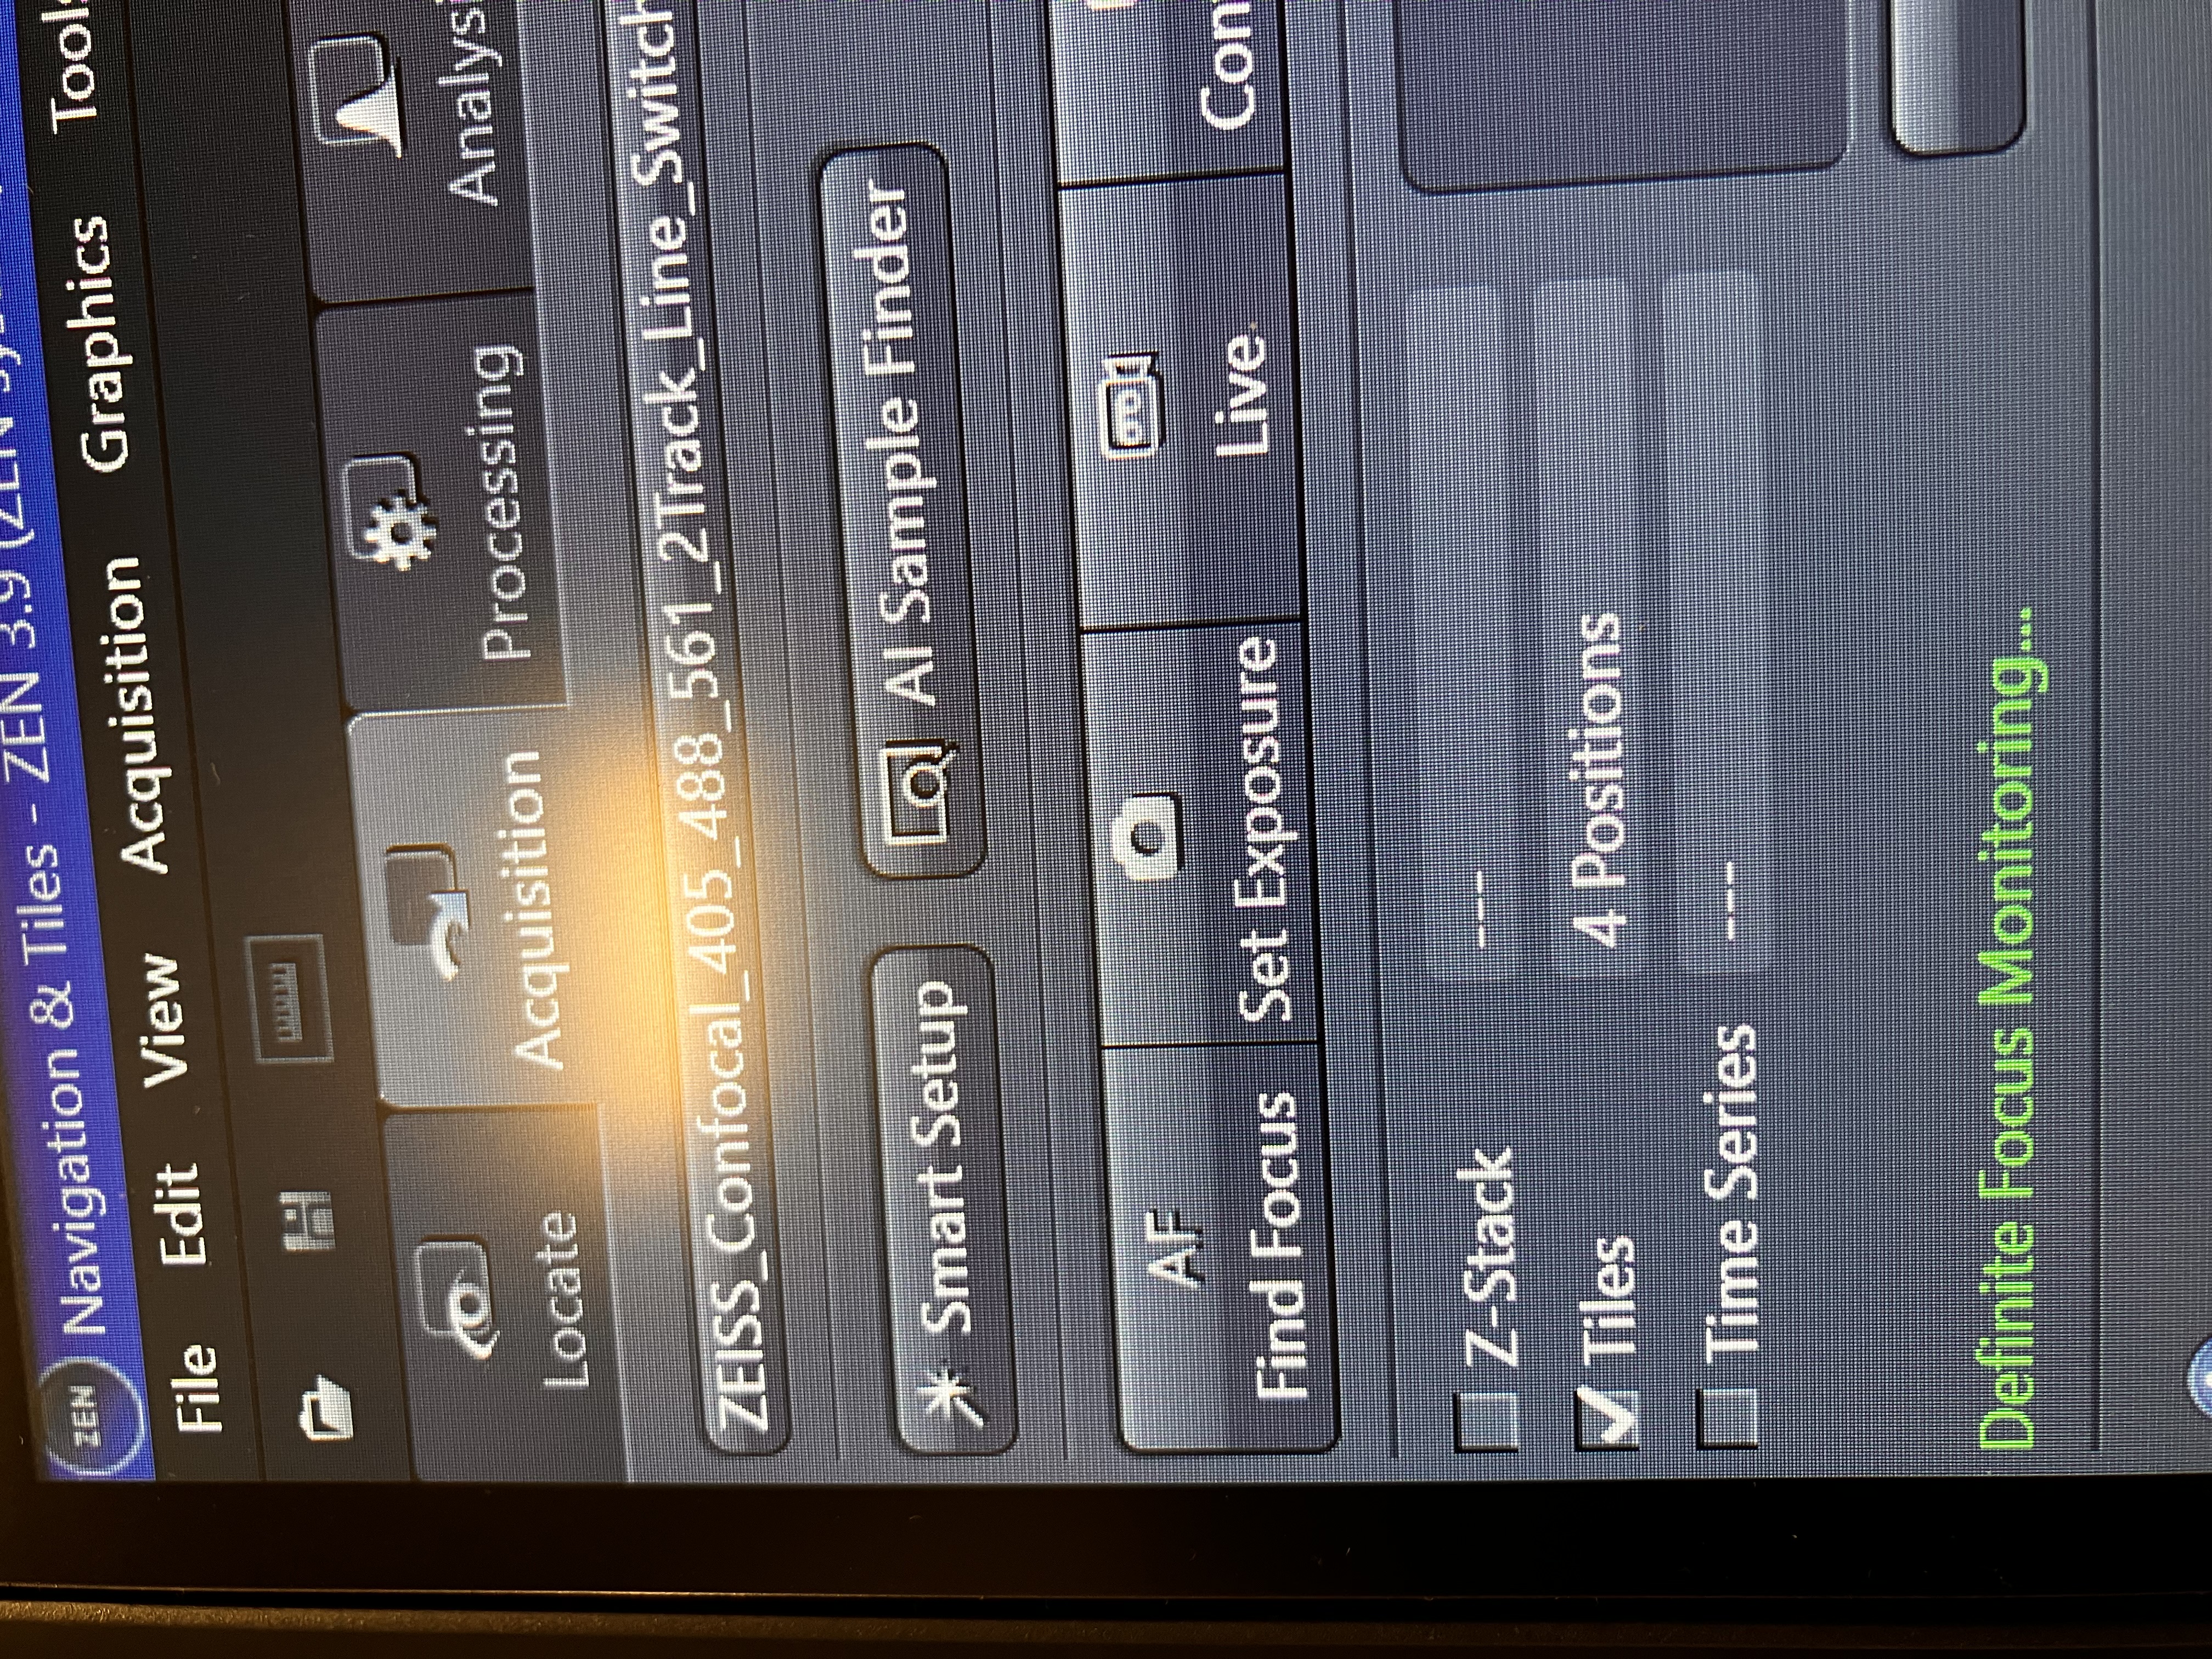
Scroll down to the “Tiles” tab and uncheck the box that corresponds to the tiles for the entire sample. Usually, this will be called “TR1” and will be comprised of a large amount of tiles:
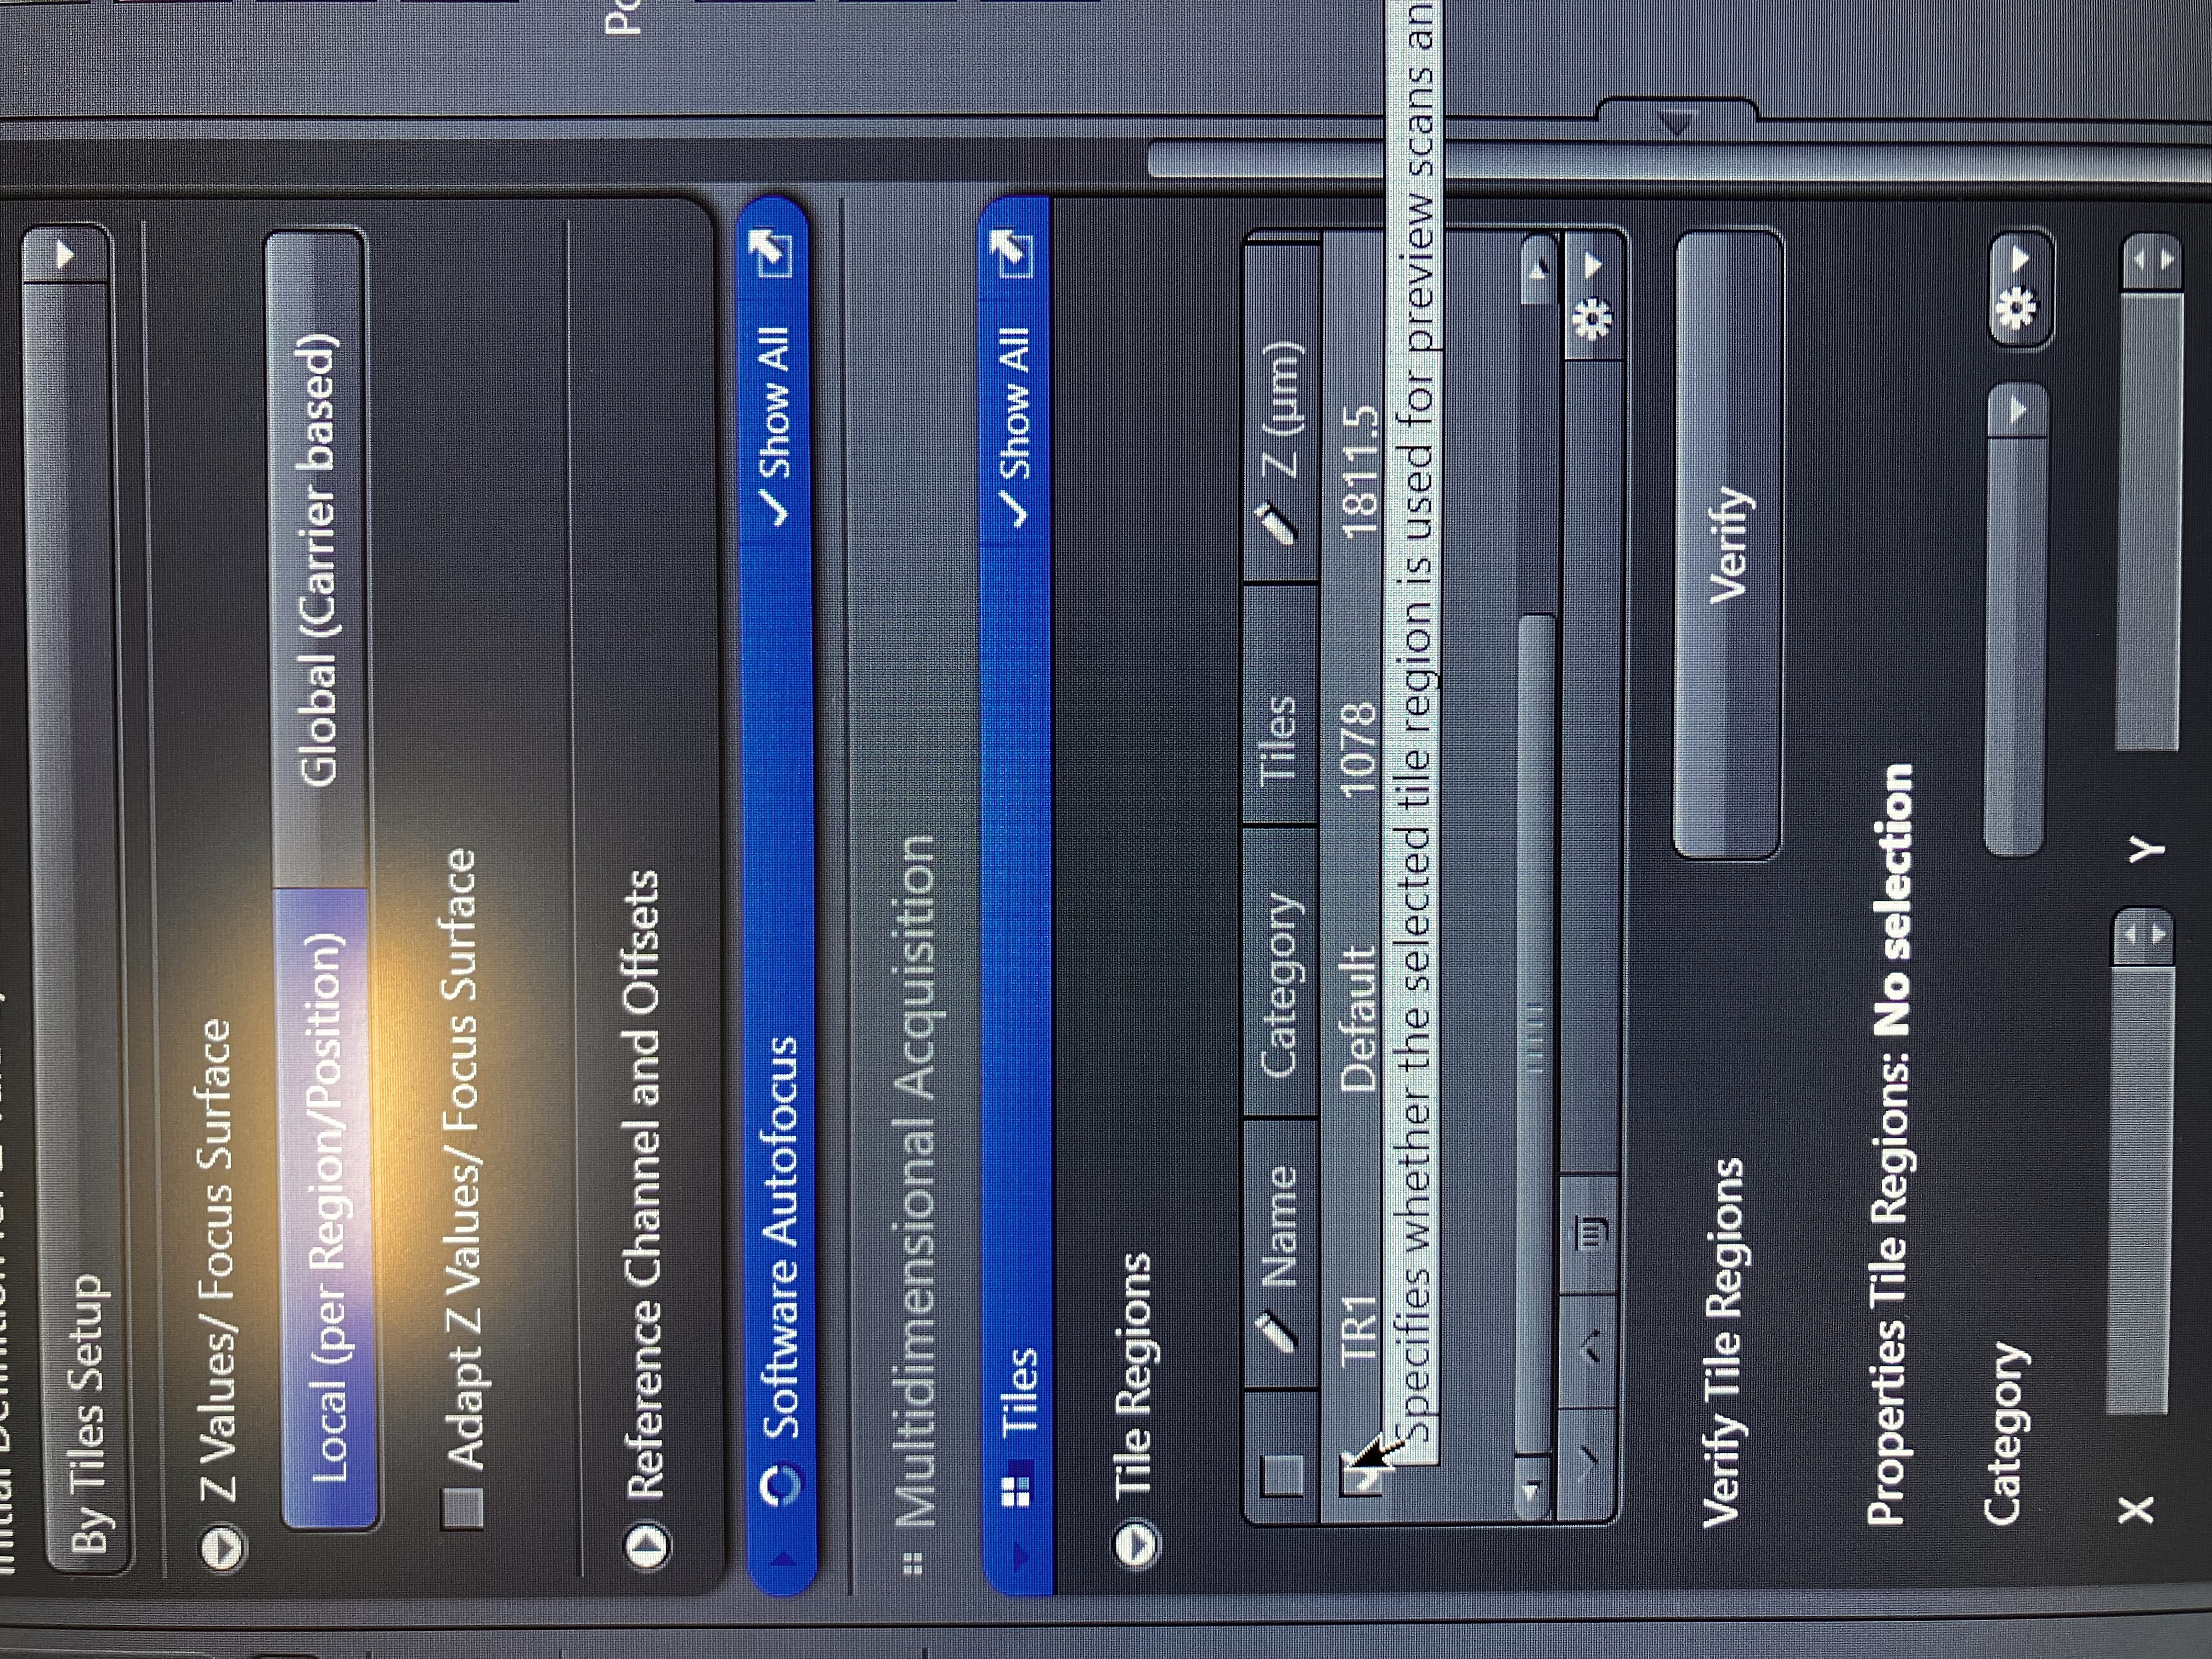
If the box is checked, the system will attempt to image every tile for the entire sample.Also, check for z-stacks and/or time series and uncheck them if you do not want them to be recorded:
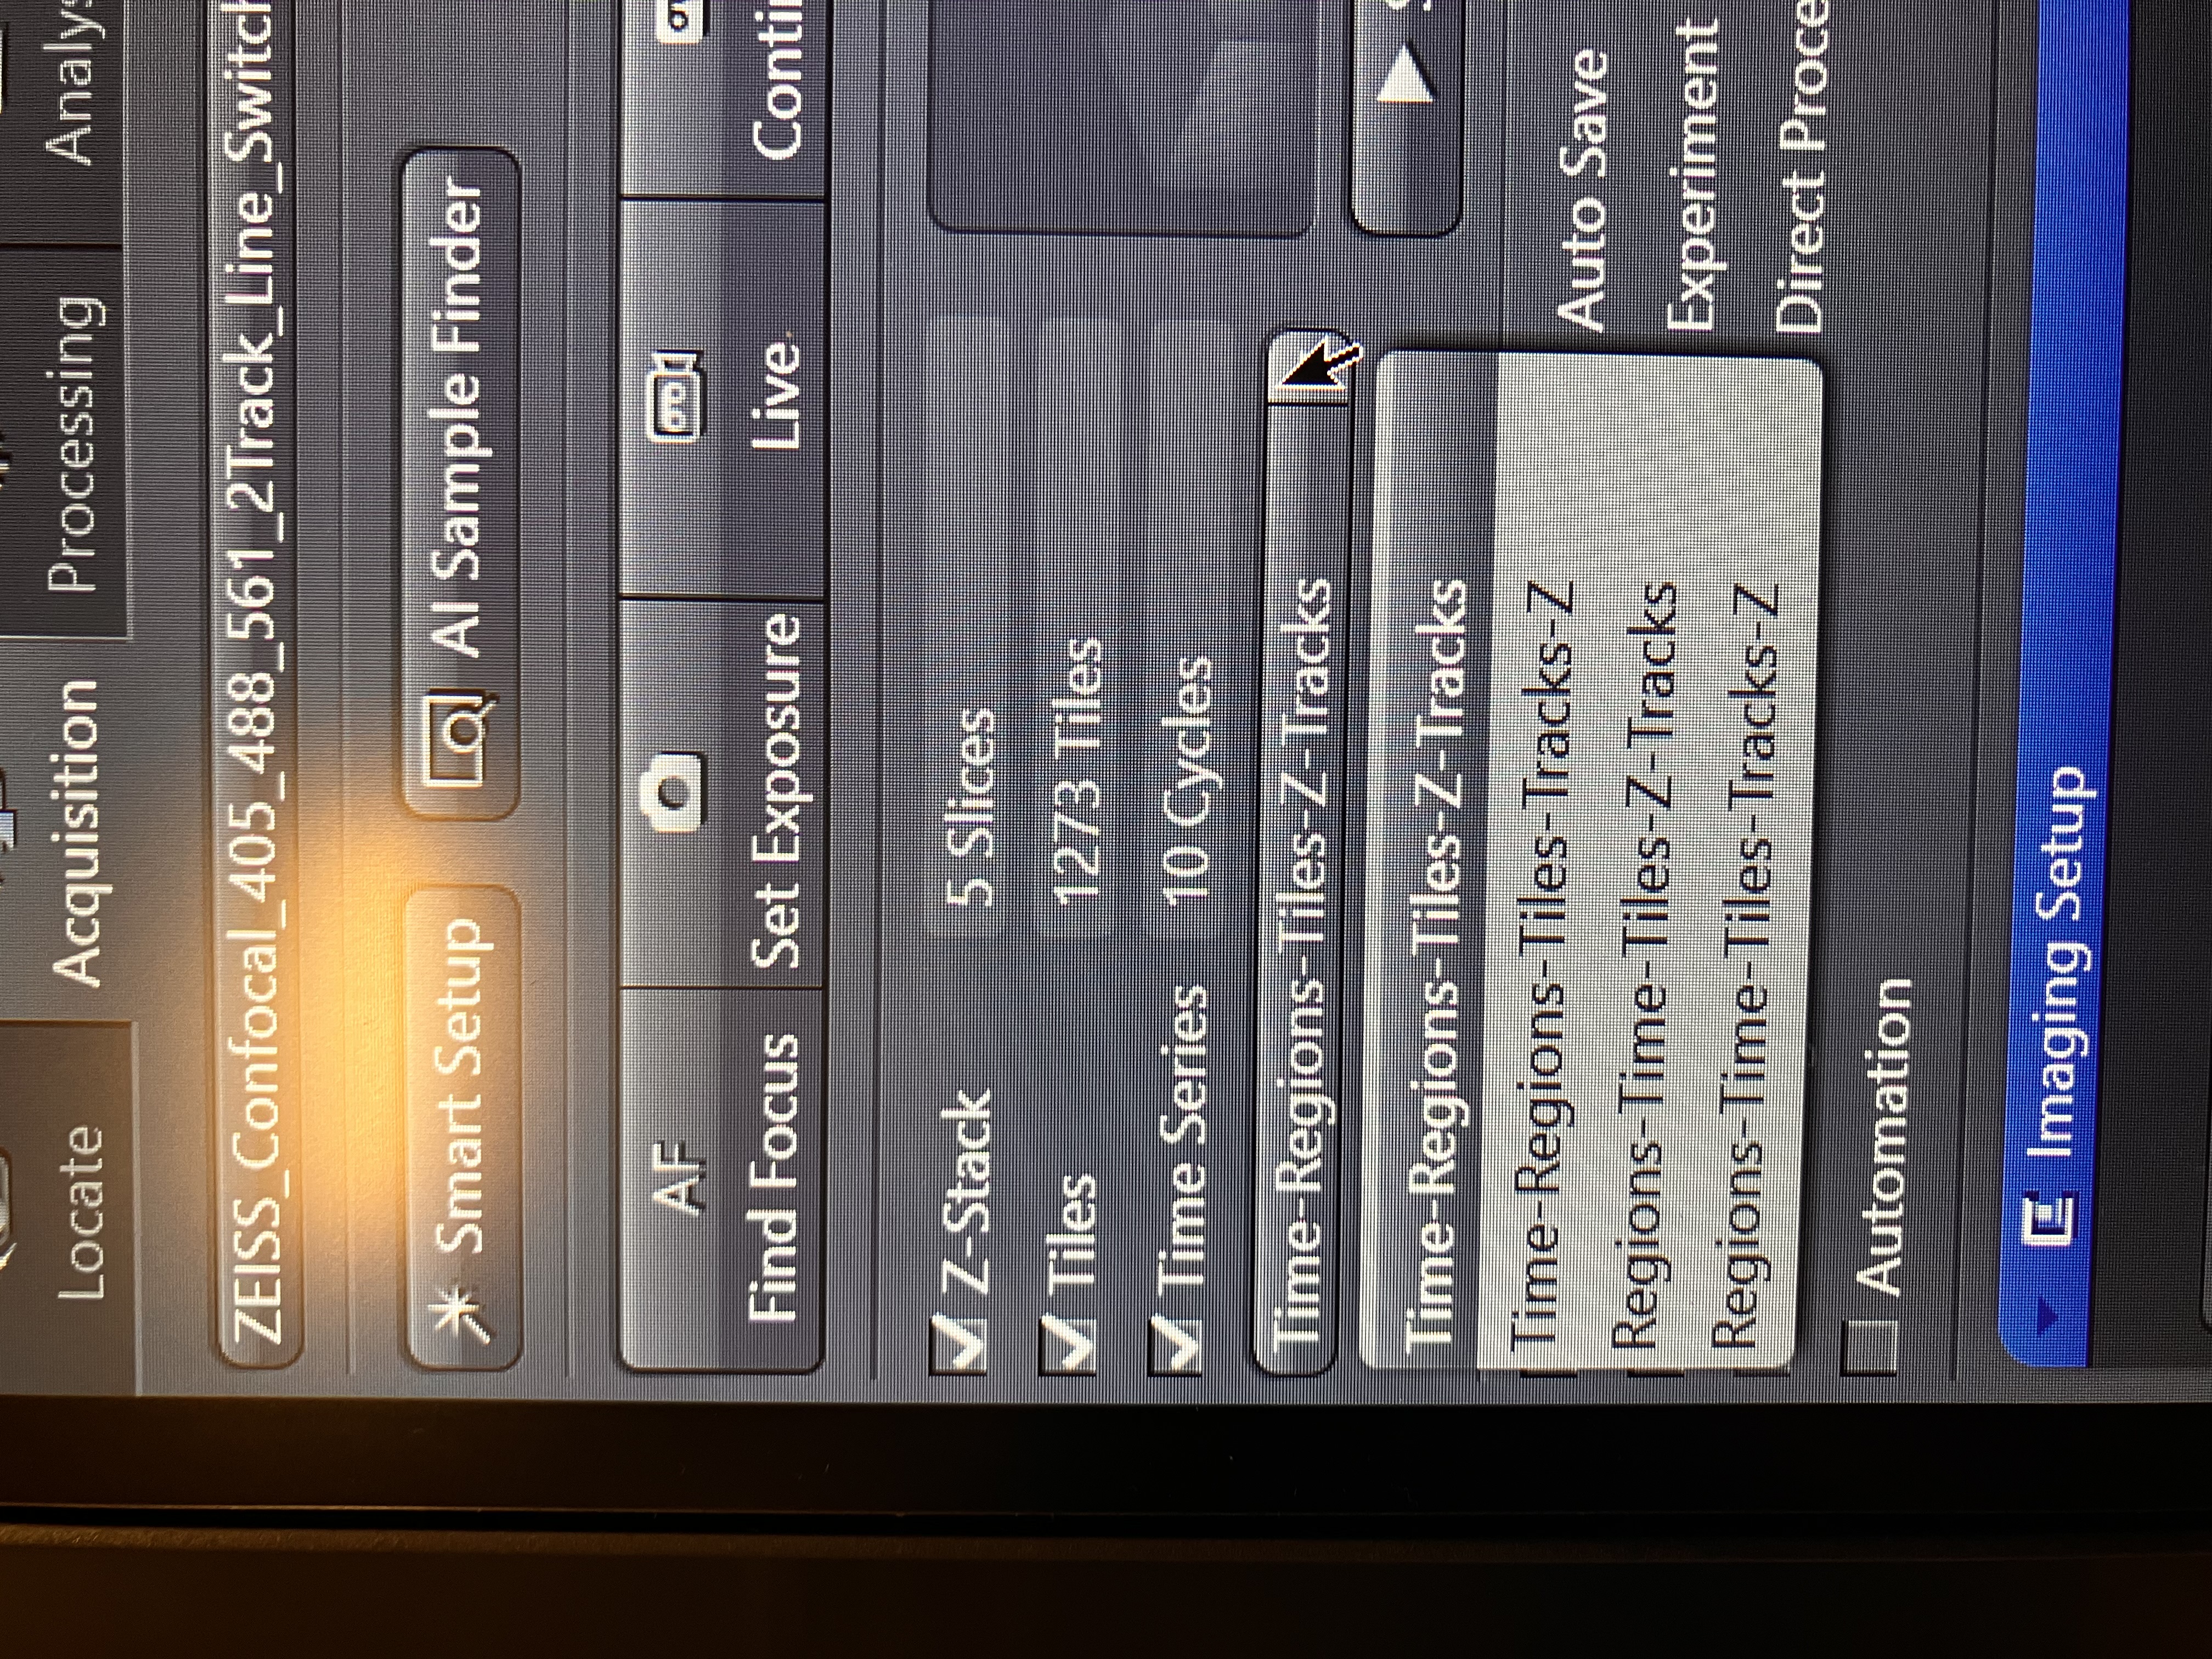
Check the tile number and make sure that it makes sense:
5.1.3 Define Your Focus Strategy
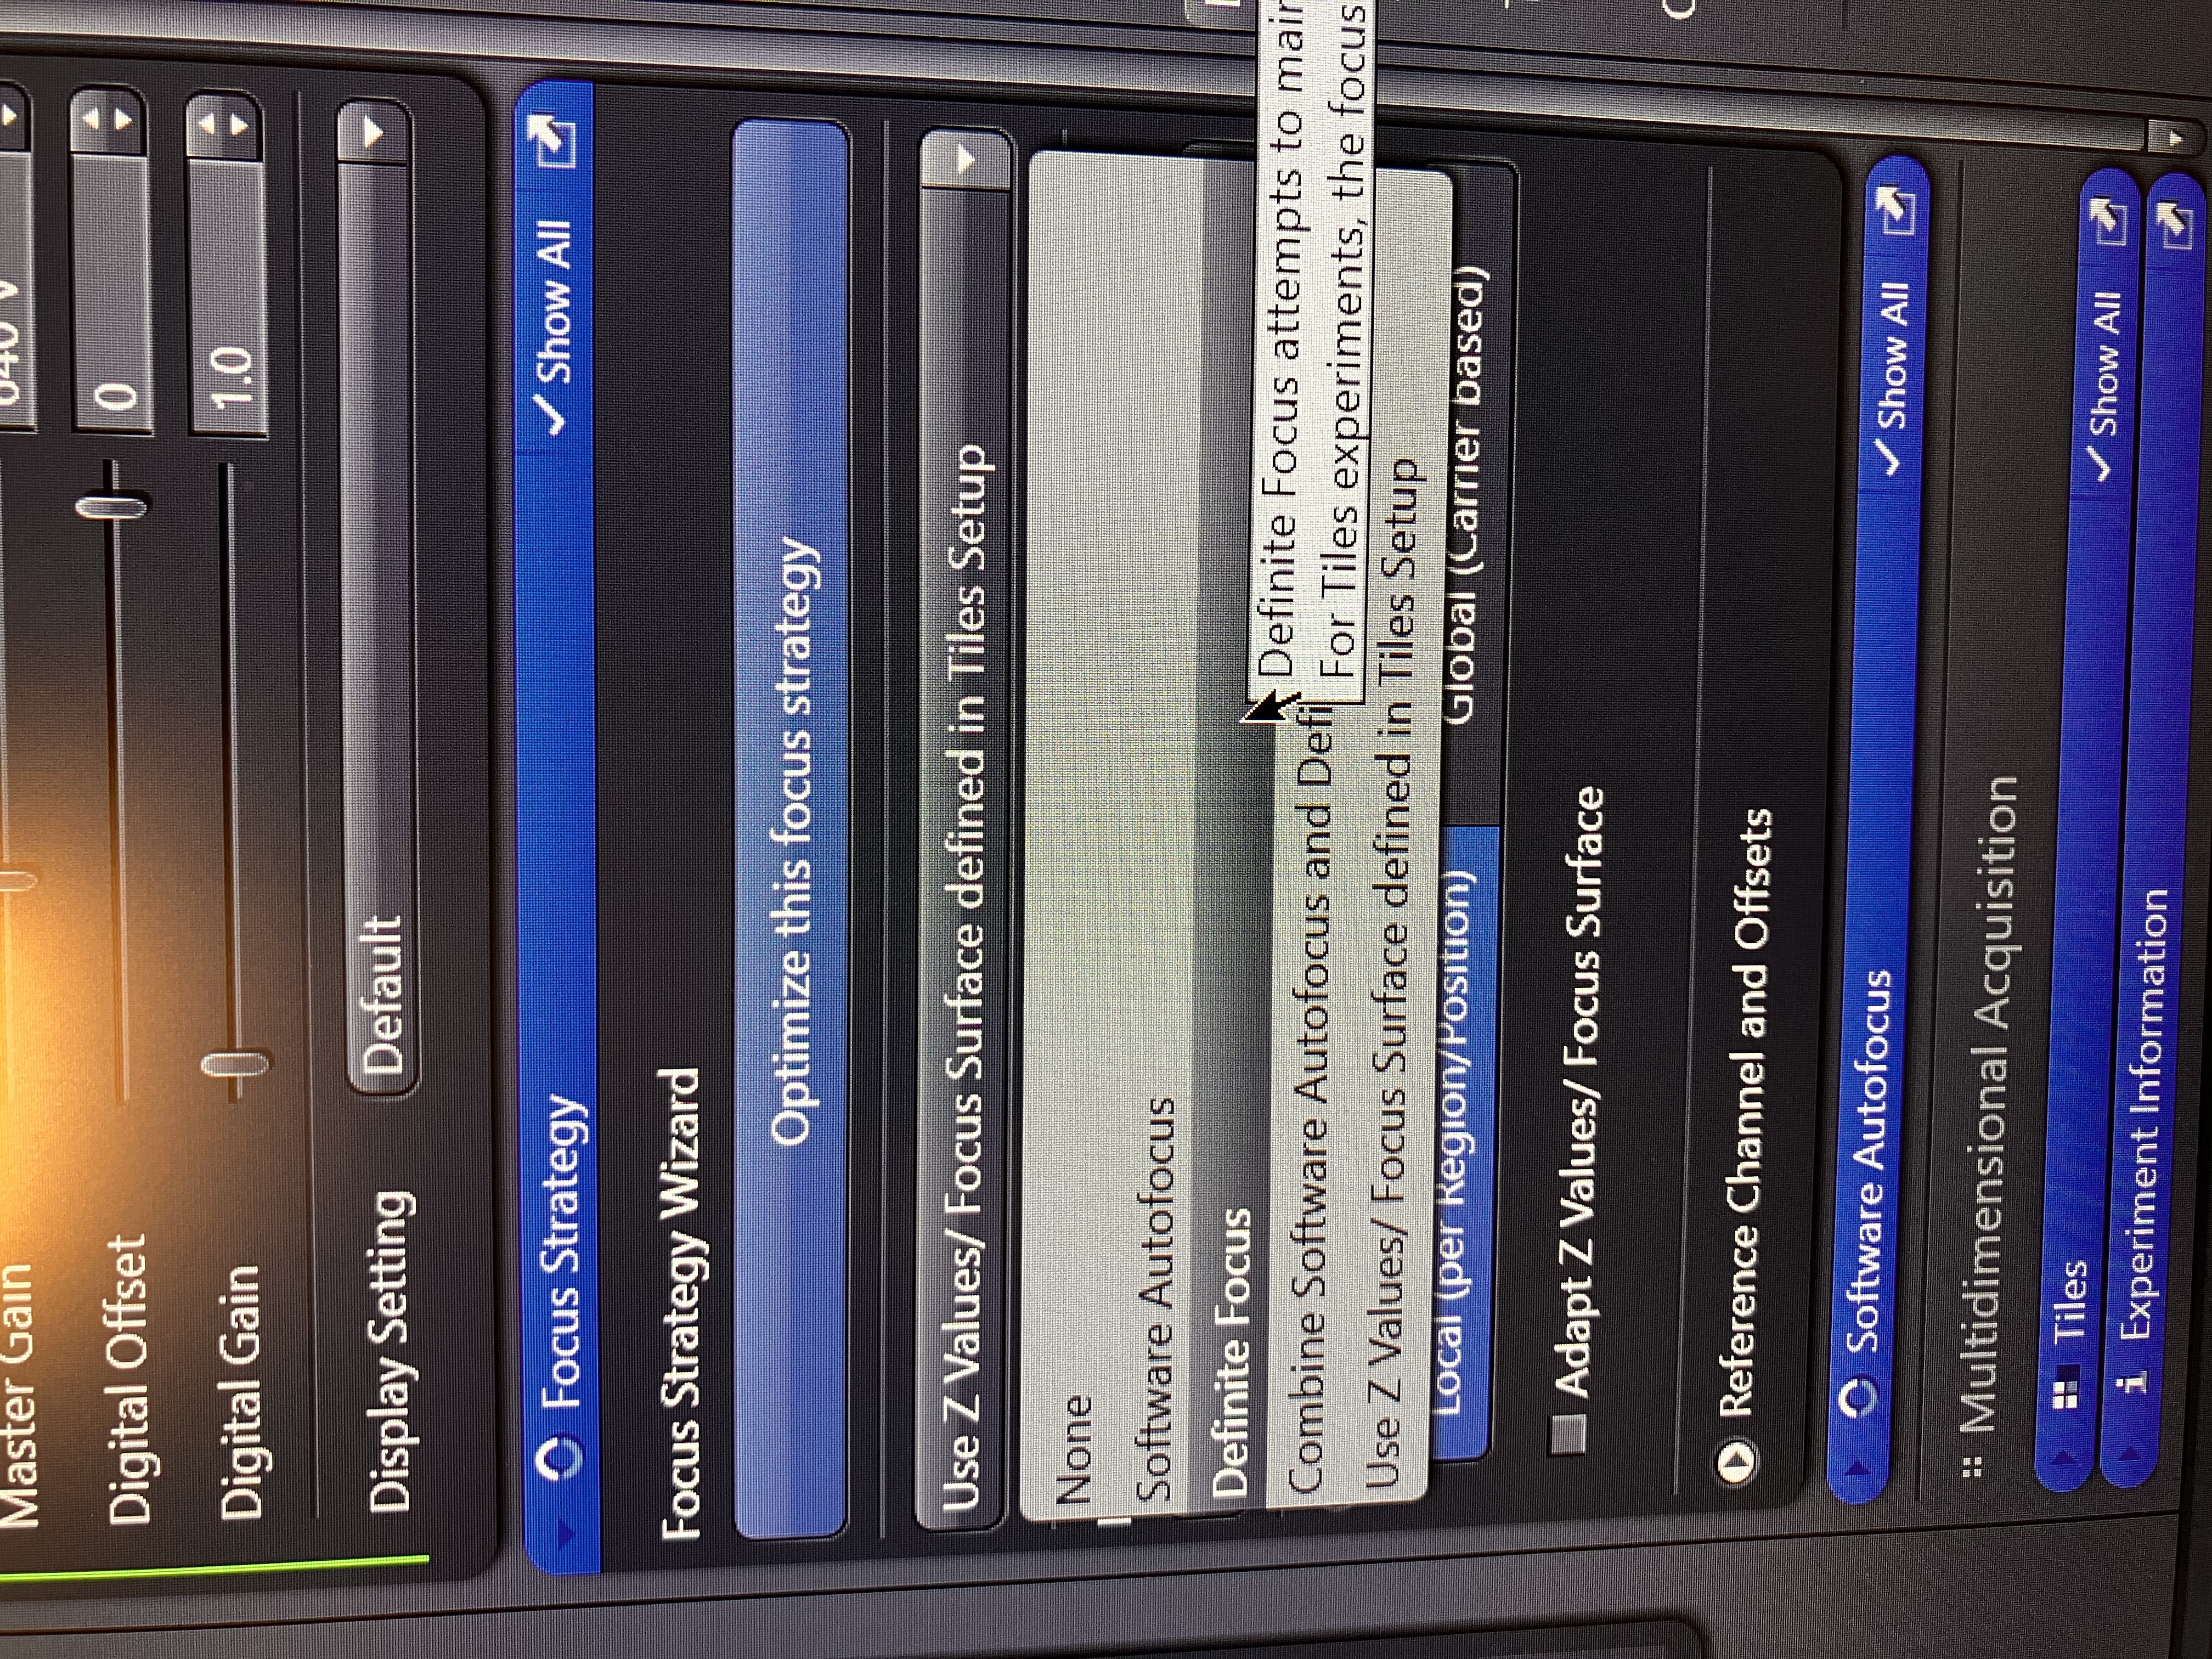
Scroll down to the “Focus Strategy” tab and set the strategy as so:
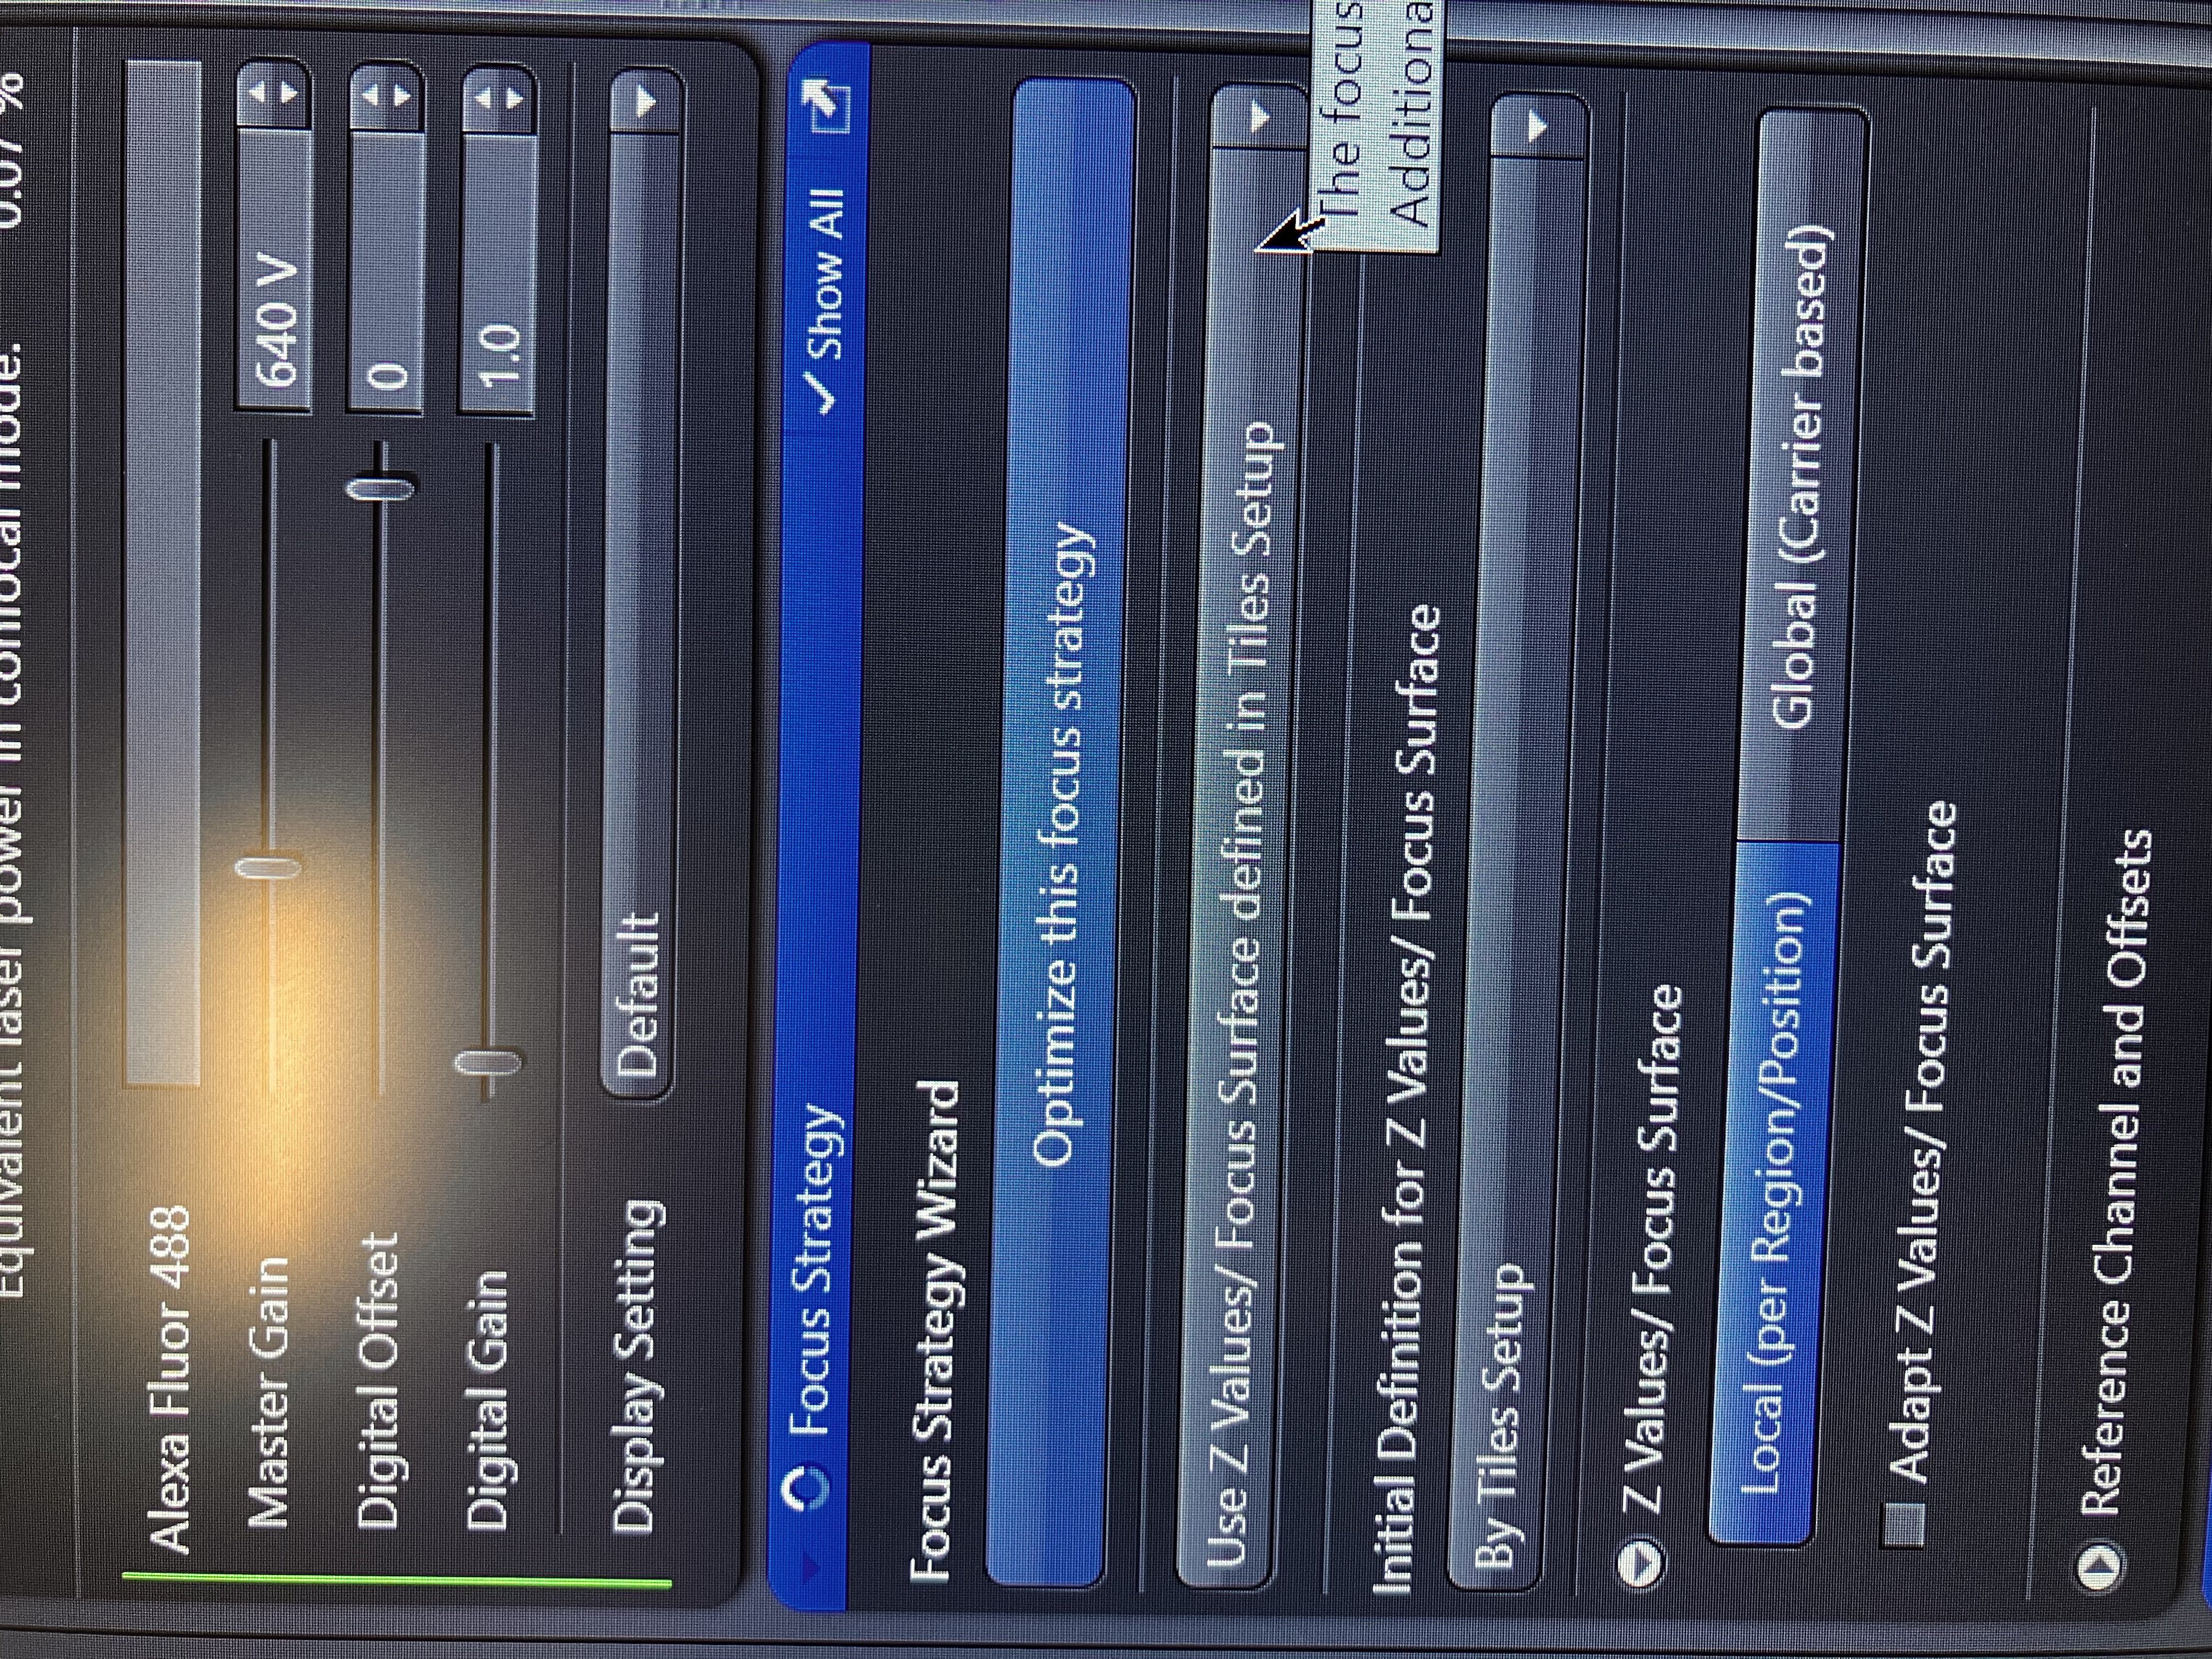
This strategy will use all the Z positions that you manually saved in the previous step and will work best, since you manually confirmed that these Z positions are in the focal plane. If you are imaging a ton of positions though, it may be more time-efficient to not worry about the Z position at any of the points except for the first one and then to set this strategy to use Definite Focus or AutoFocus. For explanations on these tools, see the Definite Focus vs. AutoFocus section.

5.2 Imaging Position Arrays
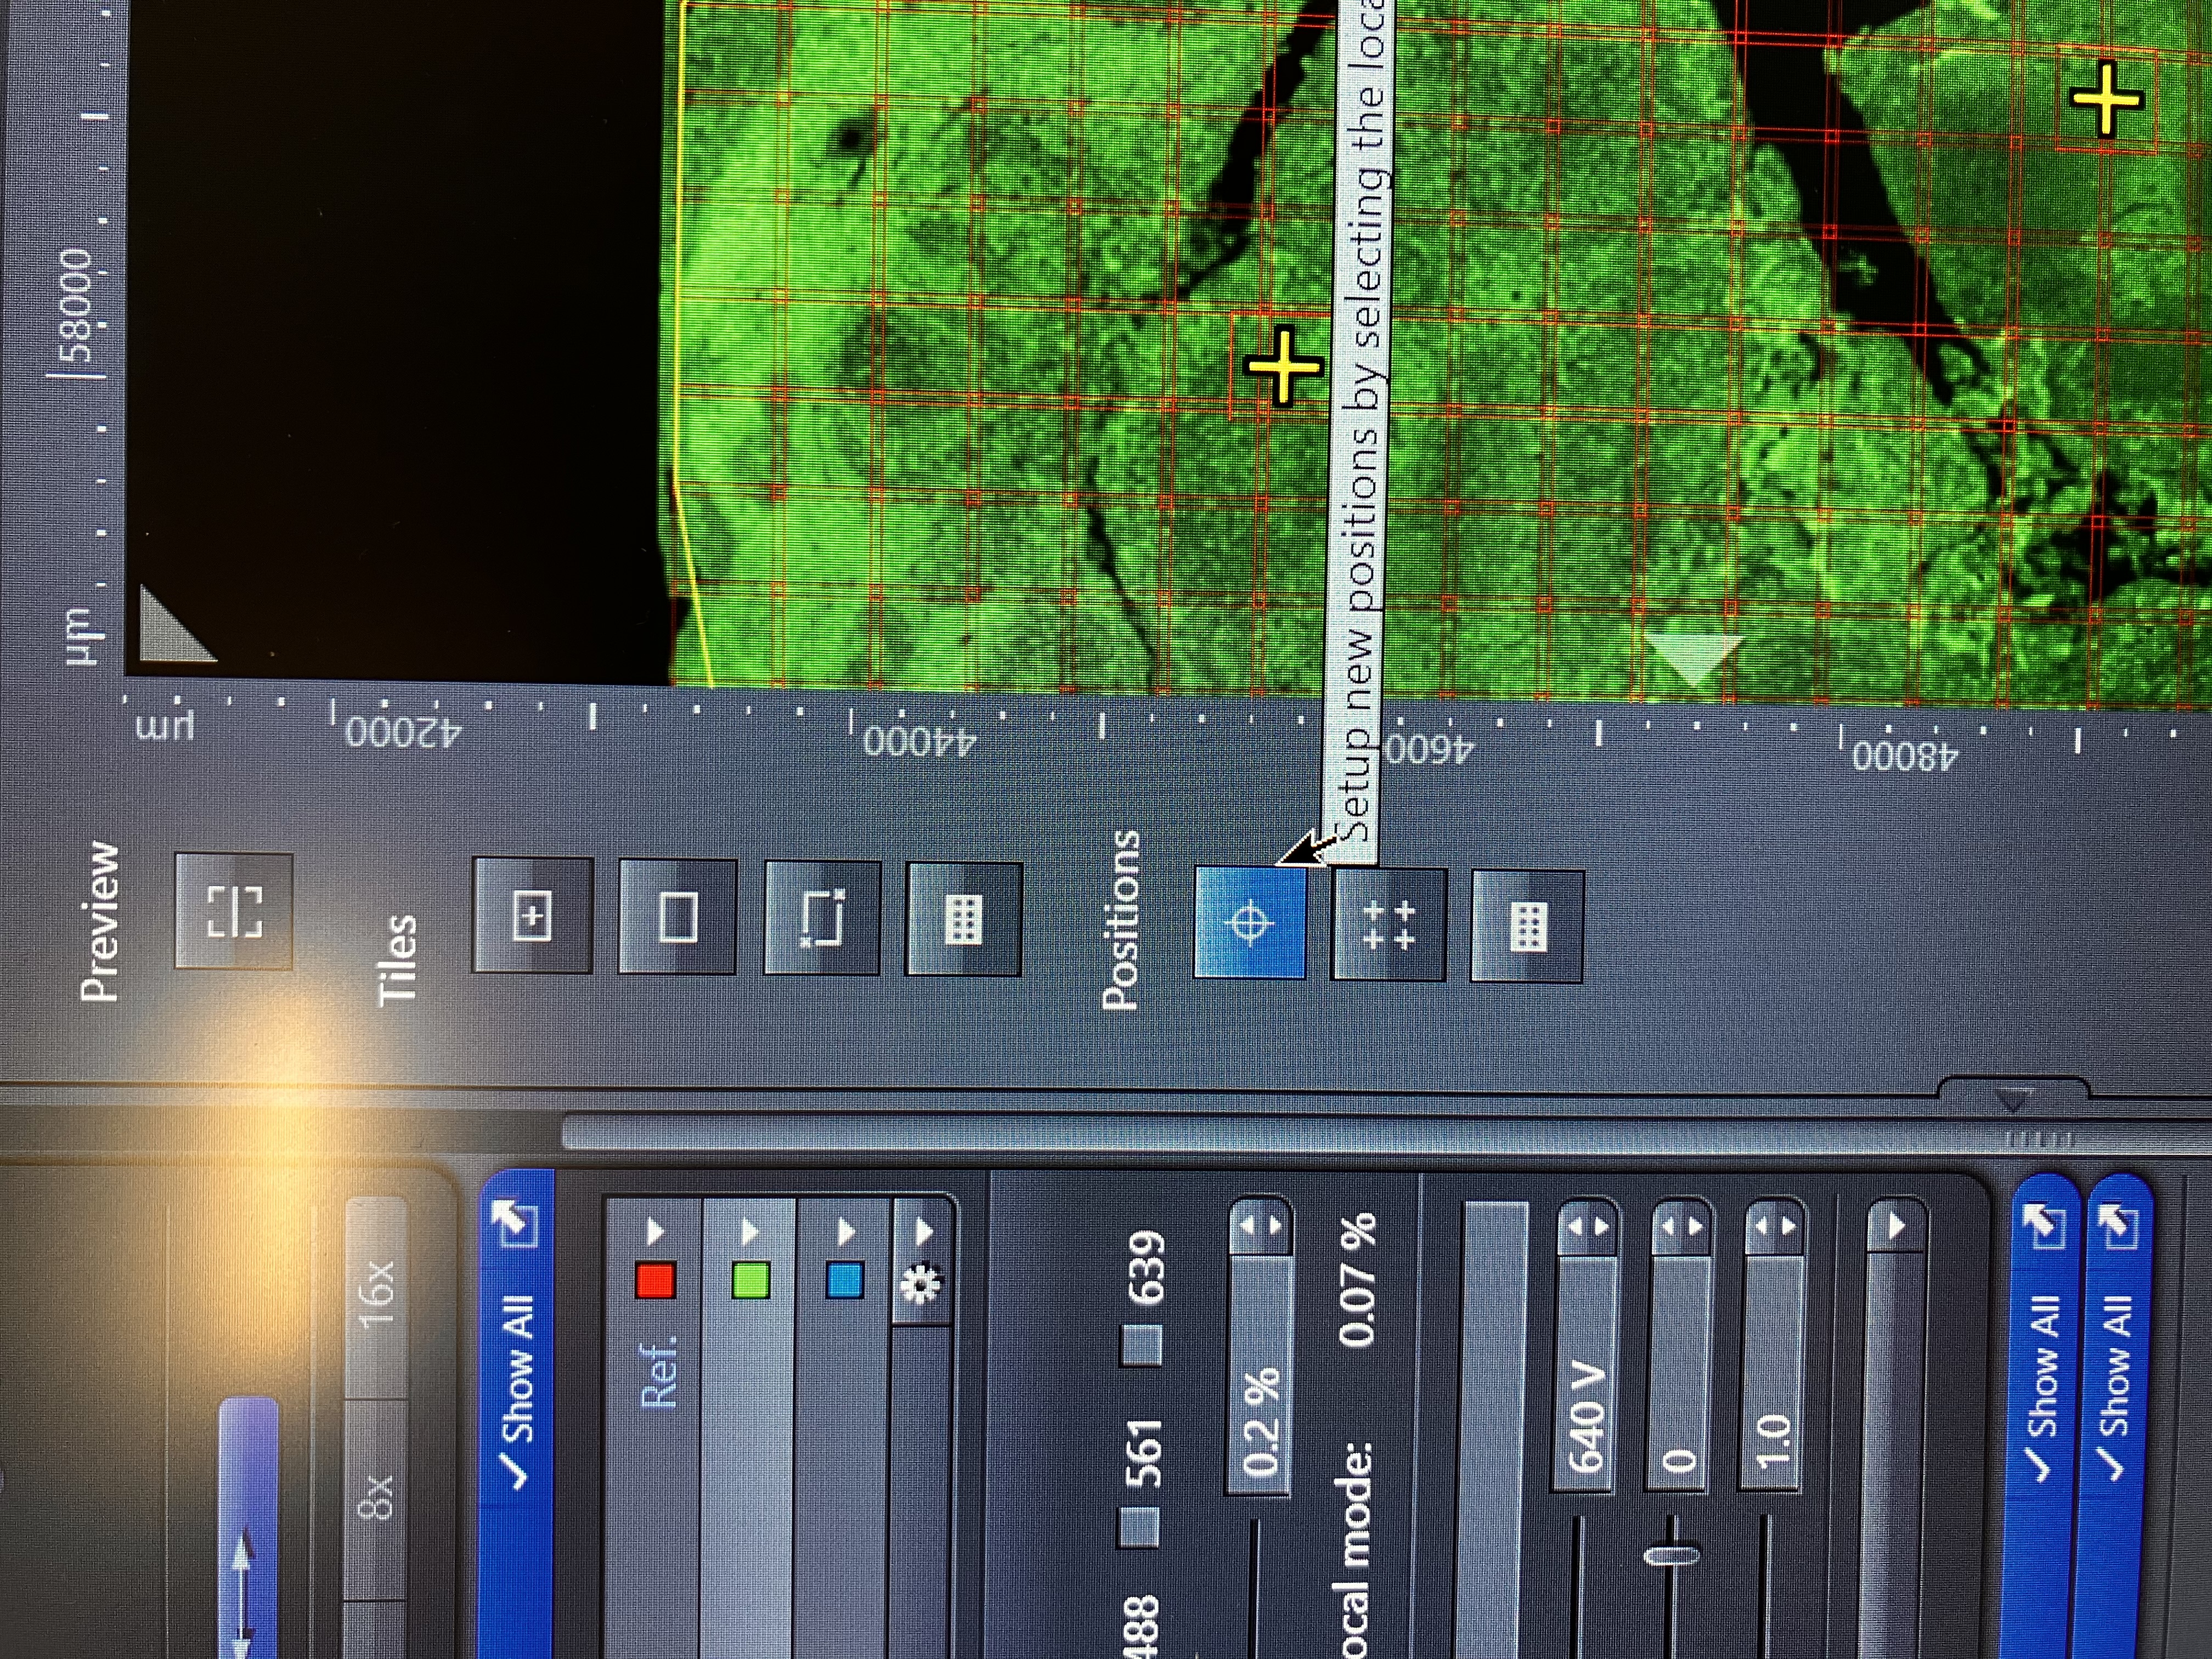
5.2.1 Create The Position Array
Under the navigation tab, select the following tool and draw the outline of the array as you wish:
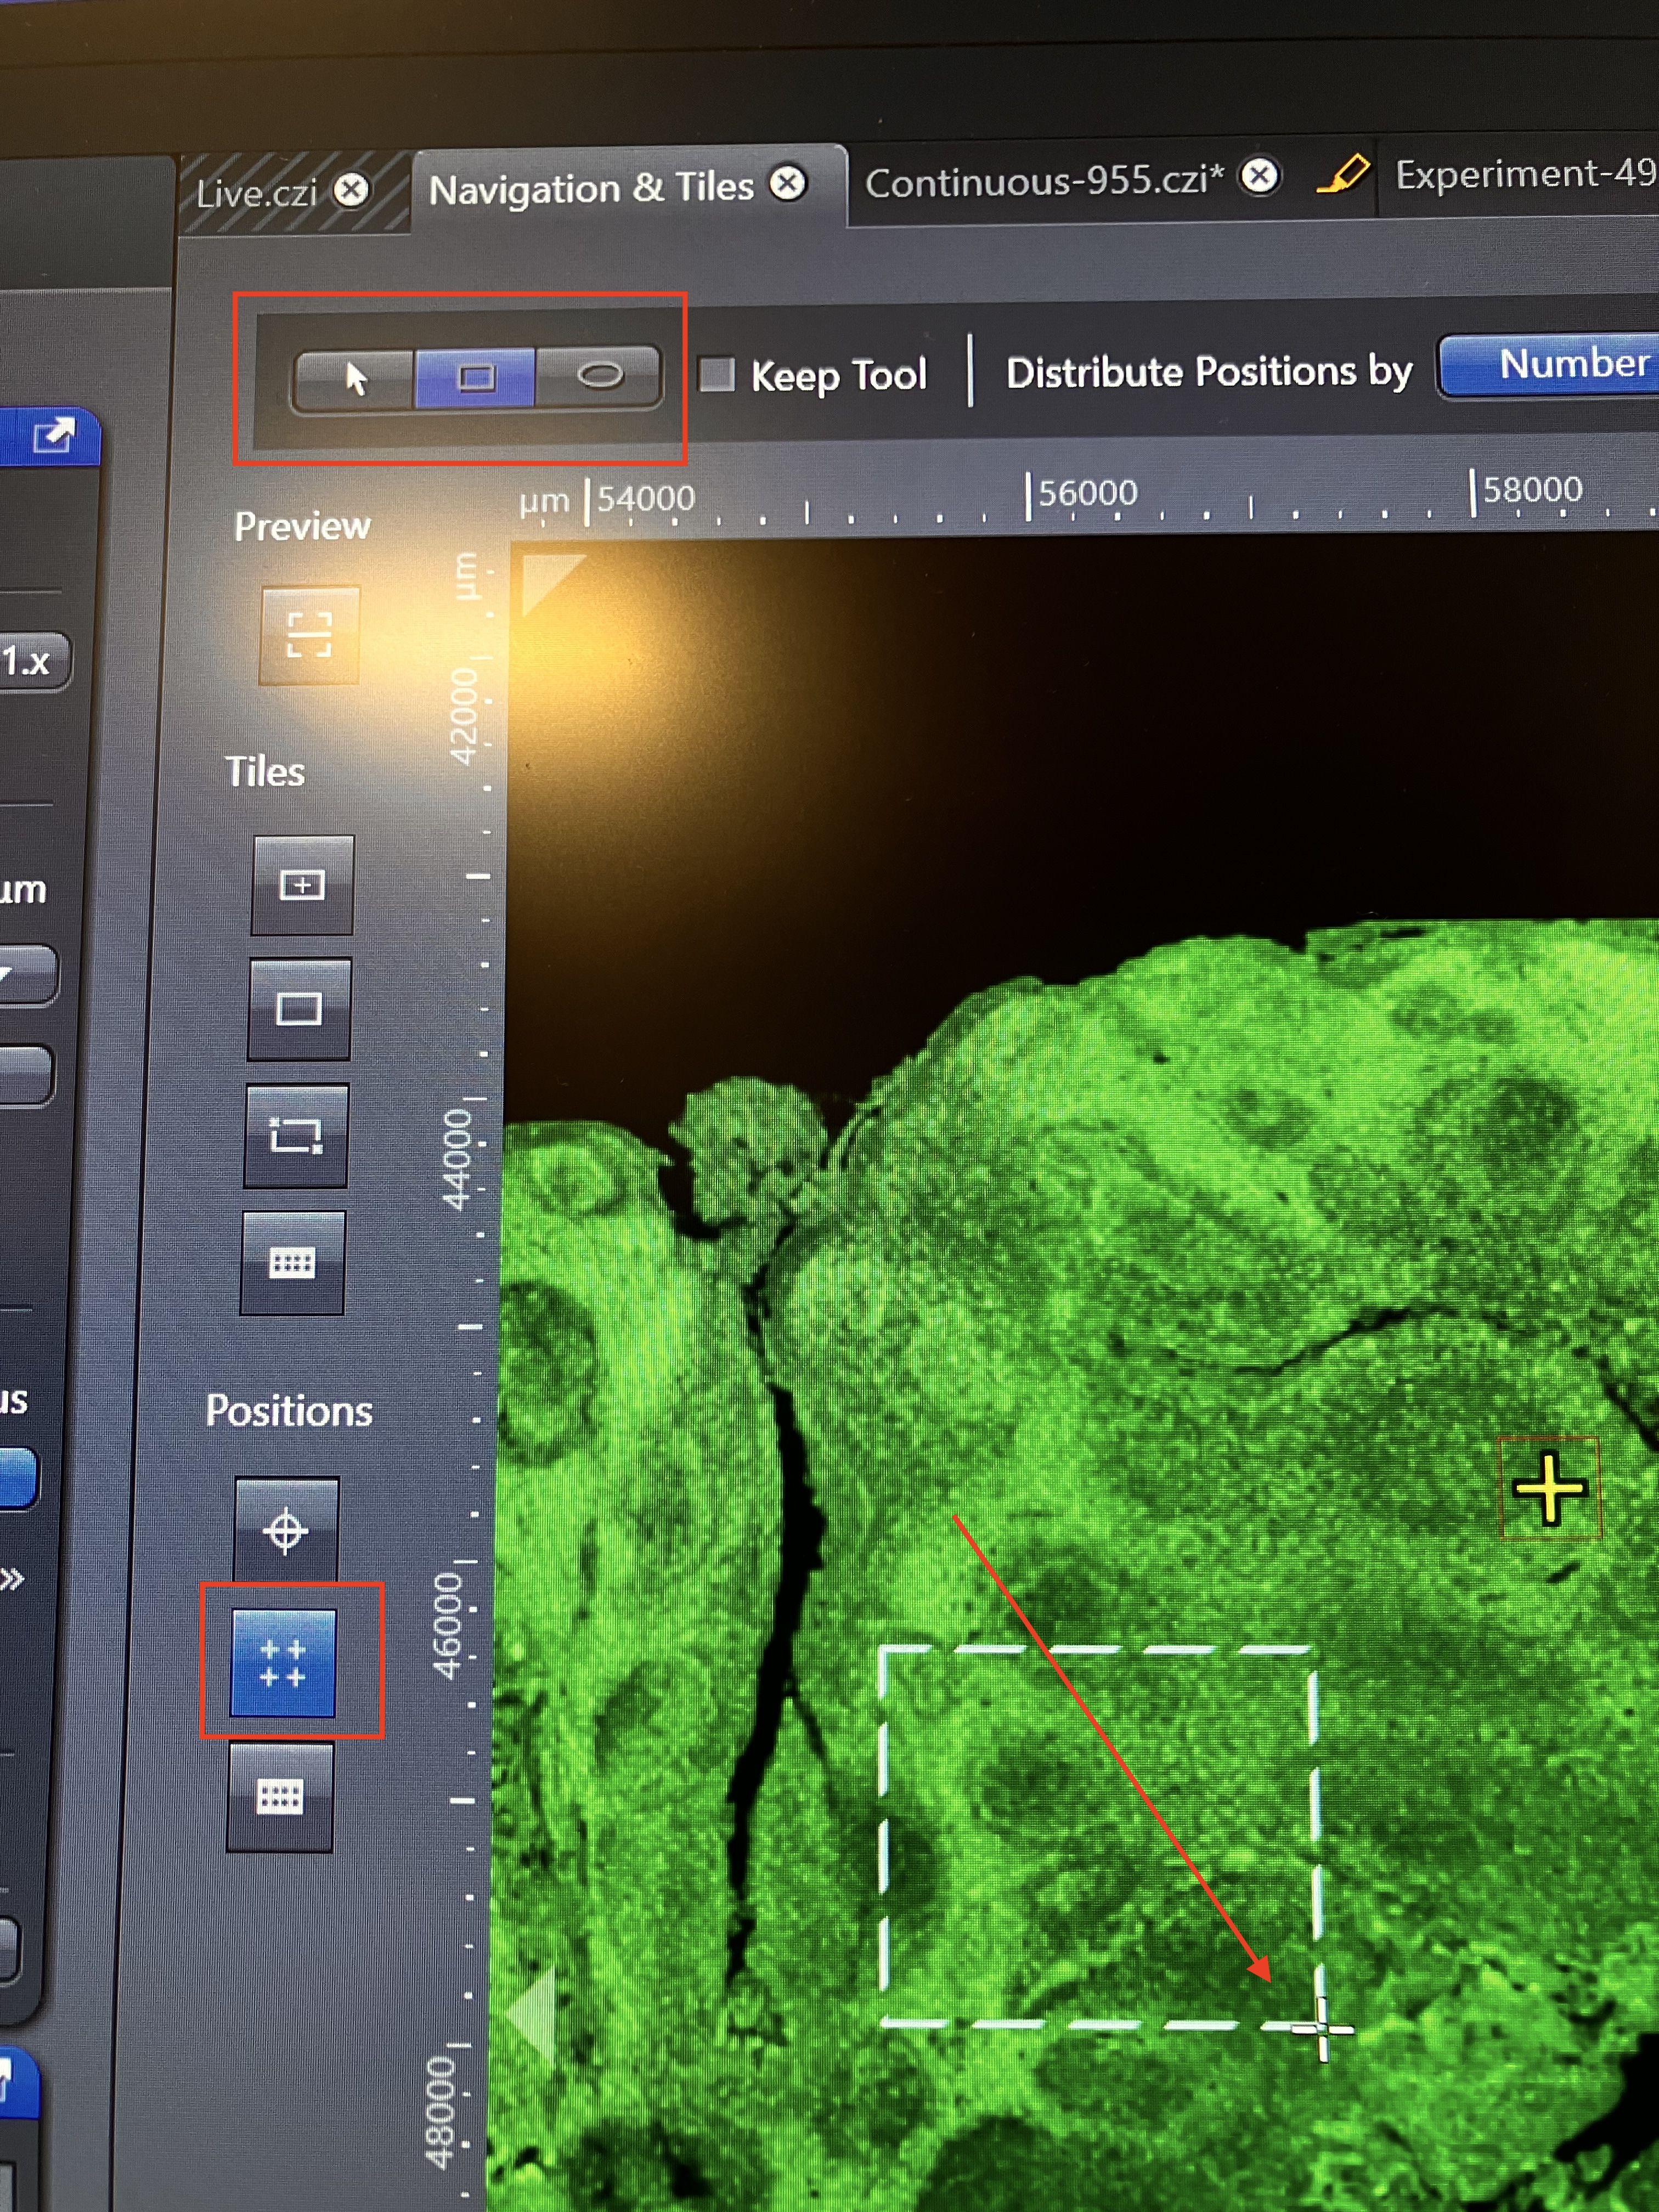
Select the options that suit your needs. Number will allow you to specify a set number of positions in the array. Grid will make an order grid of positions in the array. You can also check “random” in order to have ZEN pick the poistions in the array for you at random:

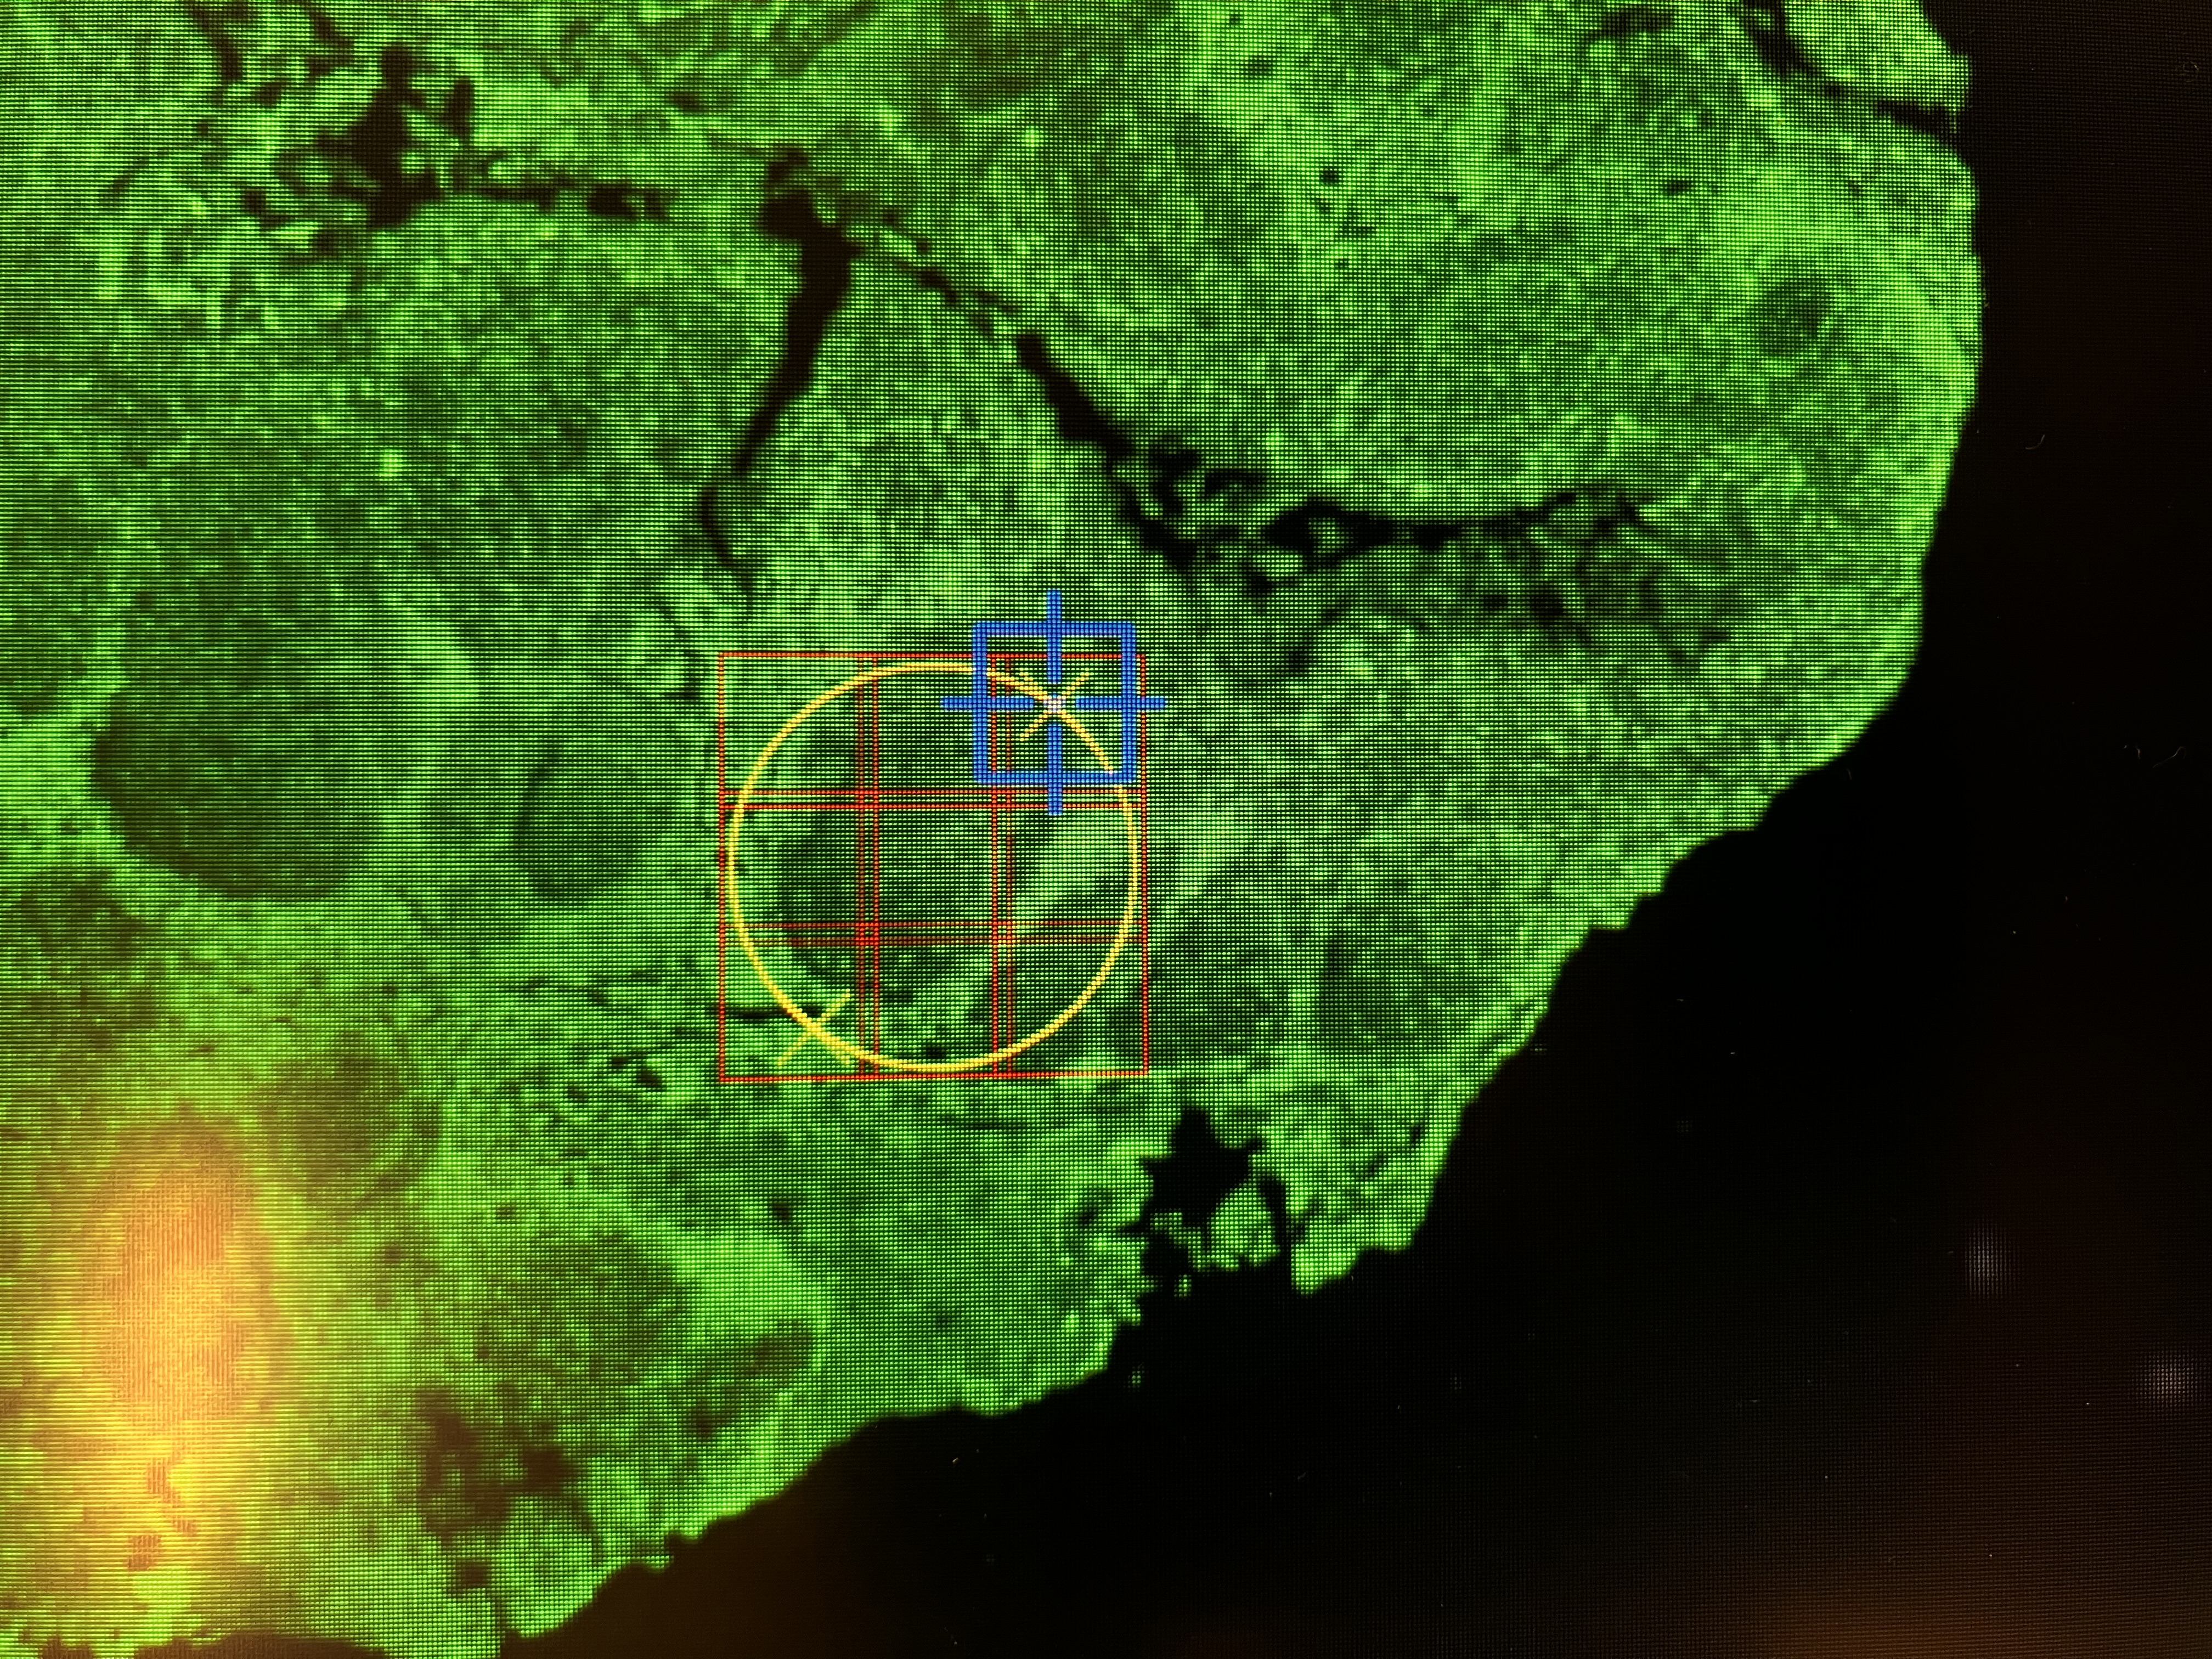
Here is a circular array with 5 random positions:

5.2.2 Select The Array to Image
- Navigate to the “Tiles” tab and then scroll down to “Positions.”
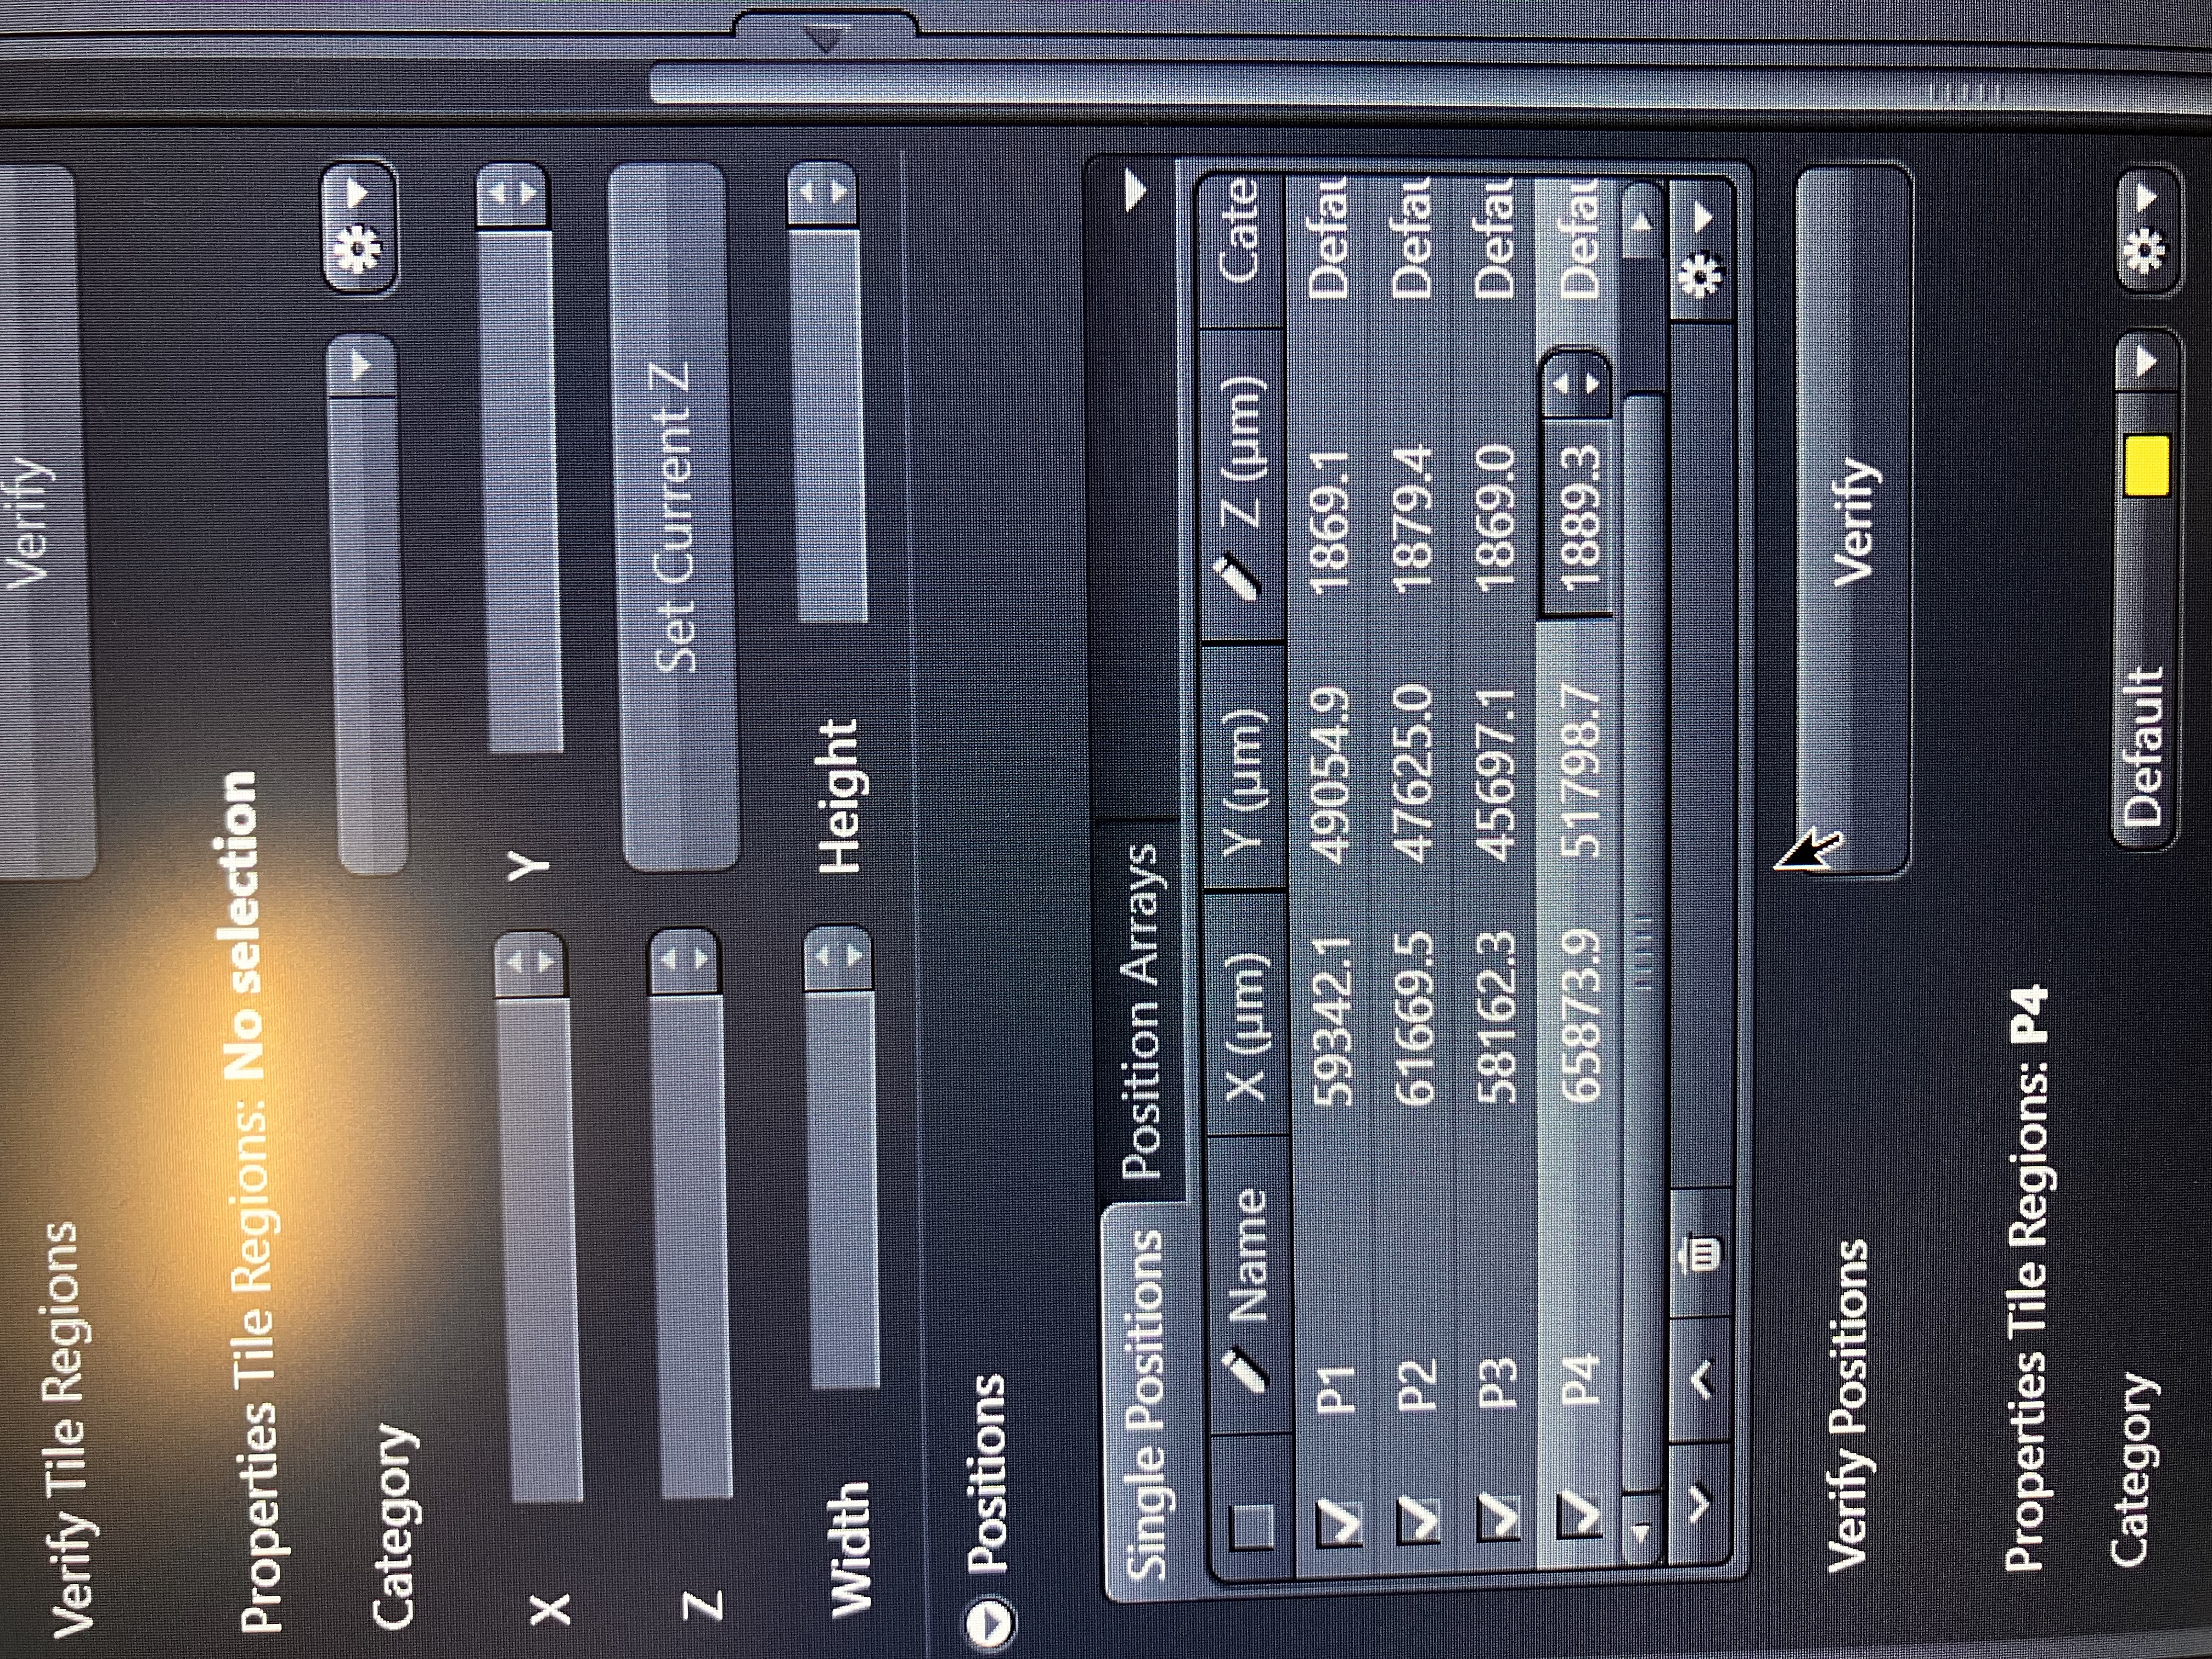
- Toggle over to the “Position Arrays” option and make sure the arrays you want to image are checked:
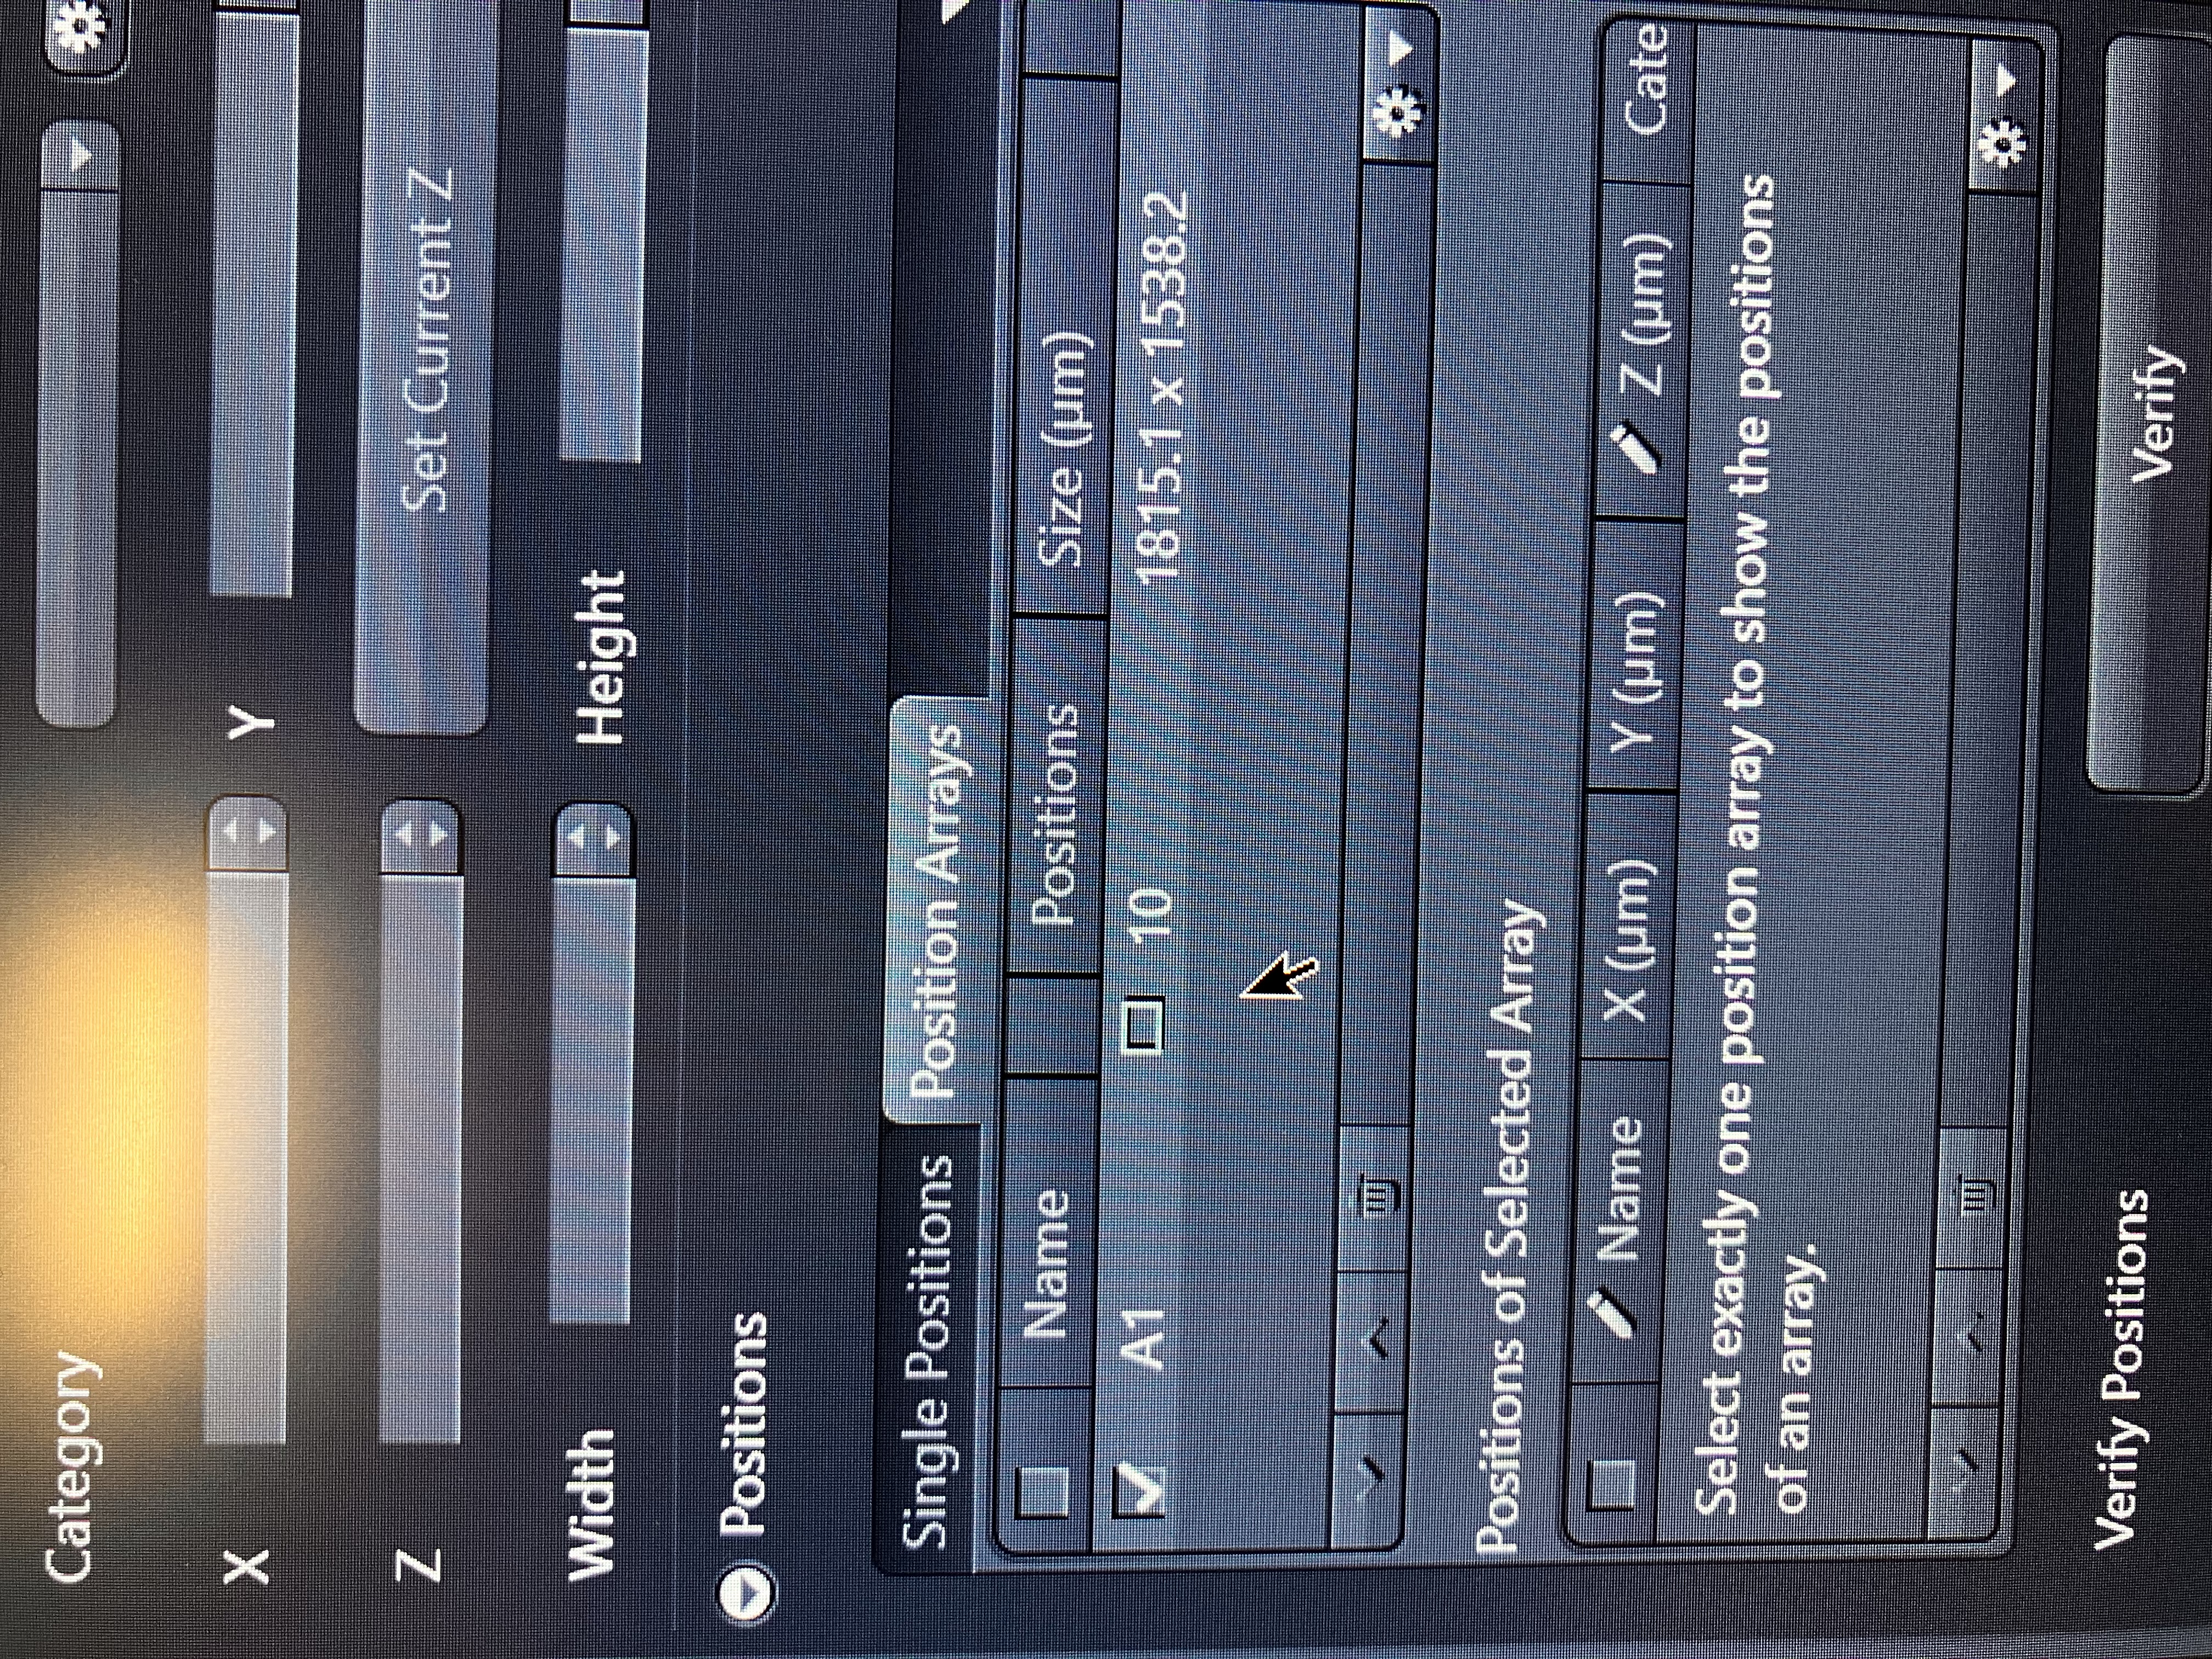
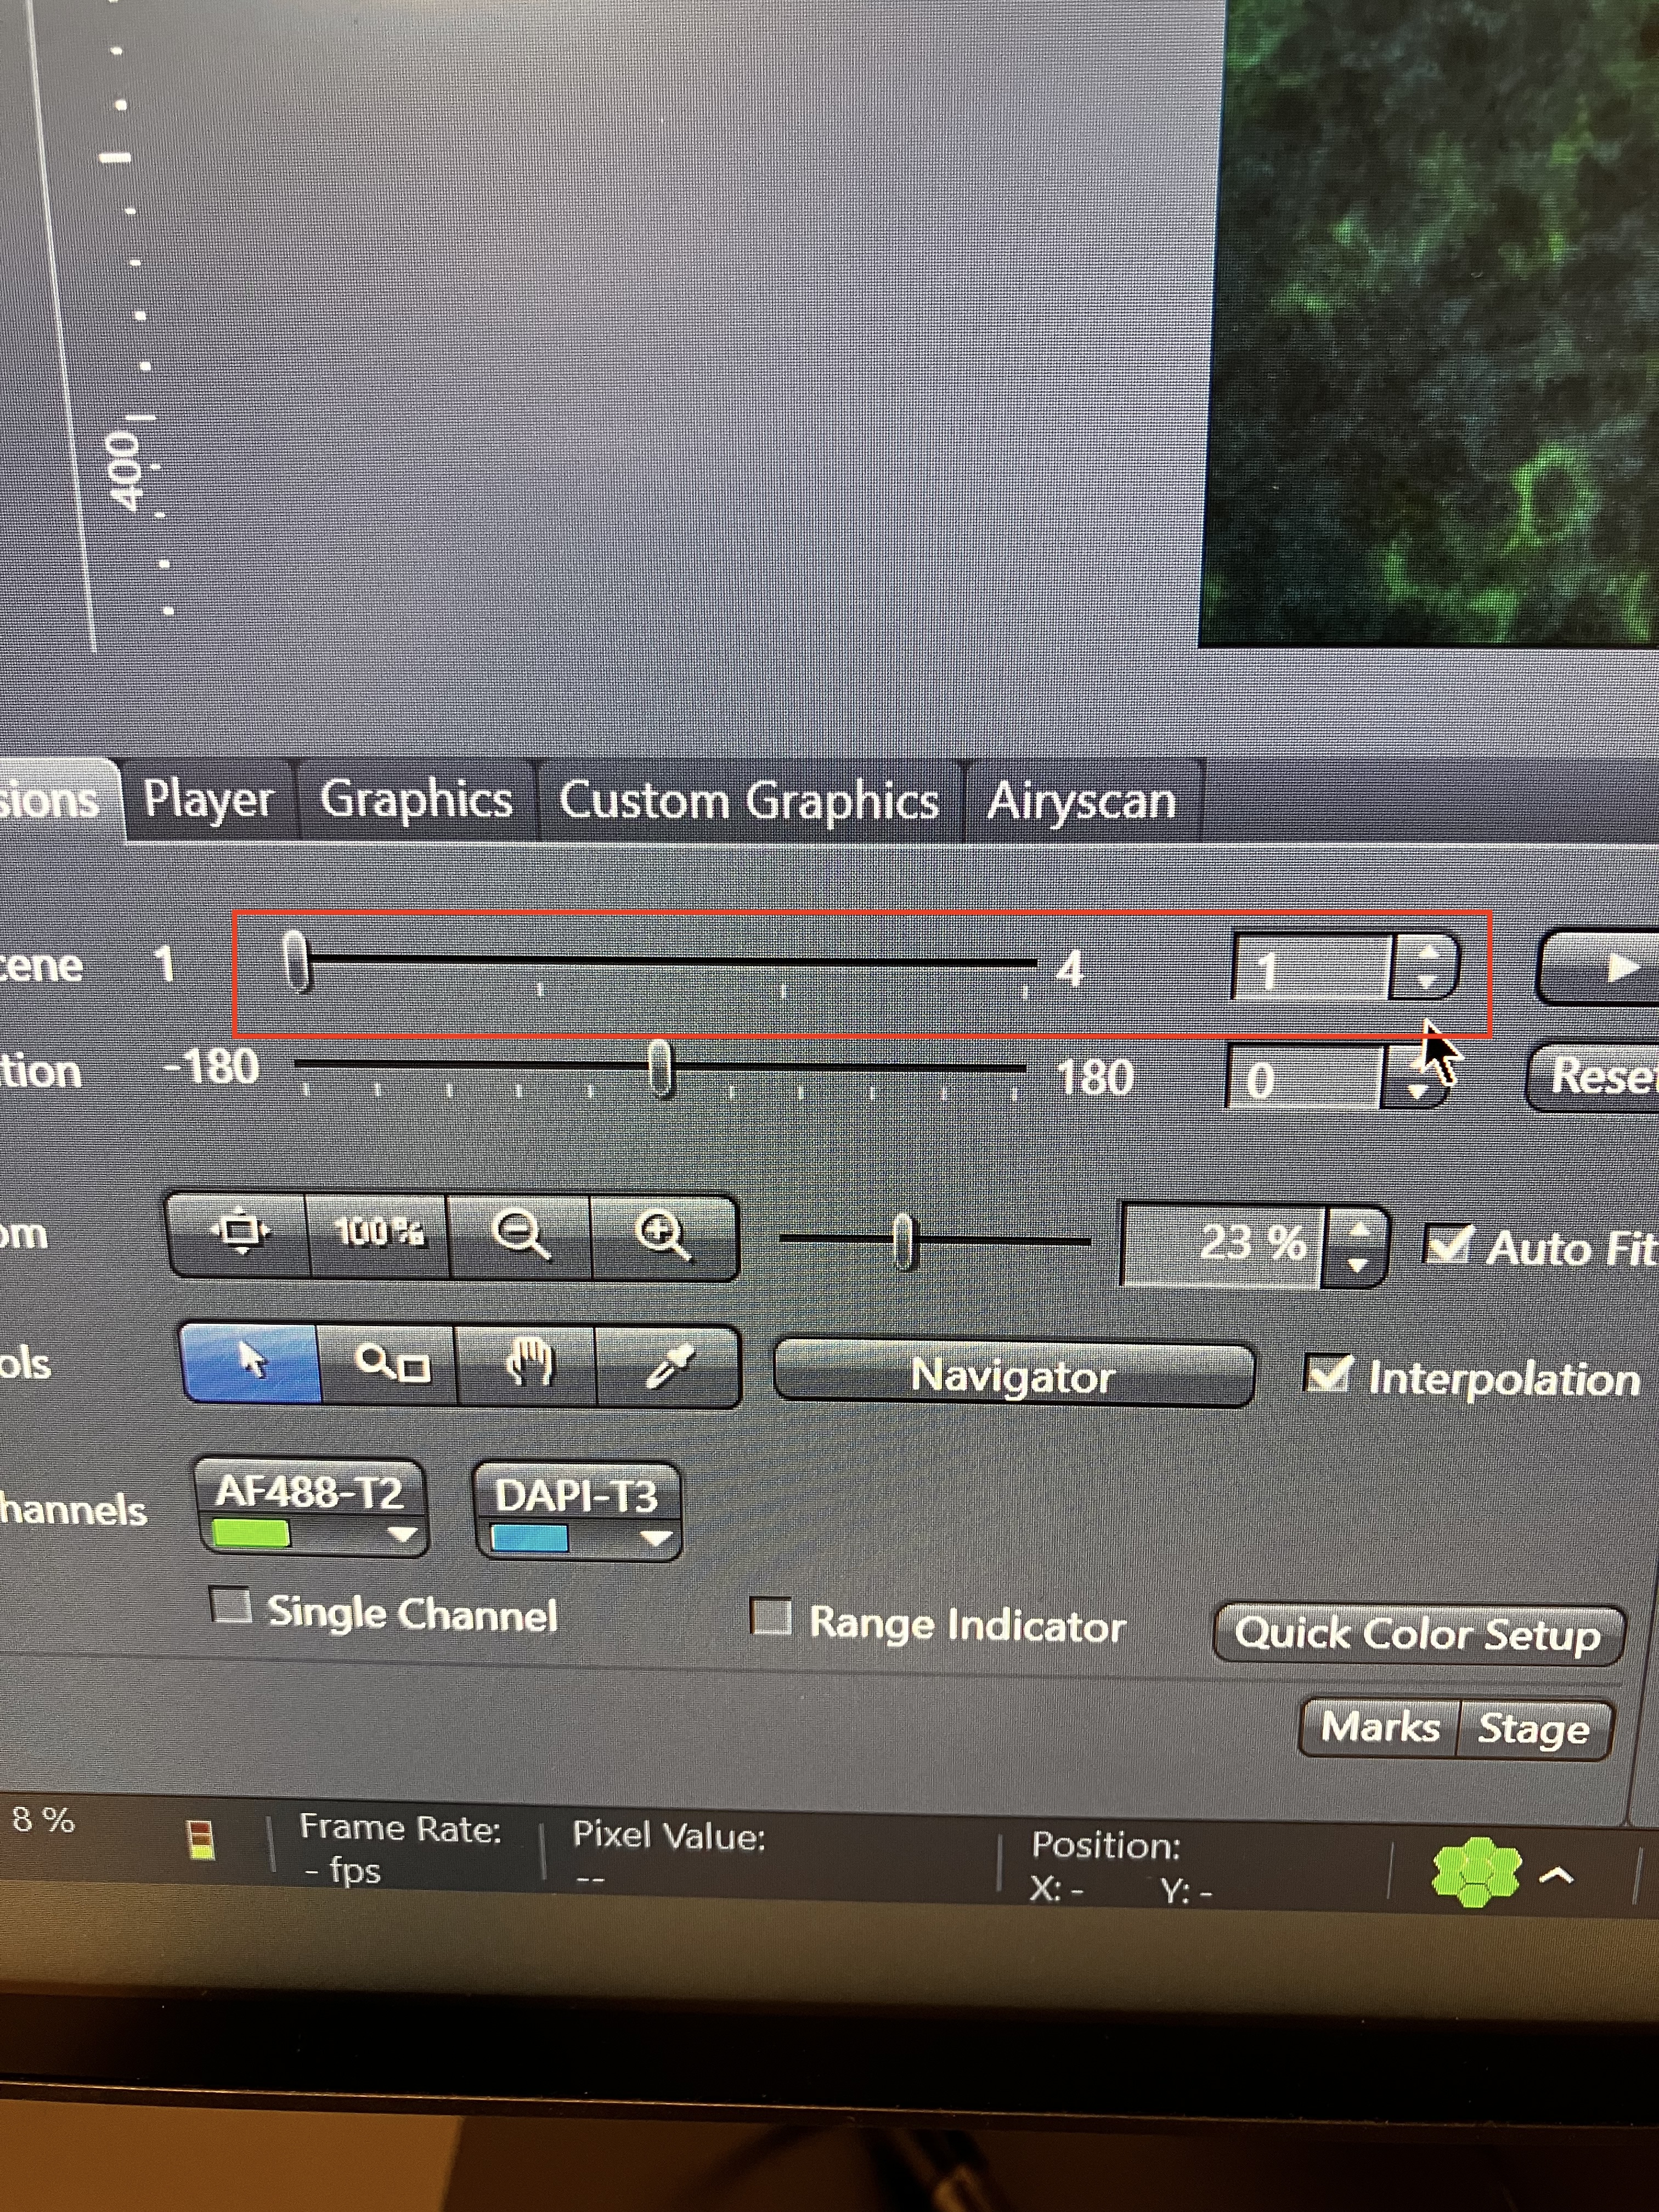
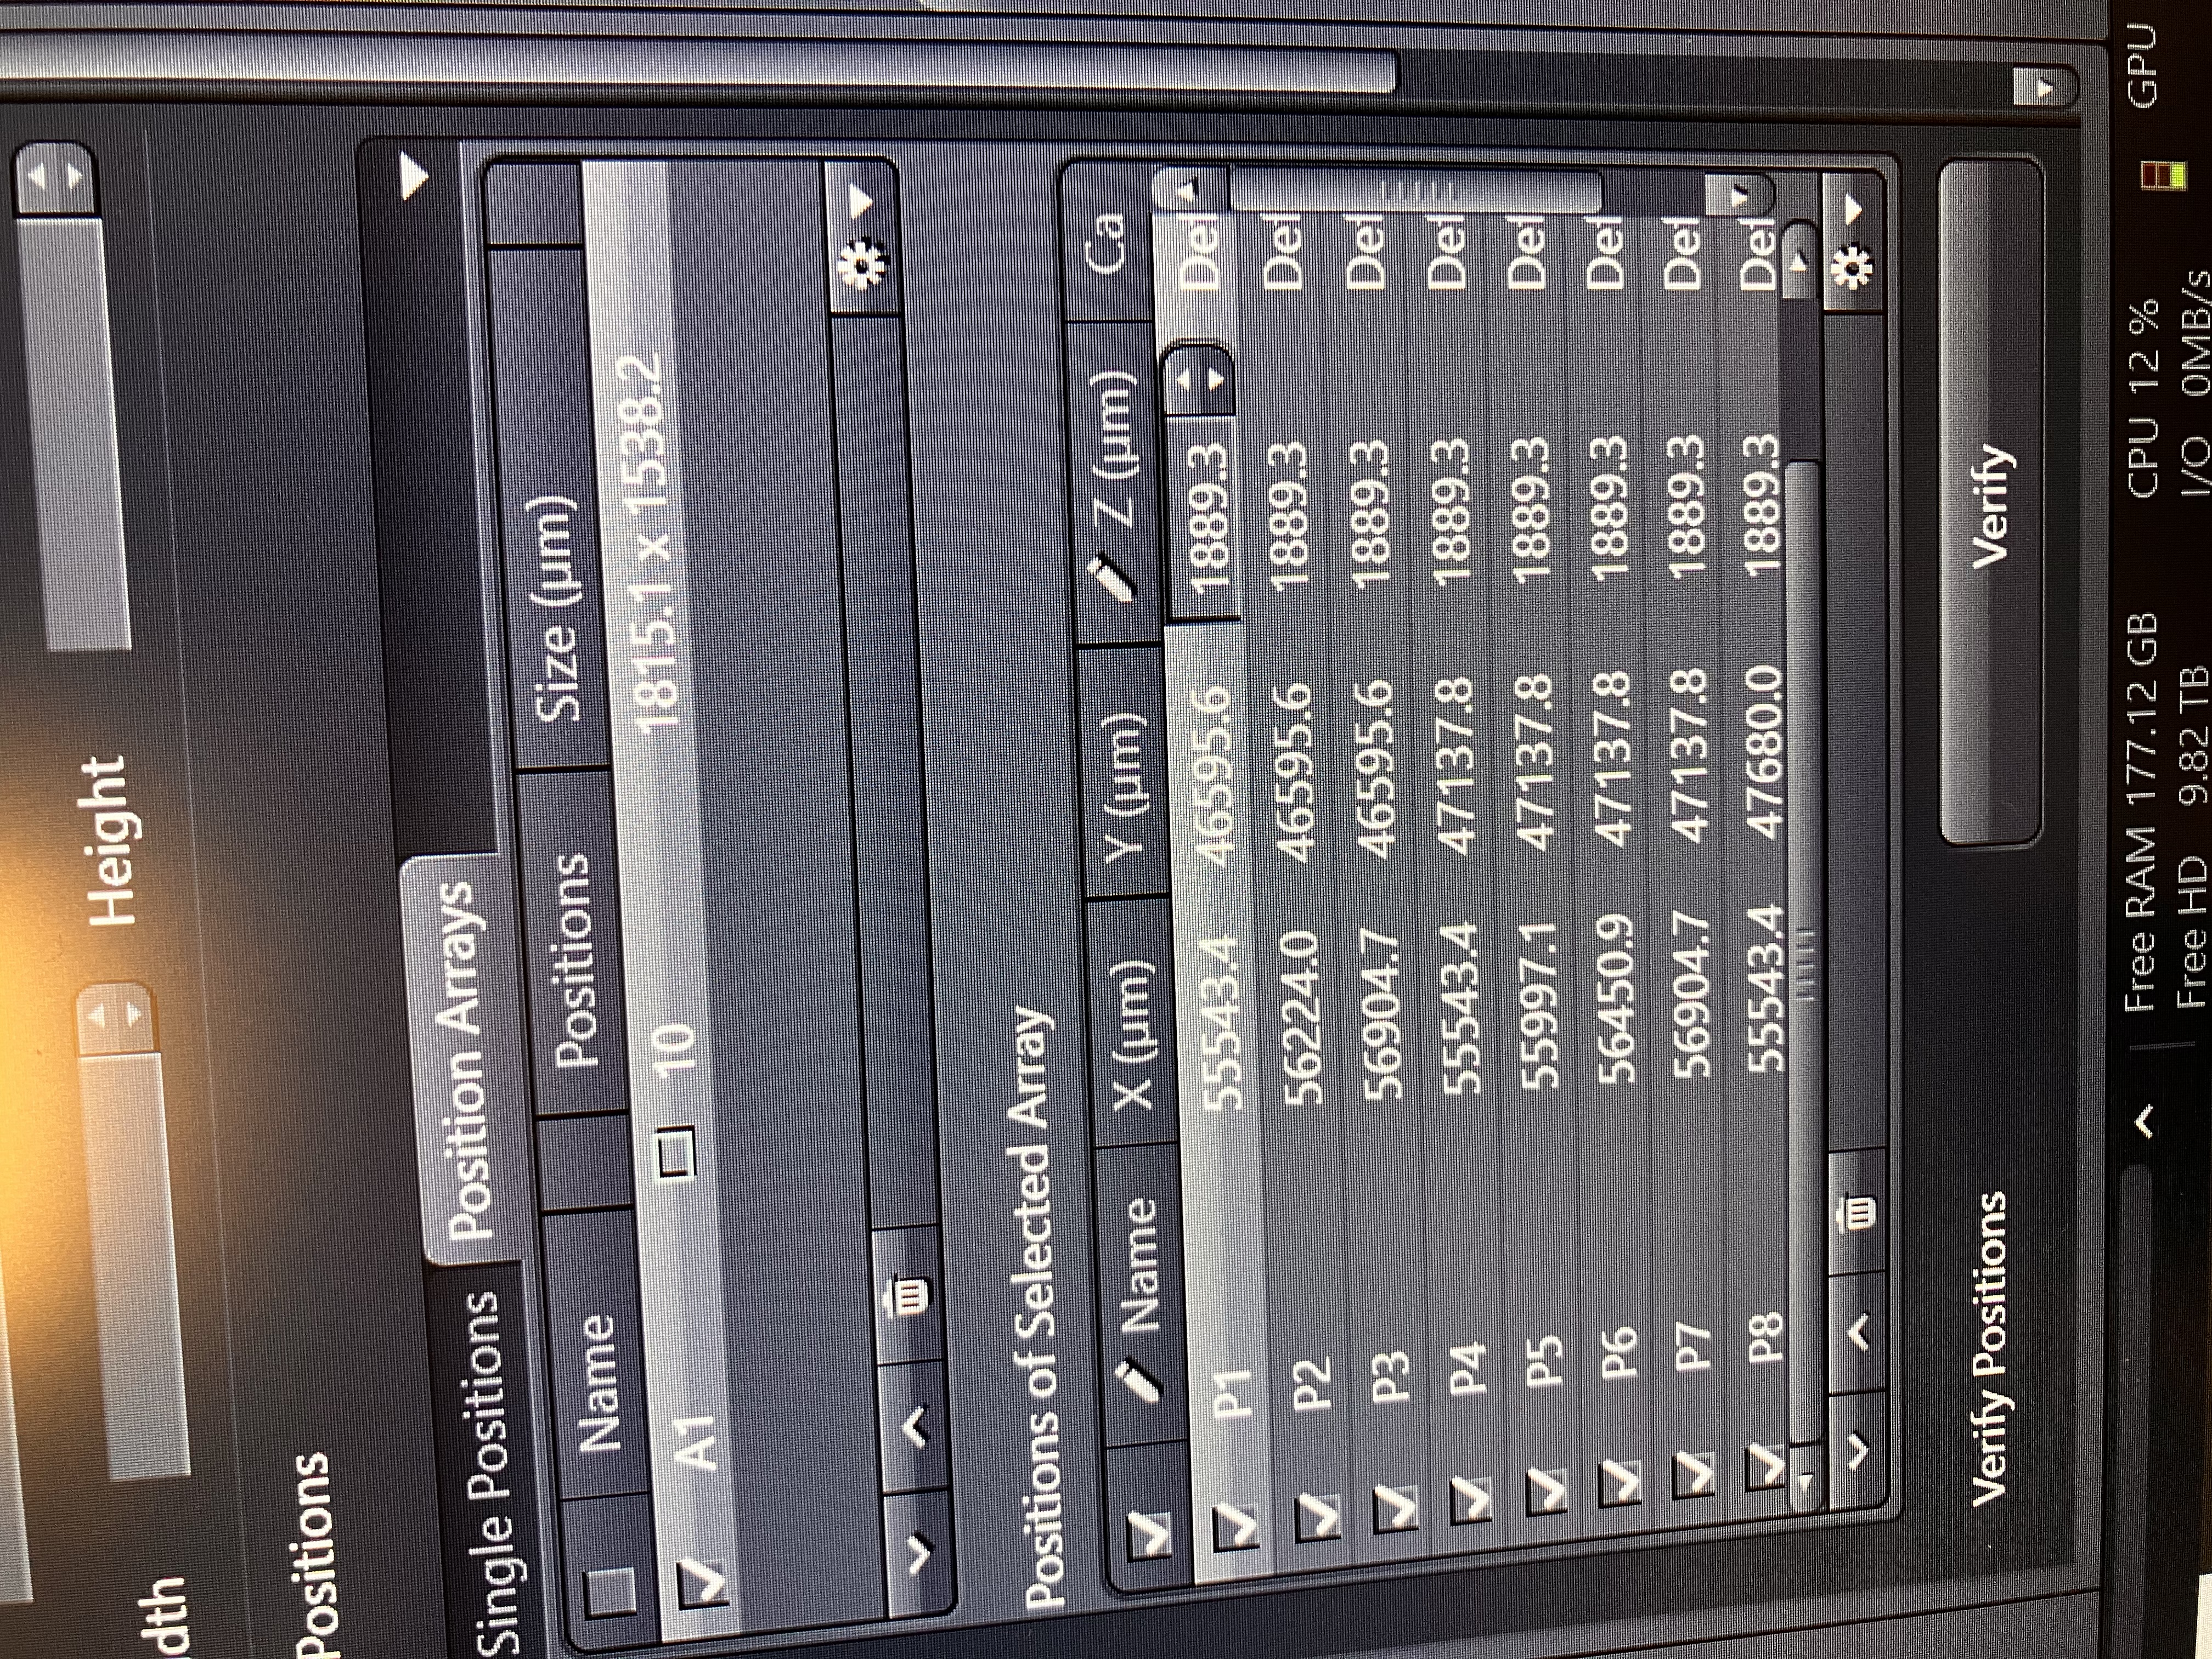
- You can see the positions in an array by clicking on it:
- You can look back up next to where the “Start Experiment” button is to make sure that the number of tiles makes sense. You may have to uncheck the box that corresponds to the tiles for the entire sample. Usually, this will be called “TR1” and will be comprised of a large amount of tiles:
5.2.3 Define Your Focus Strategy
- Navigate to one of the positions in your array by clicking on it listing in the “Tiles” tab.
- Get in focus, using the find surface button and/or the fine focus knob, after turning on “Live” and adjusting your view settings as described in the Single Image Acquisition section. You may want to toggle around to a few positions and set your view settings accordingly so as not to bias your images to one field of view. You might want to “Lock Focus” for this.
- Scroll down to the “Focus Strategy” tab and set the options as so:
5.3 Tiling
5.3.1 Create the Tiles
- Select one of the following tools in the navigation tab:
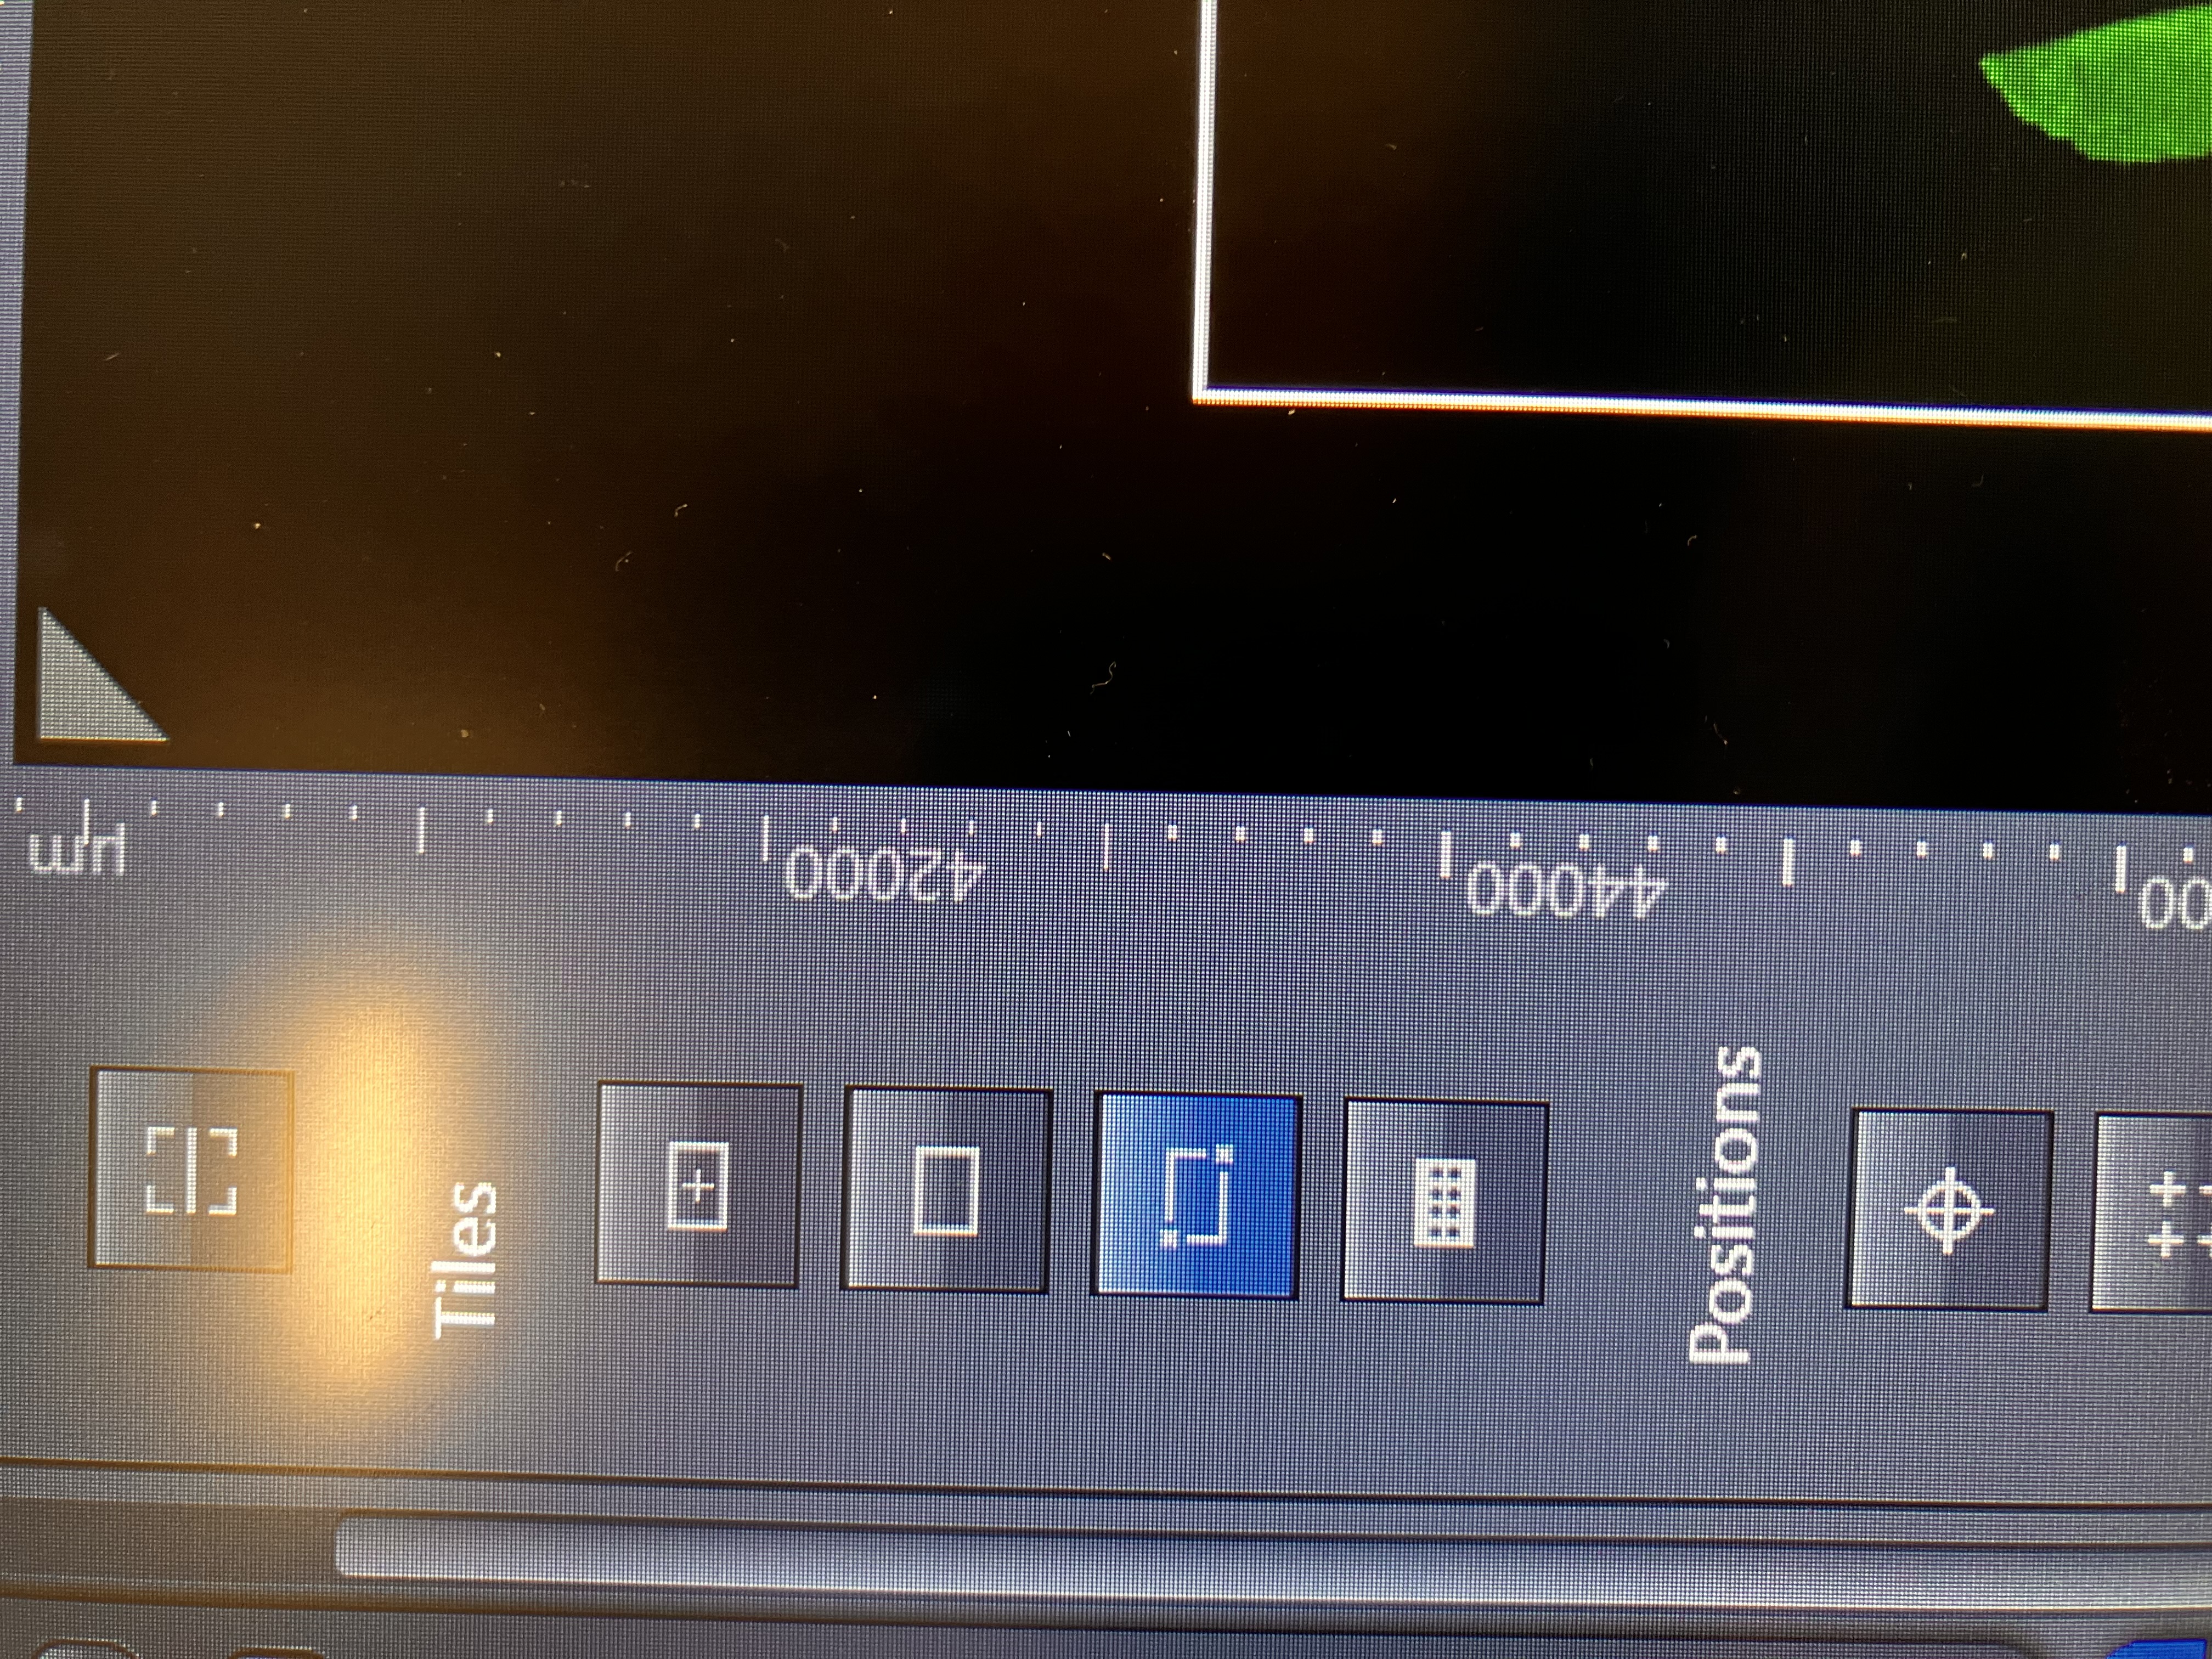
- Use the tool to create tile regions.
The tool selected in the image above will create a shape that is bounded by two points that you choose and grid over that shape. The tool above this one will allow you to draw a shape for which a grid will be placed over. Here are some examples of the shapes you can make:
5.3.2 Select the Tiles to Image
- Navigate to the “Tiles” tab and check which tile regions you want to image. You can look back up next to where the “Start Experiment” button is to make sure that the number of tiles makes sense. You may have to uncheck the box that corresponds to the tiles for the entire sample. Usually, this will be called “TR1” and will be comprised of a large amount of tiles:
You also may want to check for any position arrays within the “Tiles” tab and uncheck those.
5.3.3 Set Tile Options
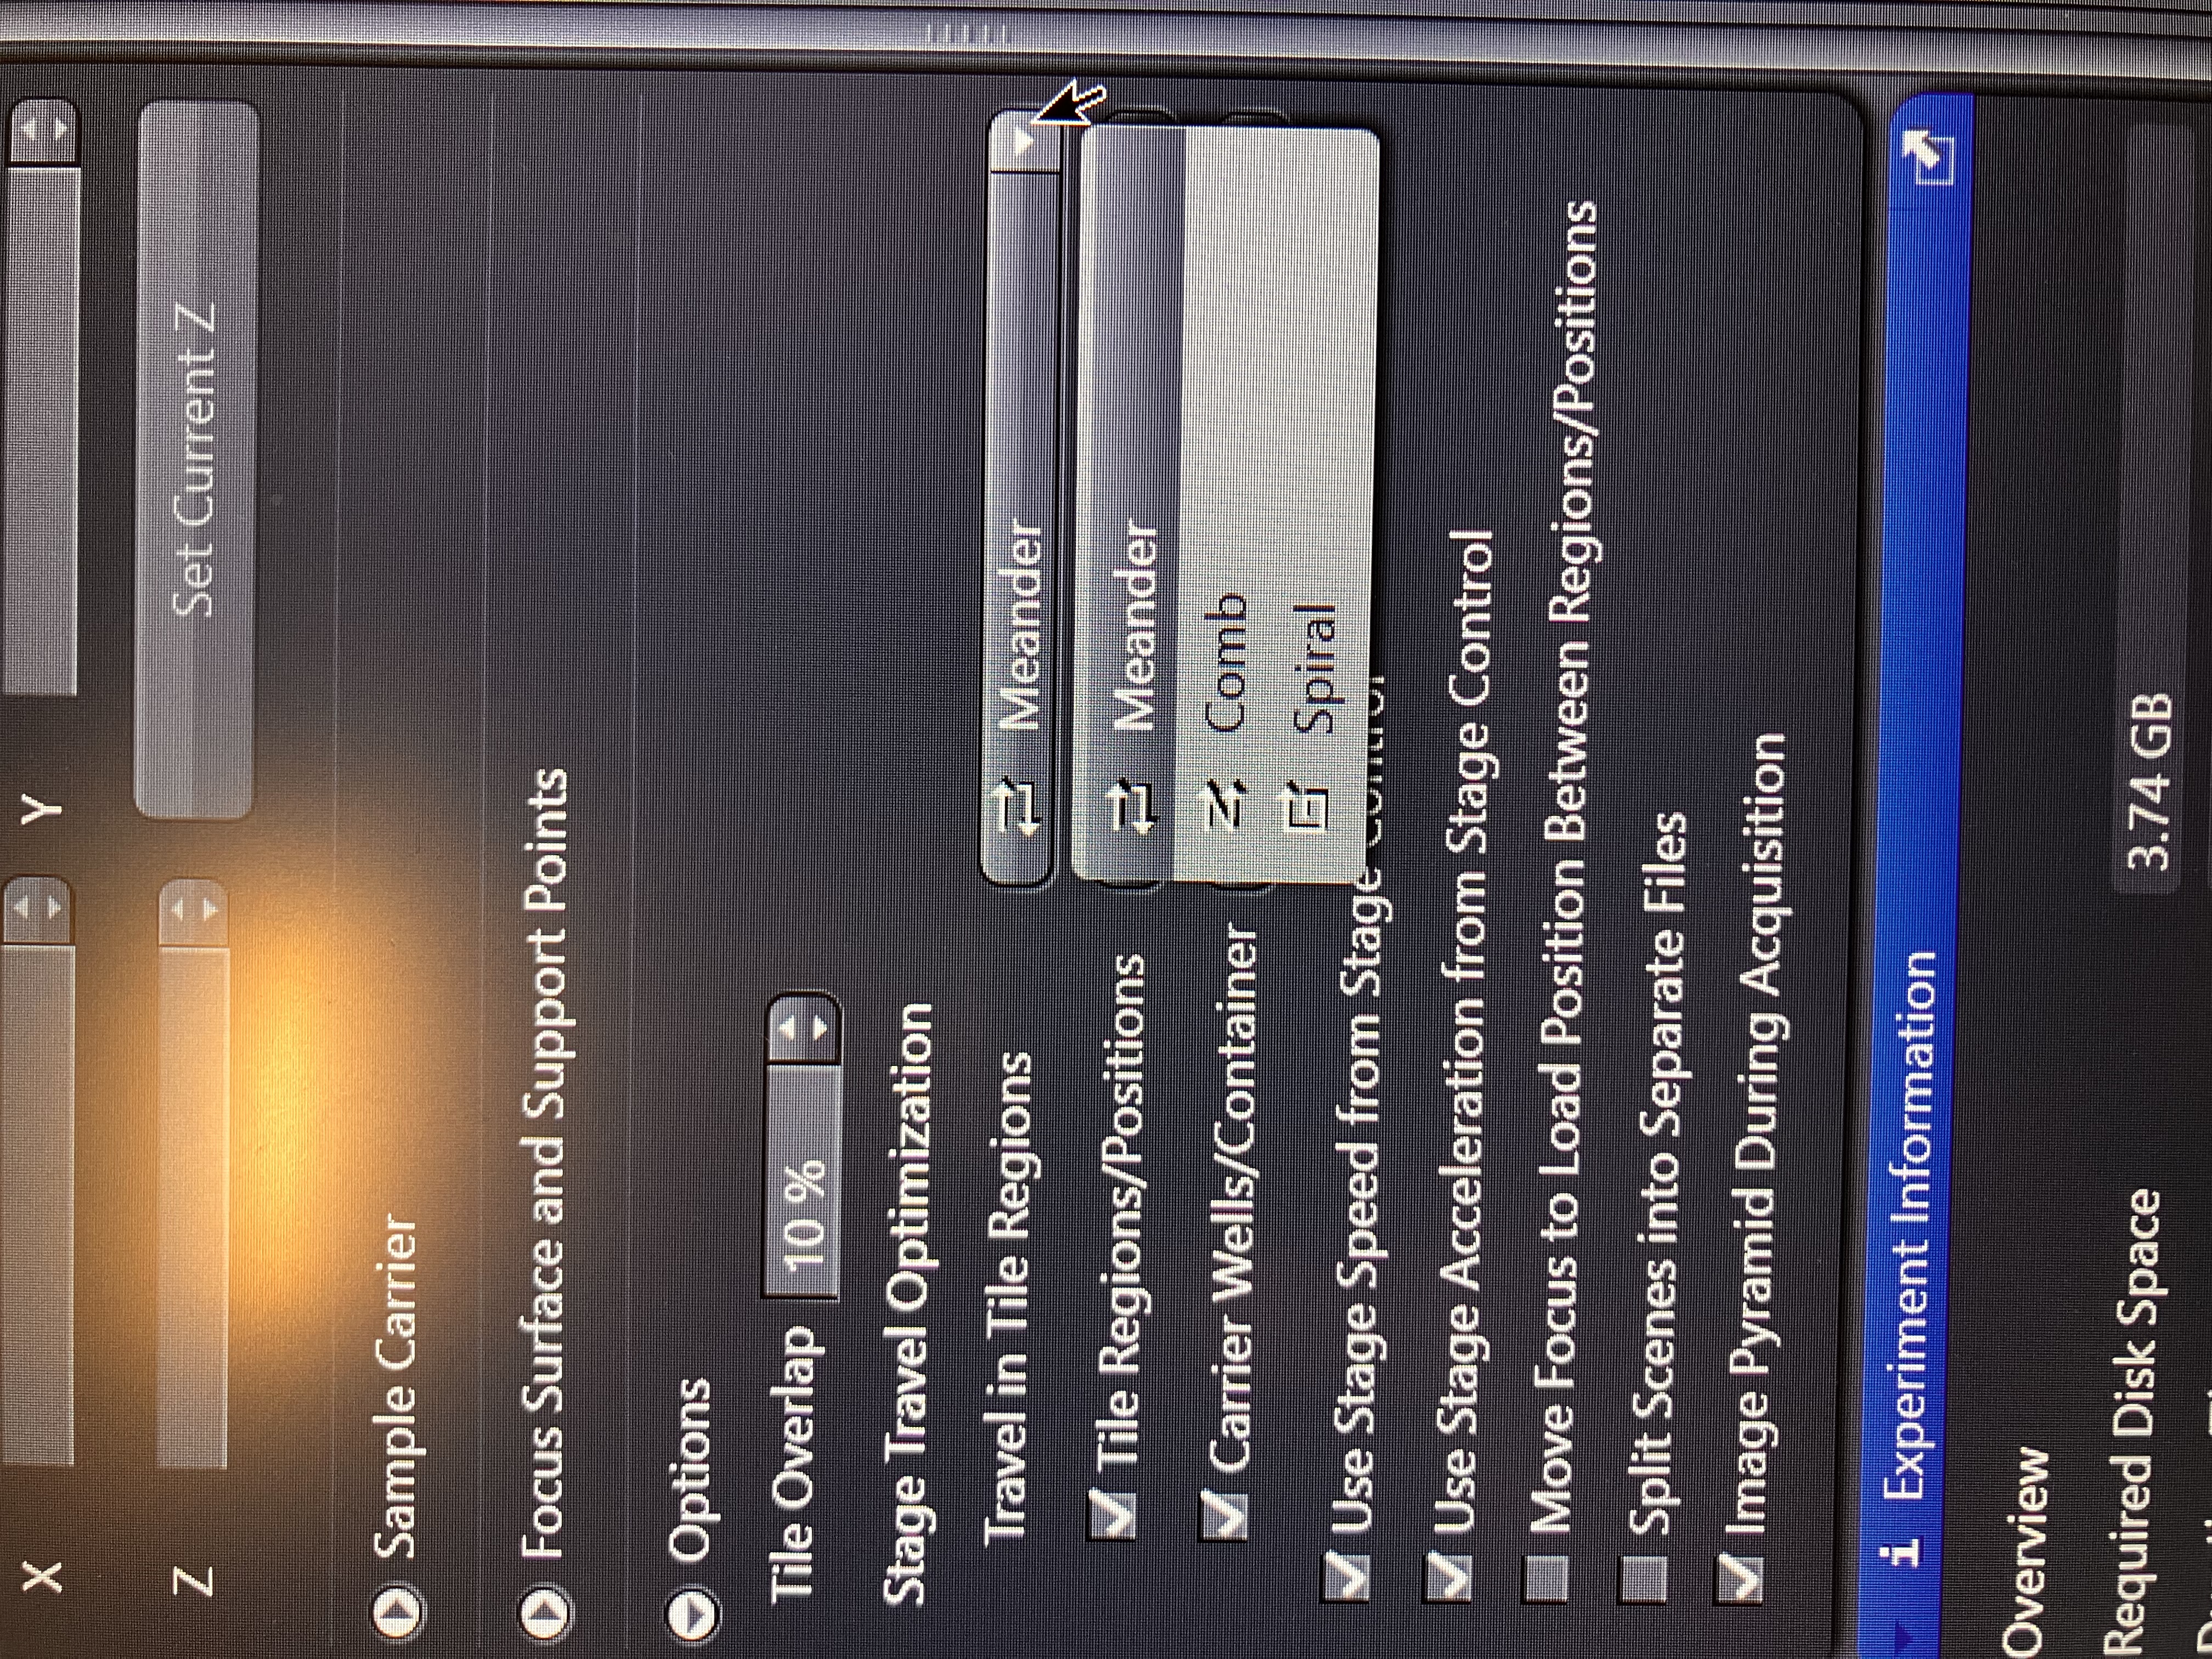
For tile regions, the “Tile Tab” has some more options that you may want to explore. These are pretty self-explanatory:
5.3.4 Define Your Focus Strategy
- Navigate to somewhere in your tile region by double-clicking in it within the navigation tab.
- Get in focus, using the find surface button and/or the fine focus knob, after turning on “Live” and adjusting your view settings as described in the Single Image Acquisition section. You may want to toggle around to a few positions and set your view settings accordingly so as not to bias your images to one field of view. You might want to “Lock Focus” for this.
- Scroll down to the “Focus Strategy” tab and set the options as so:
5.3.5 Run Your Experiment
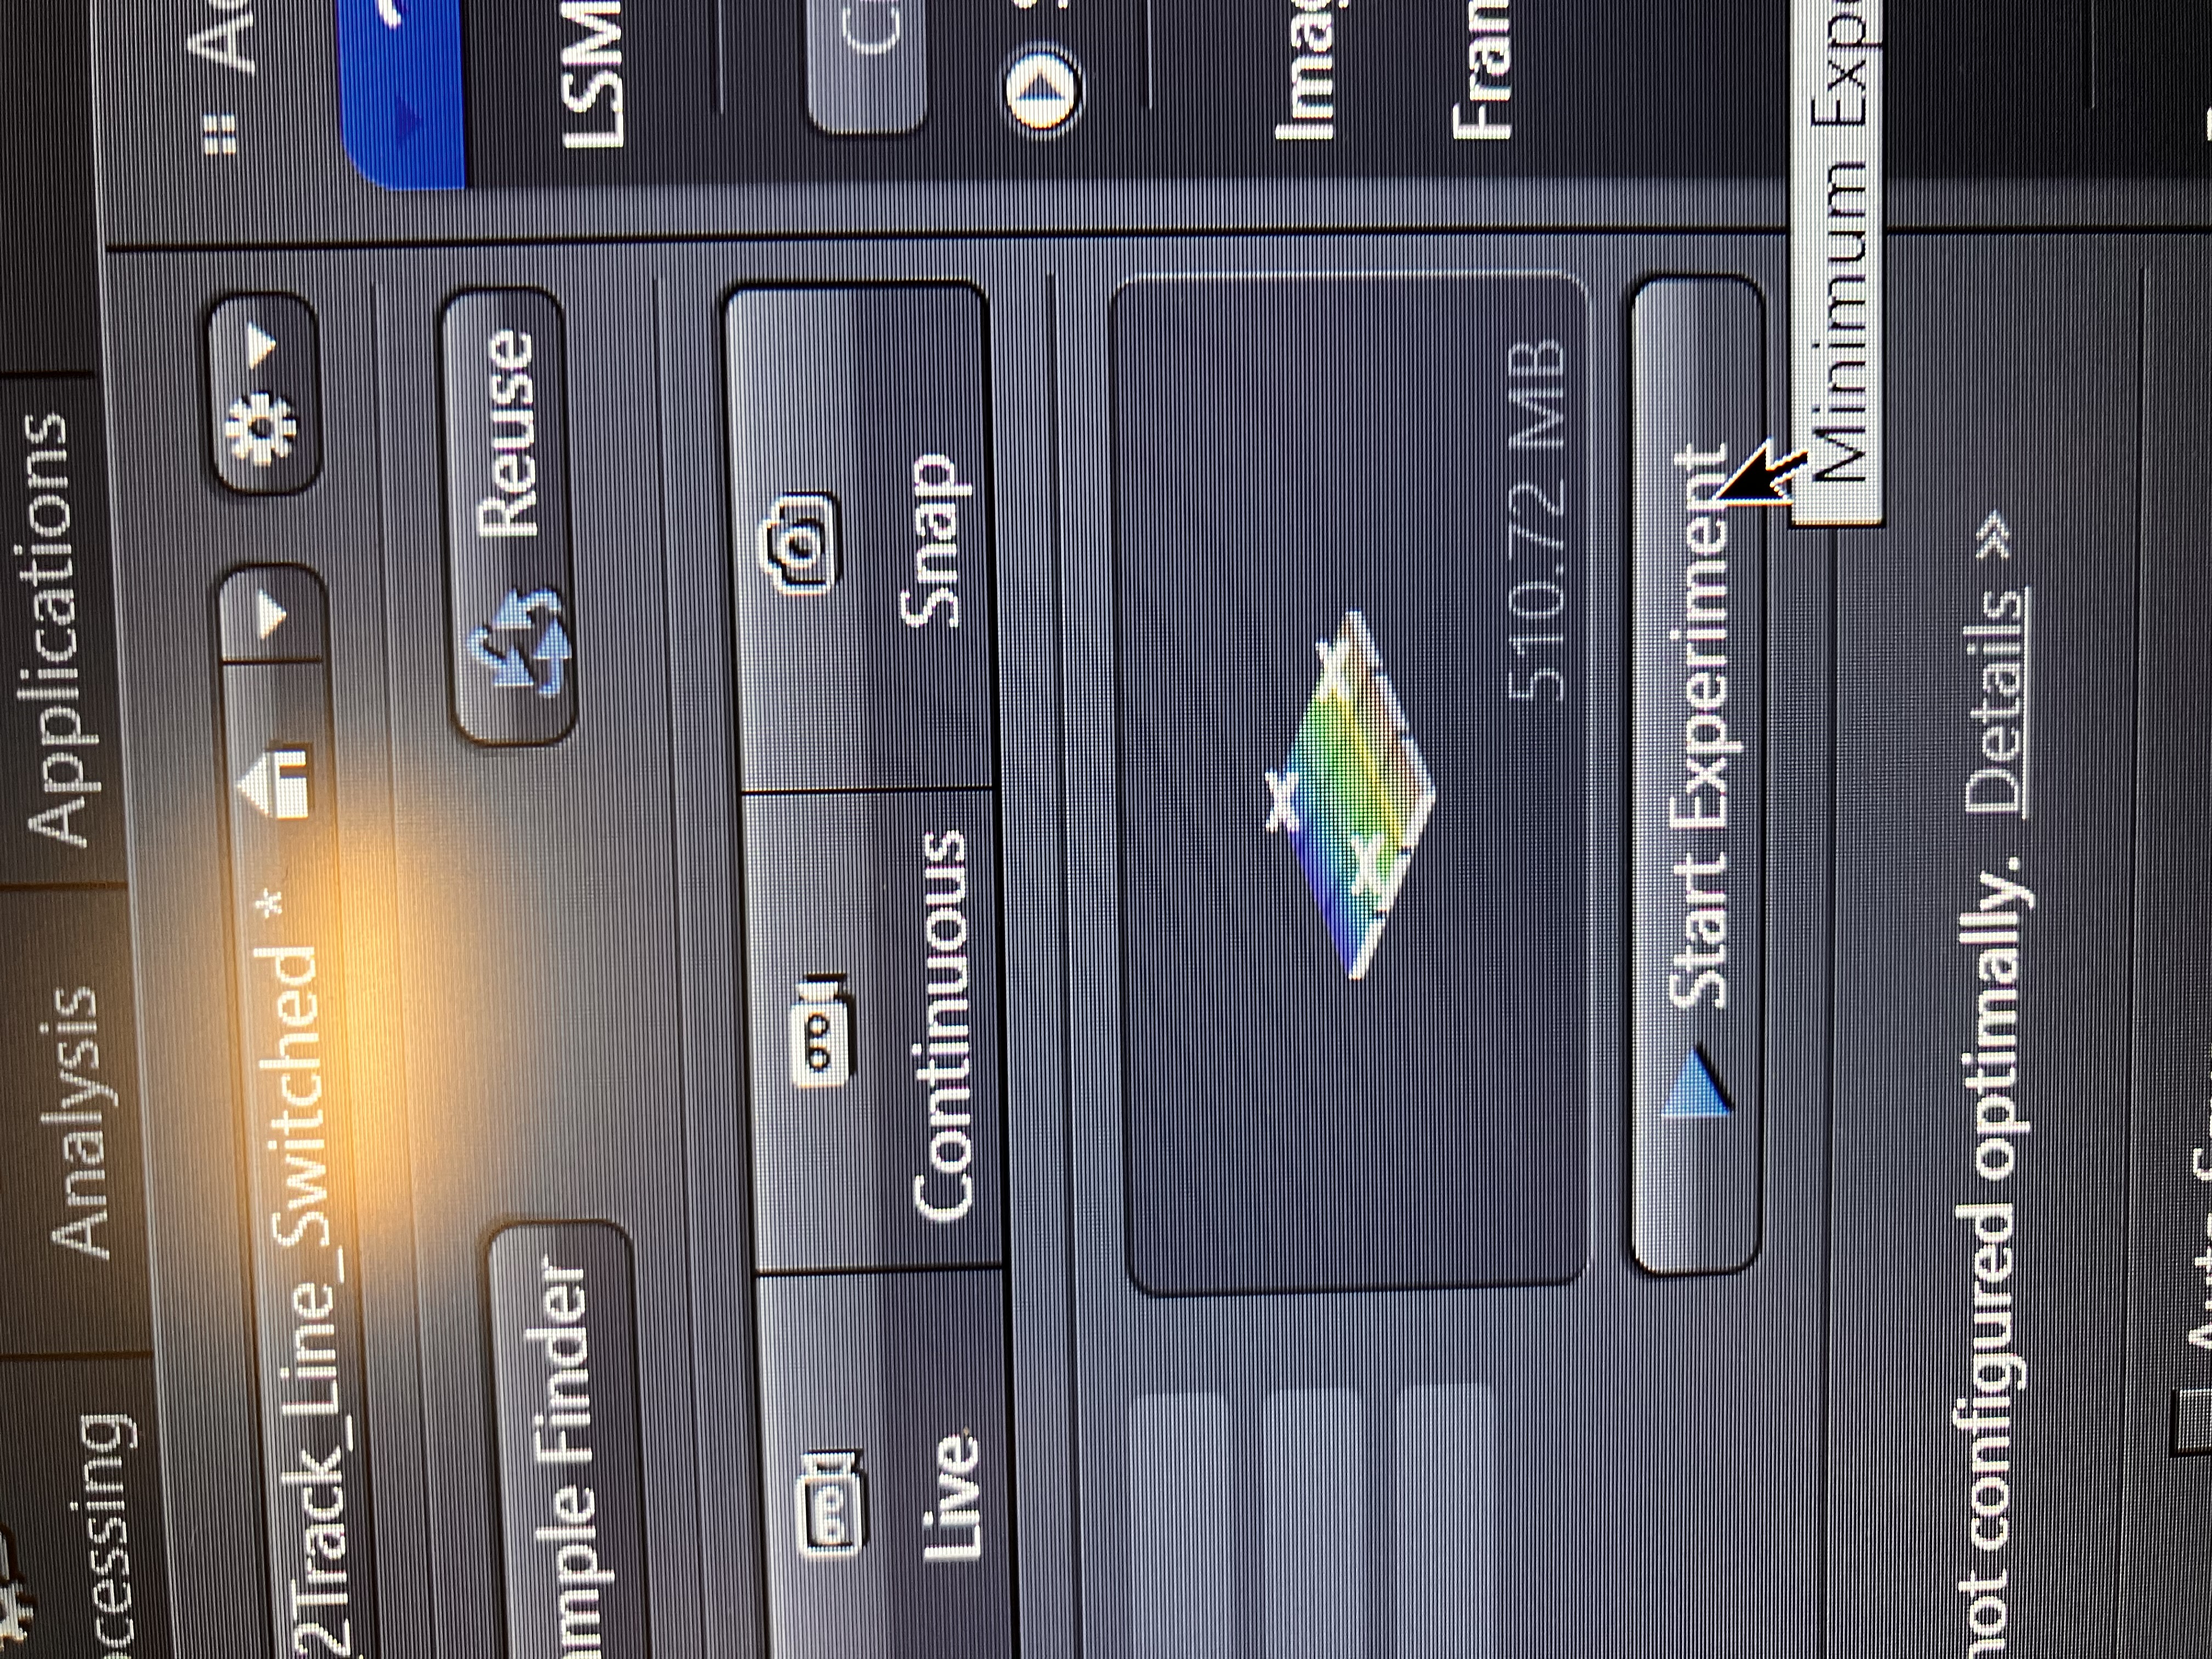
Confirm that the experiment size makes some sense and click “Start Experiment” here:
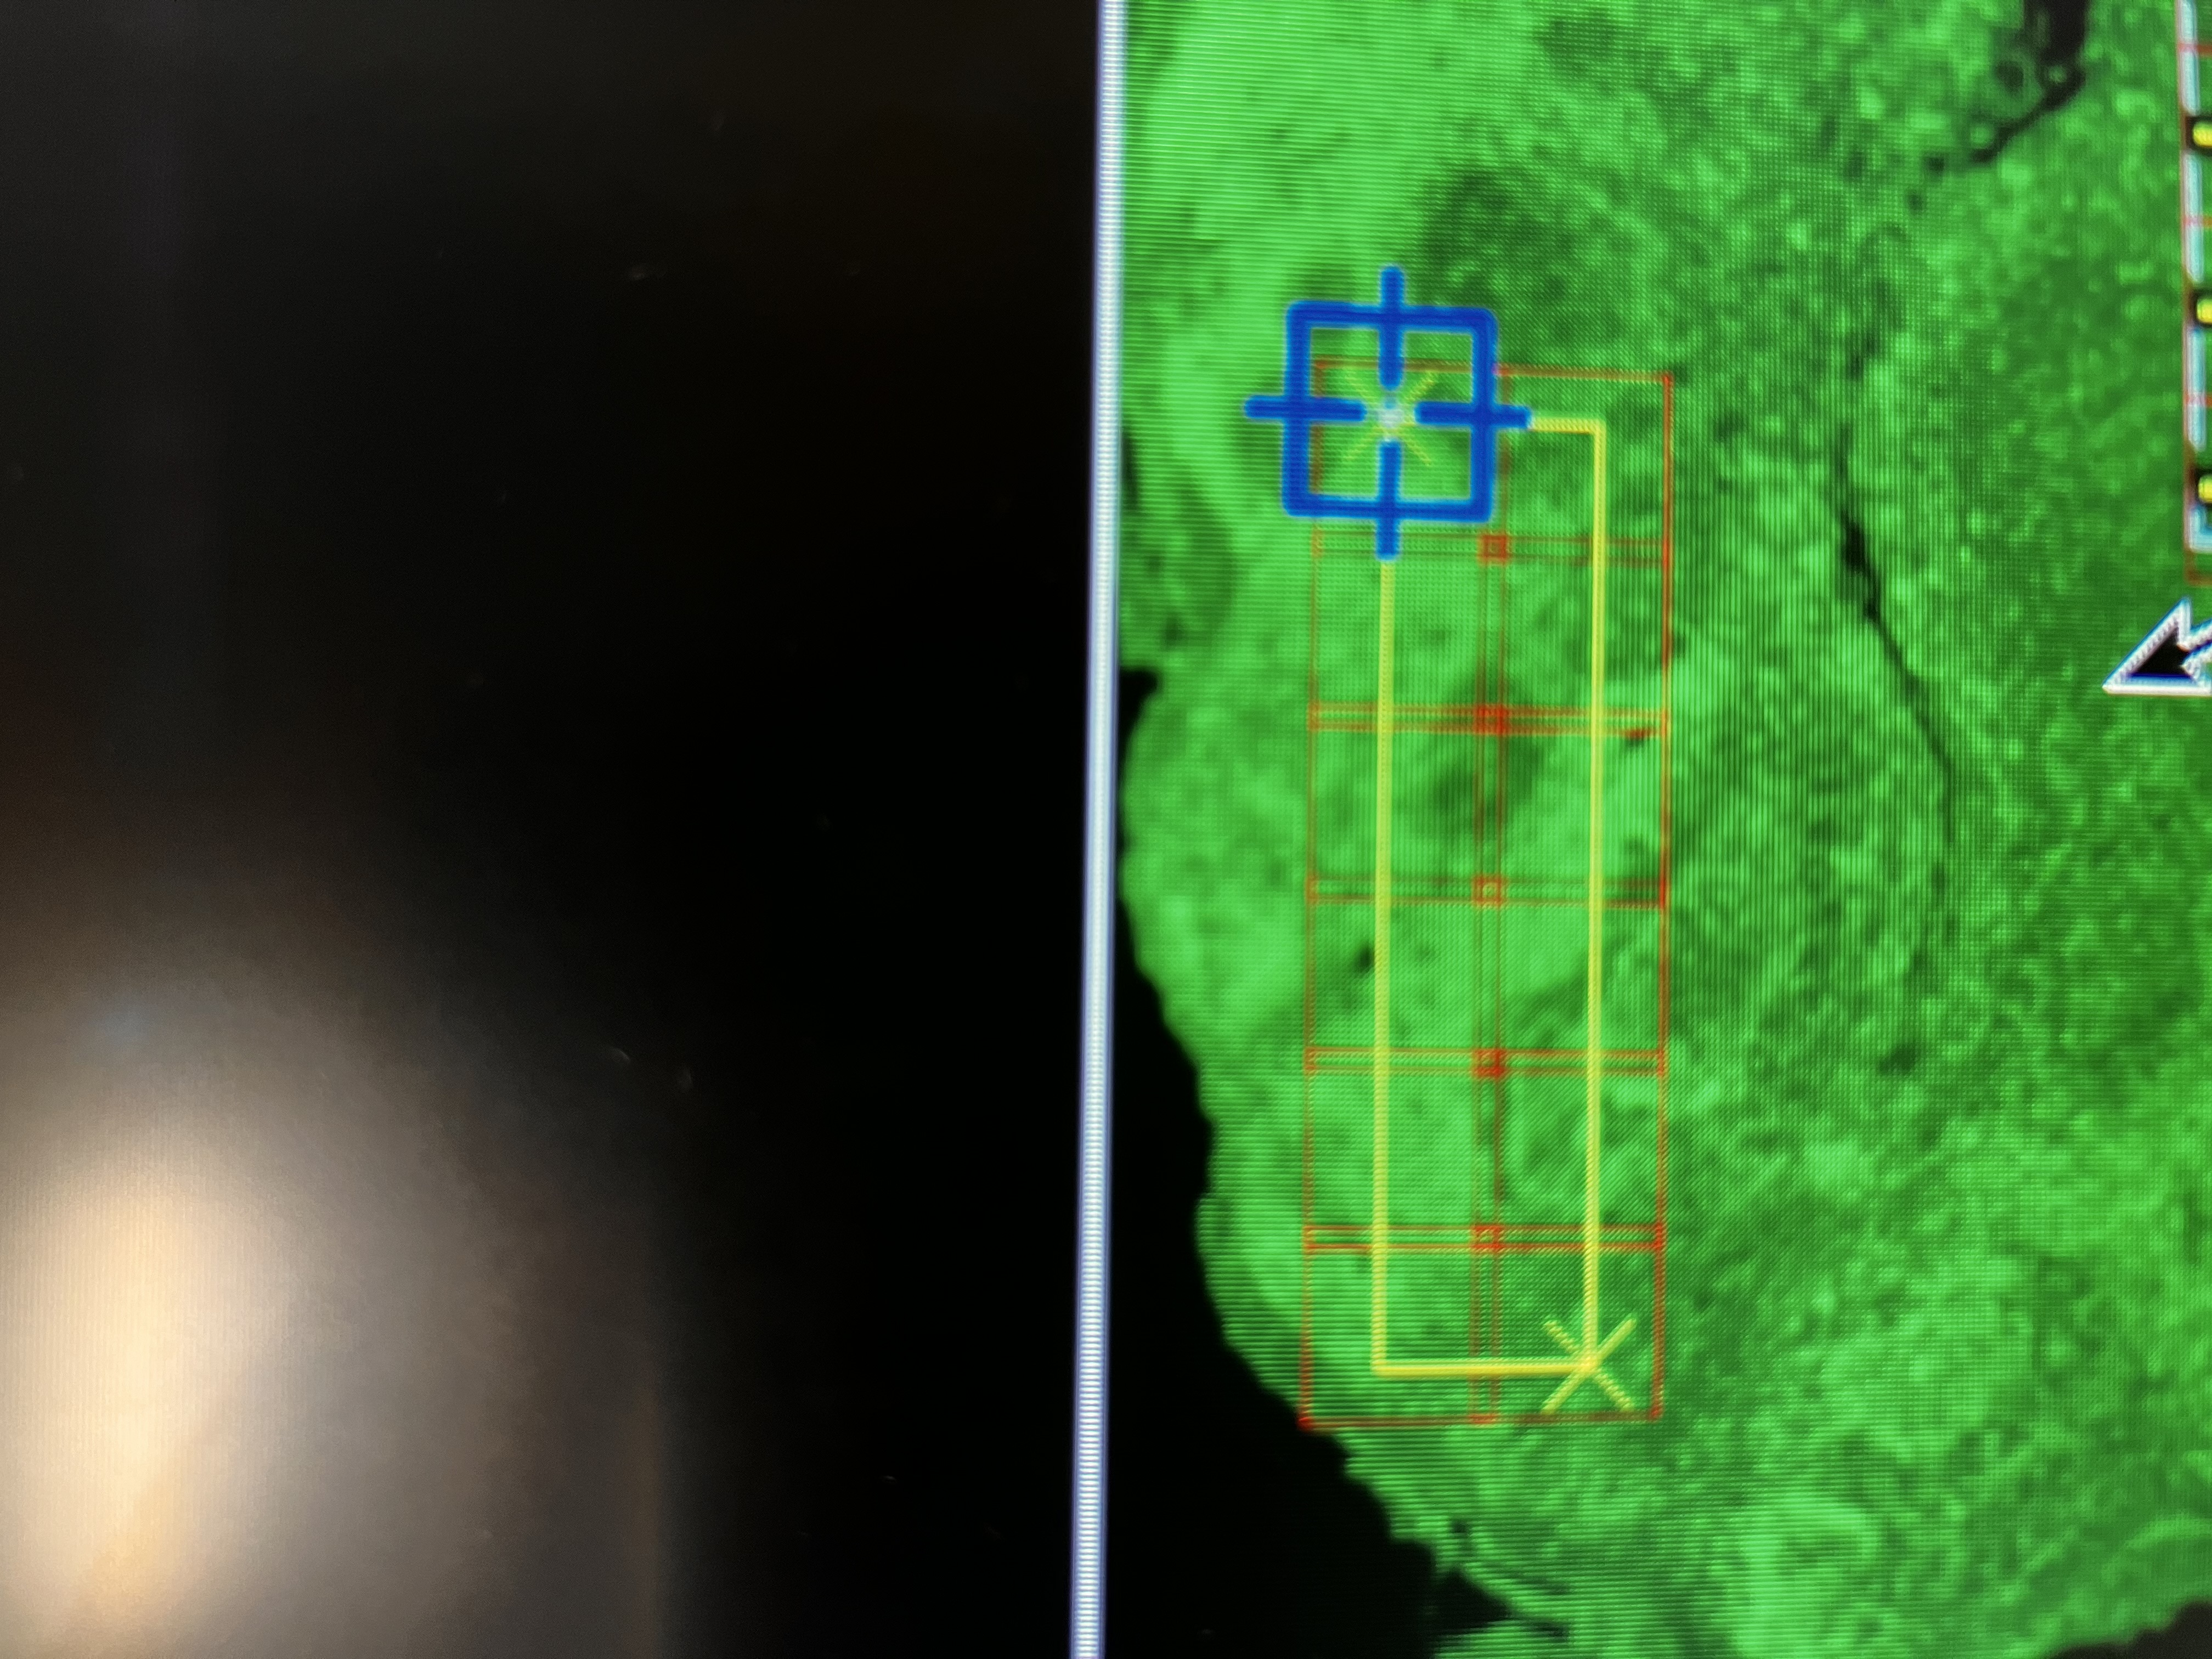
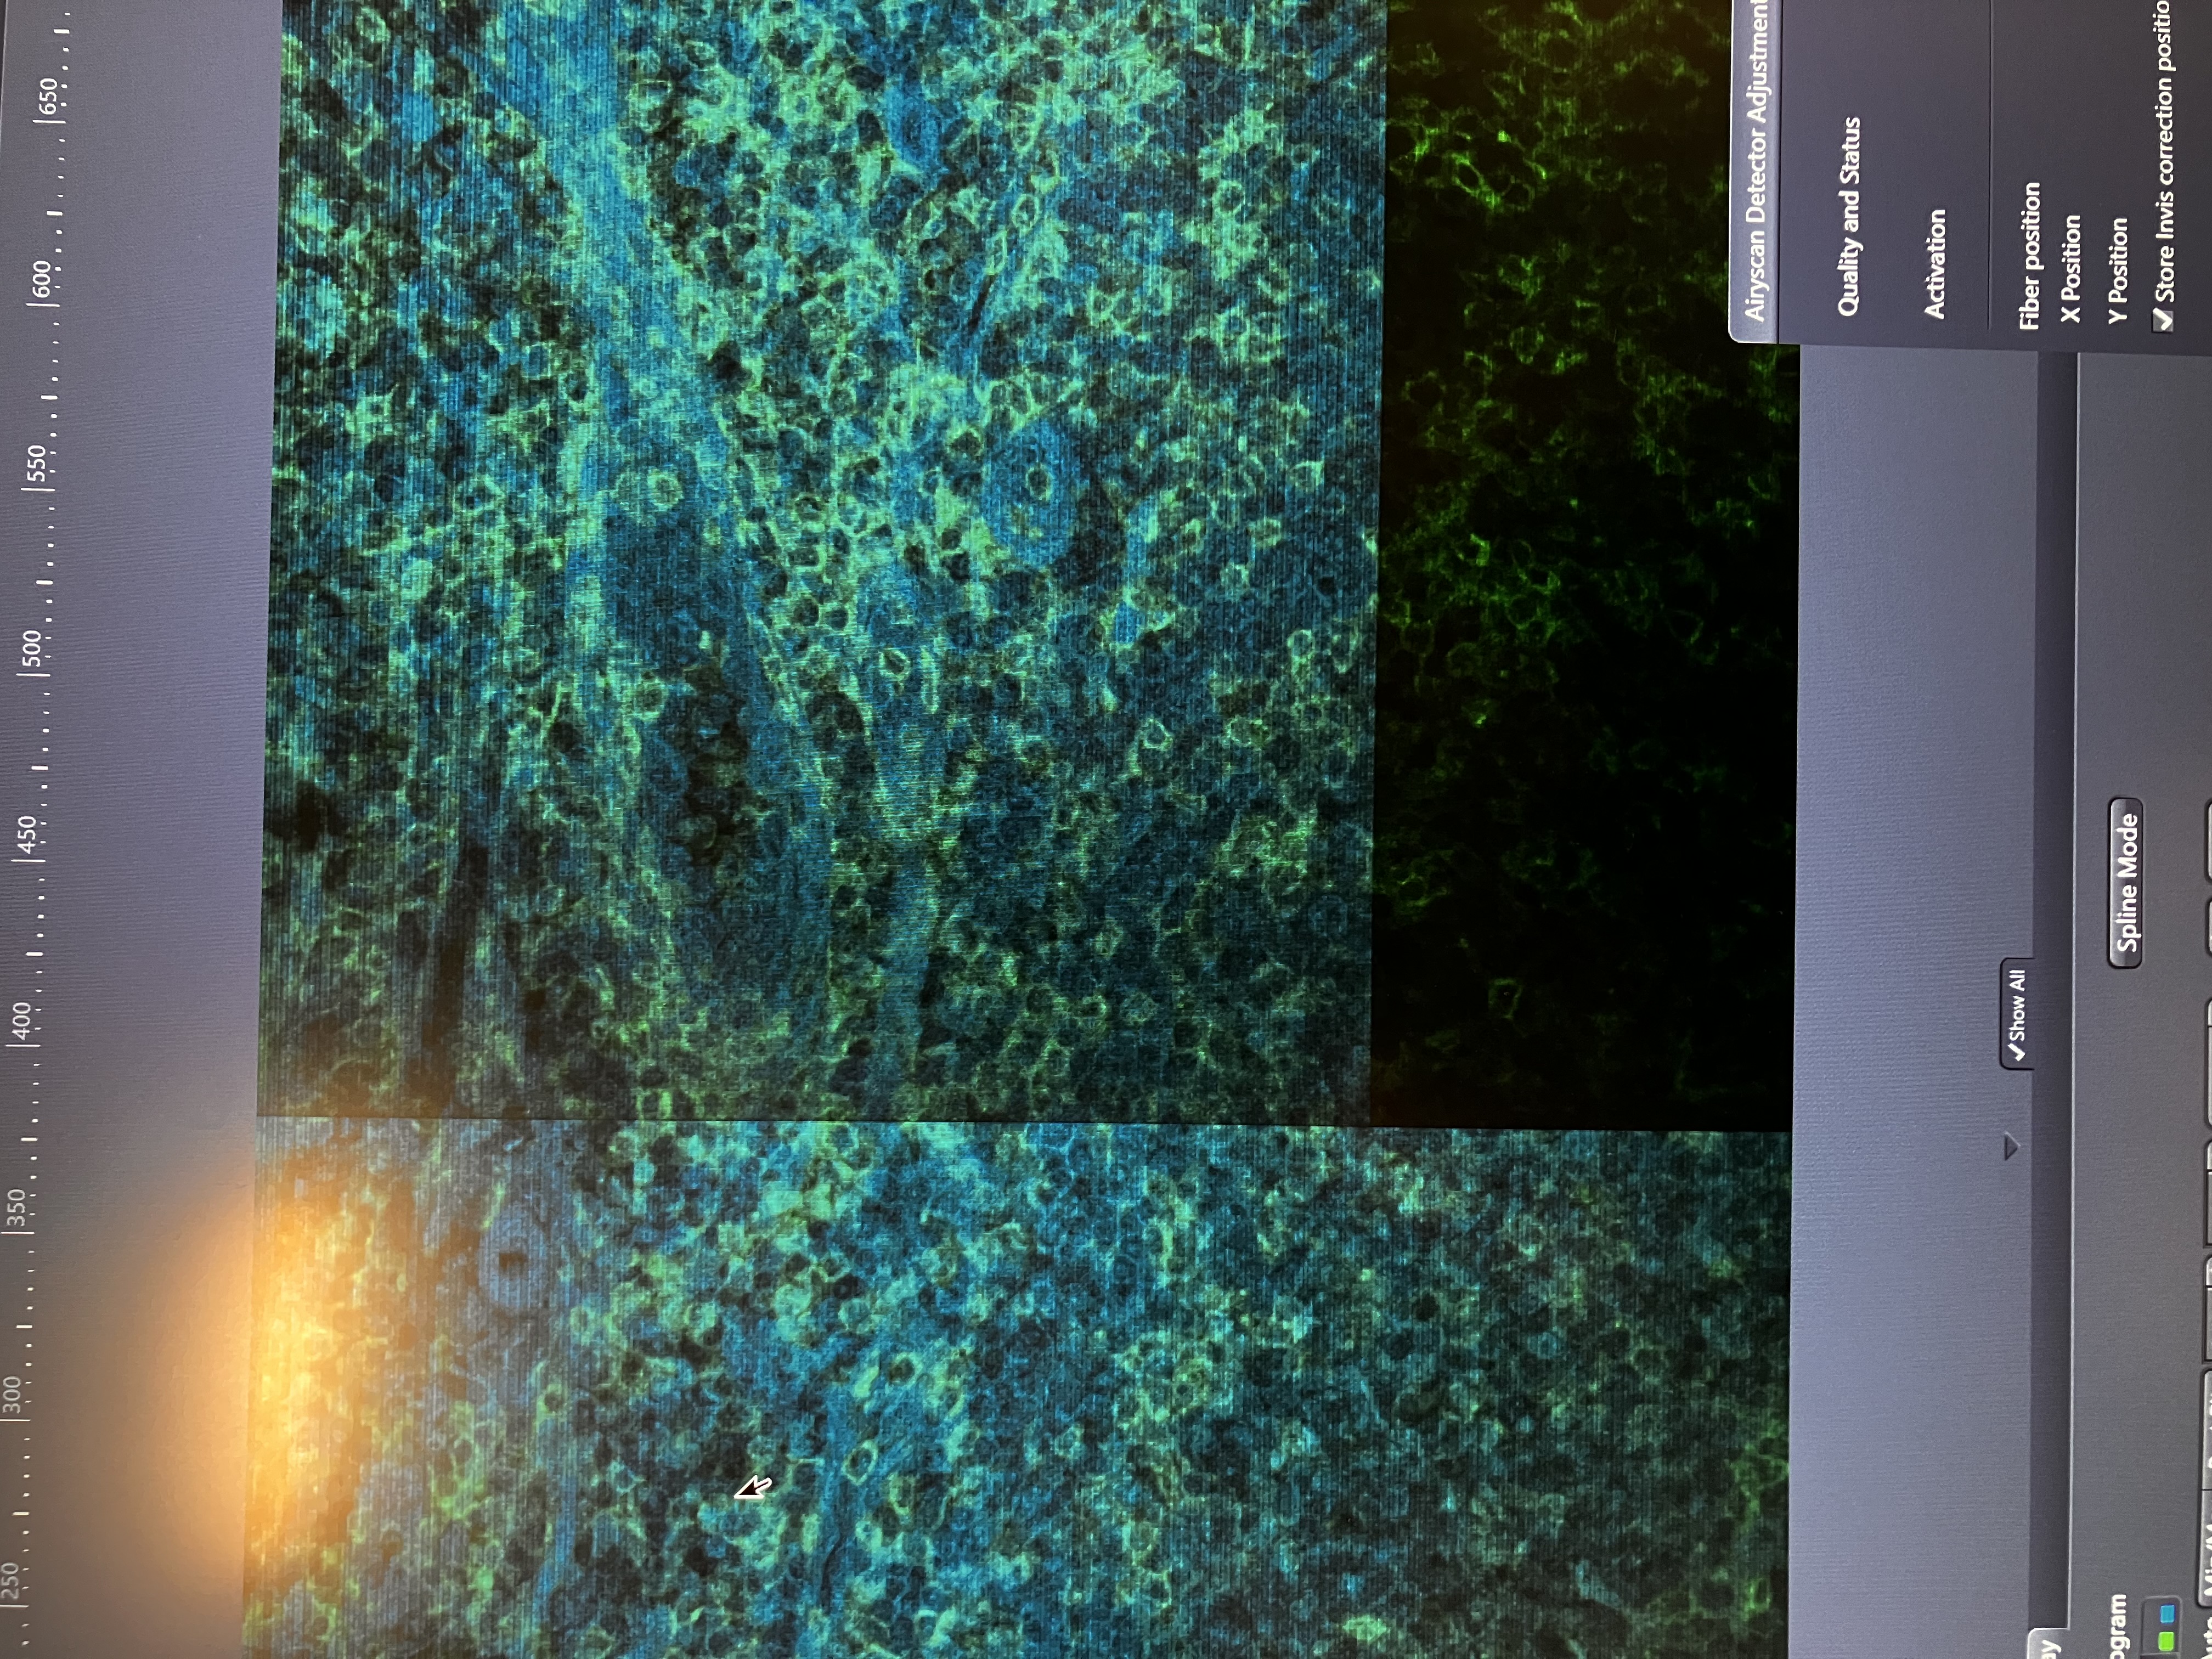
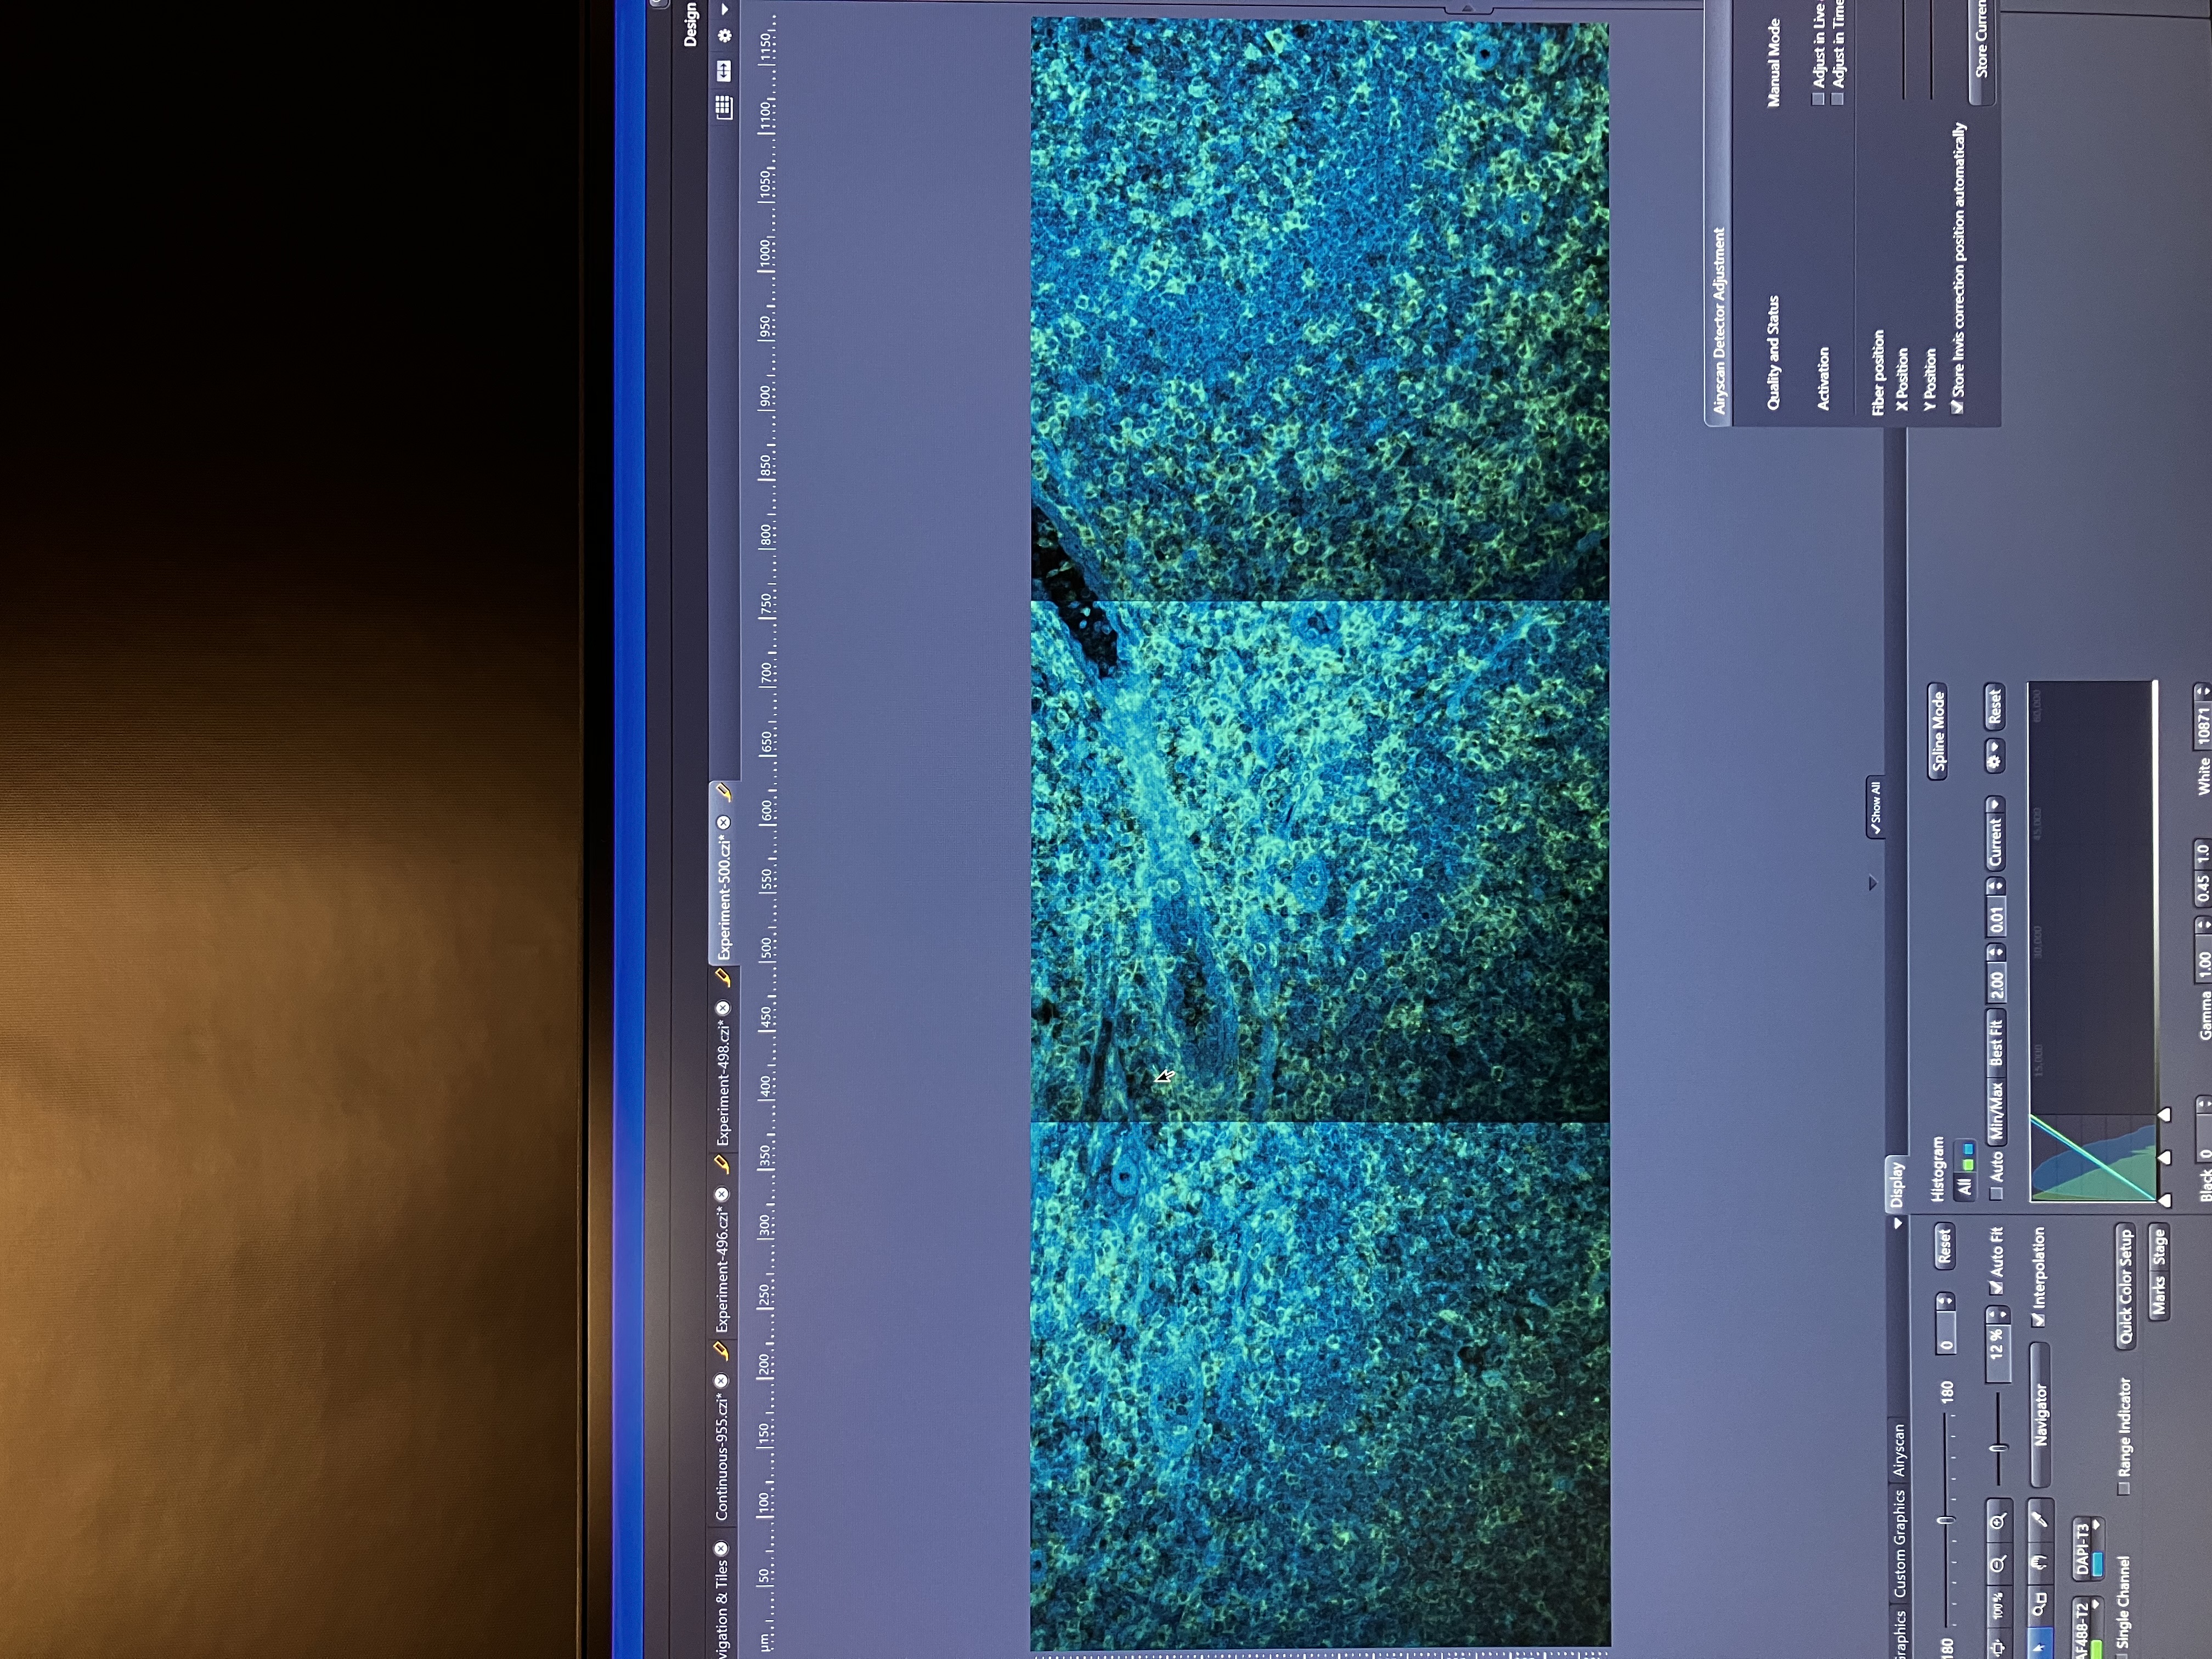
The experiment should start running, and you should see the images being produced in real time. You should be able to see adjacent tiles being added next to one another as so:
You can save this experiment before stitching just like you can save any image.
5.3.6 Stitch Your Tiles Together
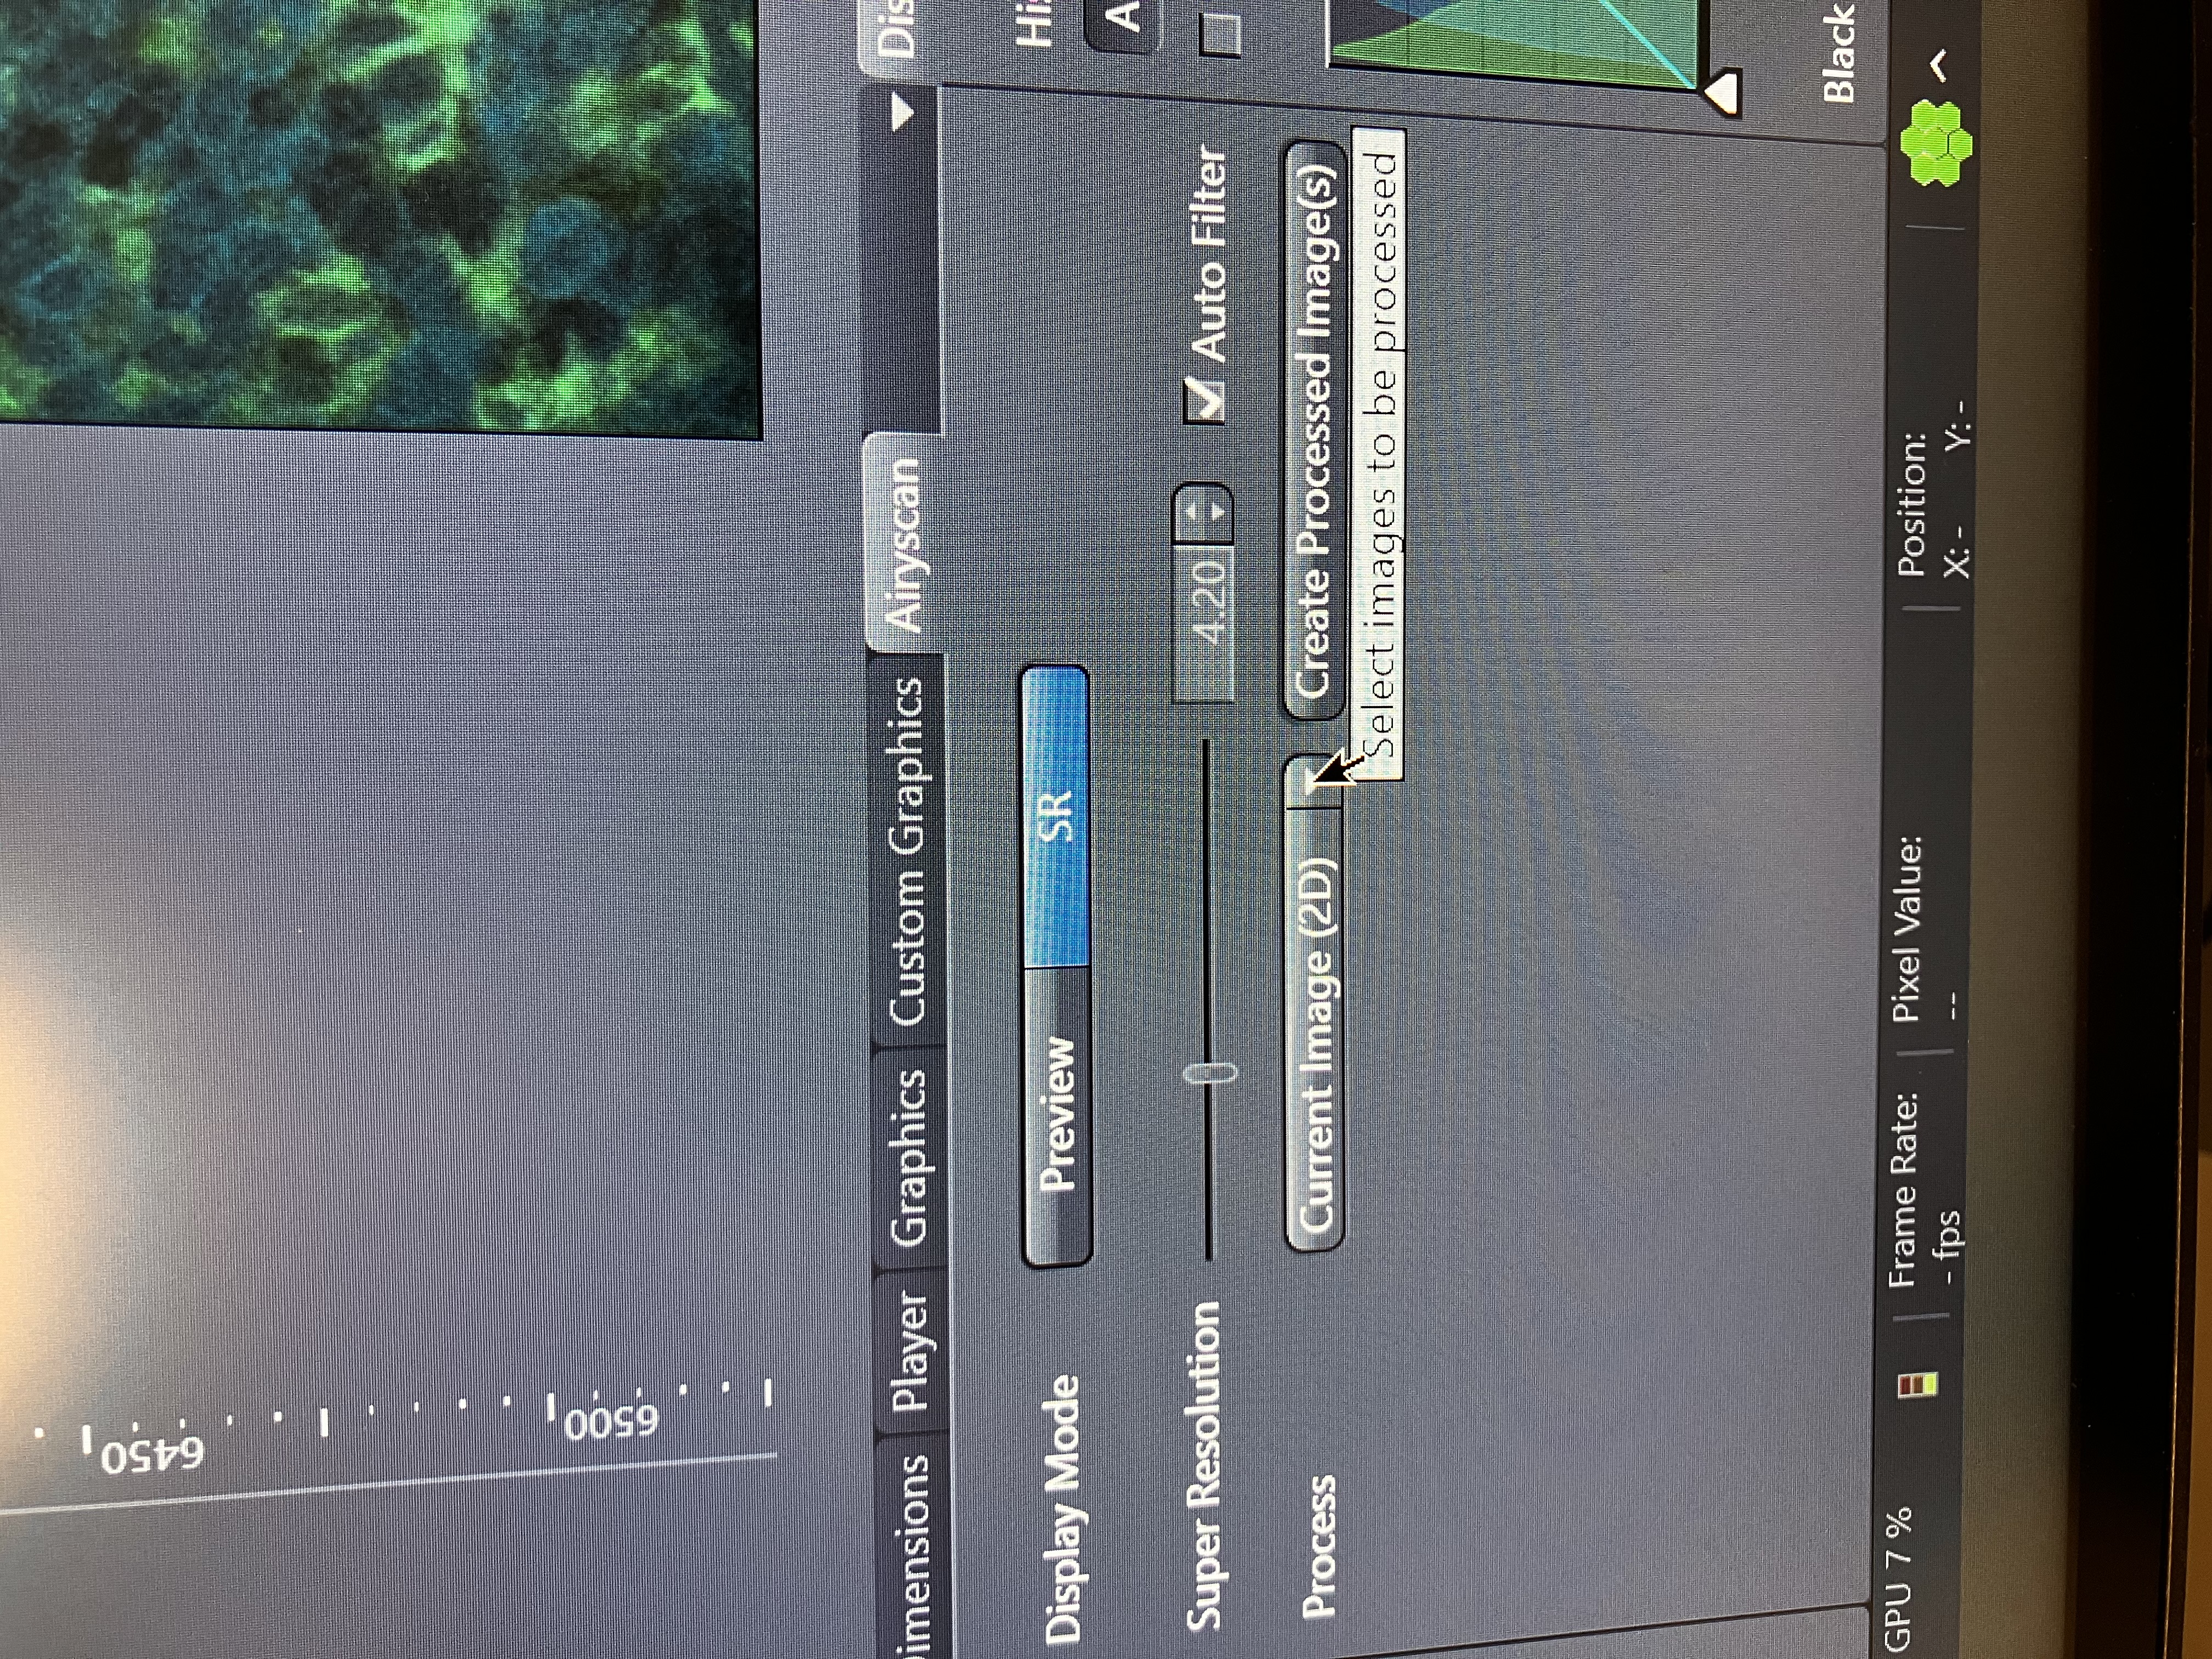
- Create a flat processed image. Stitching only works on processed images. This applies to tiles of z-stacks too.
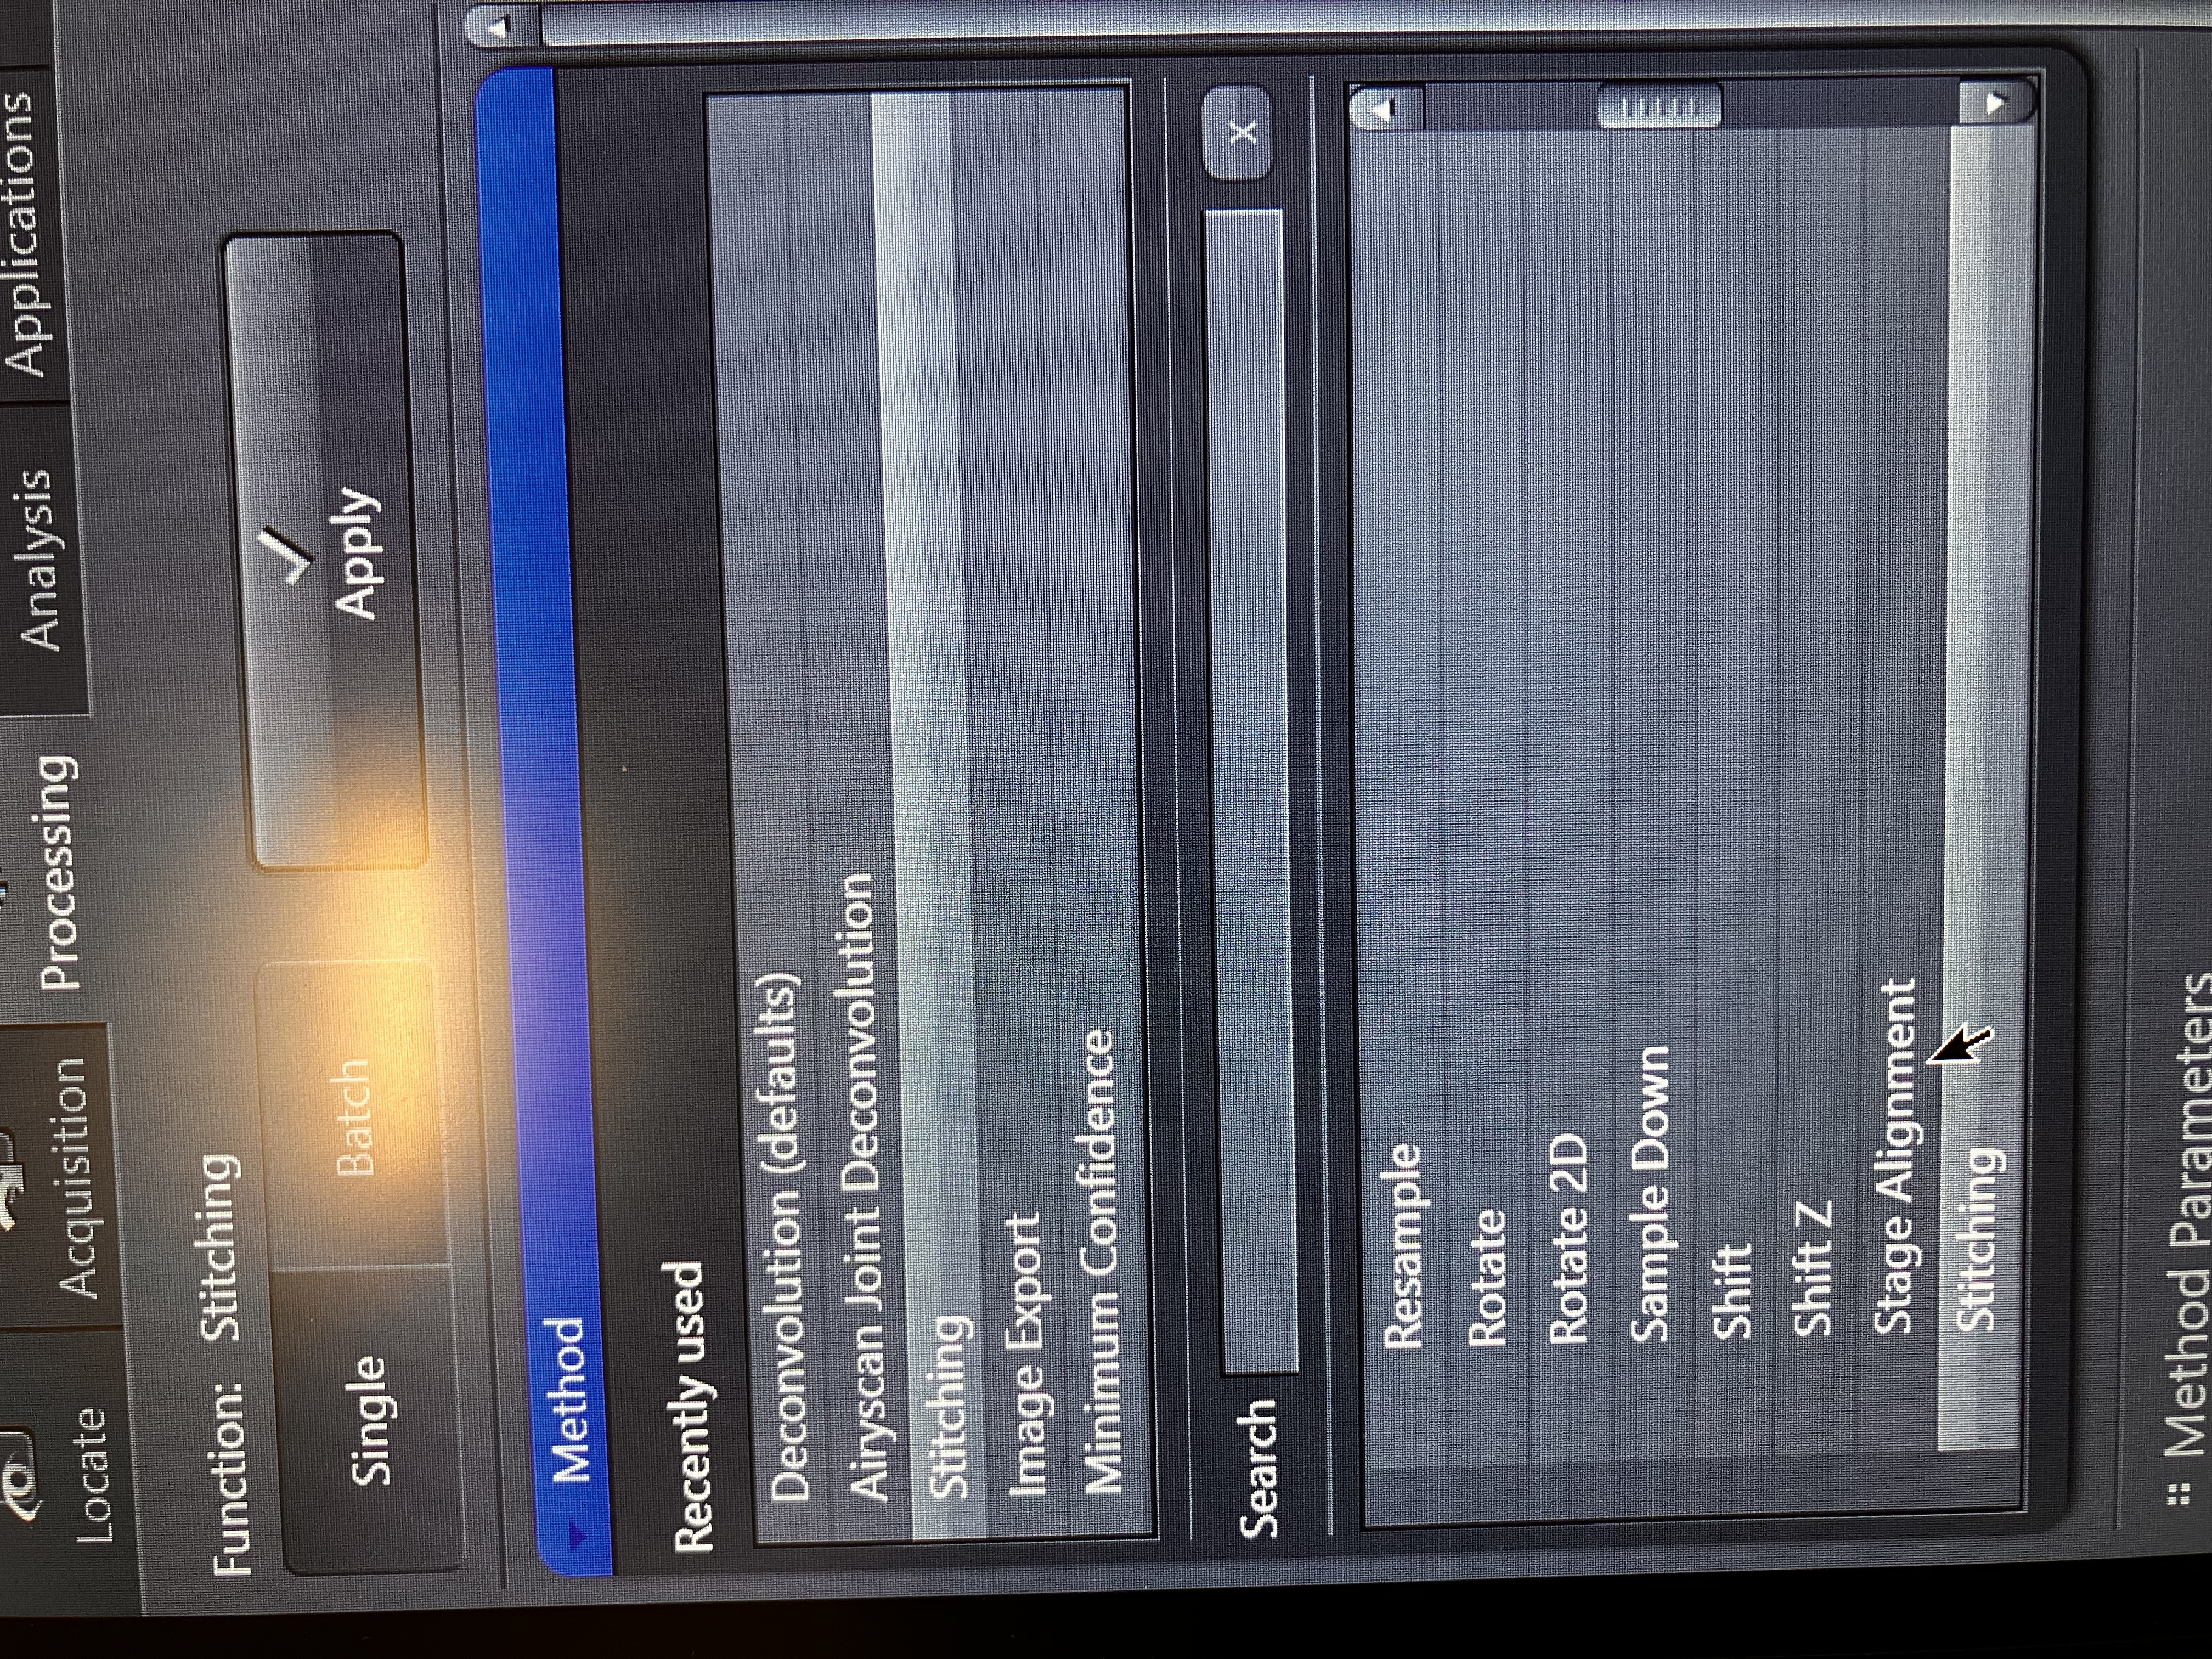
- Navigate to the “Processing” at the top left of the screen and find the “Stitching” method:
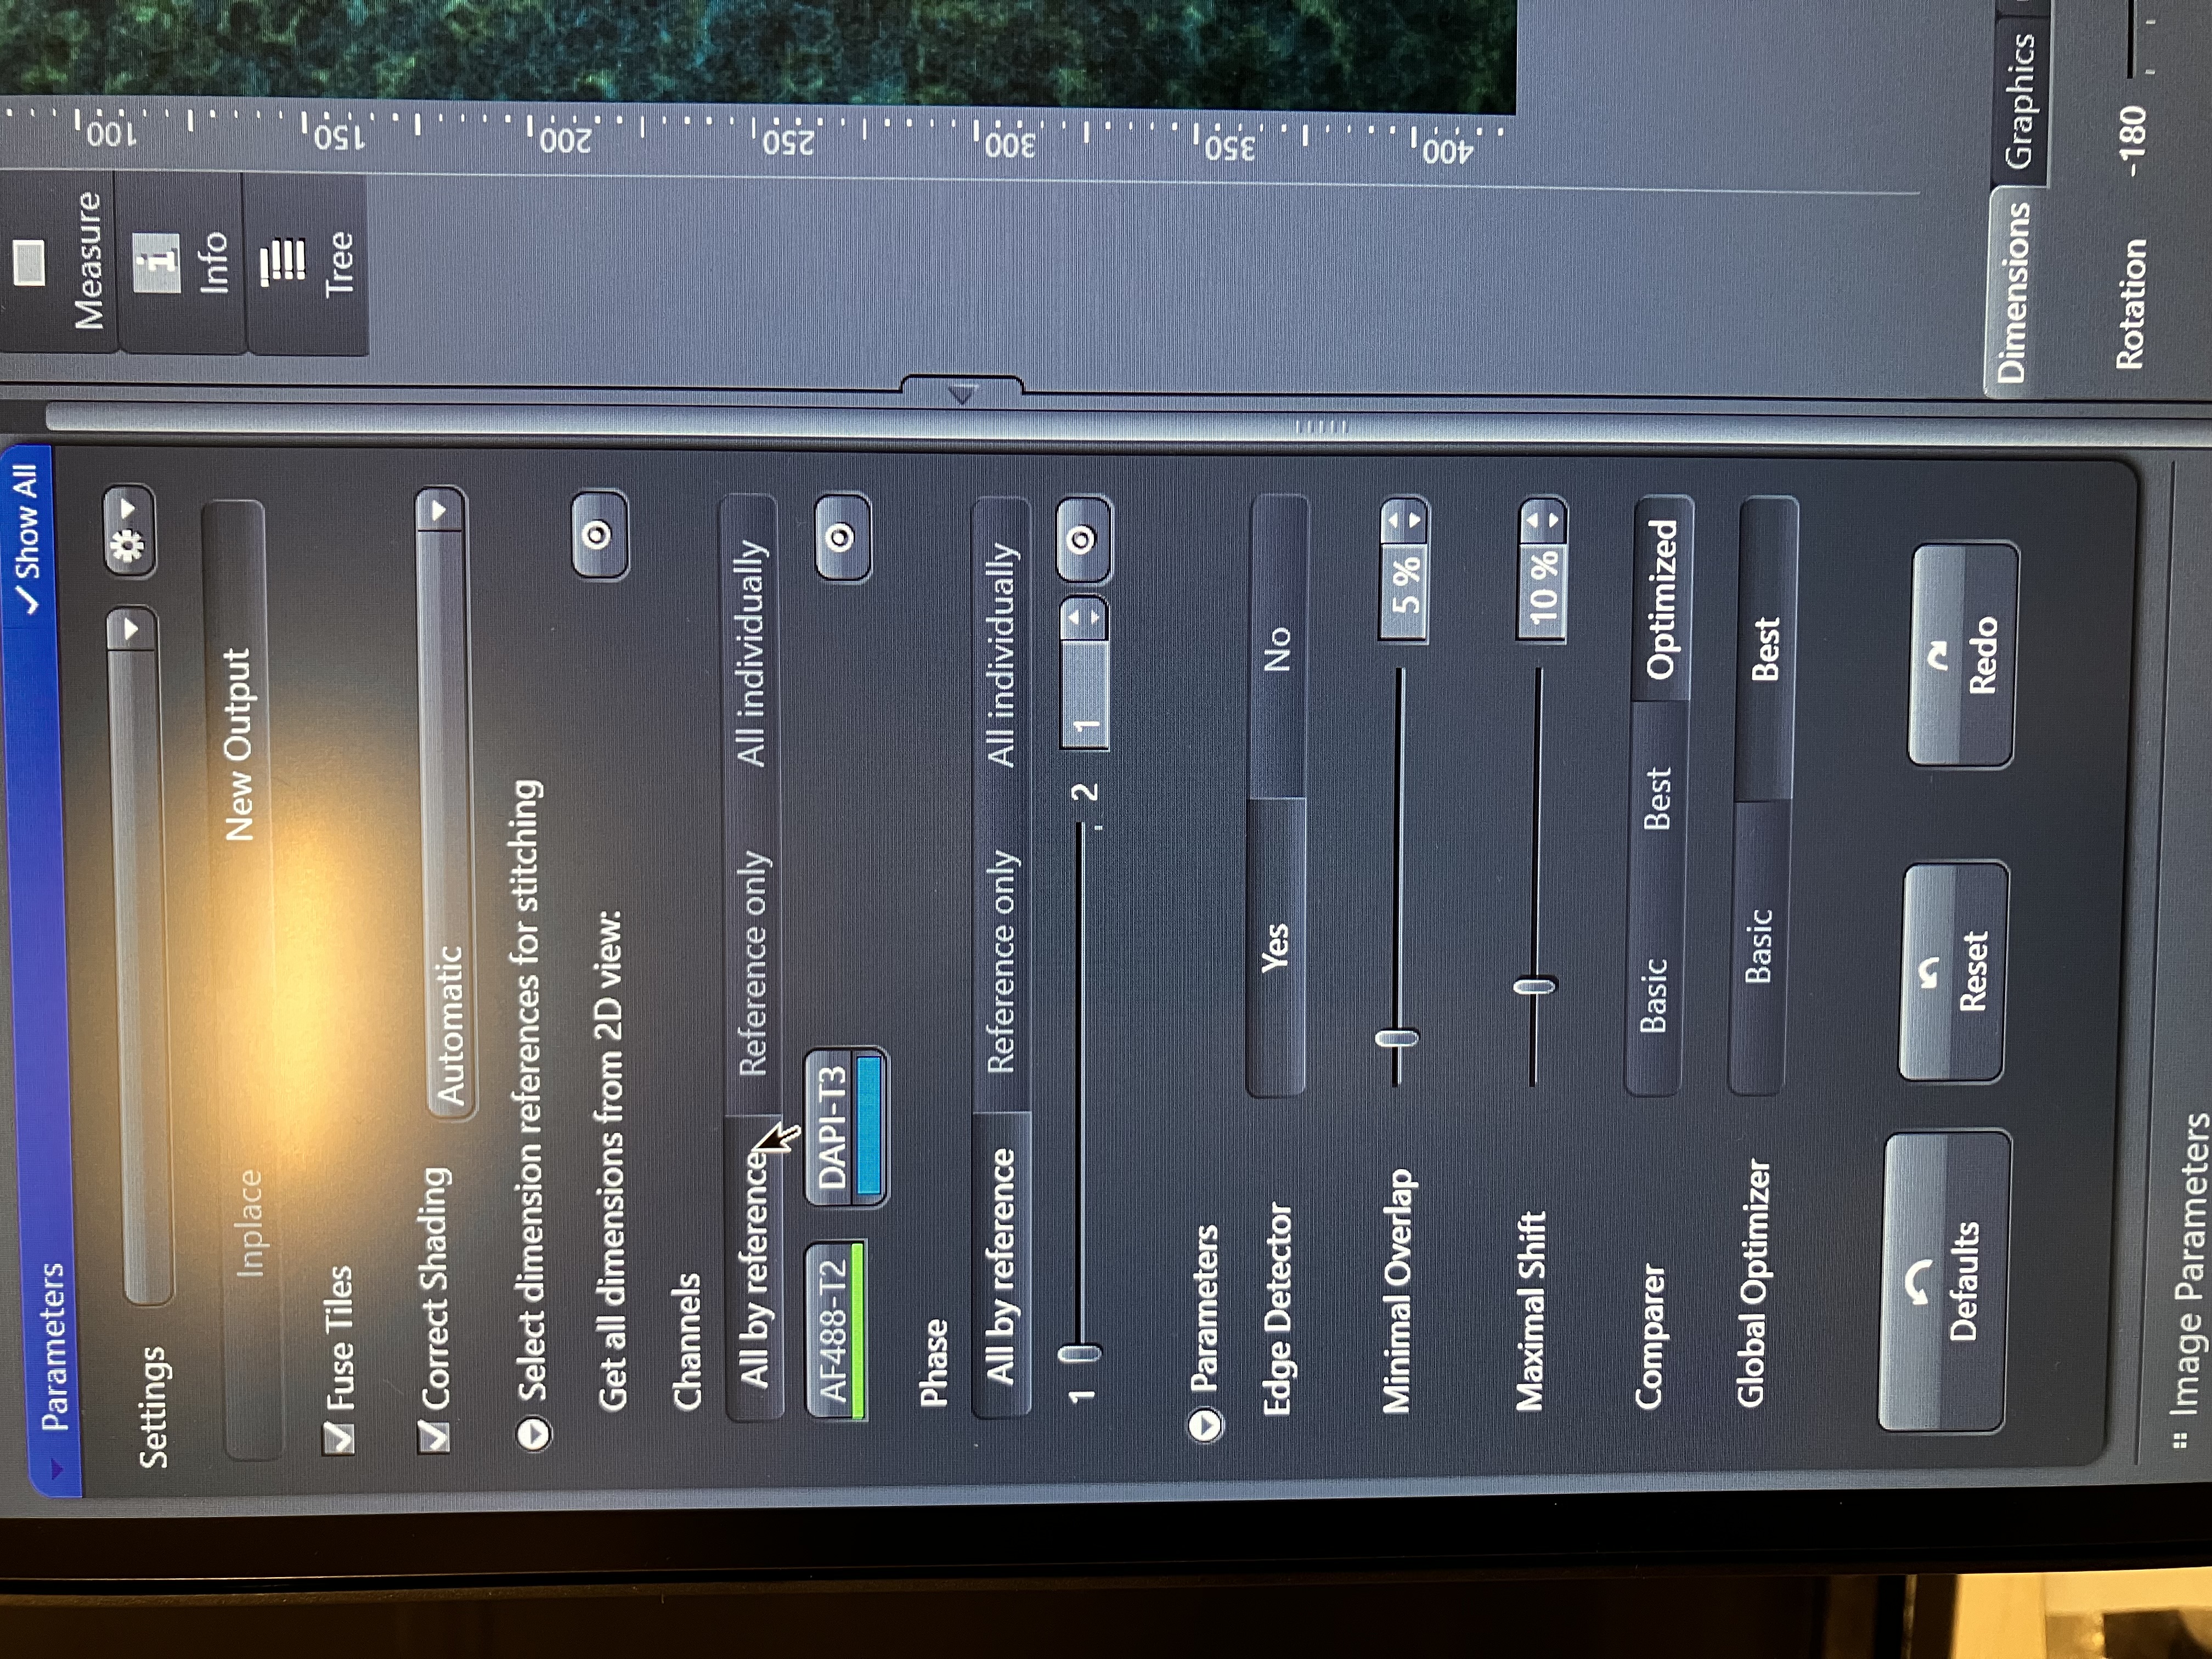
- Set your parameters for whatever best suits your needs:
- Click “Apply” and let the software run. Here is the stitched output for the example tiles shown above: