Chapter 2 General Setup Procedure
The following outline of steps should get any user set up for essentially any imaging task on this microscope. For the setup procedure for live cell imaging, see the designated section.
2.1 Turning On
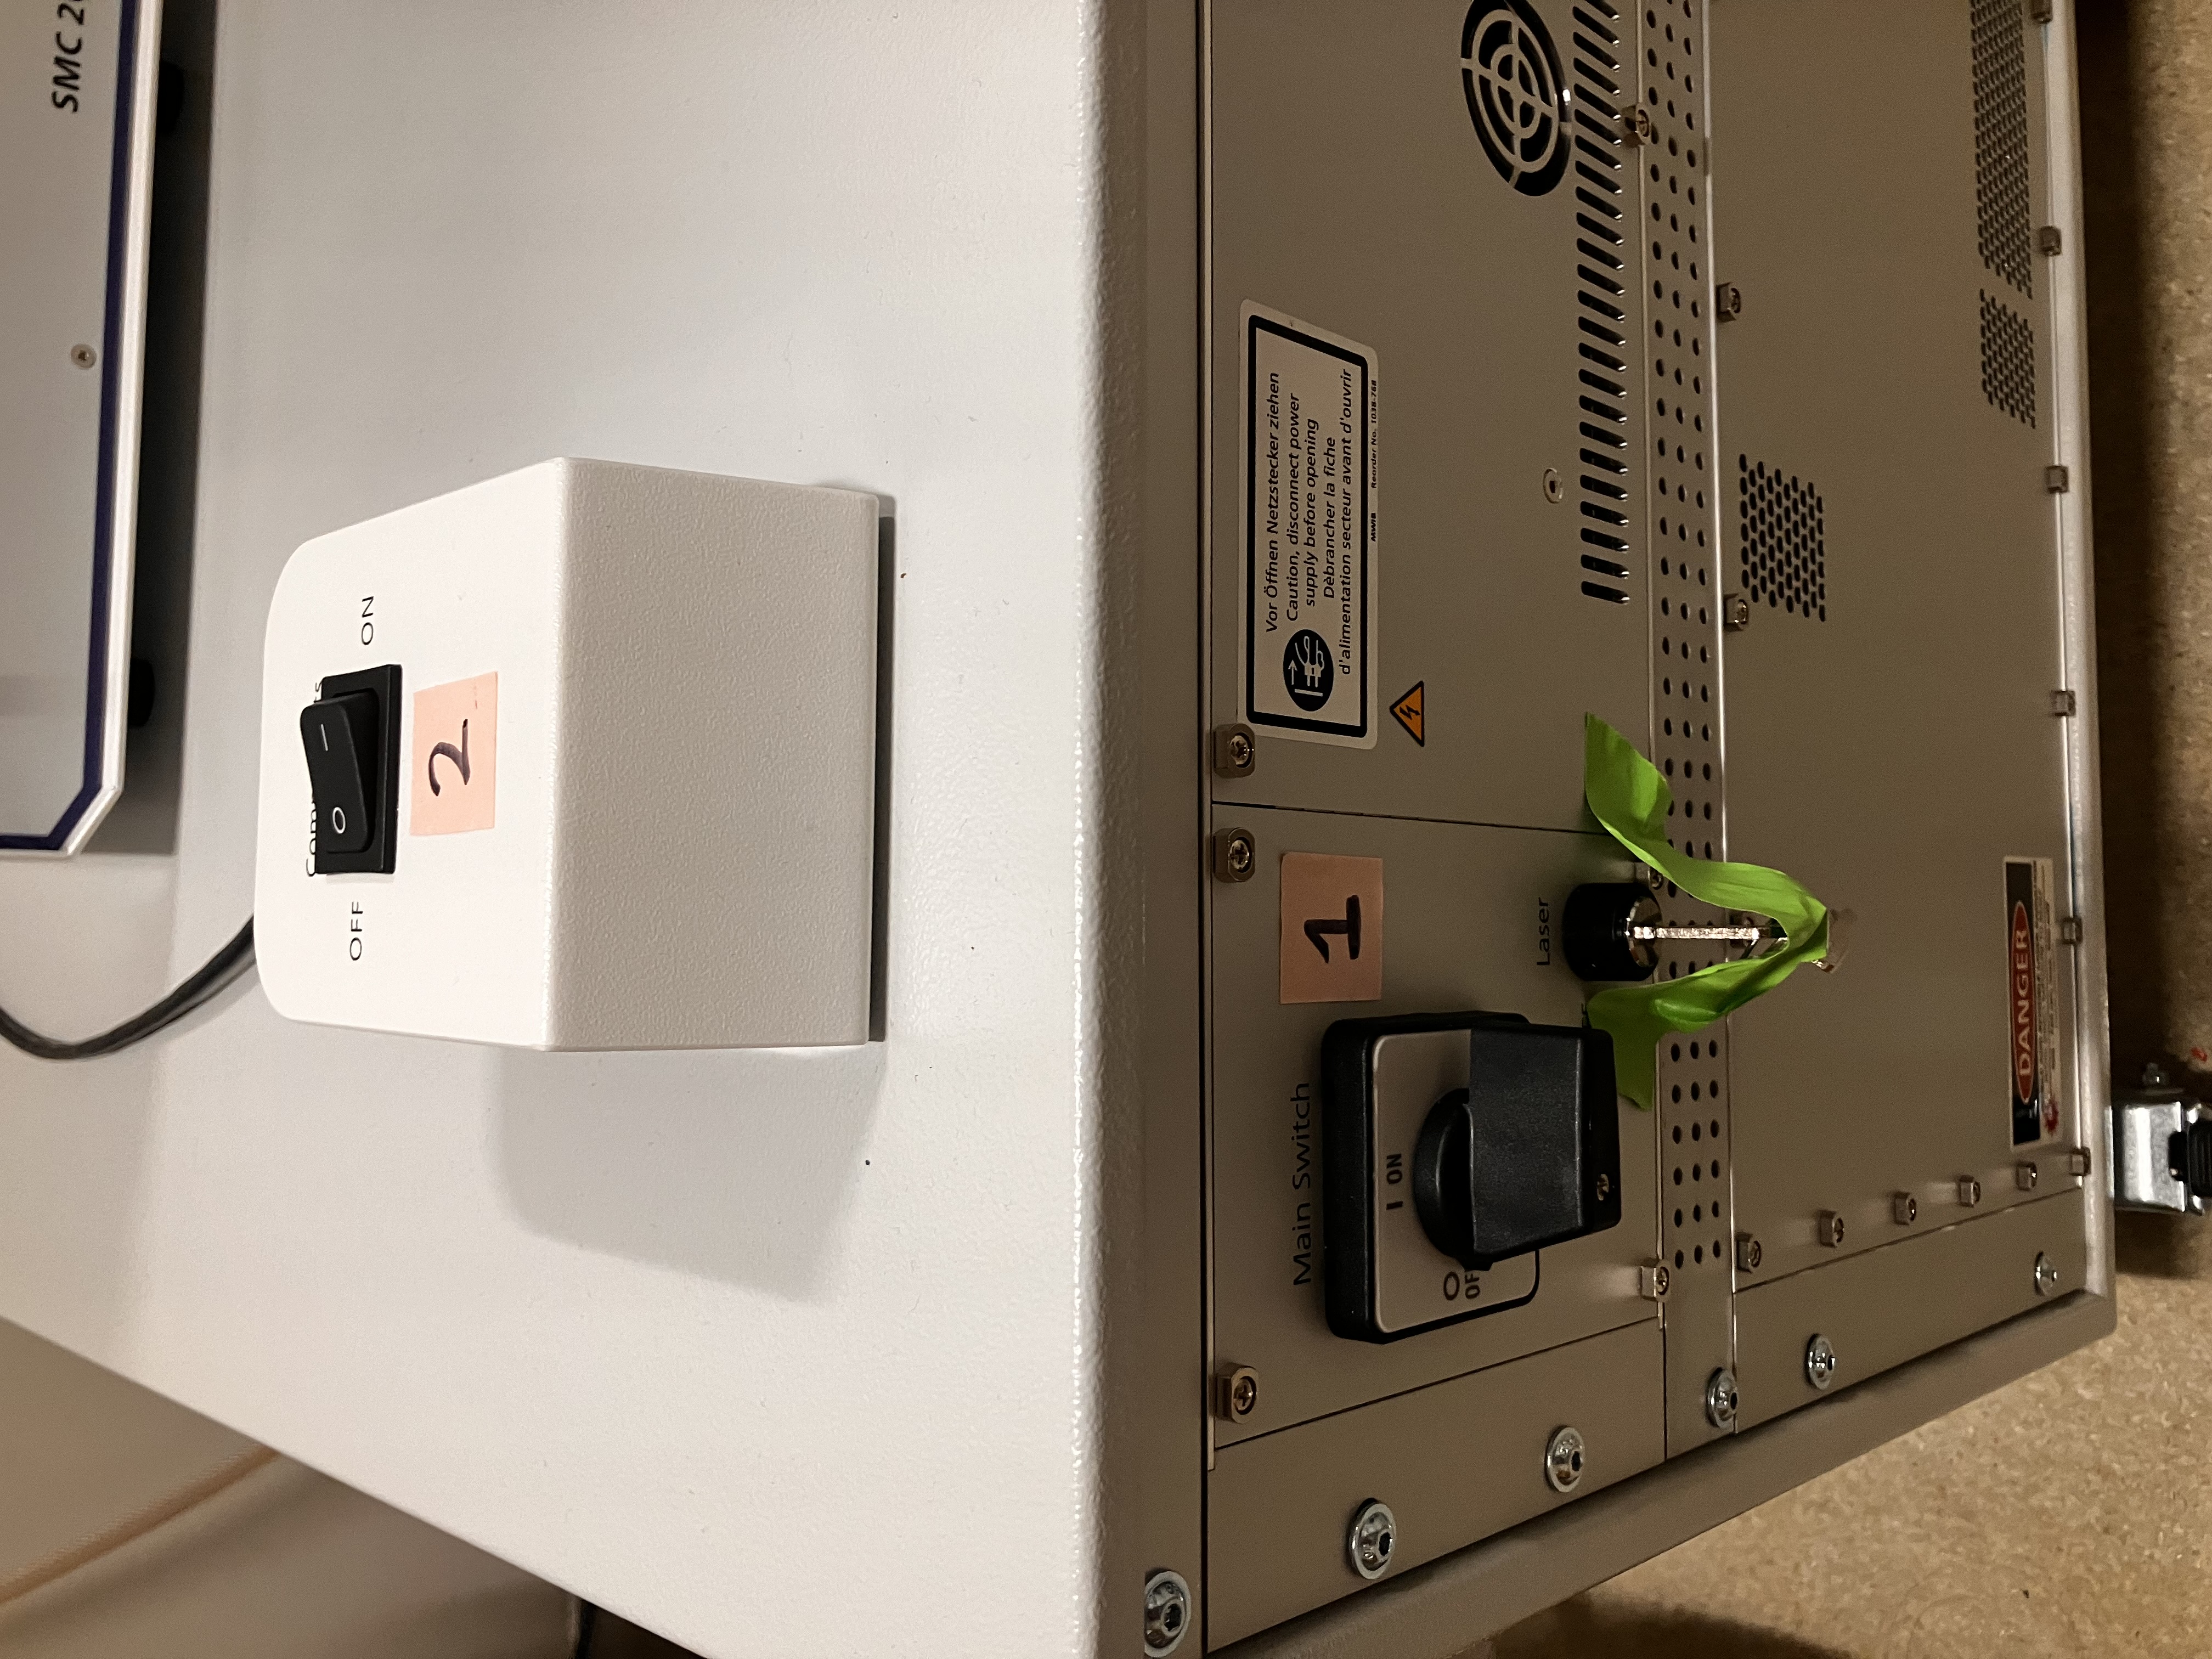
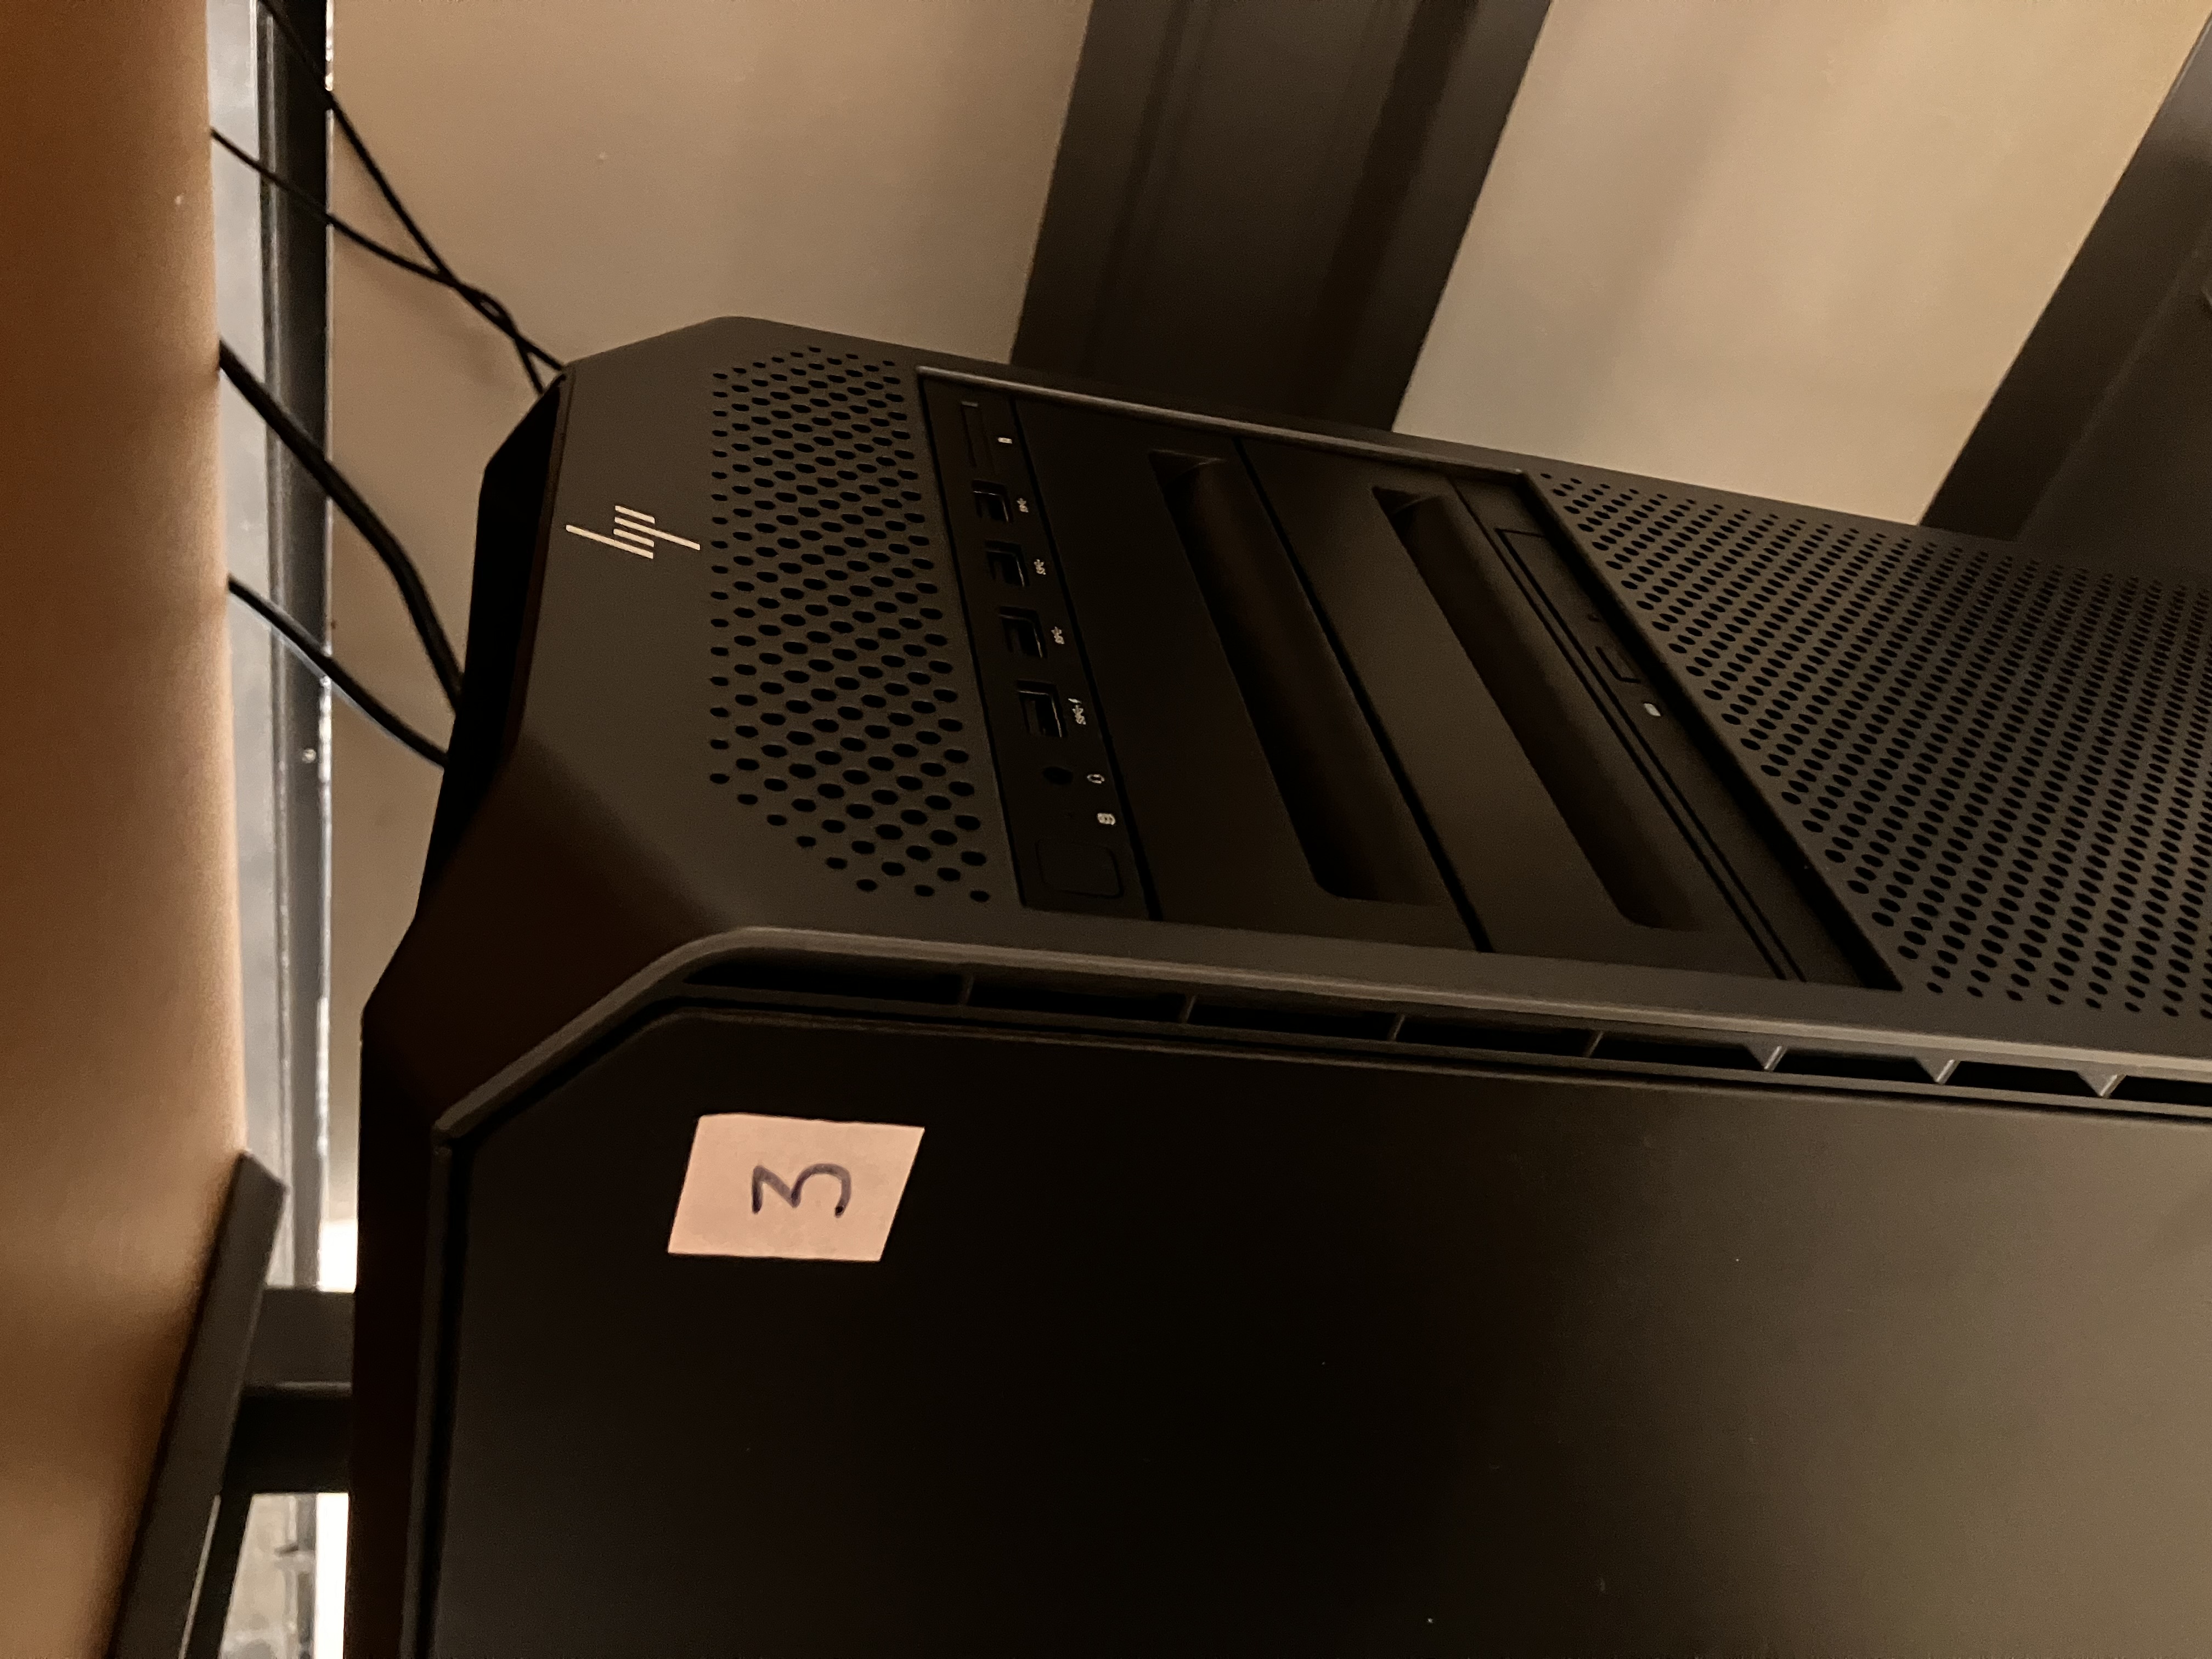
- Turn on the instrument, following the labeled switches in the room in the numbered order in which they are written. There are three labels. The first two are to the left of the instrument, and the third is the computer’s on button:
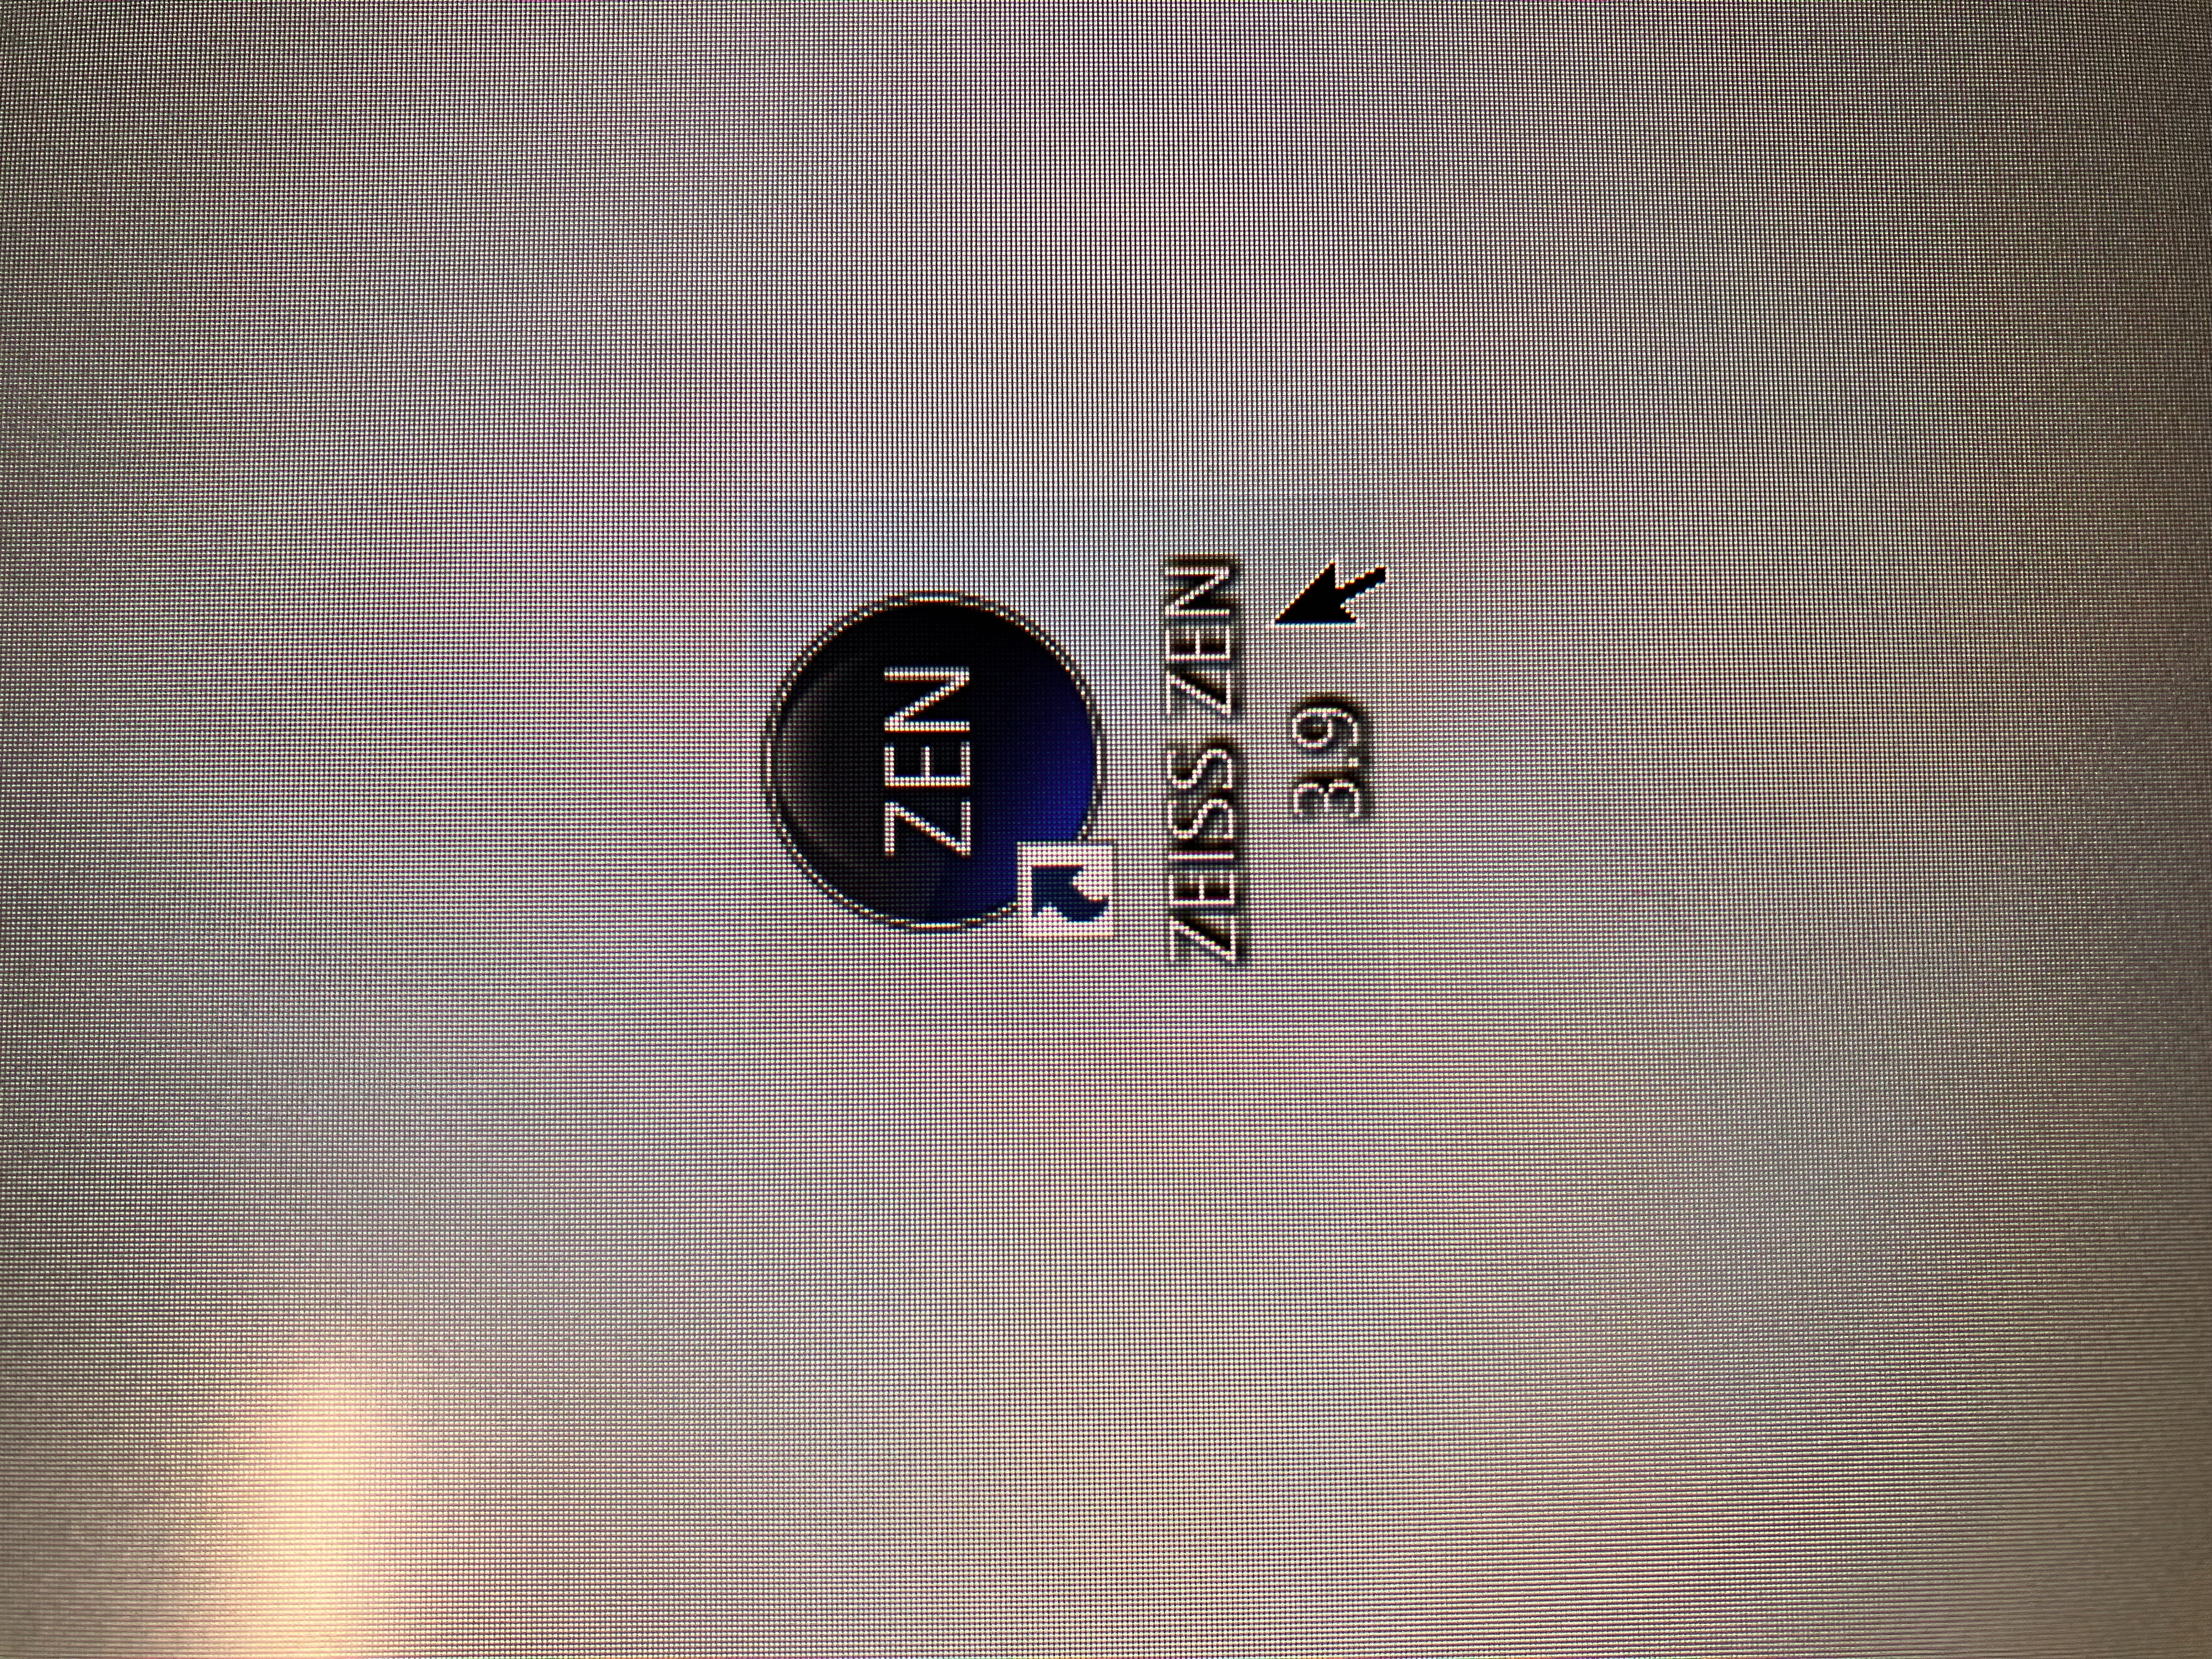
- Once the computer is on, launch the Zeiss ZEN software by clicking on the desktop shortcut:
- Once the software is ready, click “Calibrate Now.”
2.2 Mount Your Sample
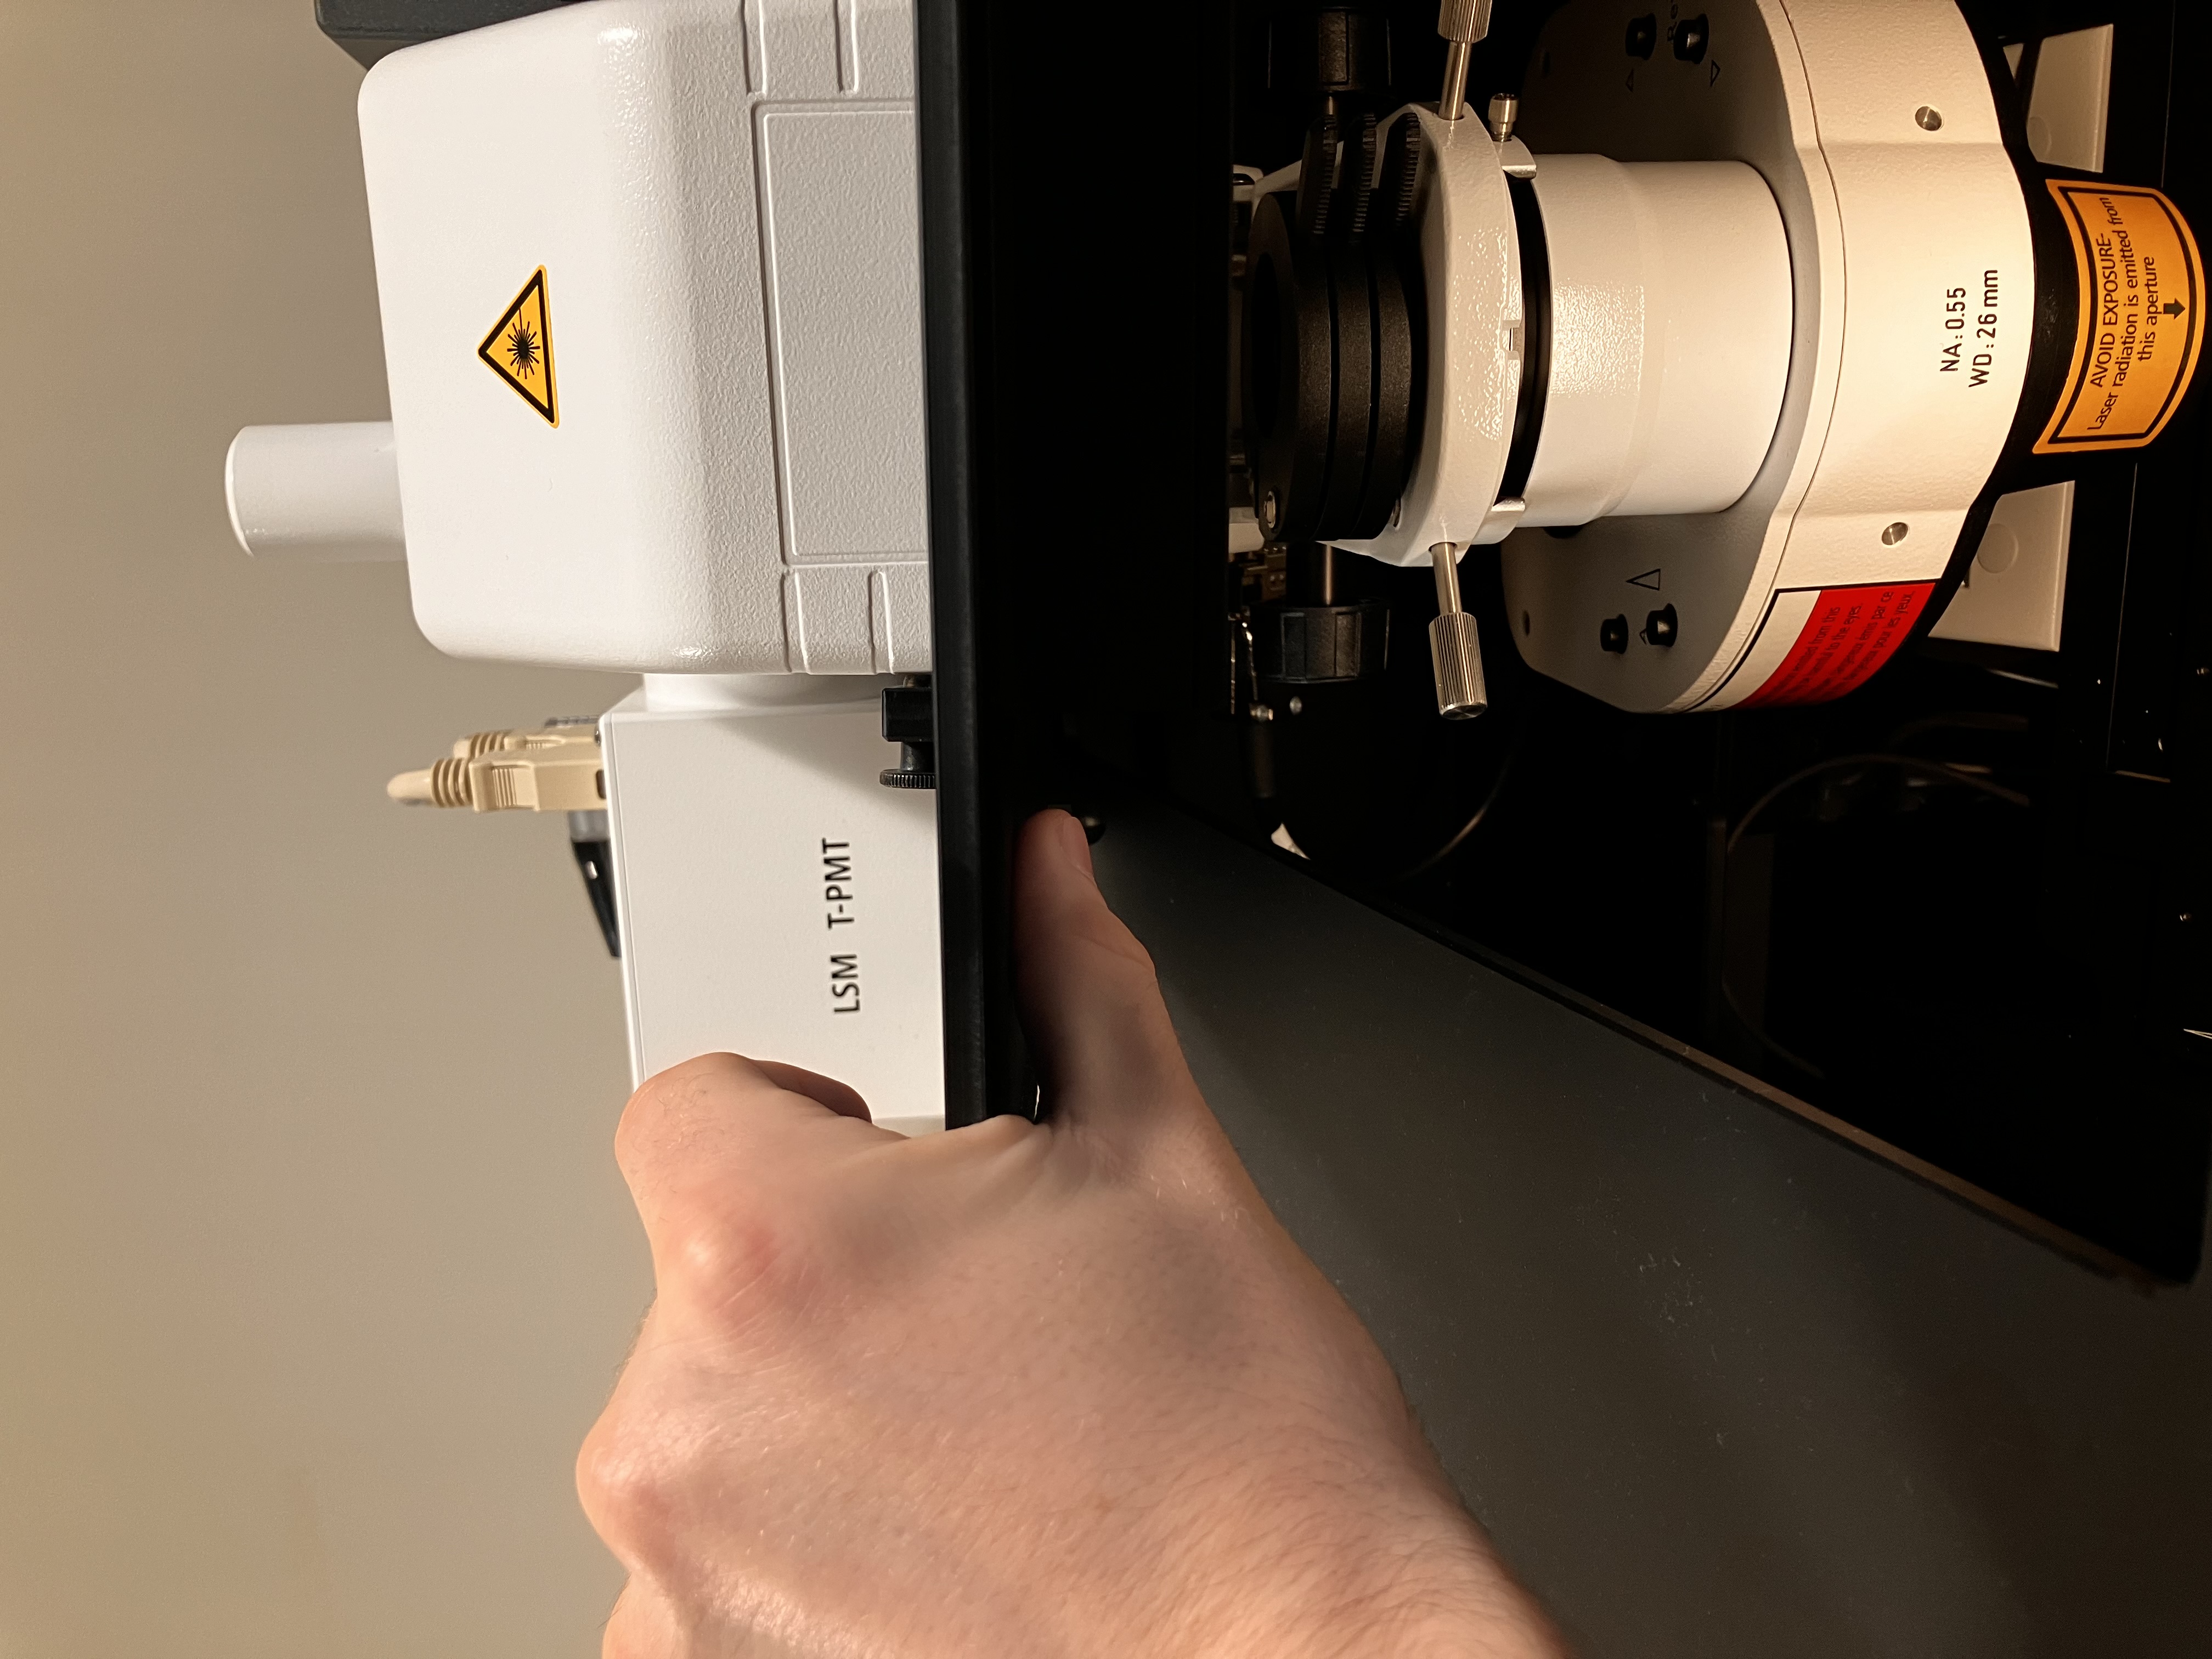
- Push the top part of the scope back (do not be afraid to push hard).
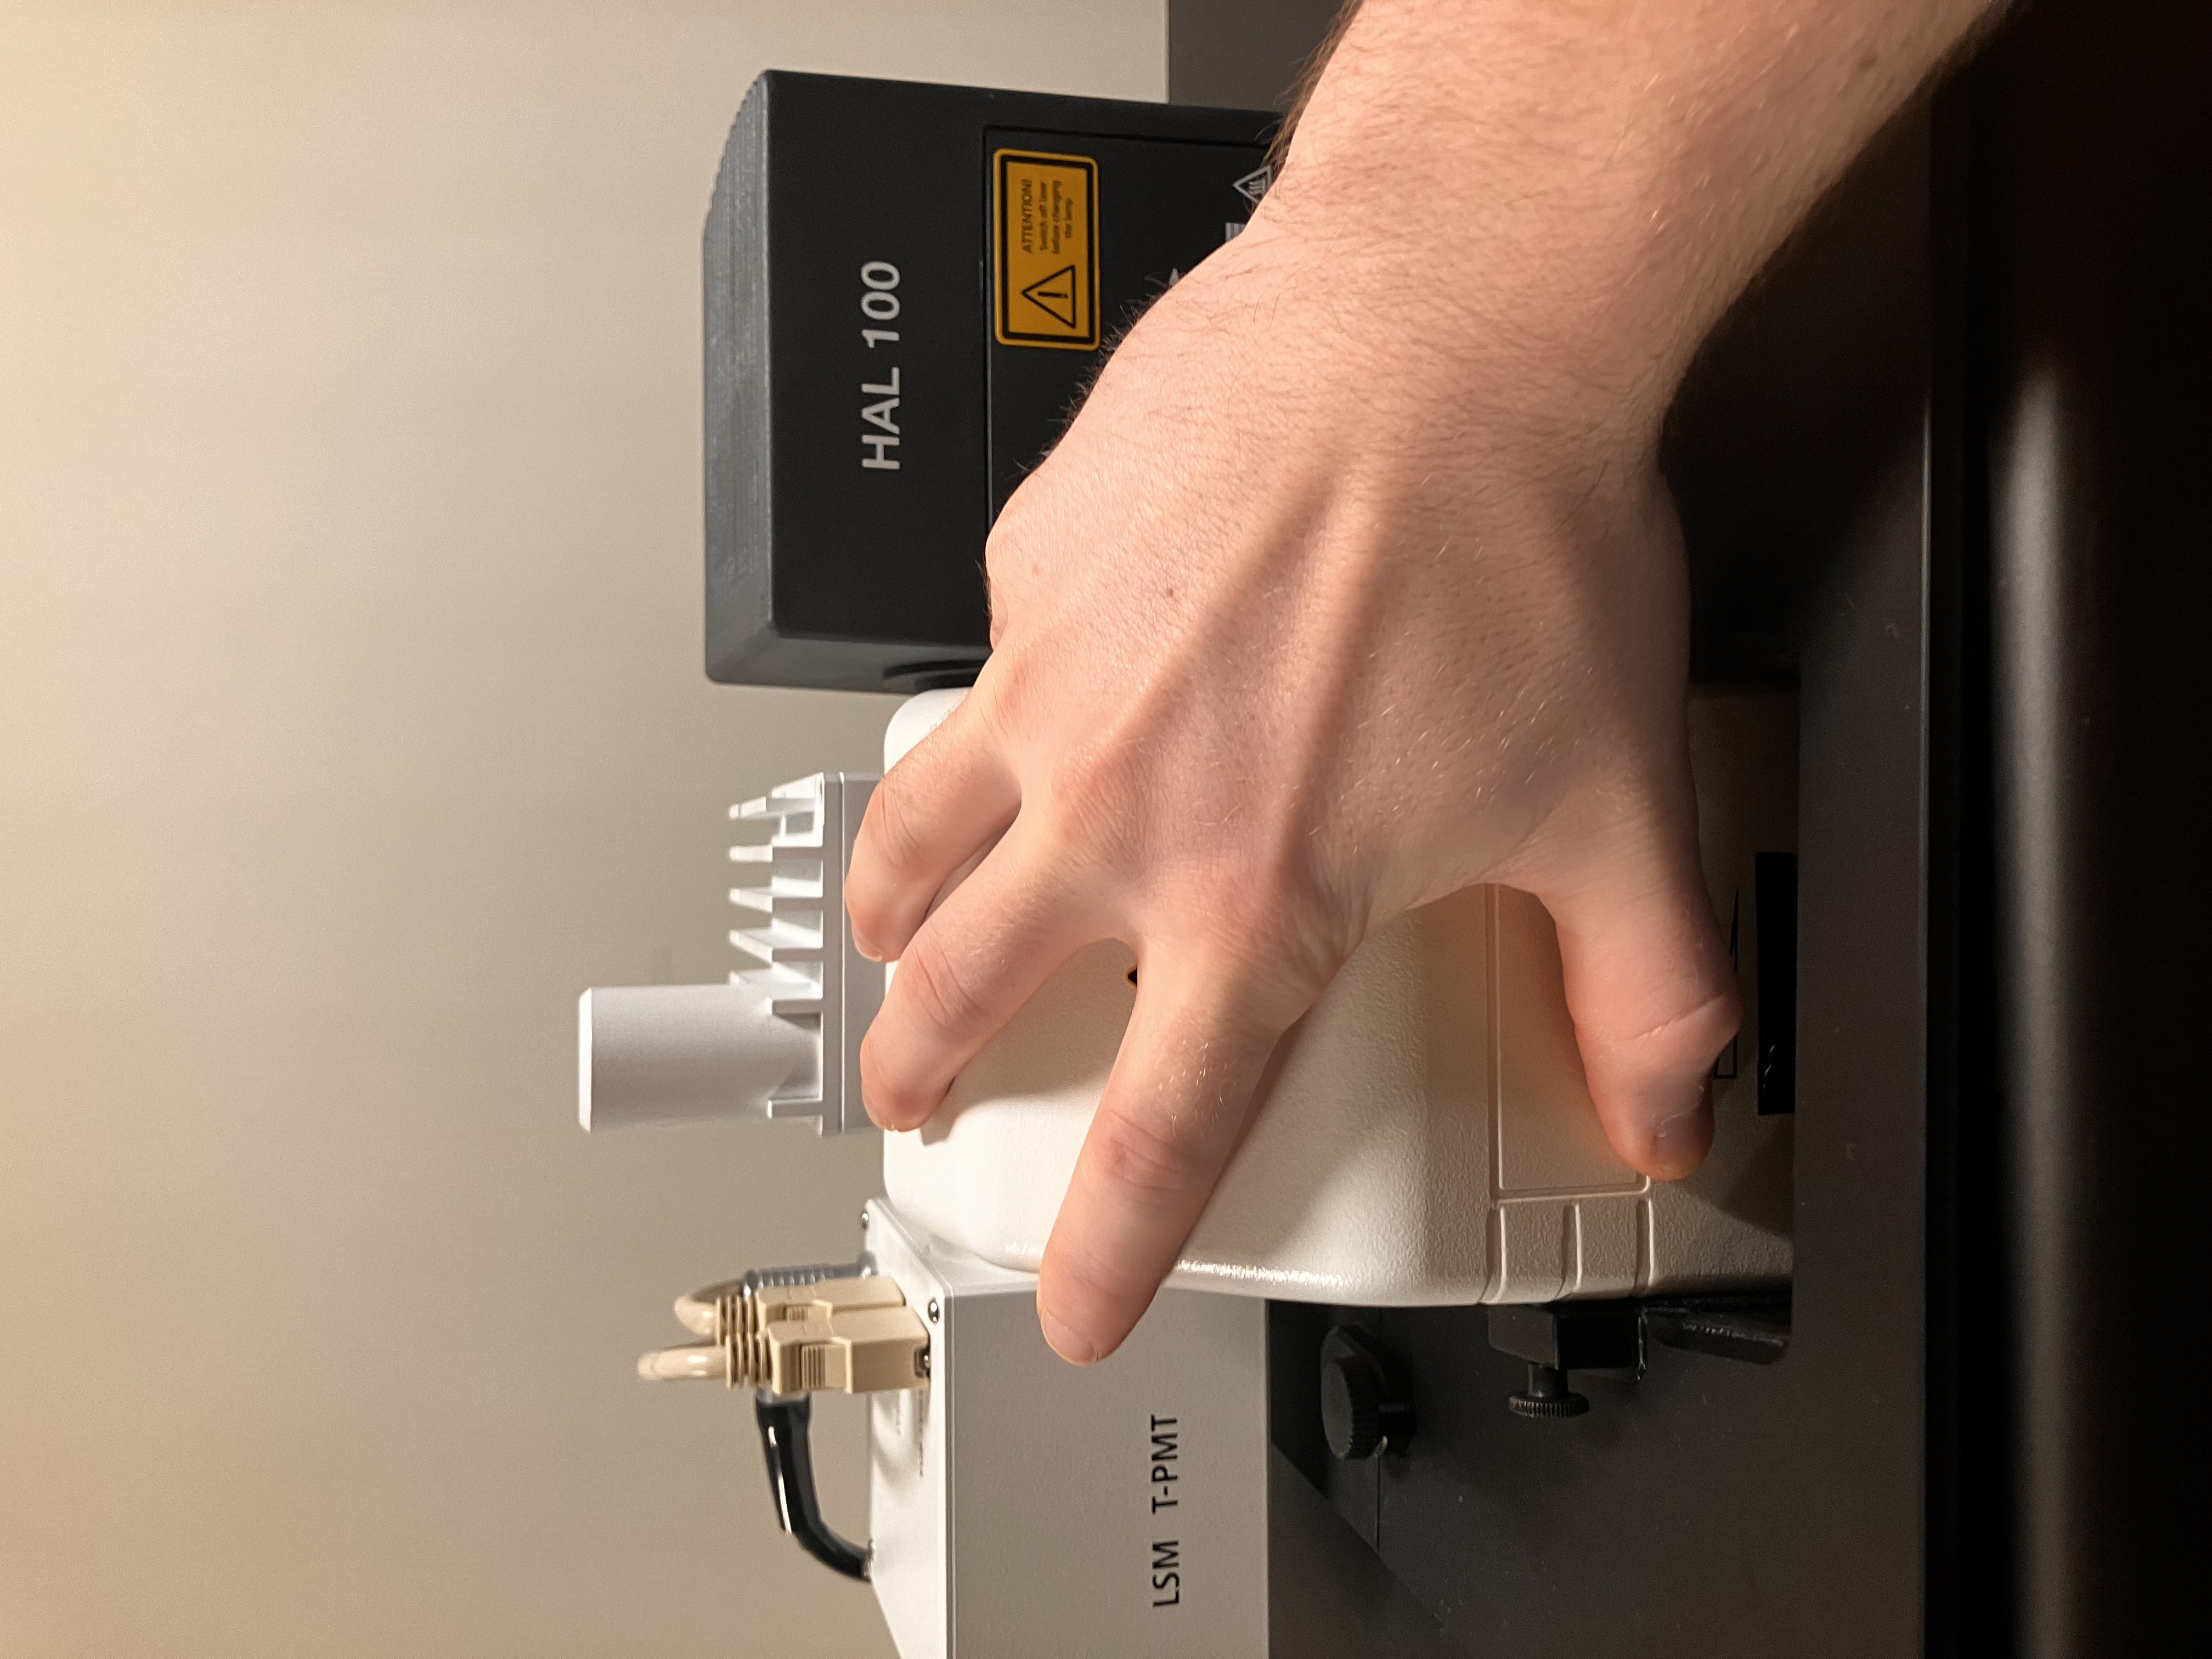
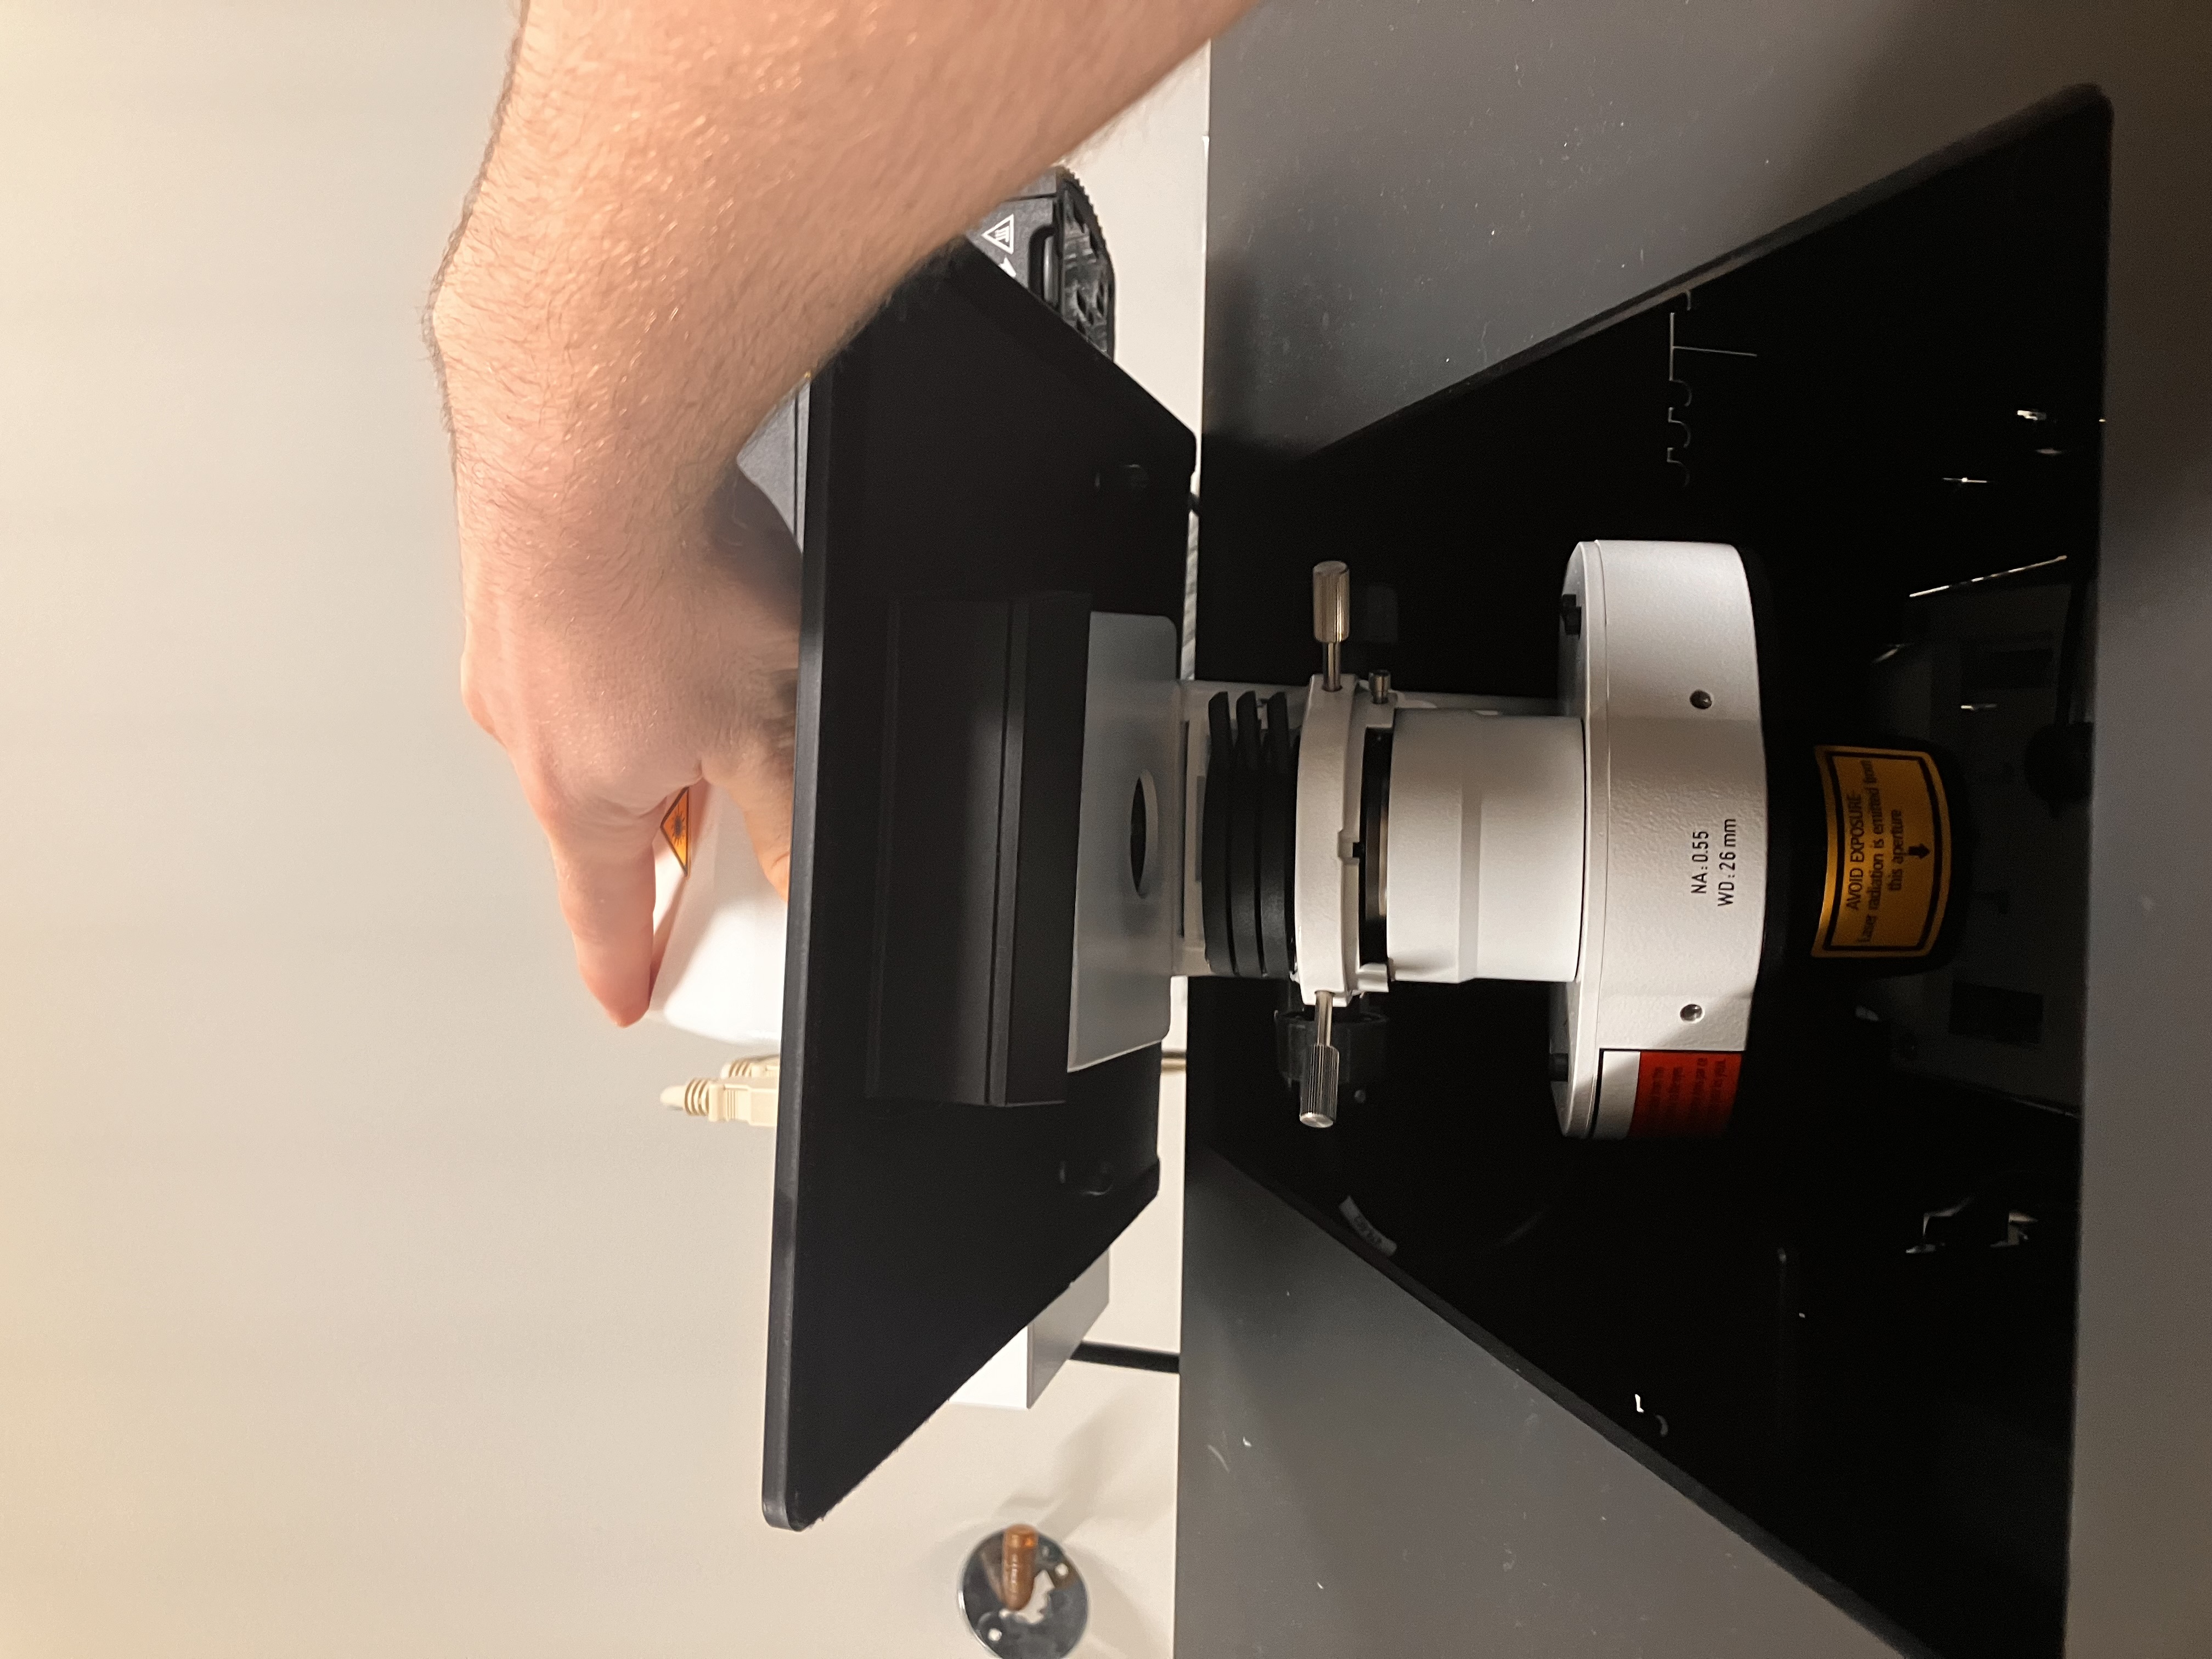
Do NOT move this part of the scope by pushing on the black skirt, as shown below:
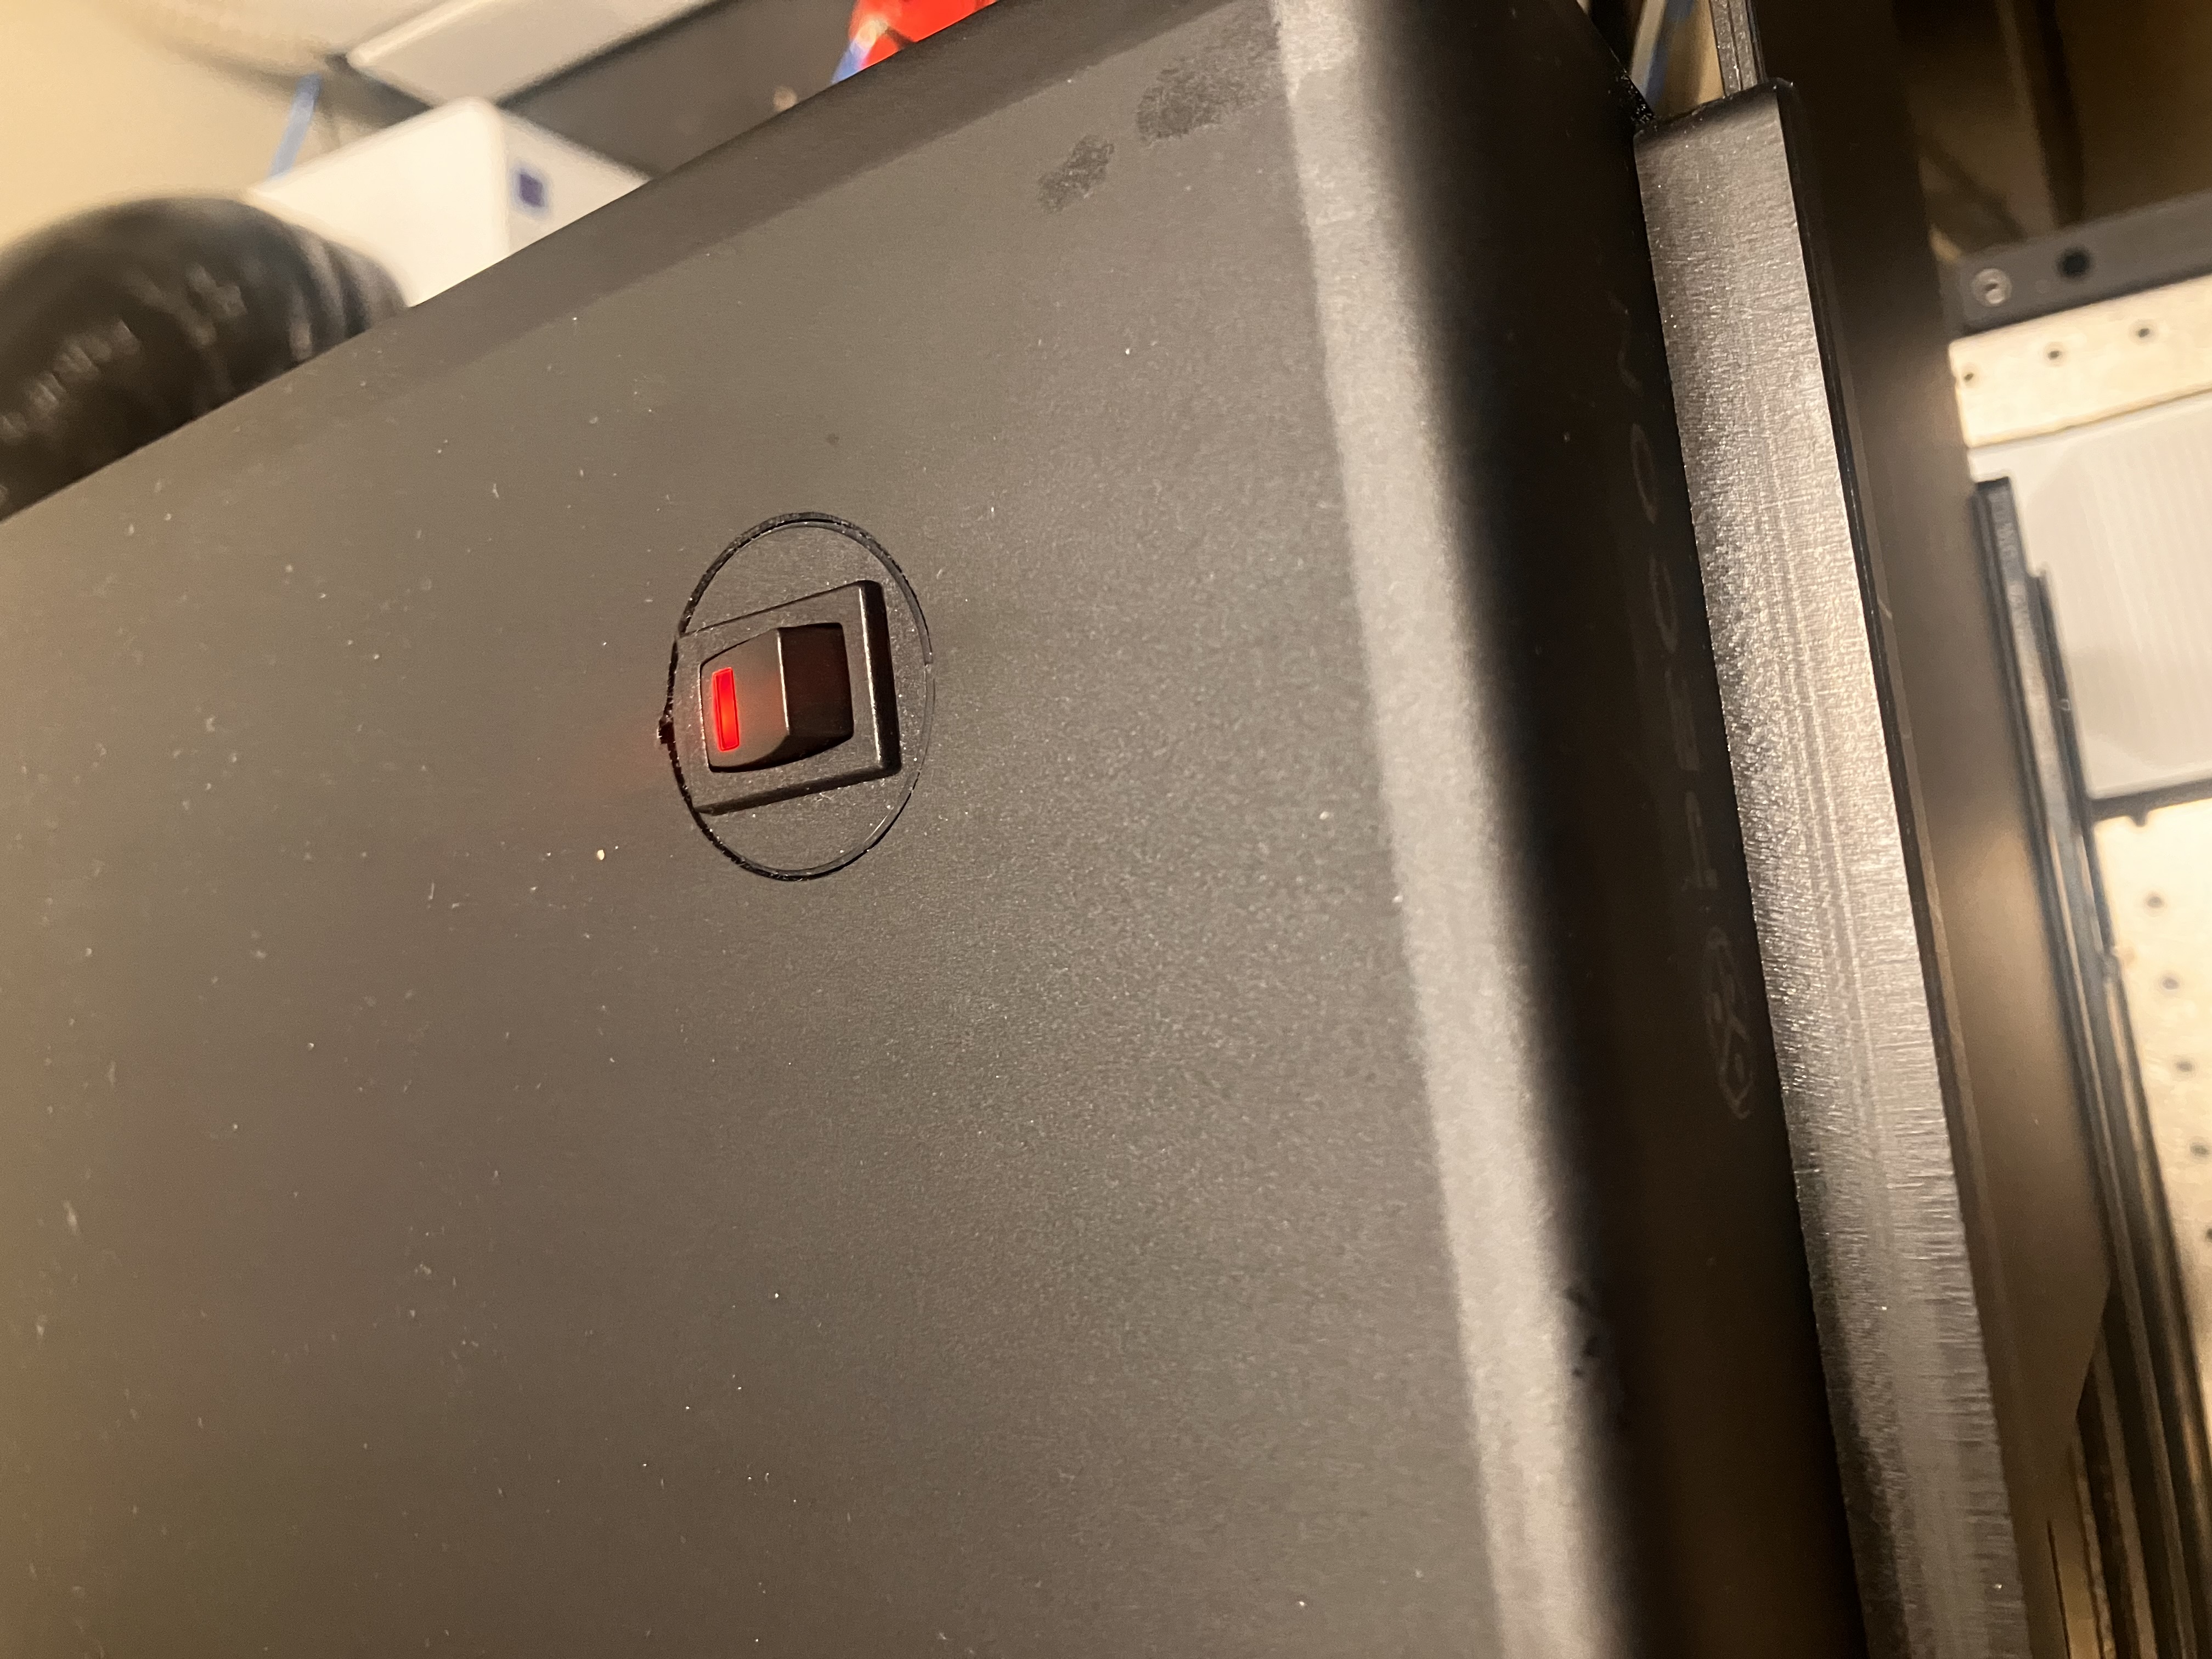
- Open the doors to reveal the stage. There is a helpful light switch located here that you flip on temporarily:
- Ensure that you are using the correct mounting piece. The pieces look like this for slides (top) and like this for wells (bottom):
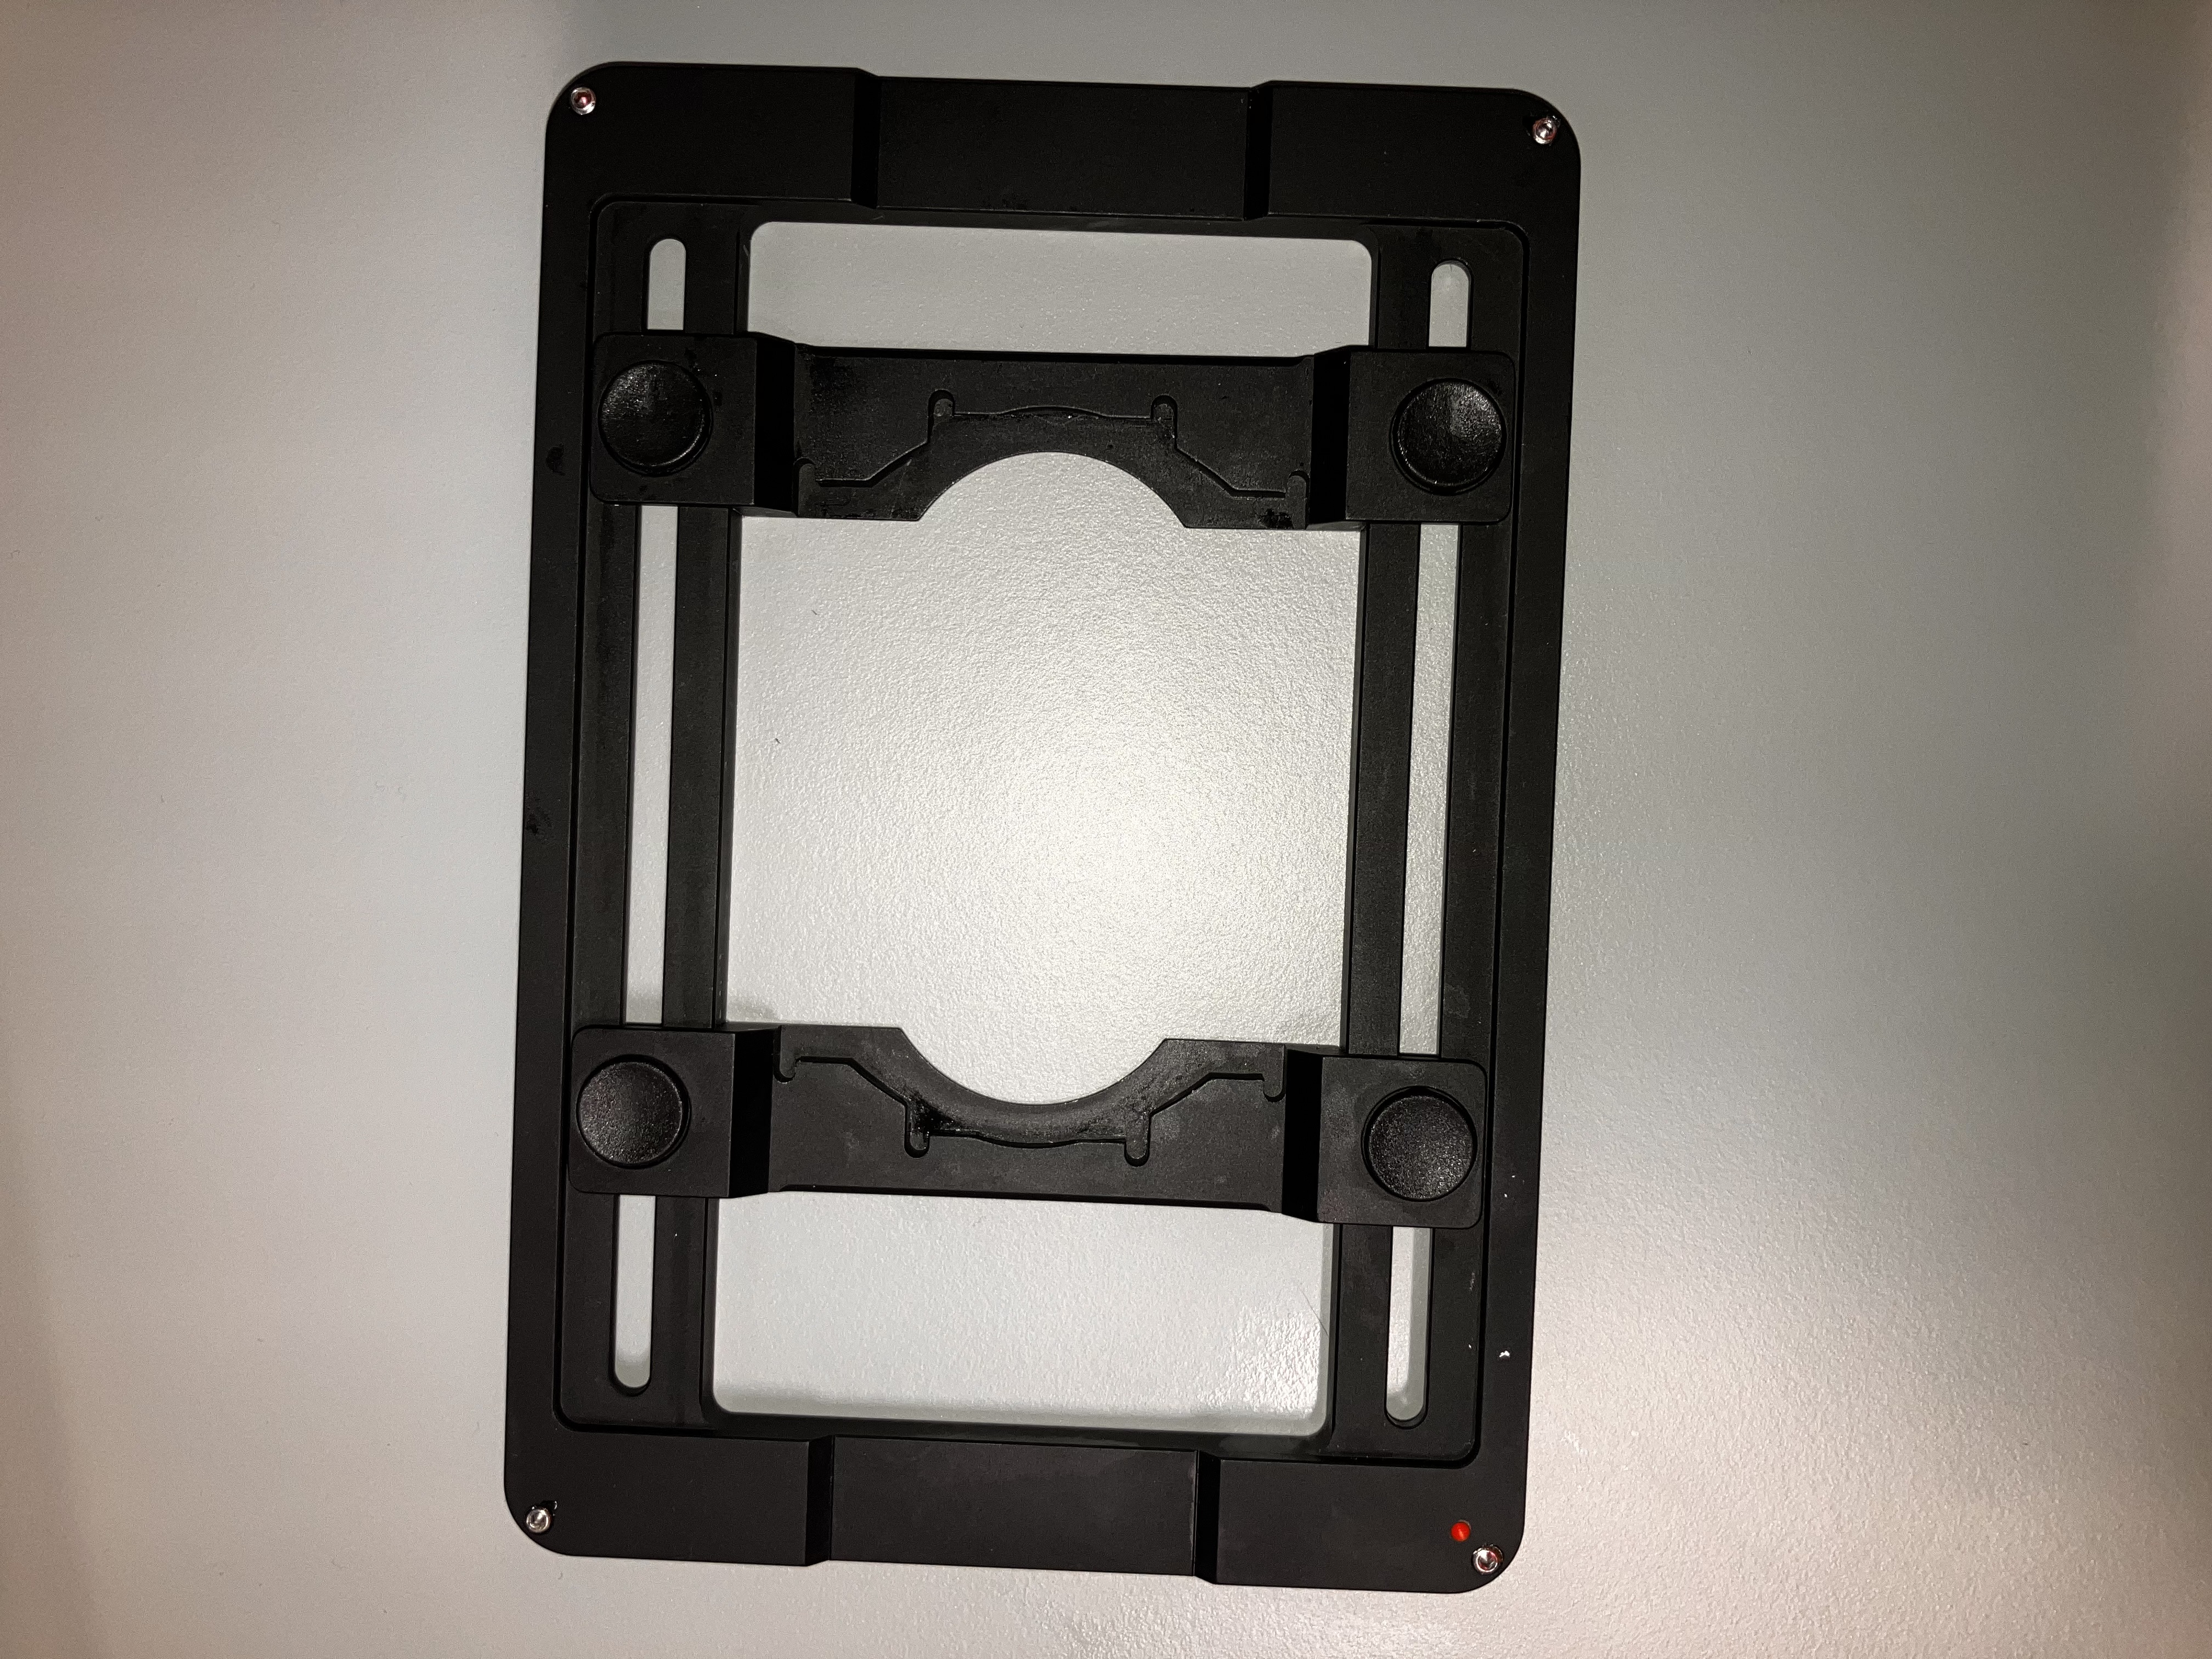
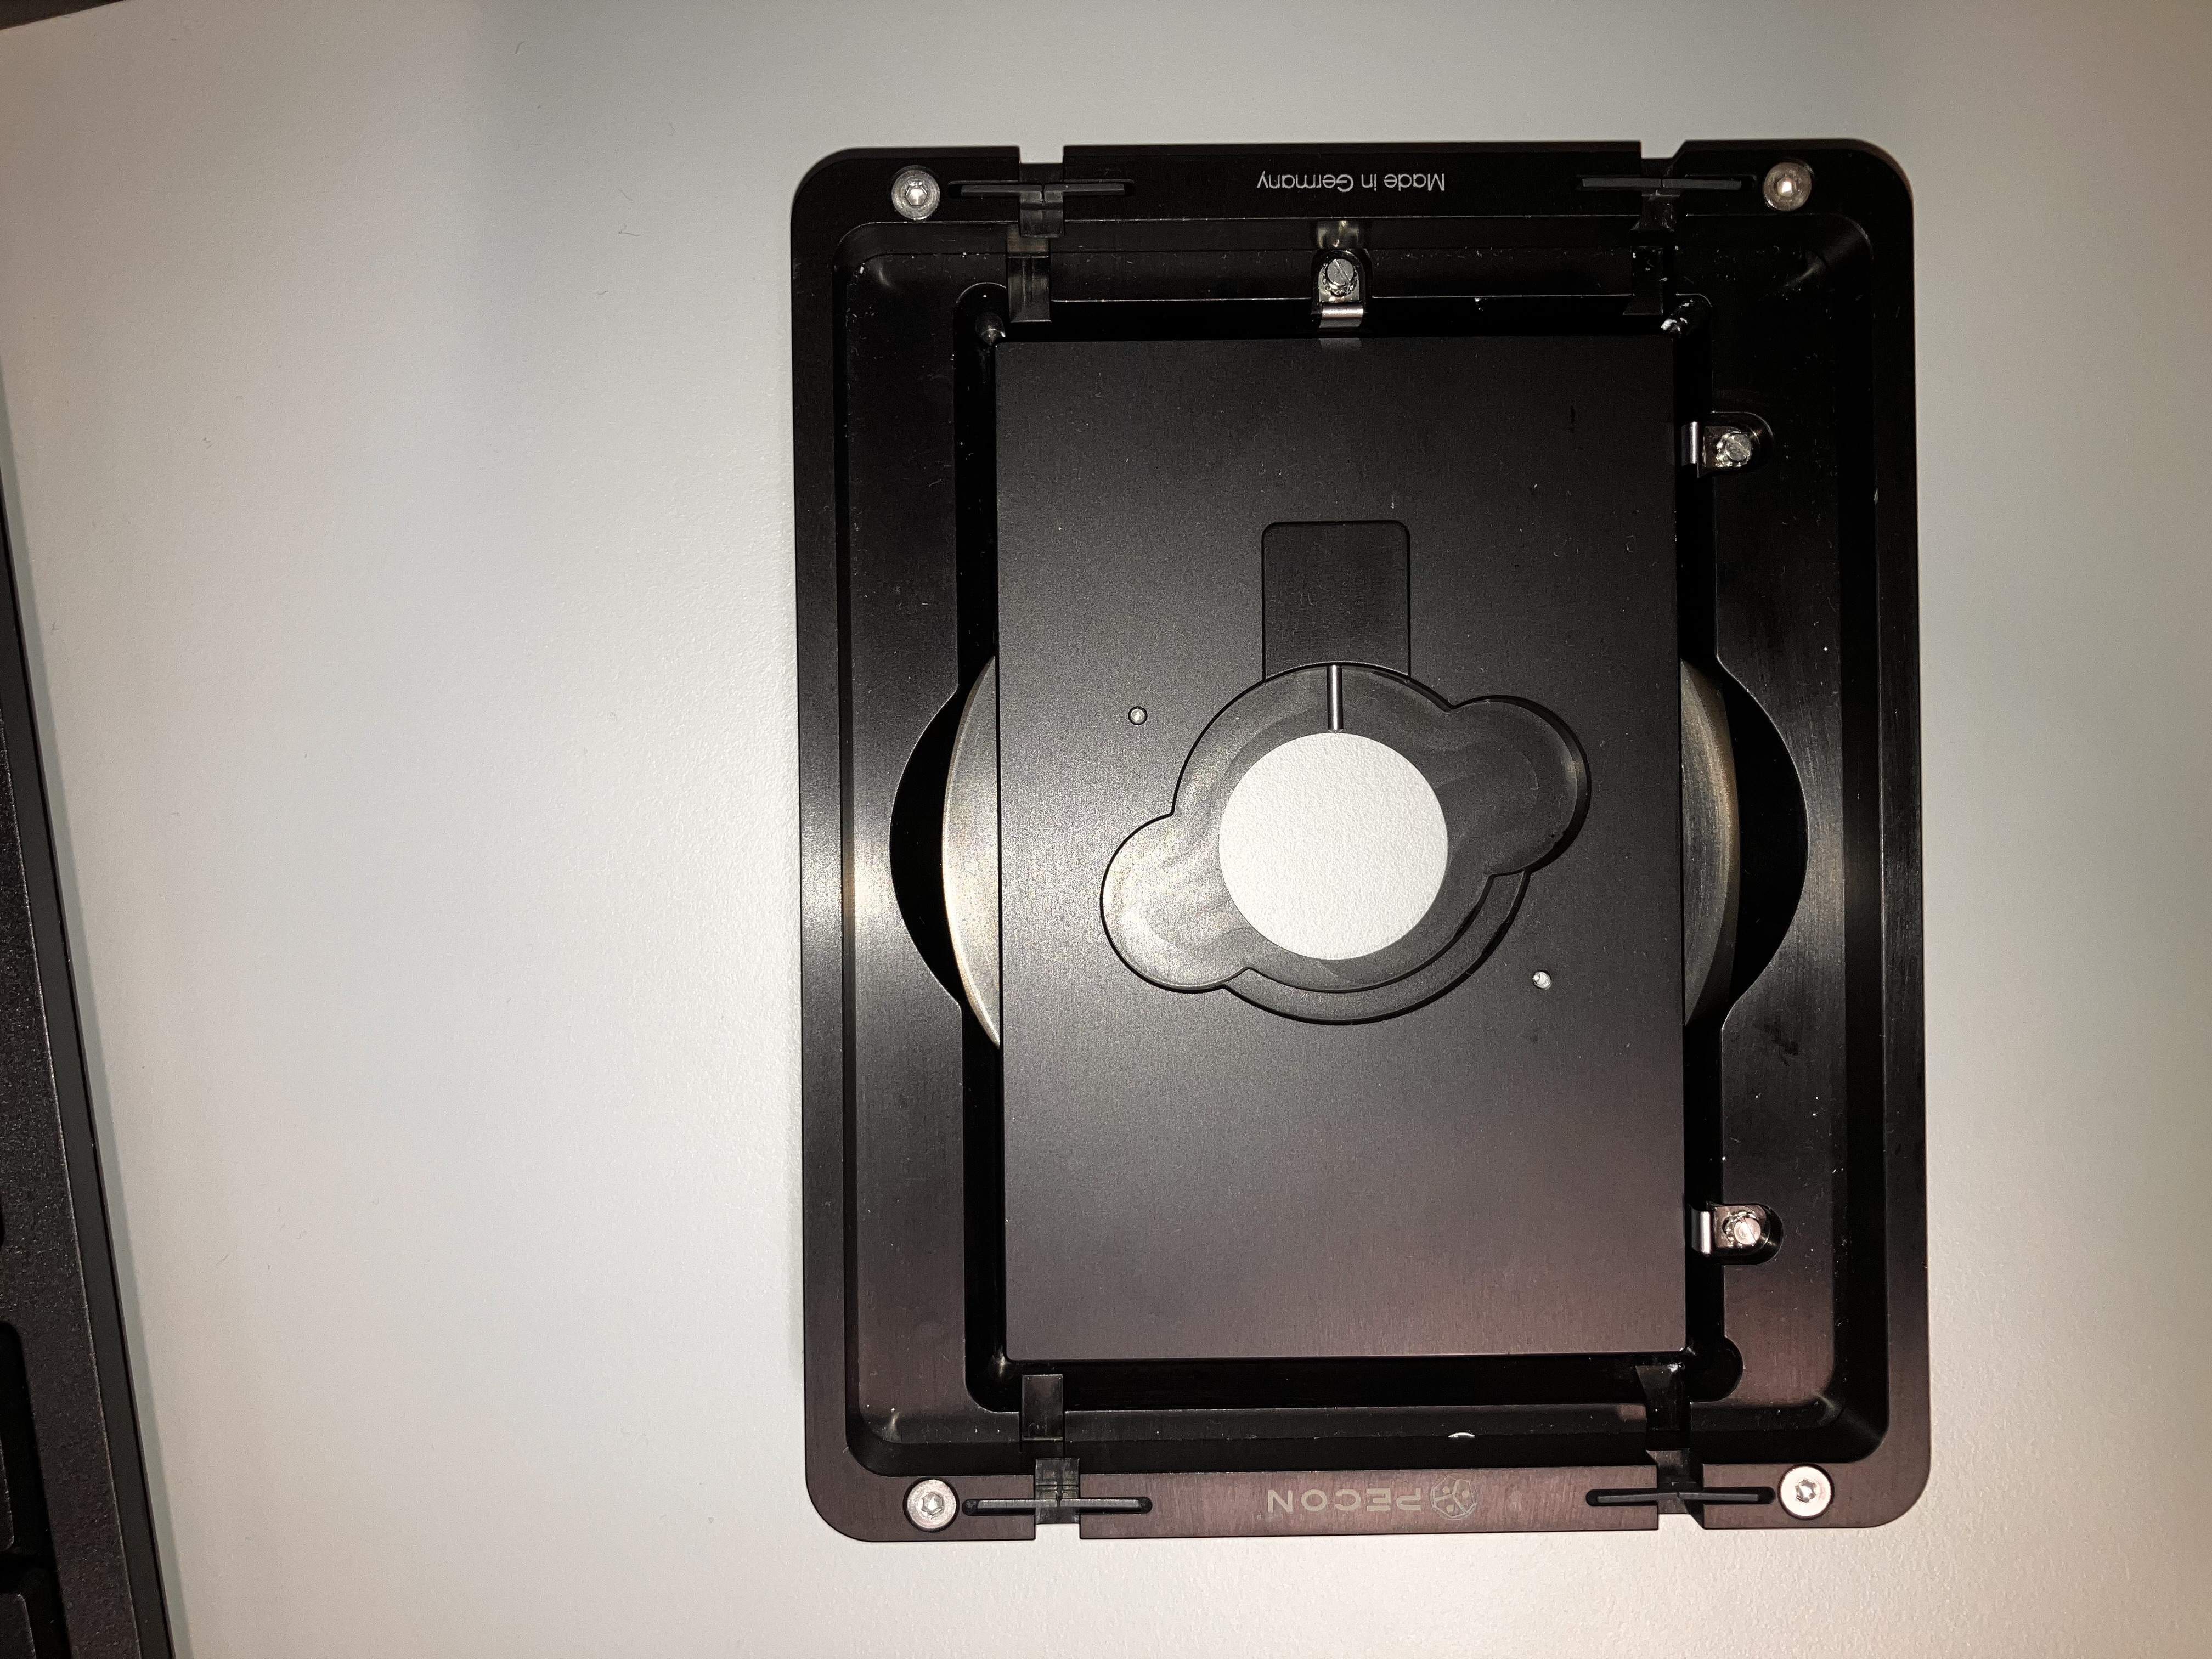
There are other mounting pieces that may better suit your needs. The Core has found that the one shown above for slides tends to work the best.
- Make sure the objective is lowered away from the stage. Rotating the focus knob towards you can do this.
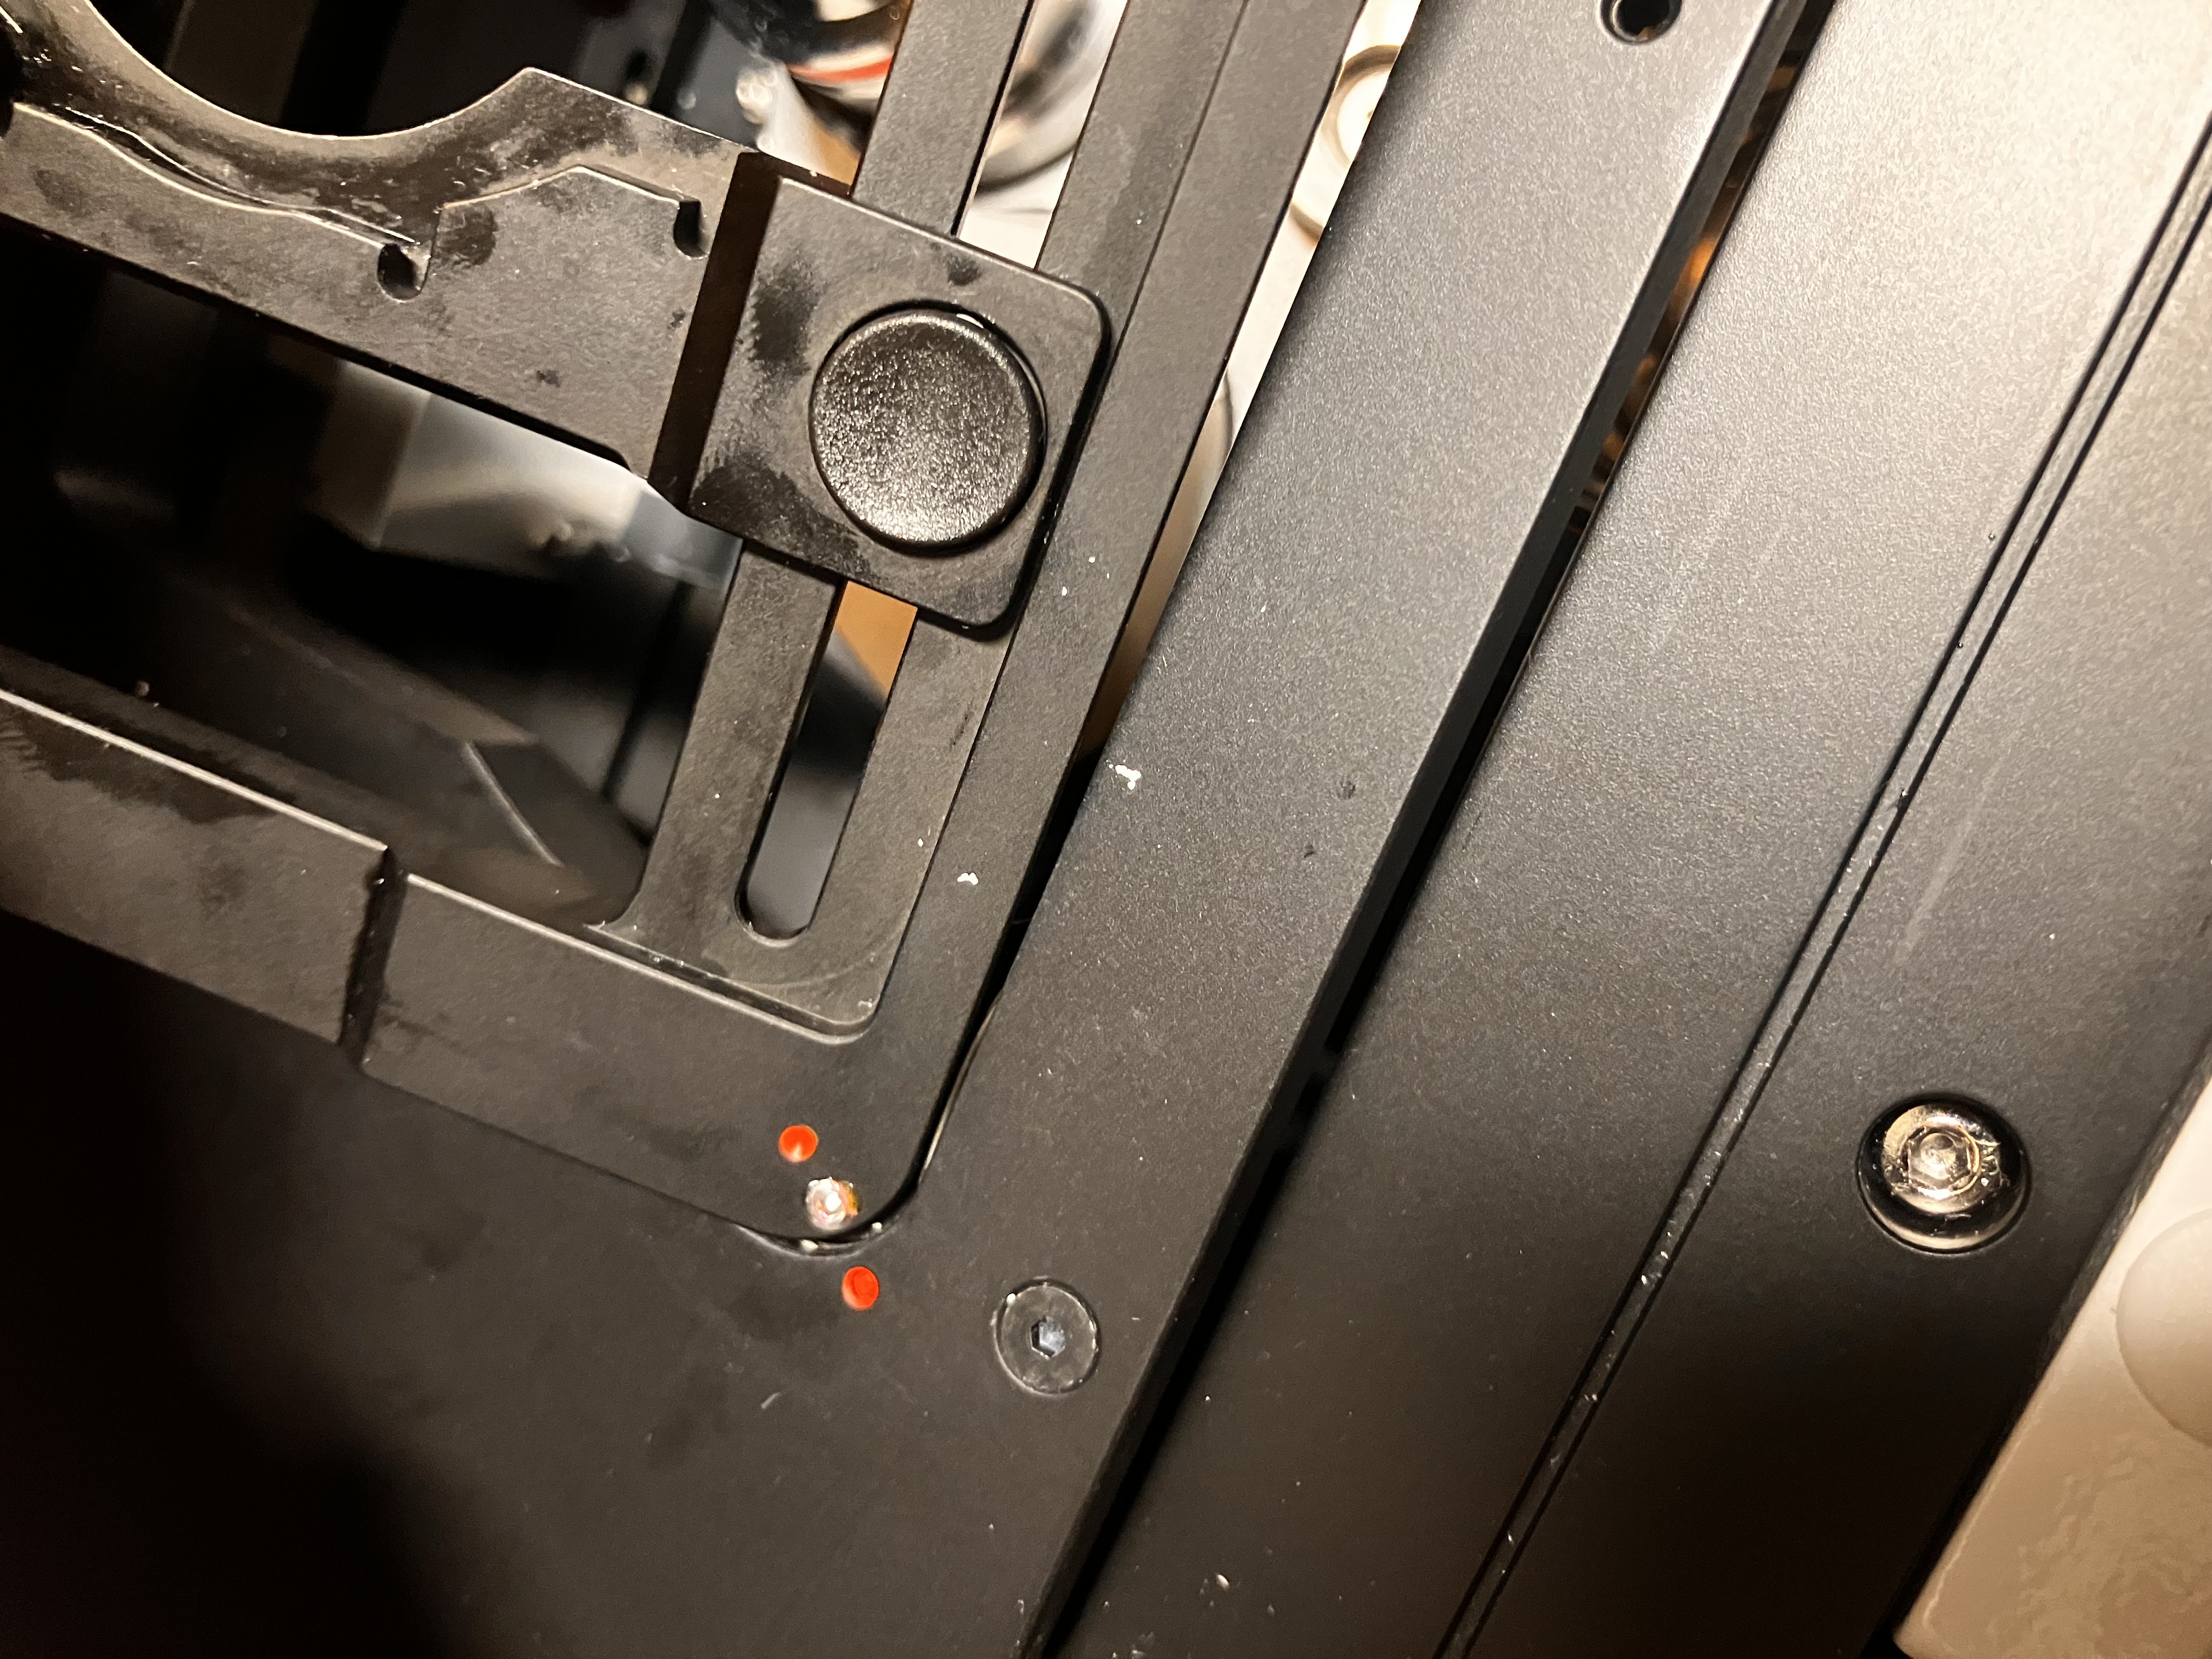
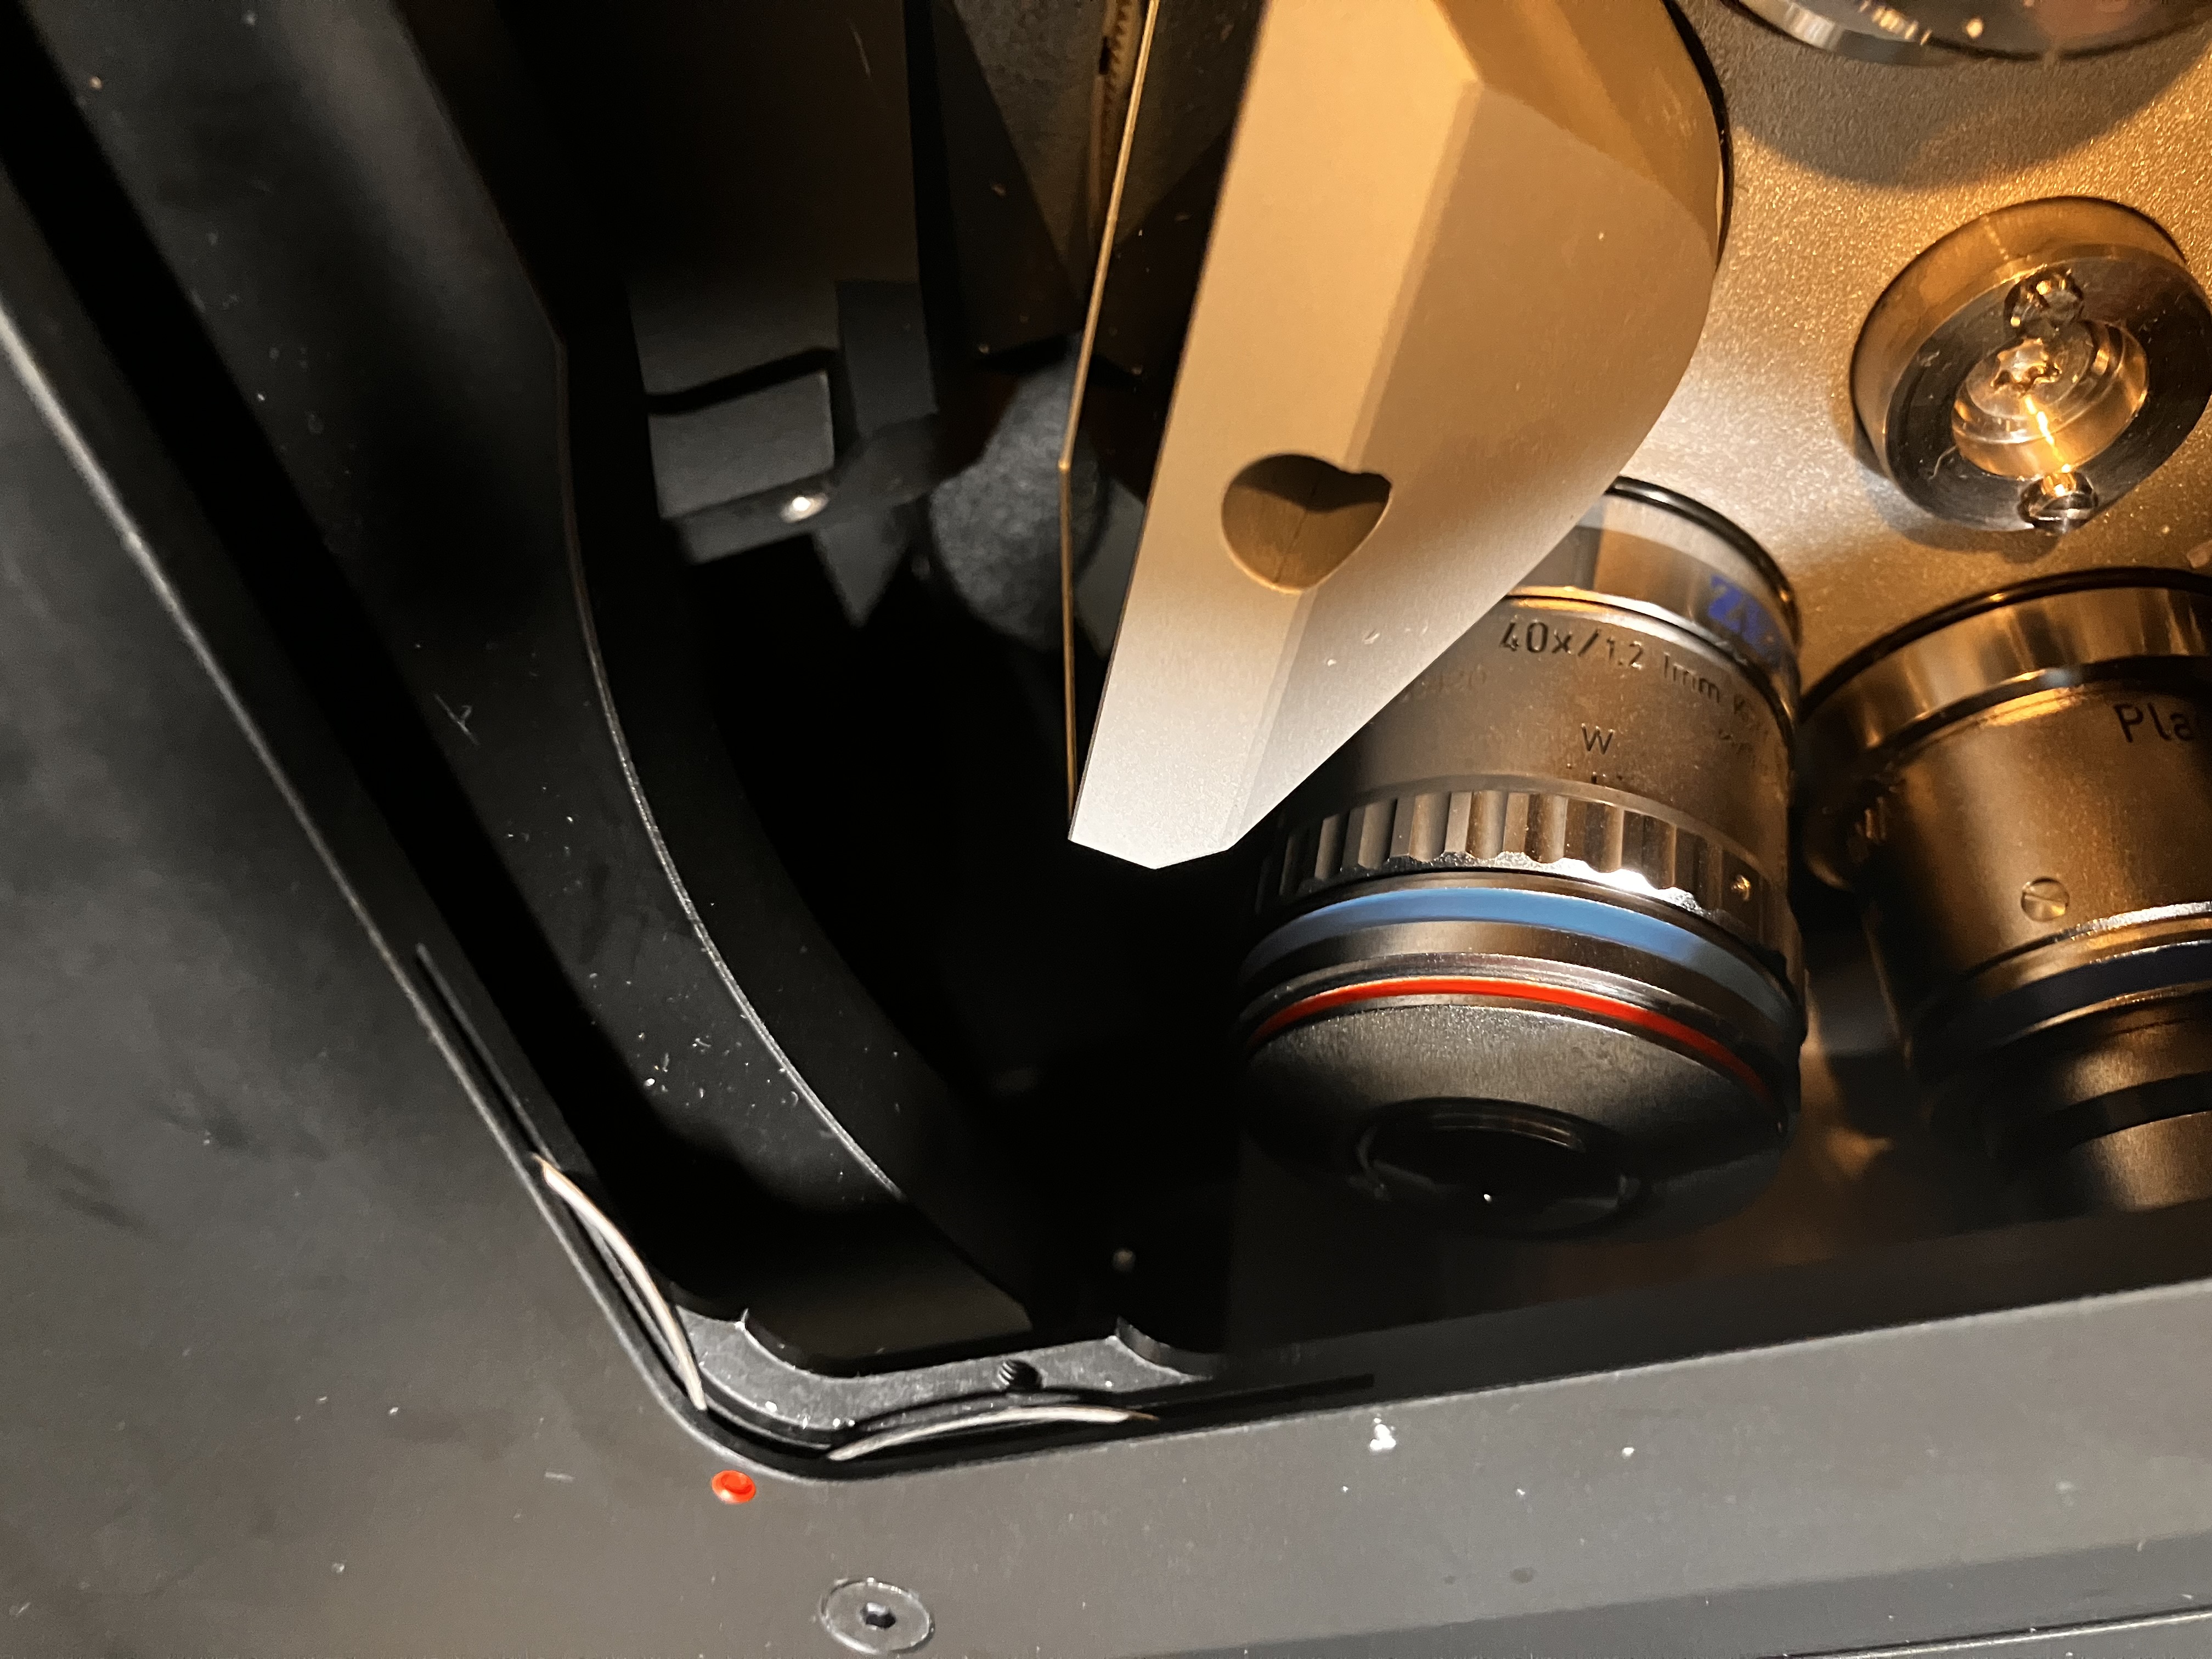
- Insert the piece as was demonstrated during the training session, if it is not already in the stage. Remember to line up the red dots (top) and to make sure that the following guides are pushed in as you insert the piece (bottom):
- Place your sample in the mounting piece. Remember that this is an inverted scope, so if you are using a slide, make sure to place it face down.
- Push the top part of the scope back down.
2.3 Locate Your Sample
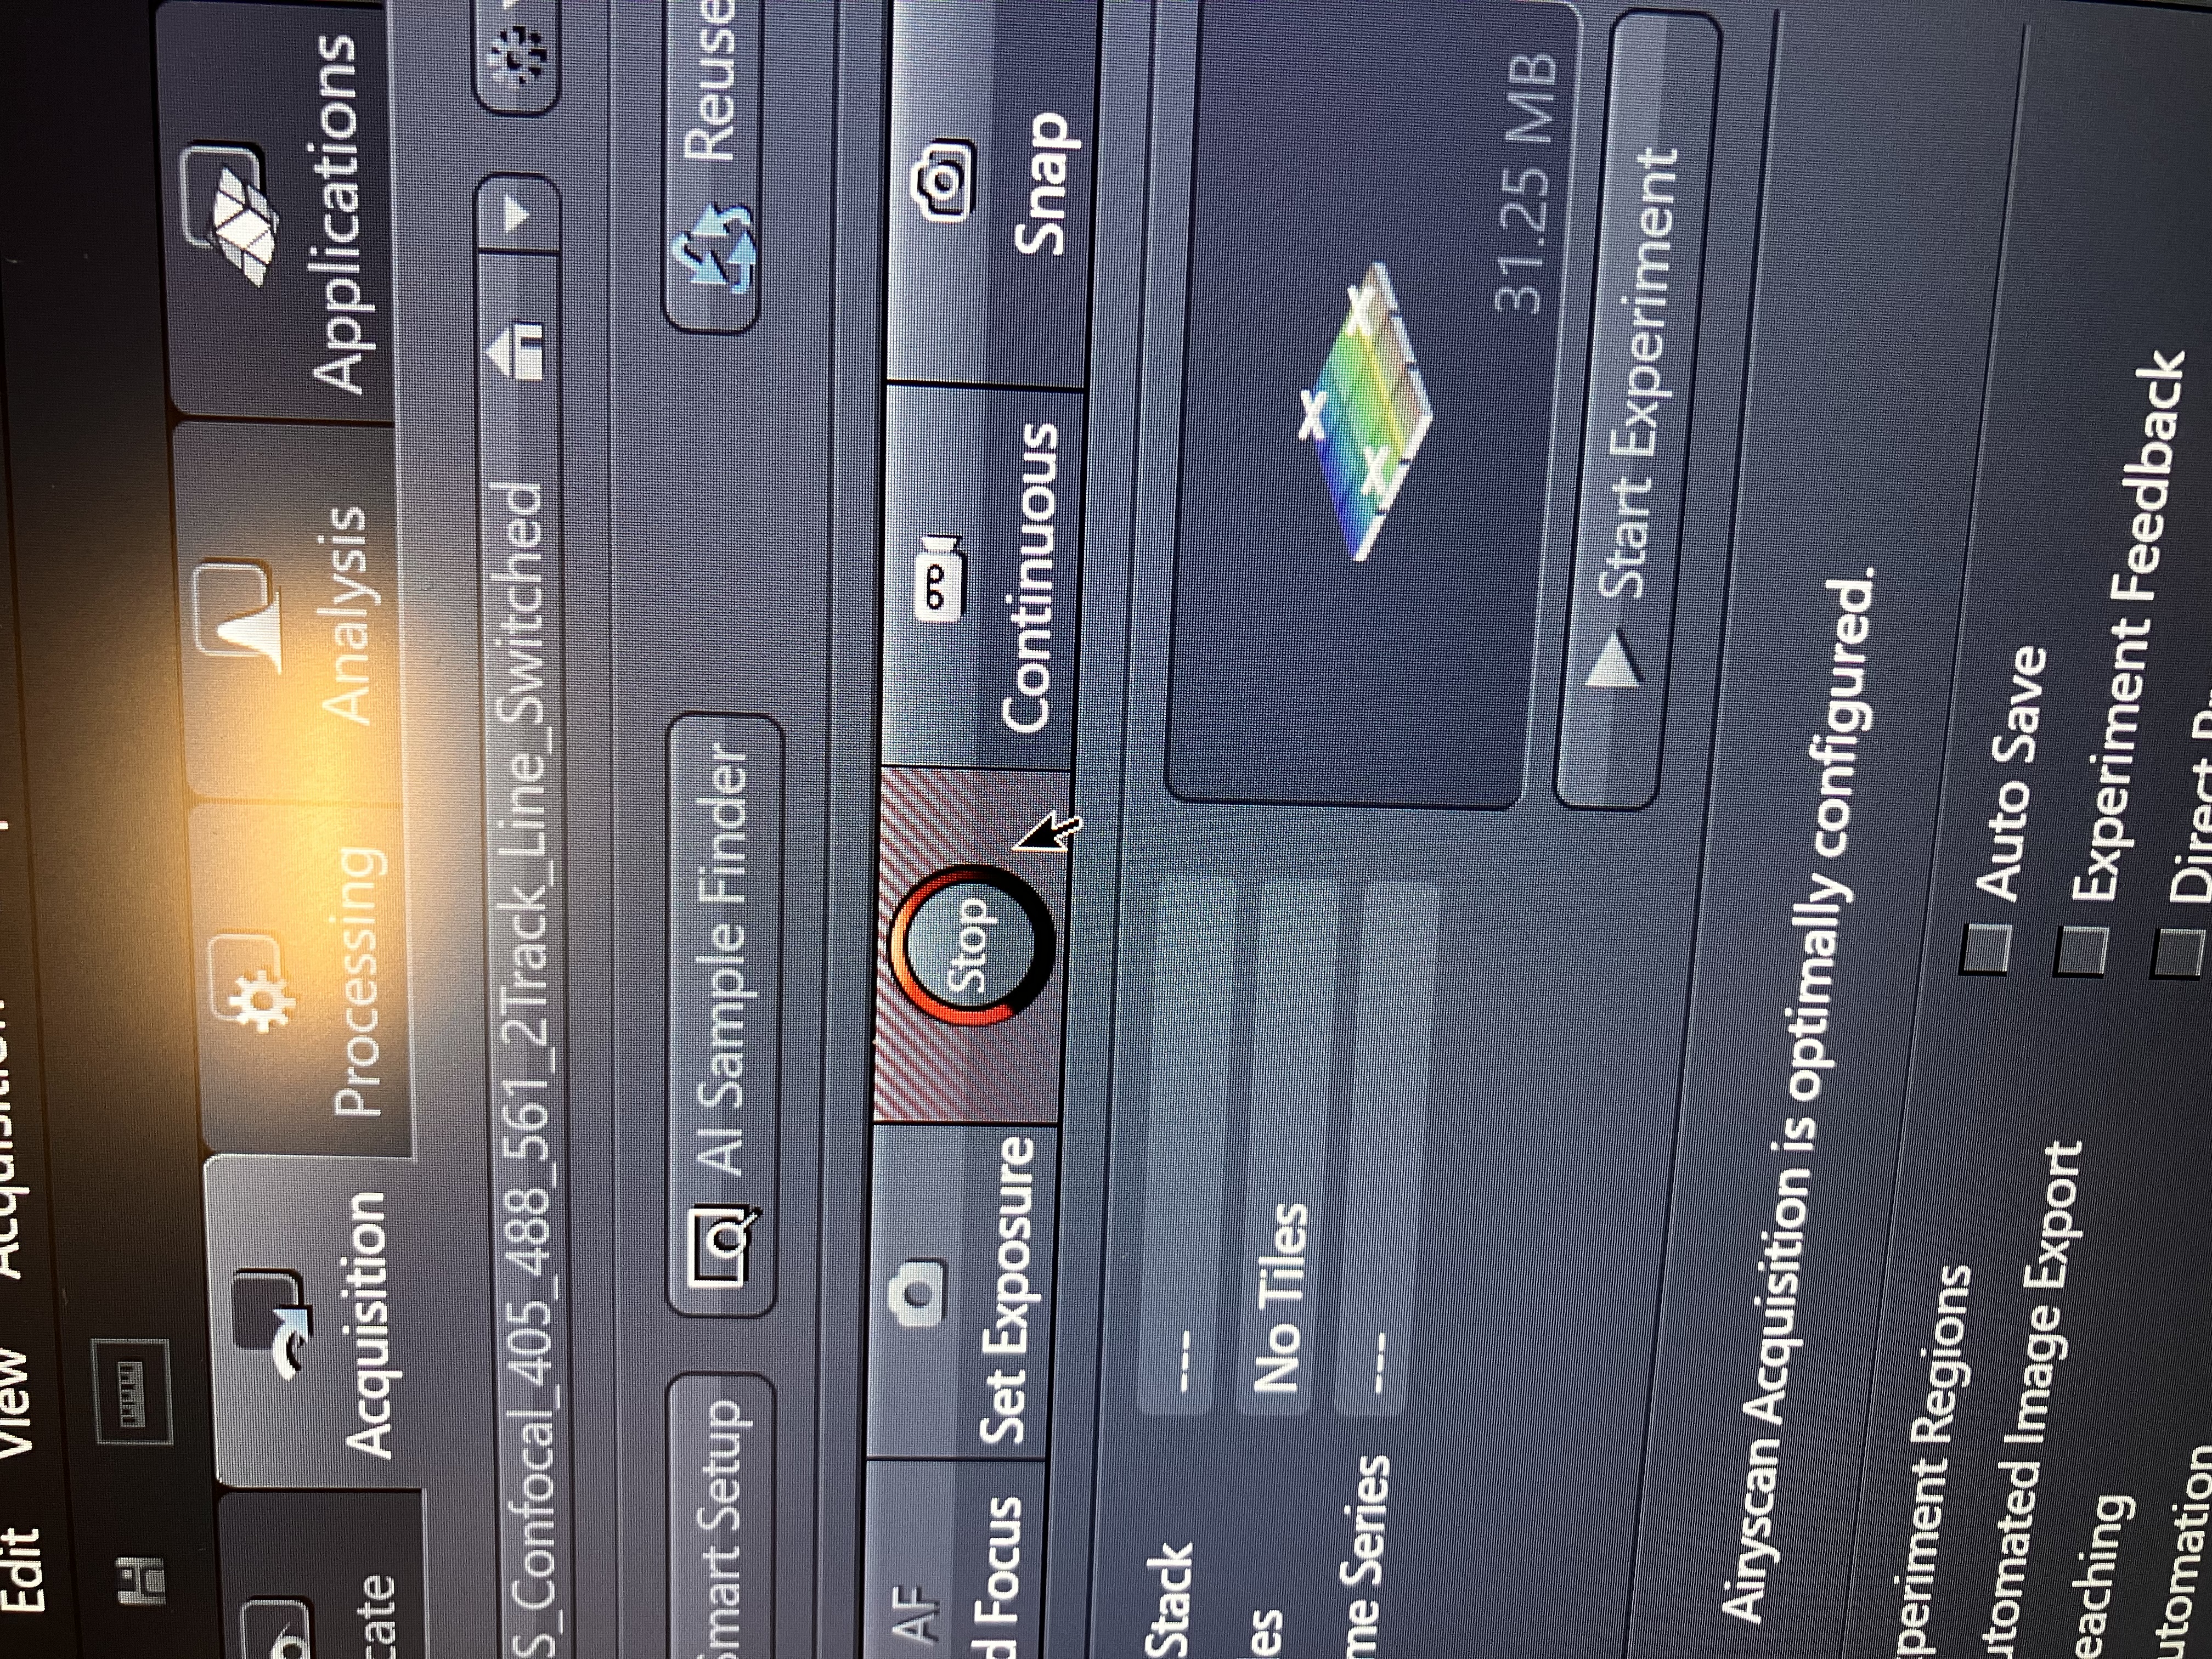
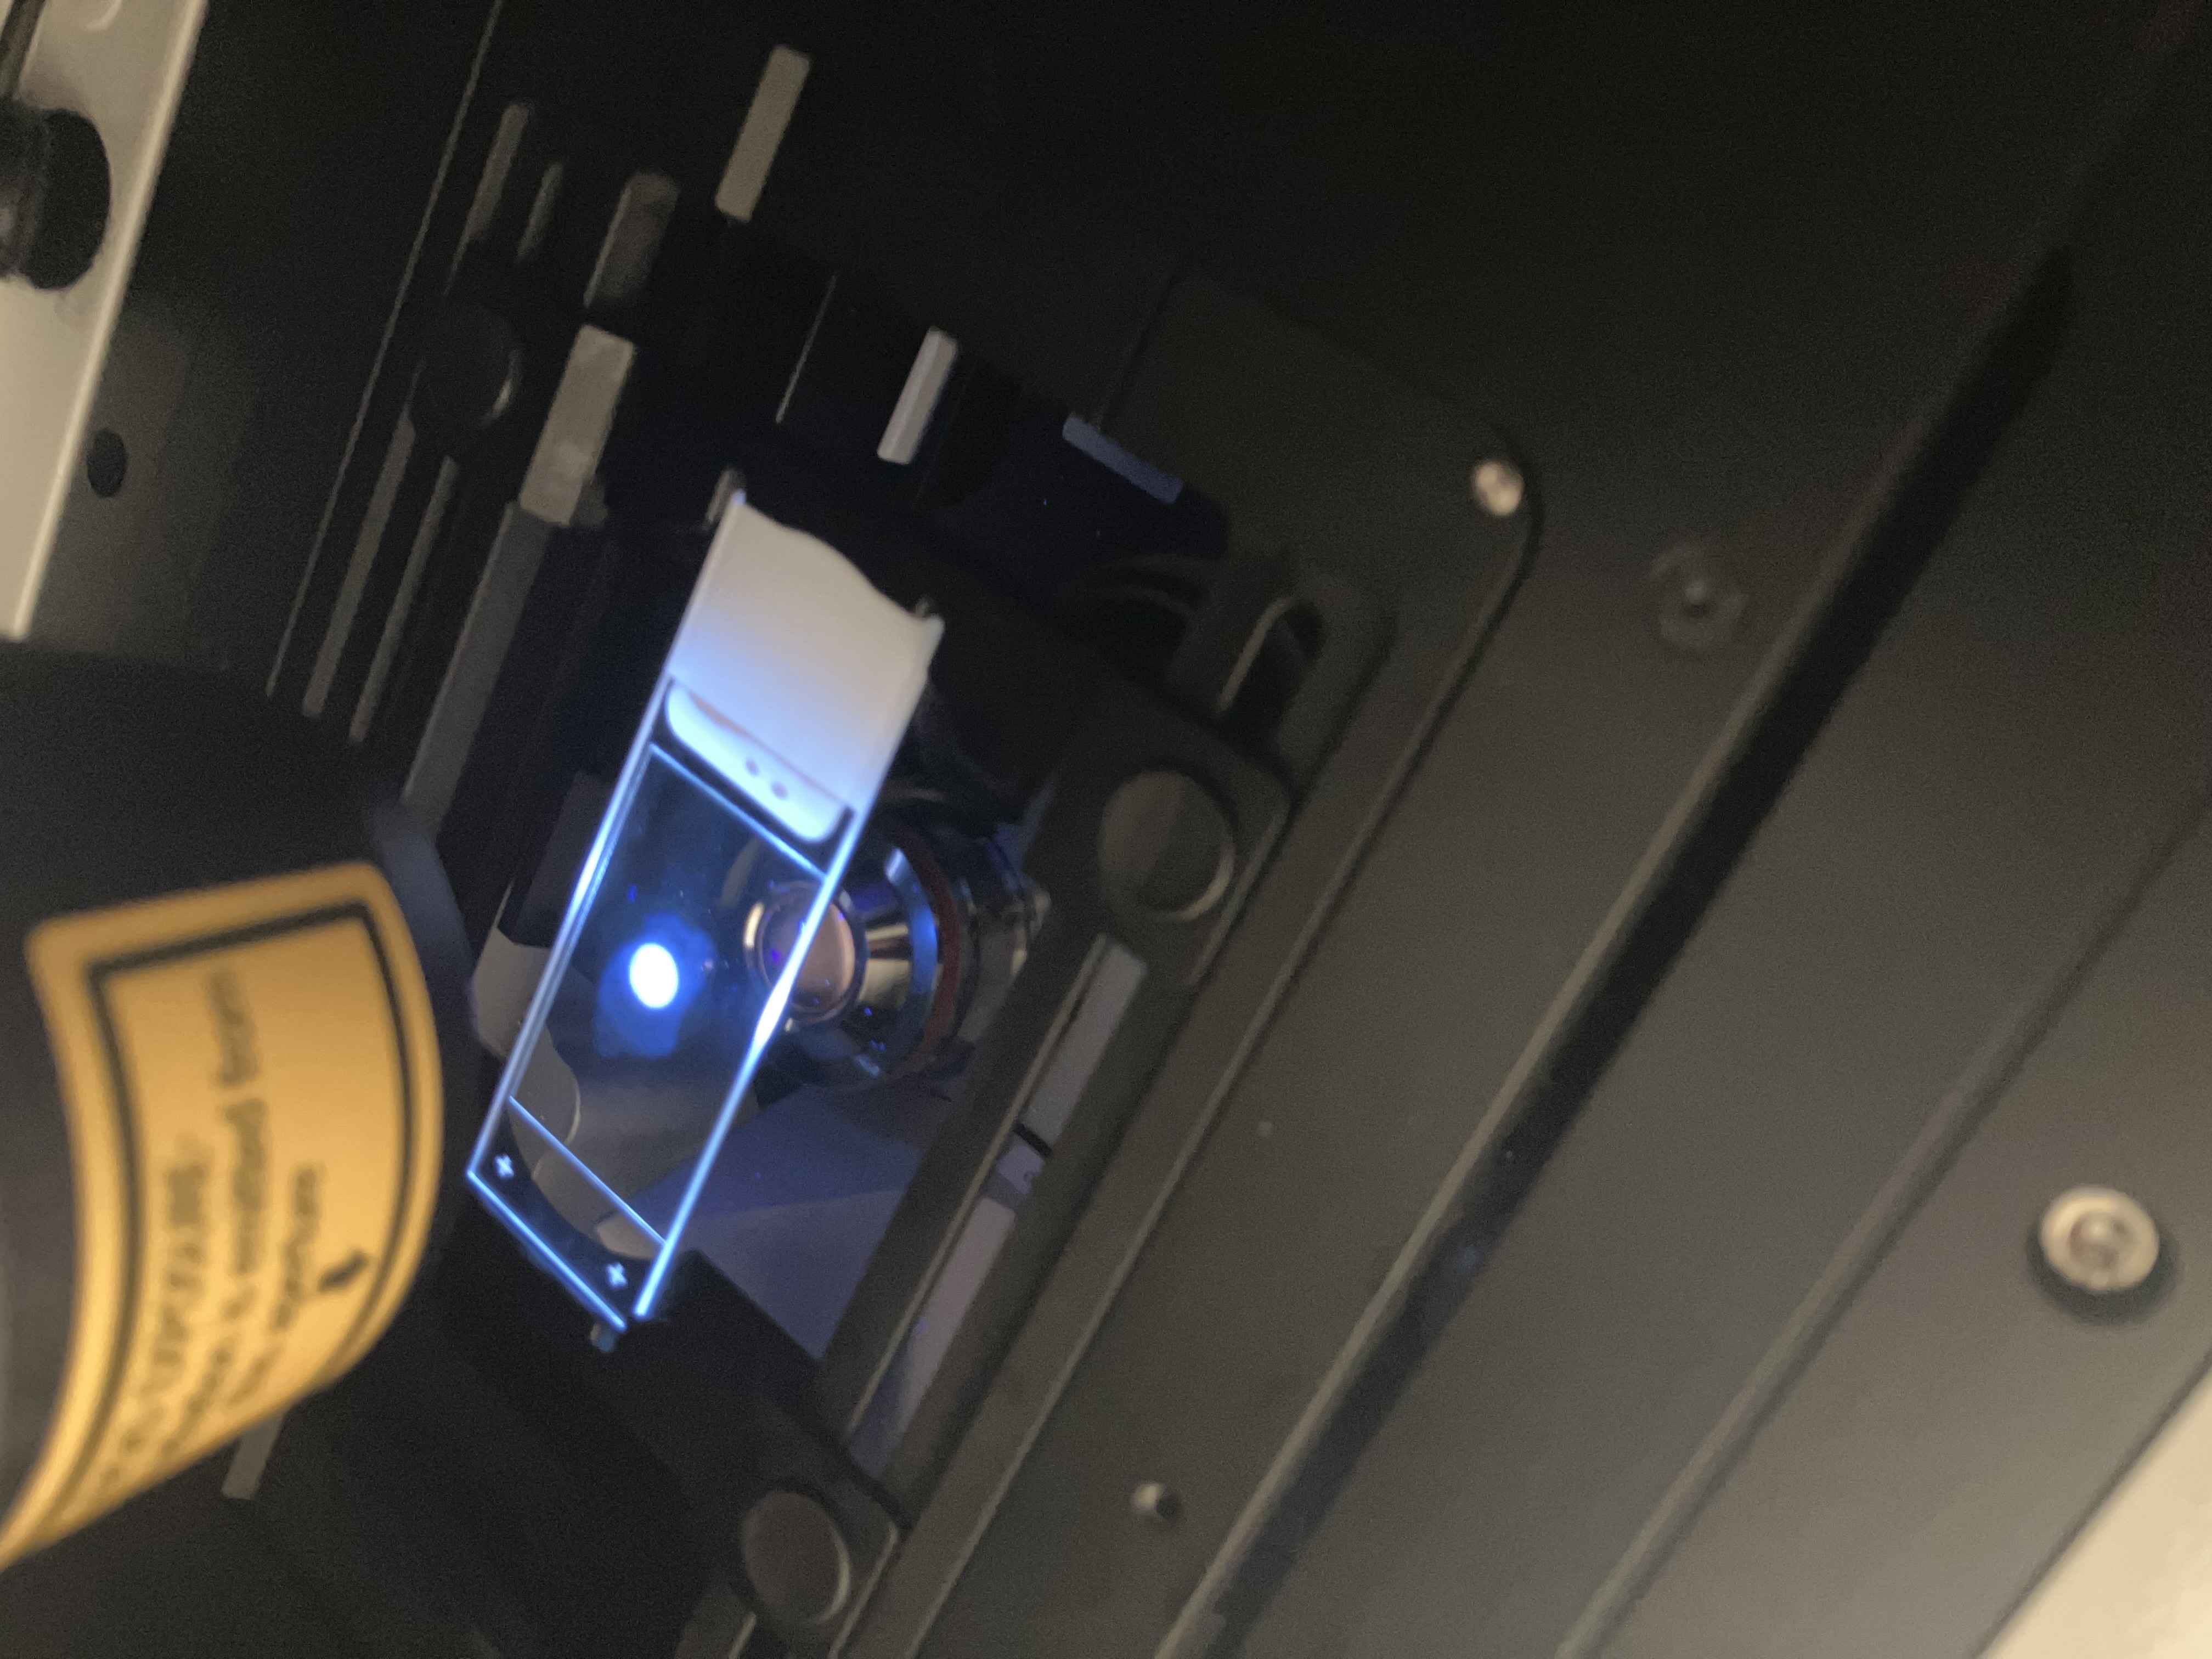
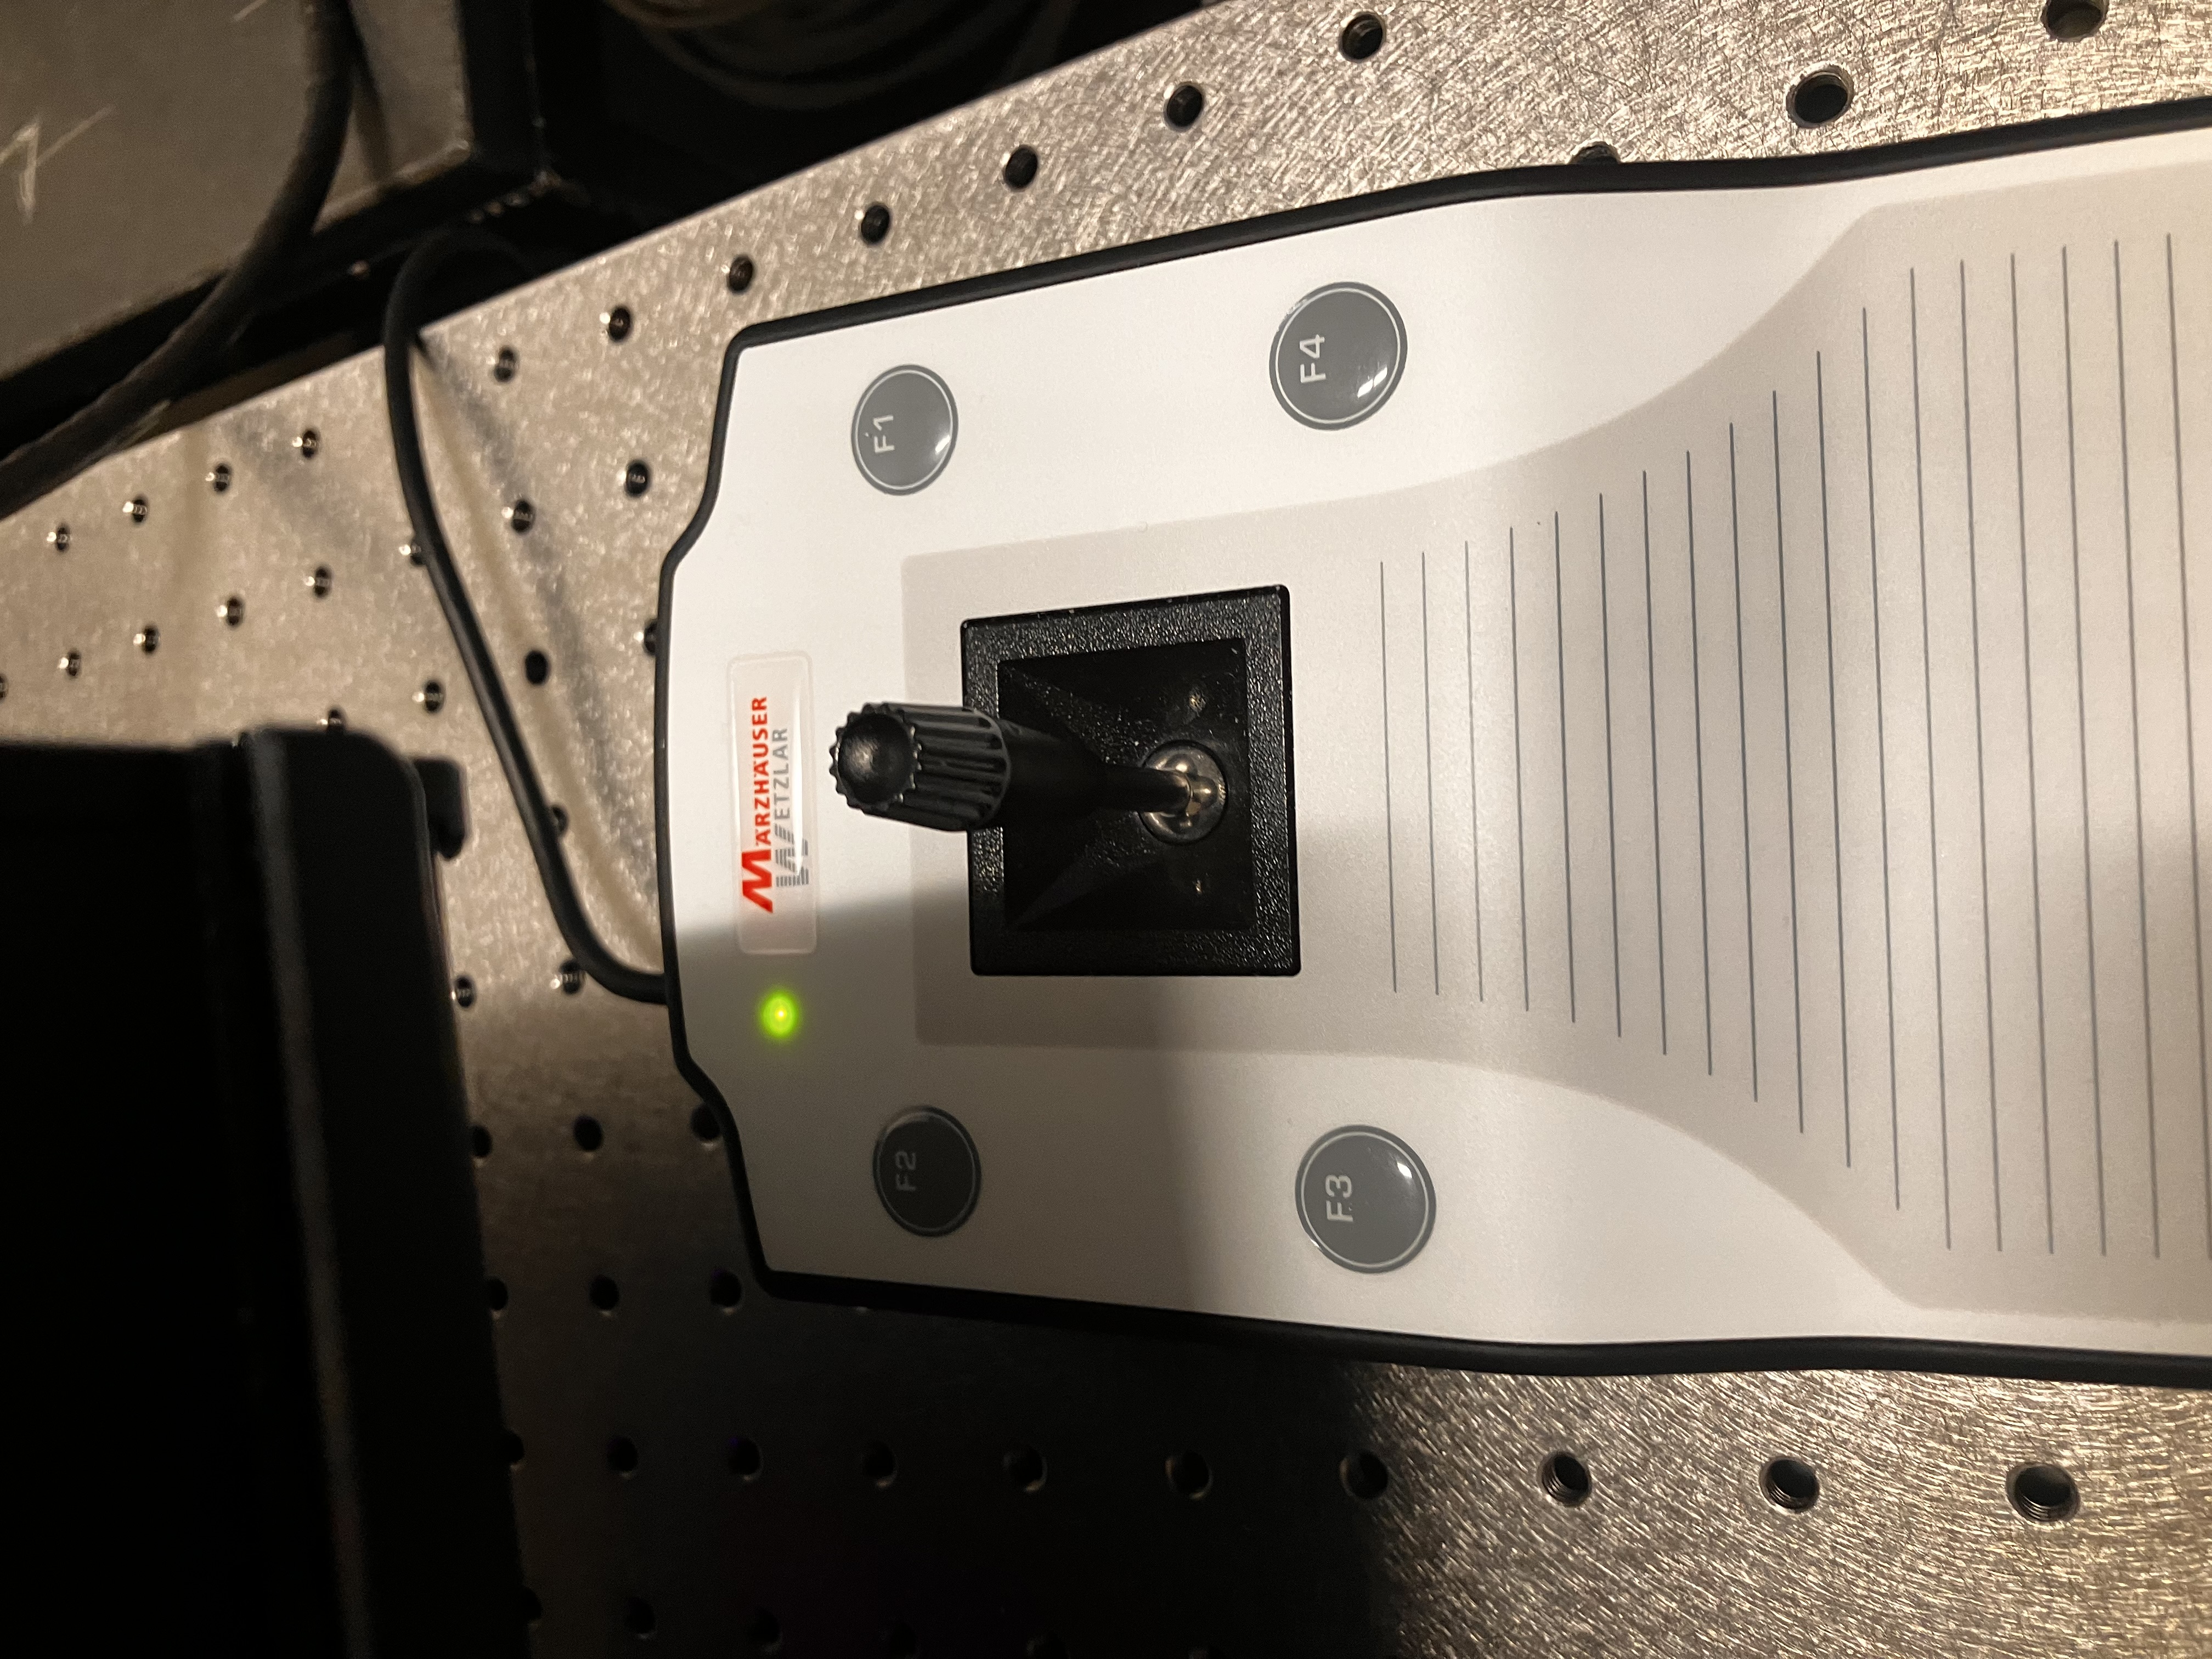
- Turn on the laser for any fluor (it does not really matter at this point which one), by clicking here (top) and then check that light is being emitted onto tissue or cells (middle). Use the joystick to scan over your sample until you can see something (bottom):
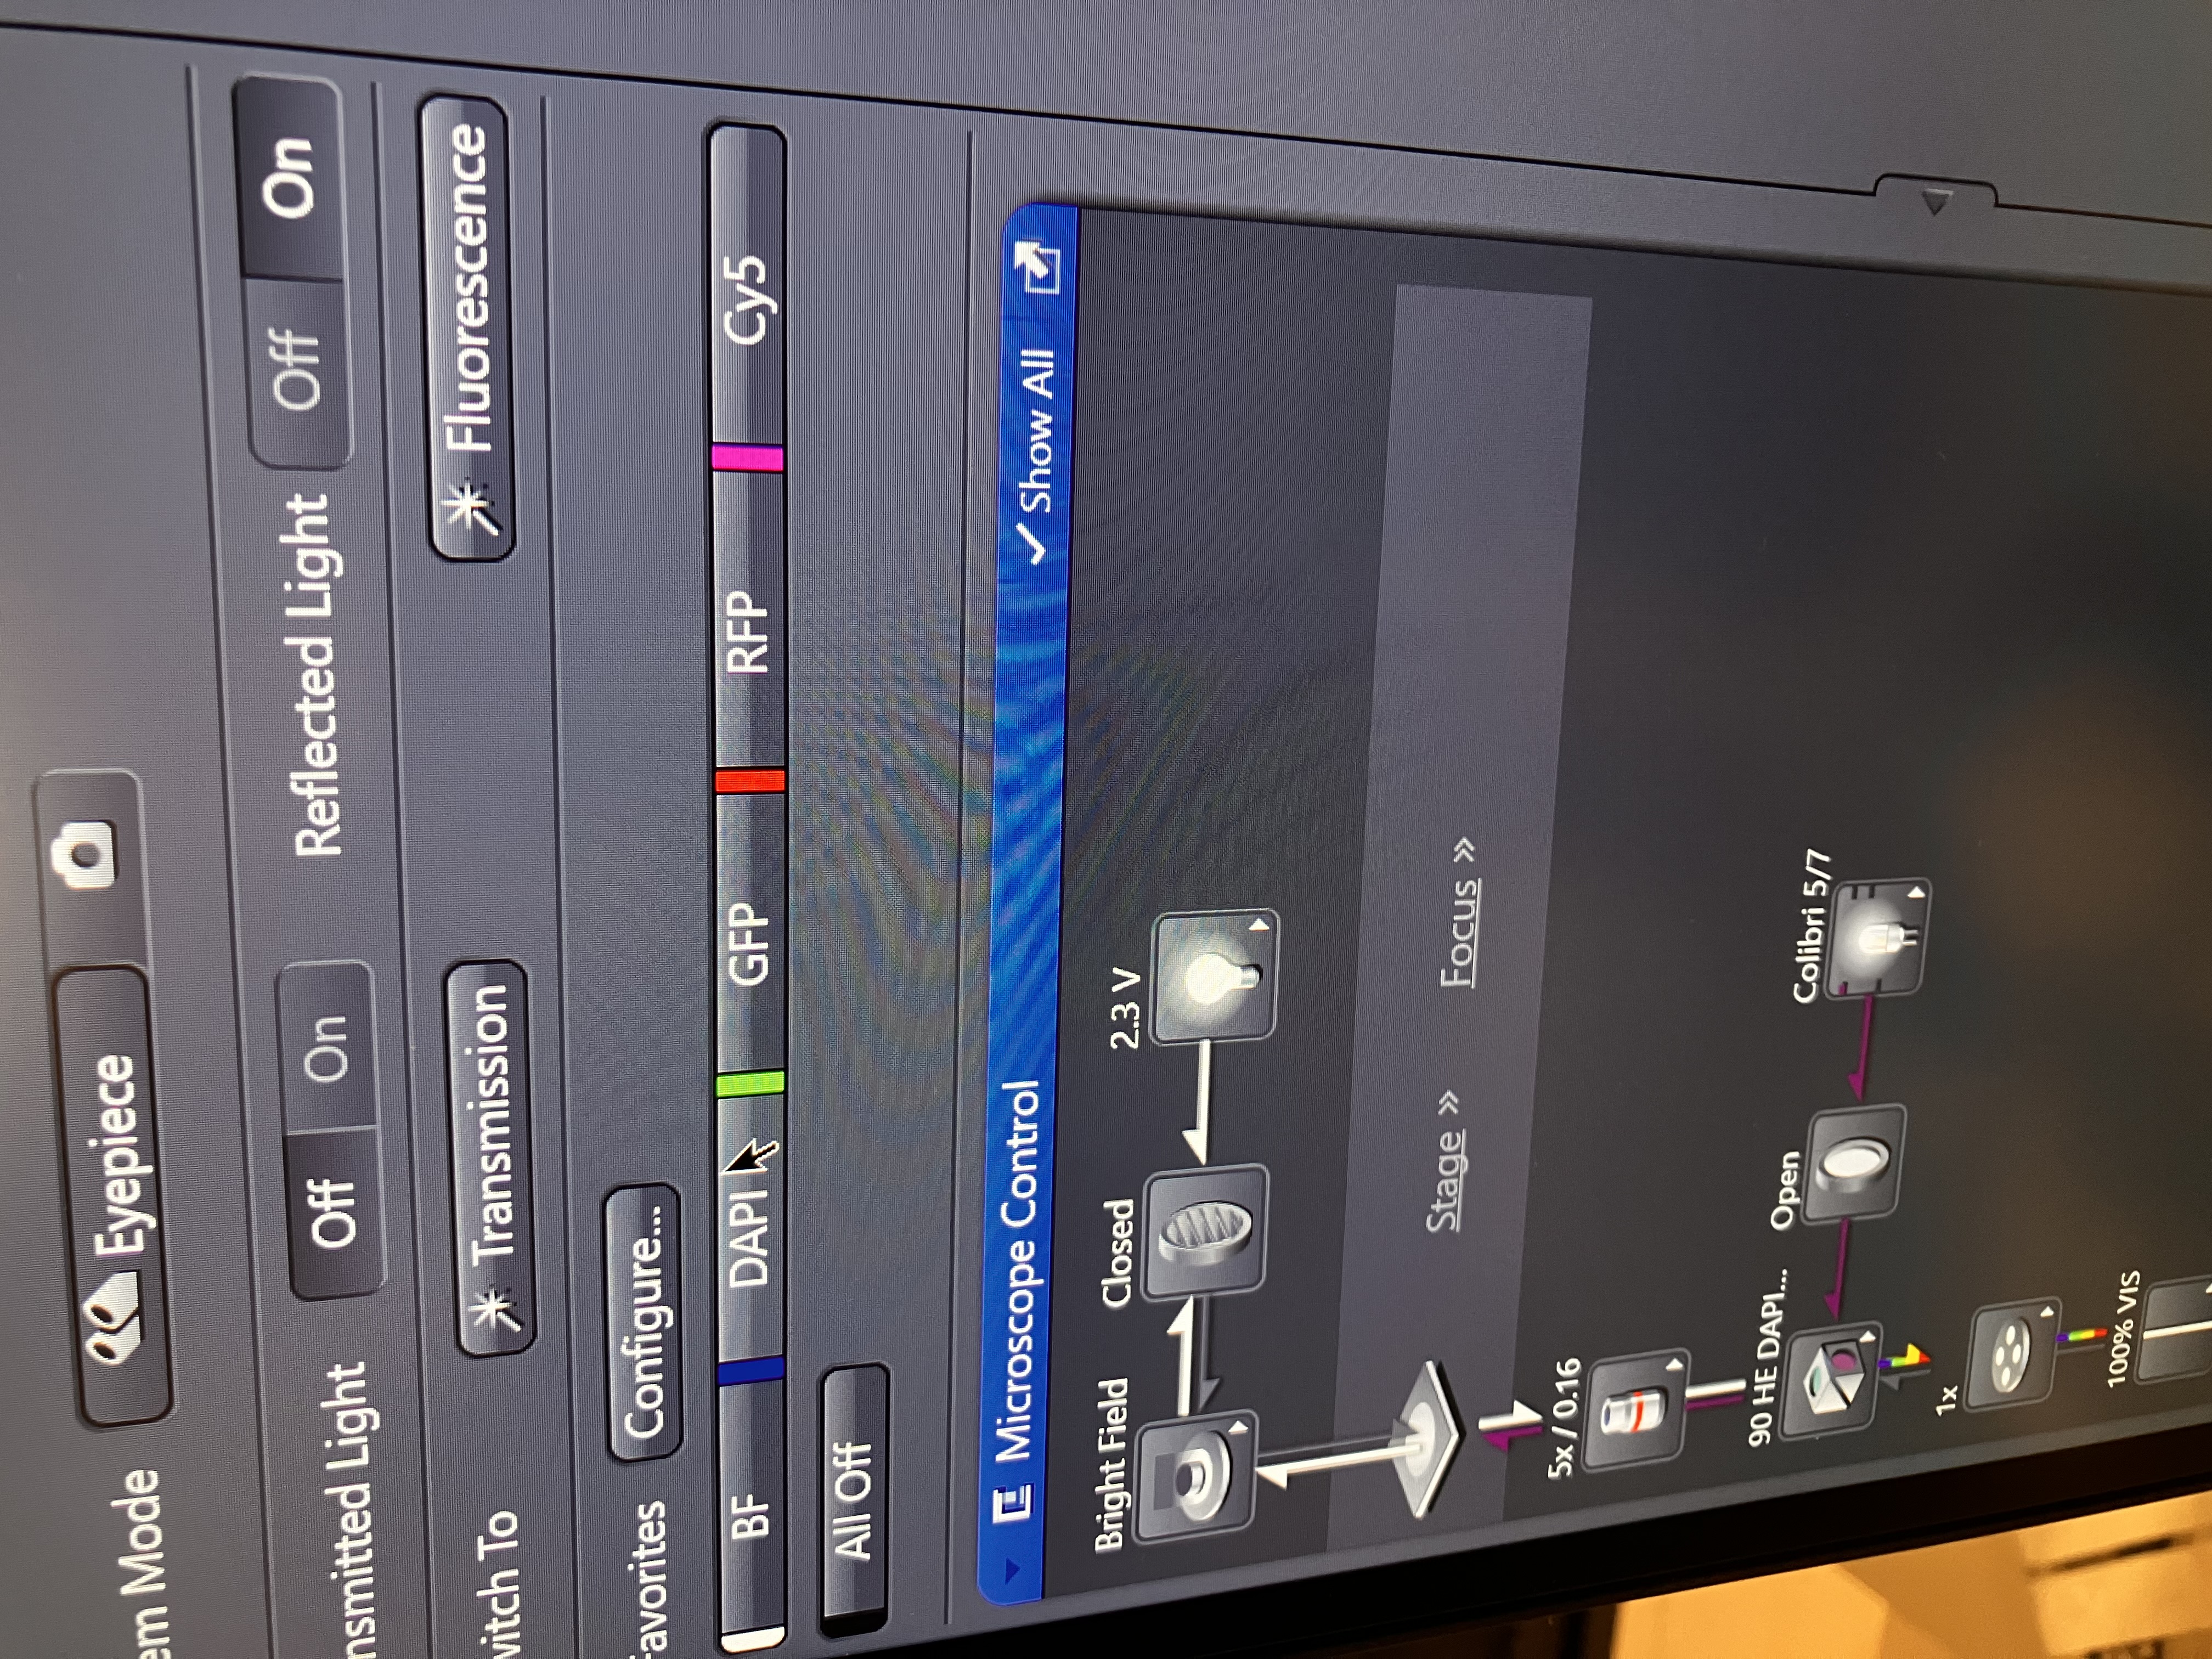
- Turn off the laser by clicking “All Off.”
2.4 Use the AI Sample Finder
This is an optional step; however, it can be very helpful for navigating your sample later on. This feature works best with tissue samples, but it may be able to work with cell culture as well.
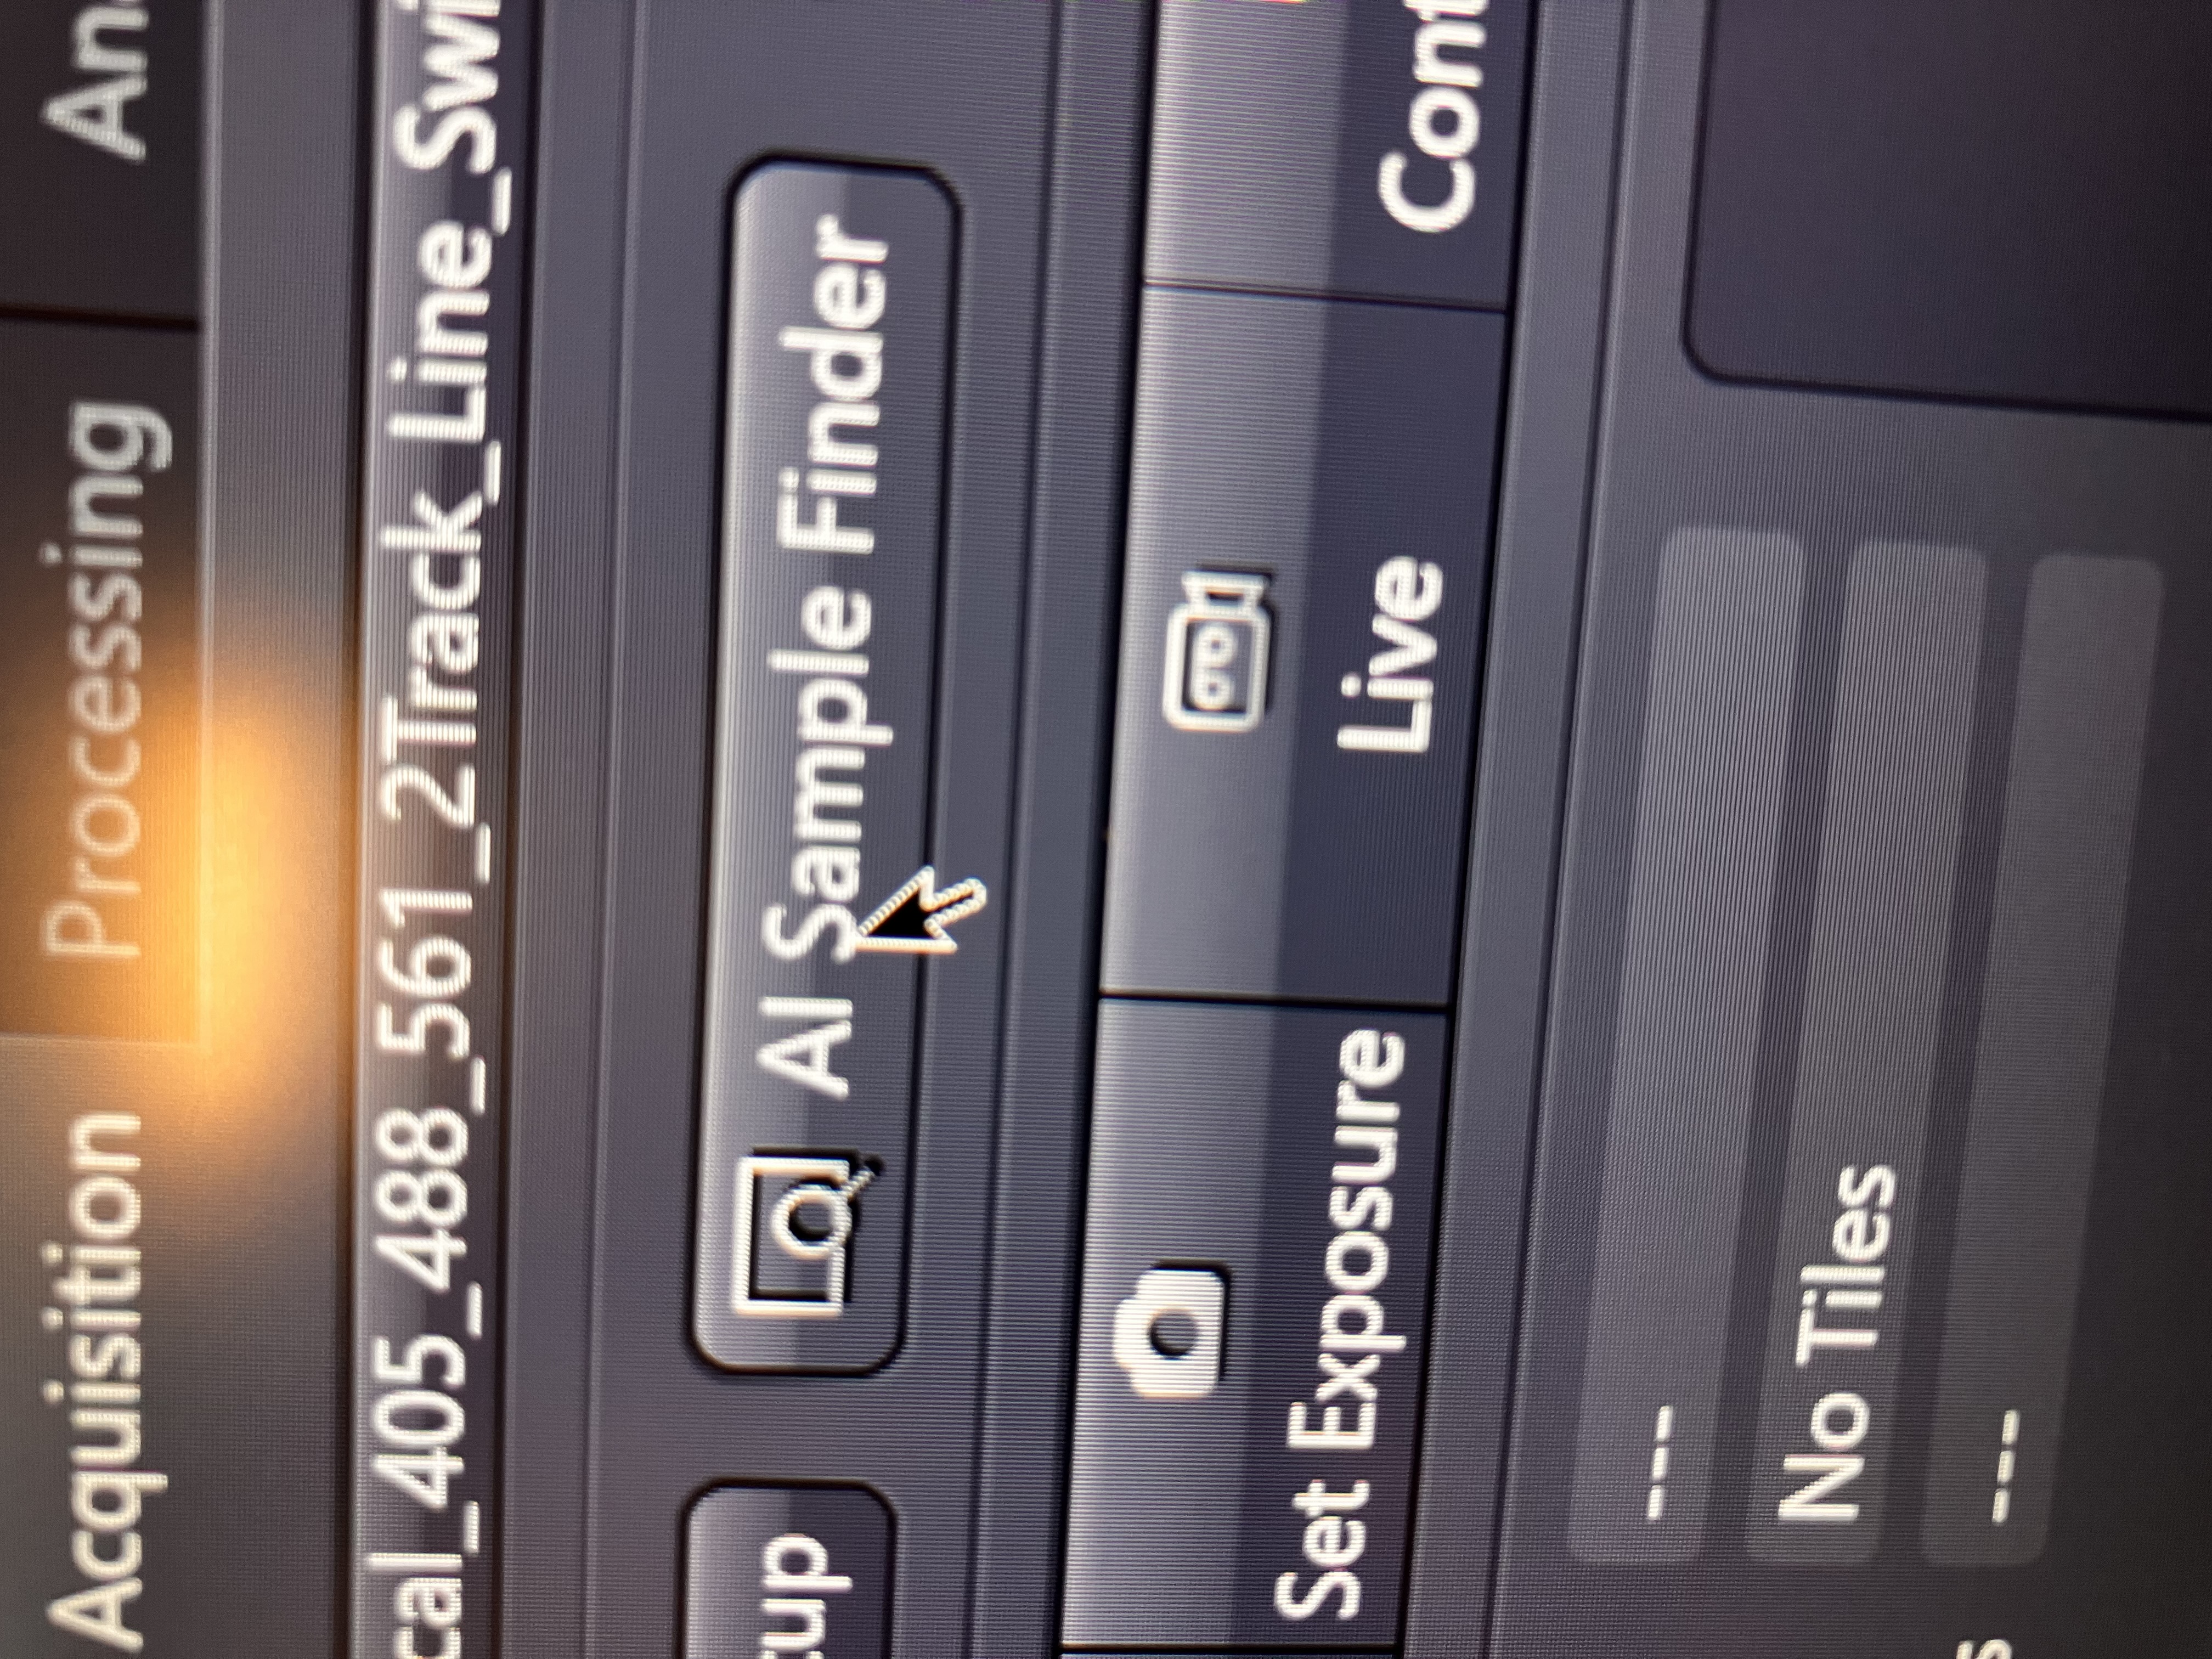
a. Click “Acquisition” in the top left corner of the screen.
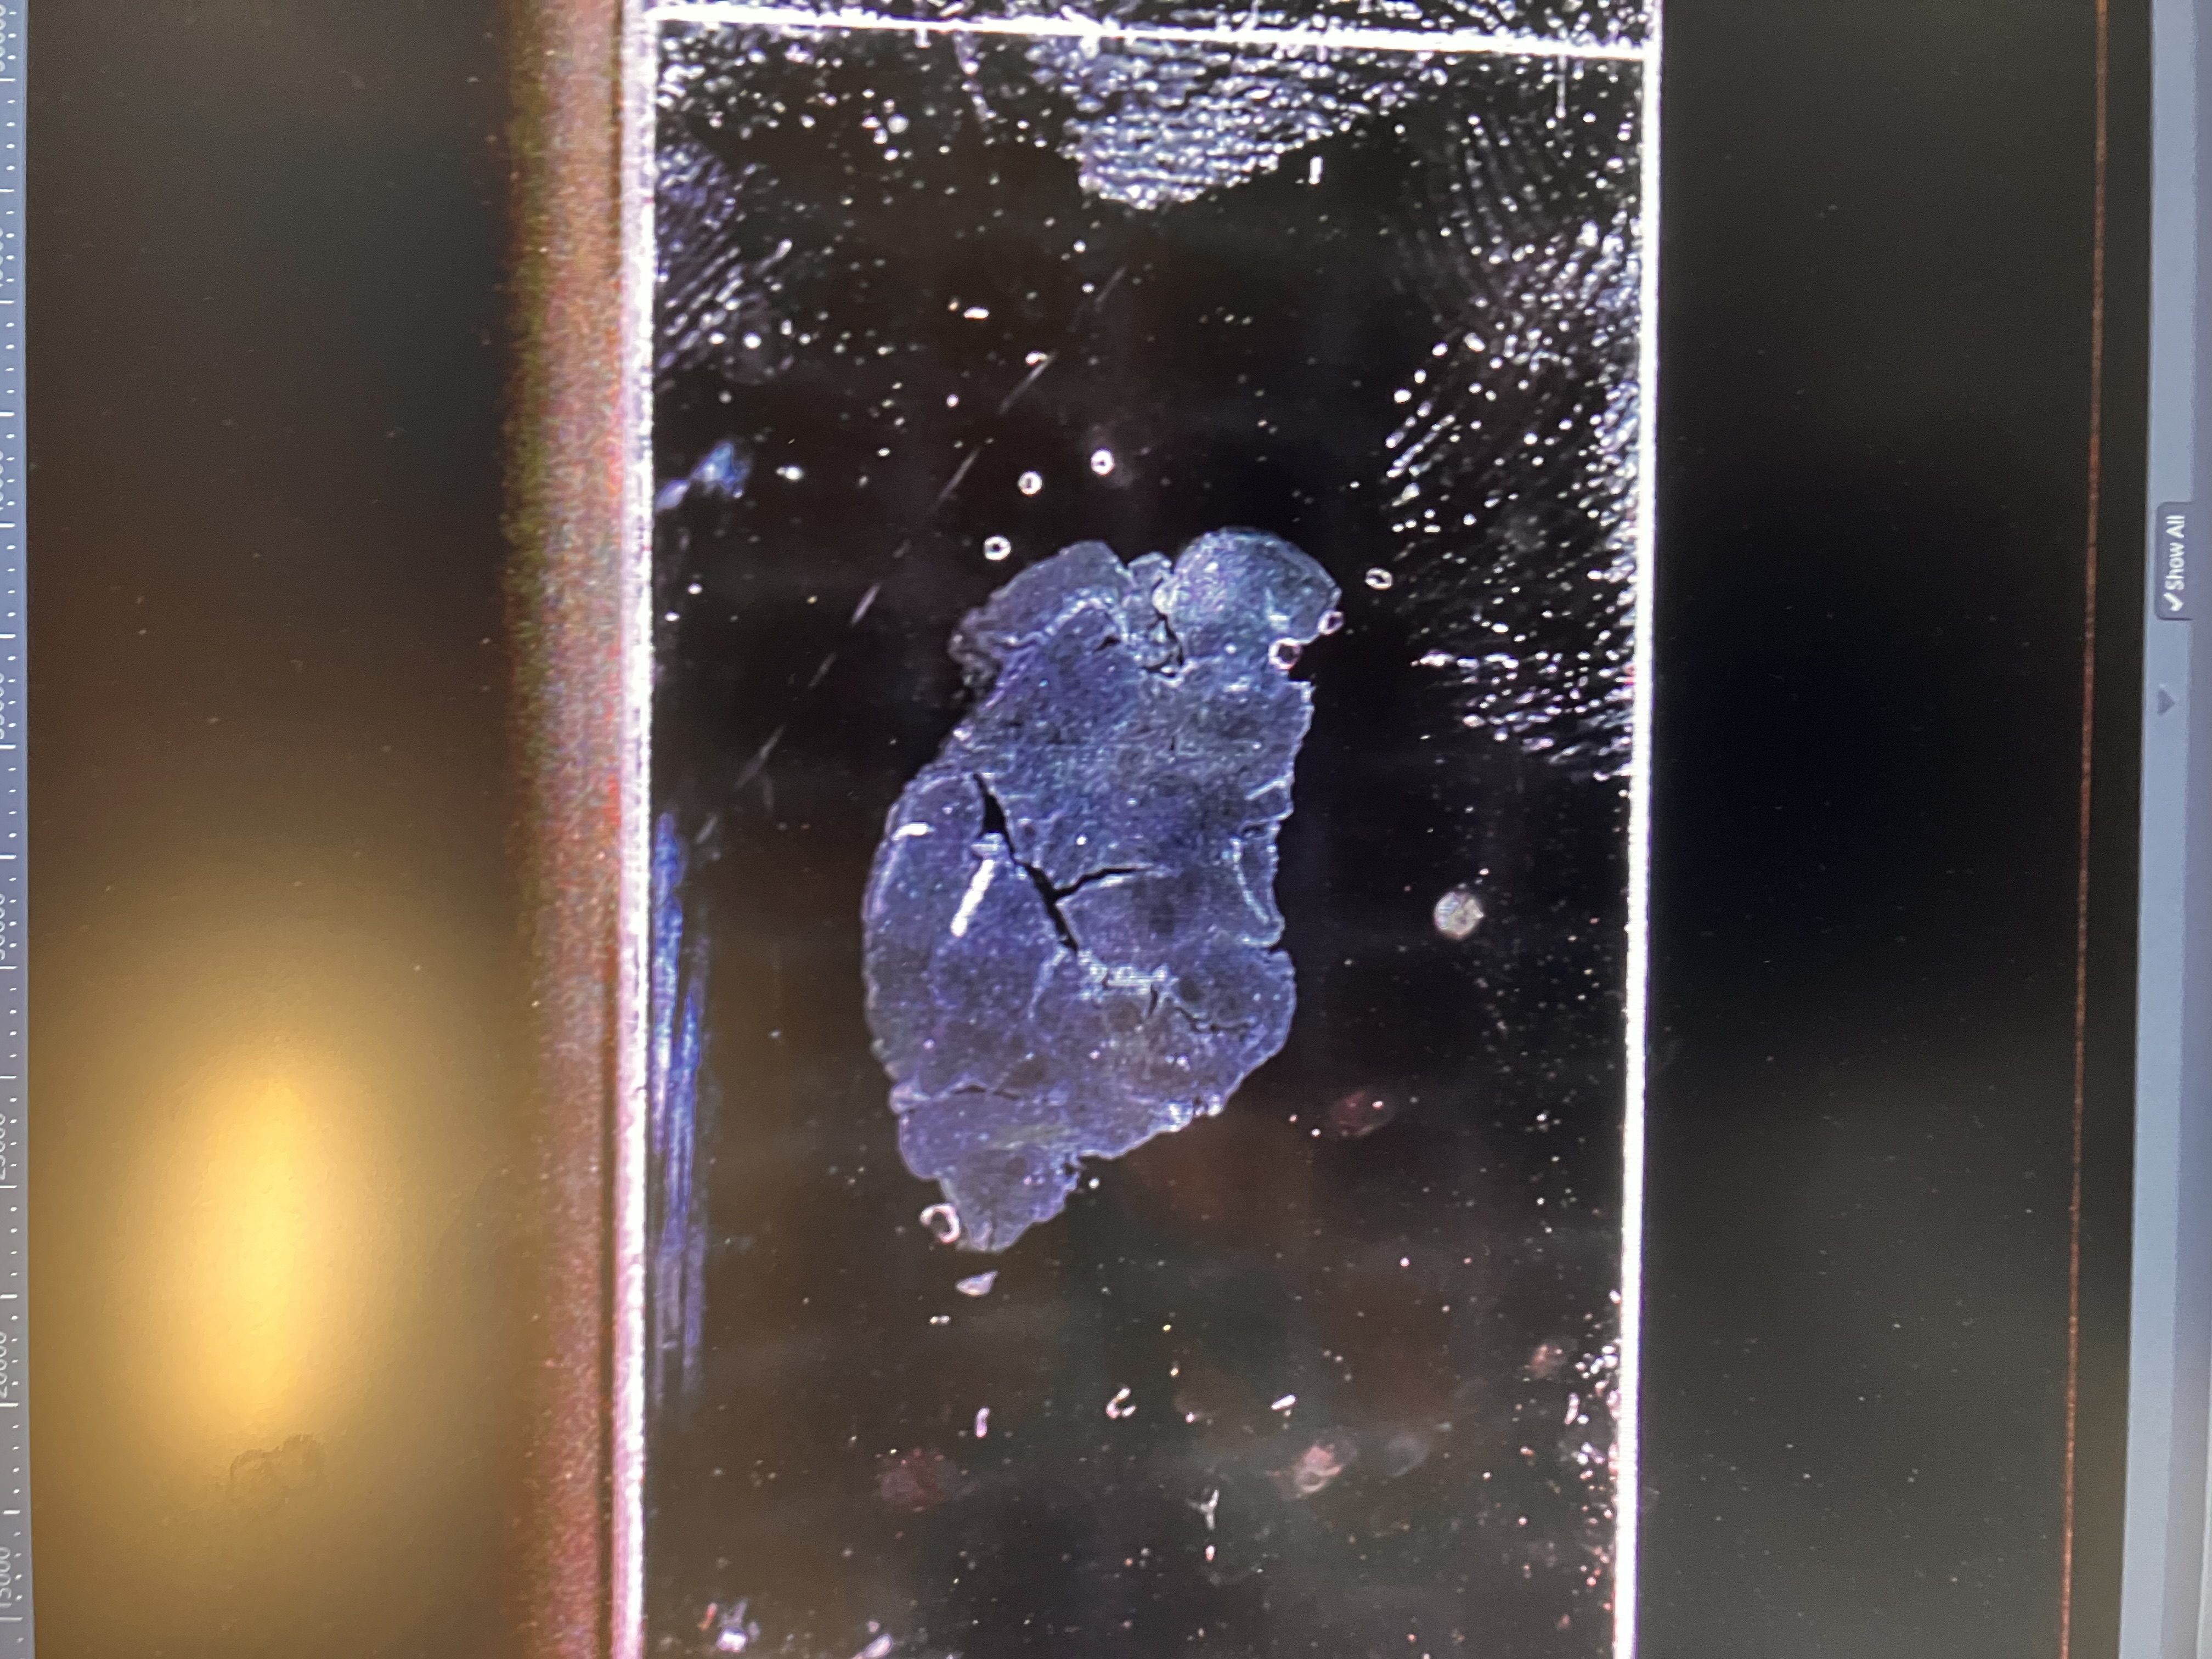
b. Click “AI Sample Finder” (top), then click “Find Sample.” After letting the software do its thing, your sample should be found (middle). Use the tools to correct the boundary around the sample, if necessary (bottom):

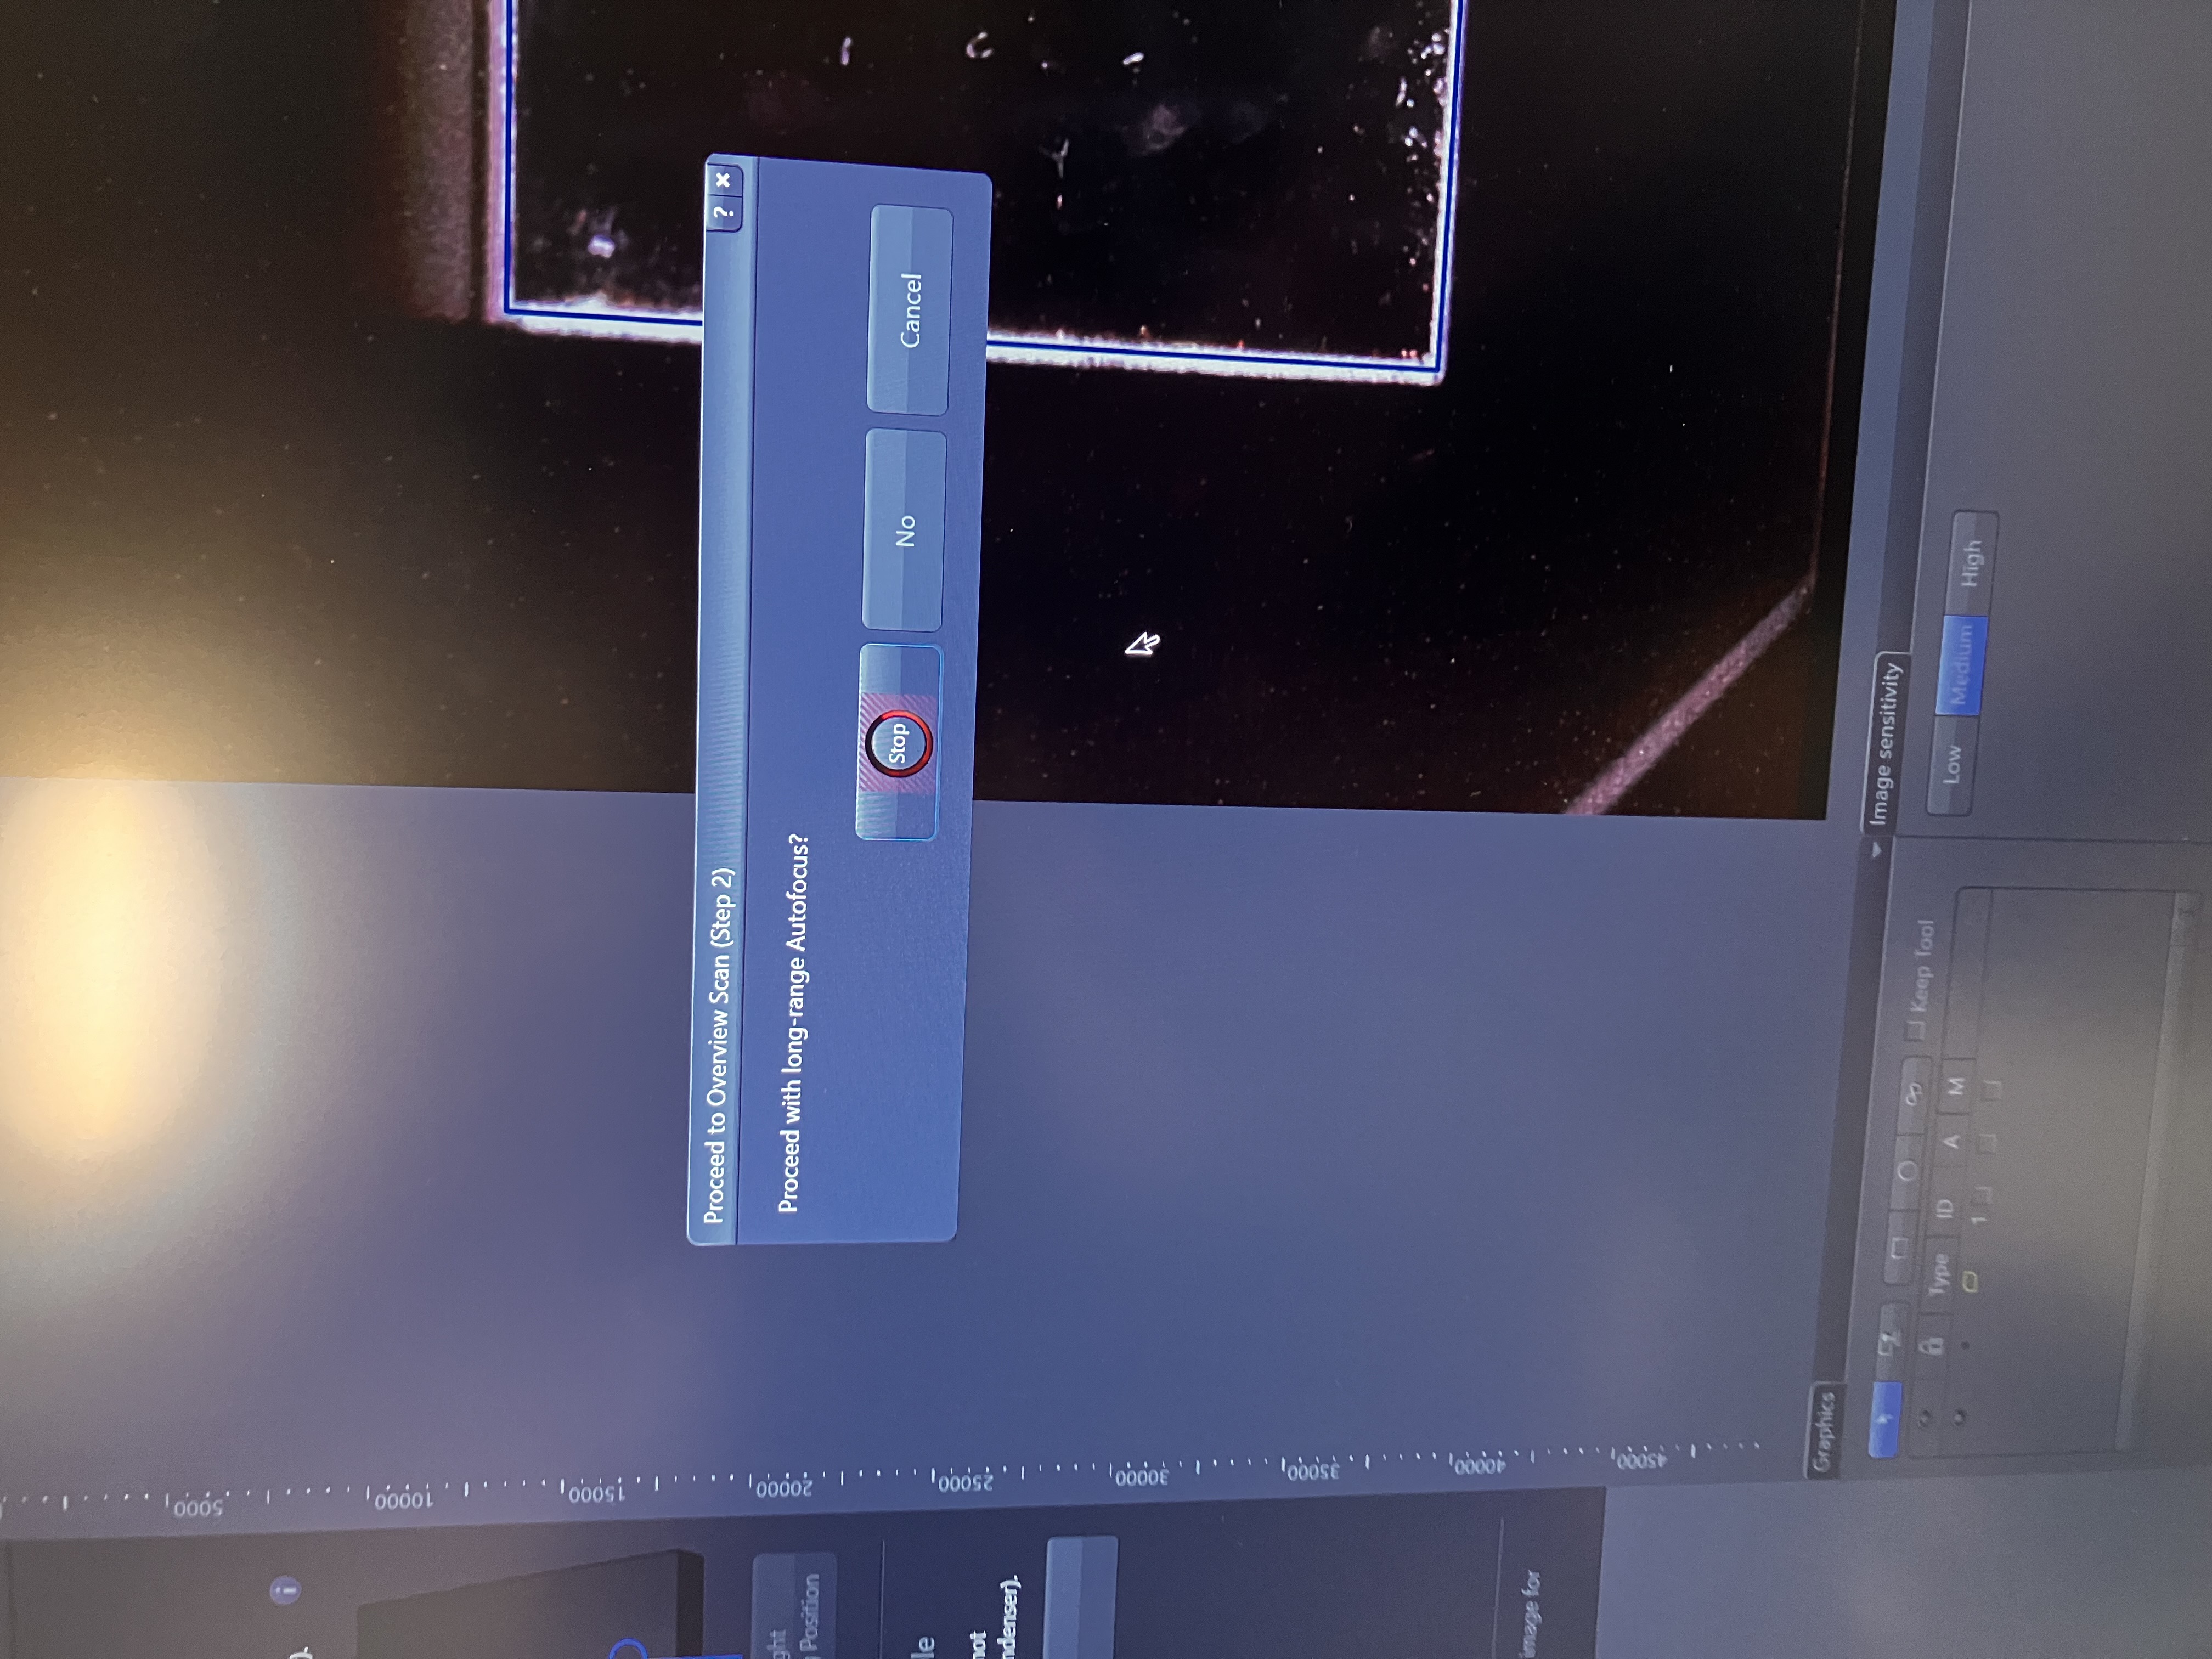
c. Click “Next” and then click “Yes.”
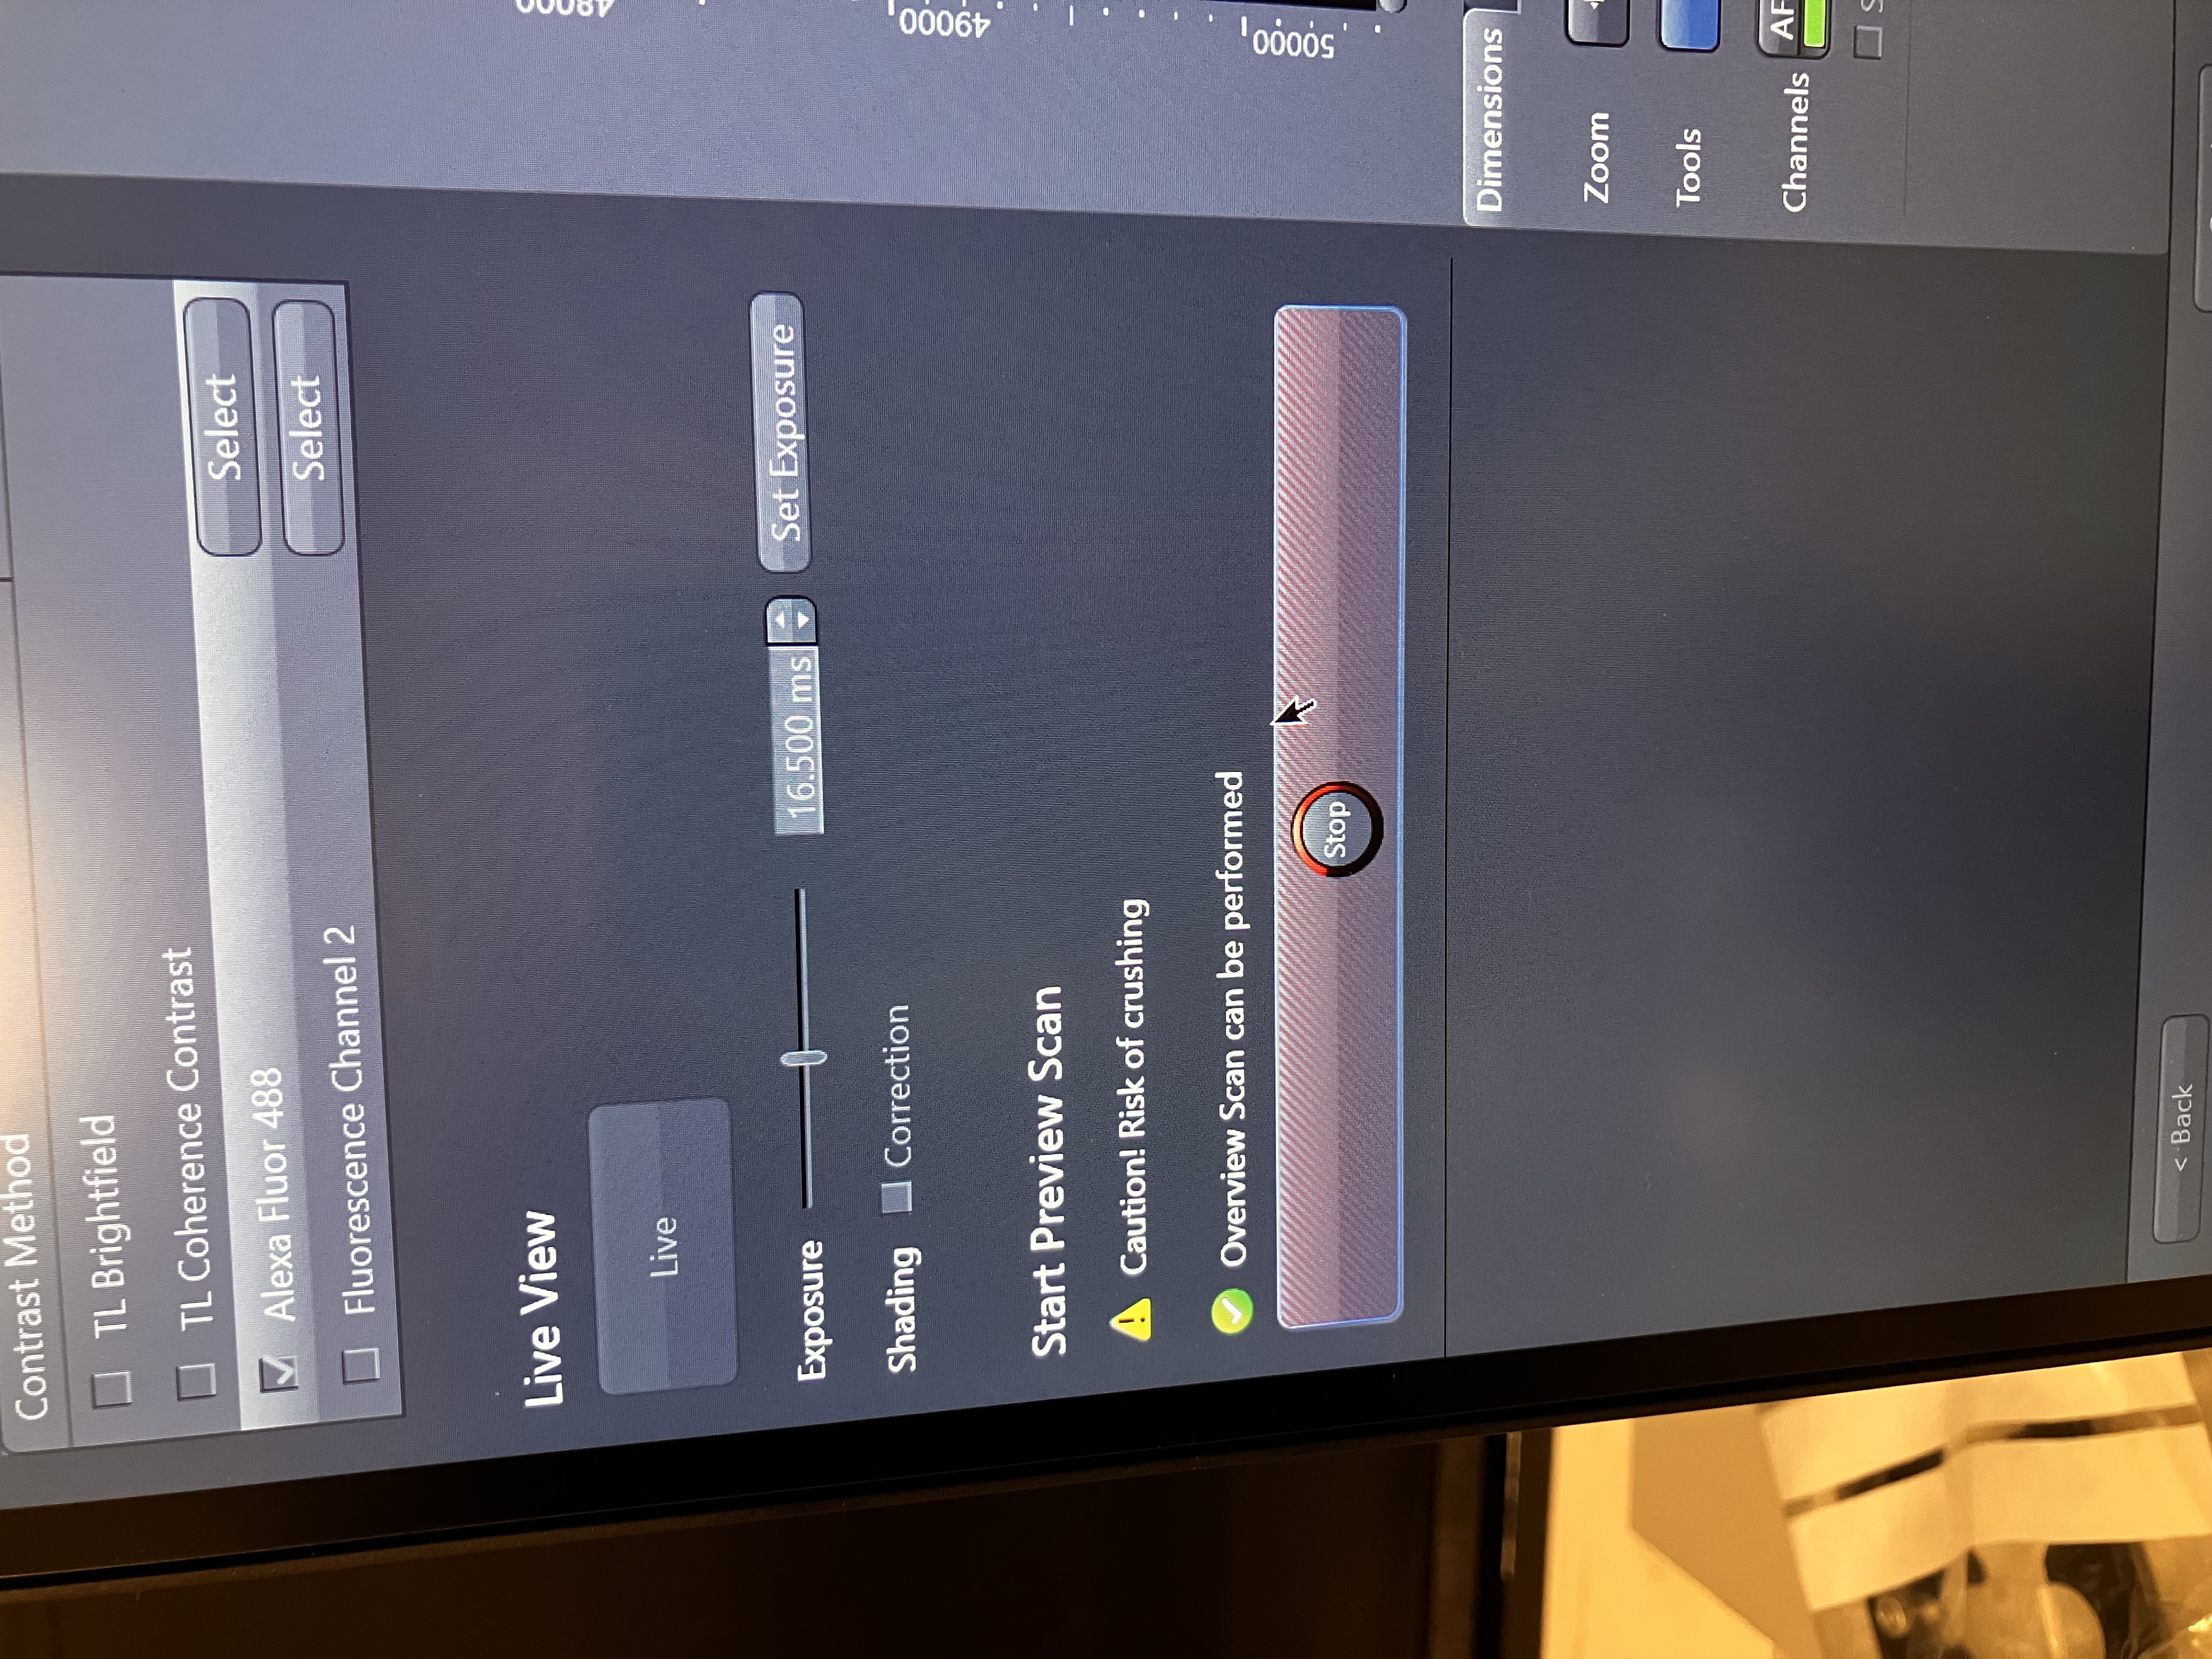
d. Once the long-range AutoFocus has run, determine if your sample is delicate. If so, you will want to check coherence contrast only. If not, add a fluor that you know is in your sample and then check that. Click “Live” and adjust the exposure to something that looks reasonable. Stop “Live.” Using the 5x objective for this step is standard. There is no need to up the magnification for this.
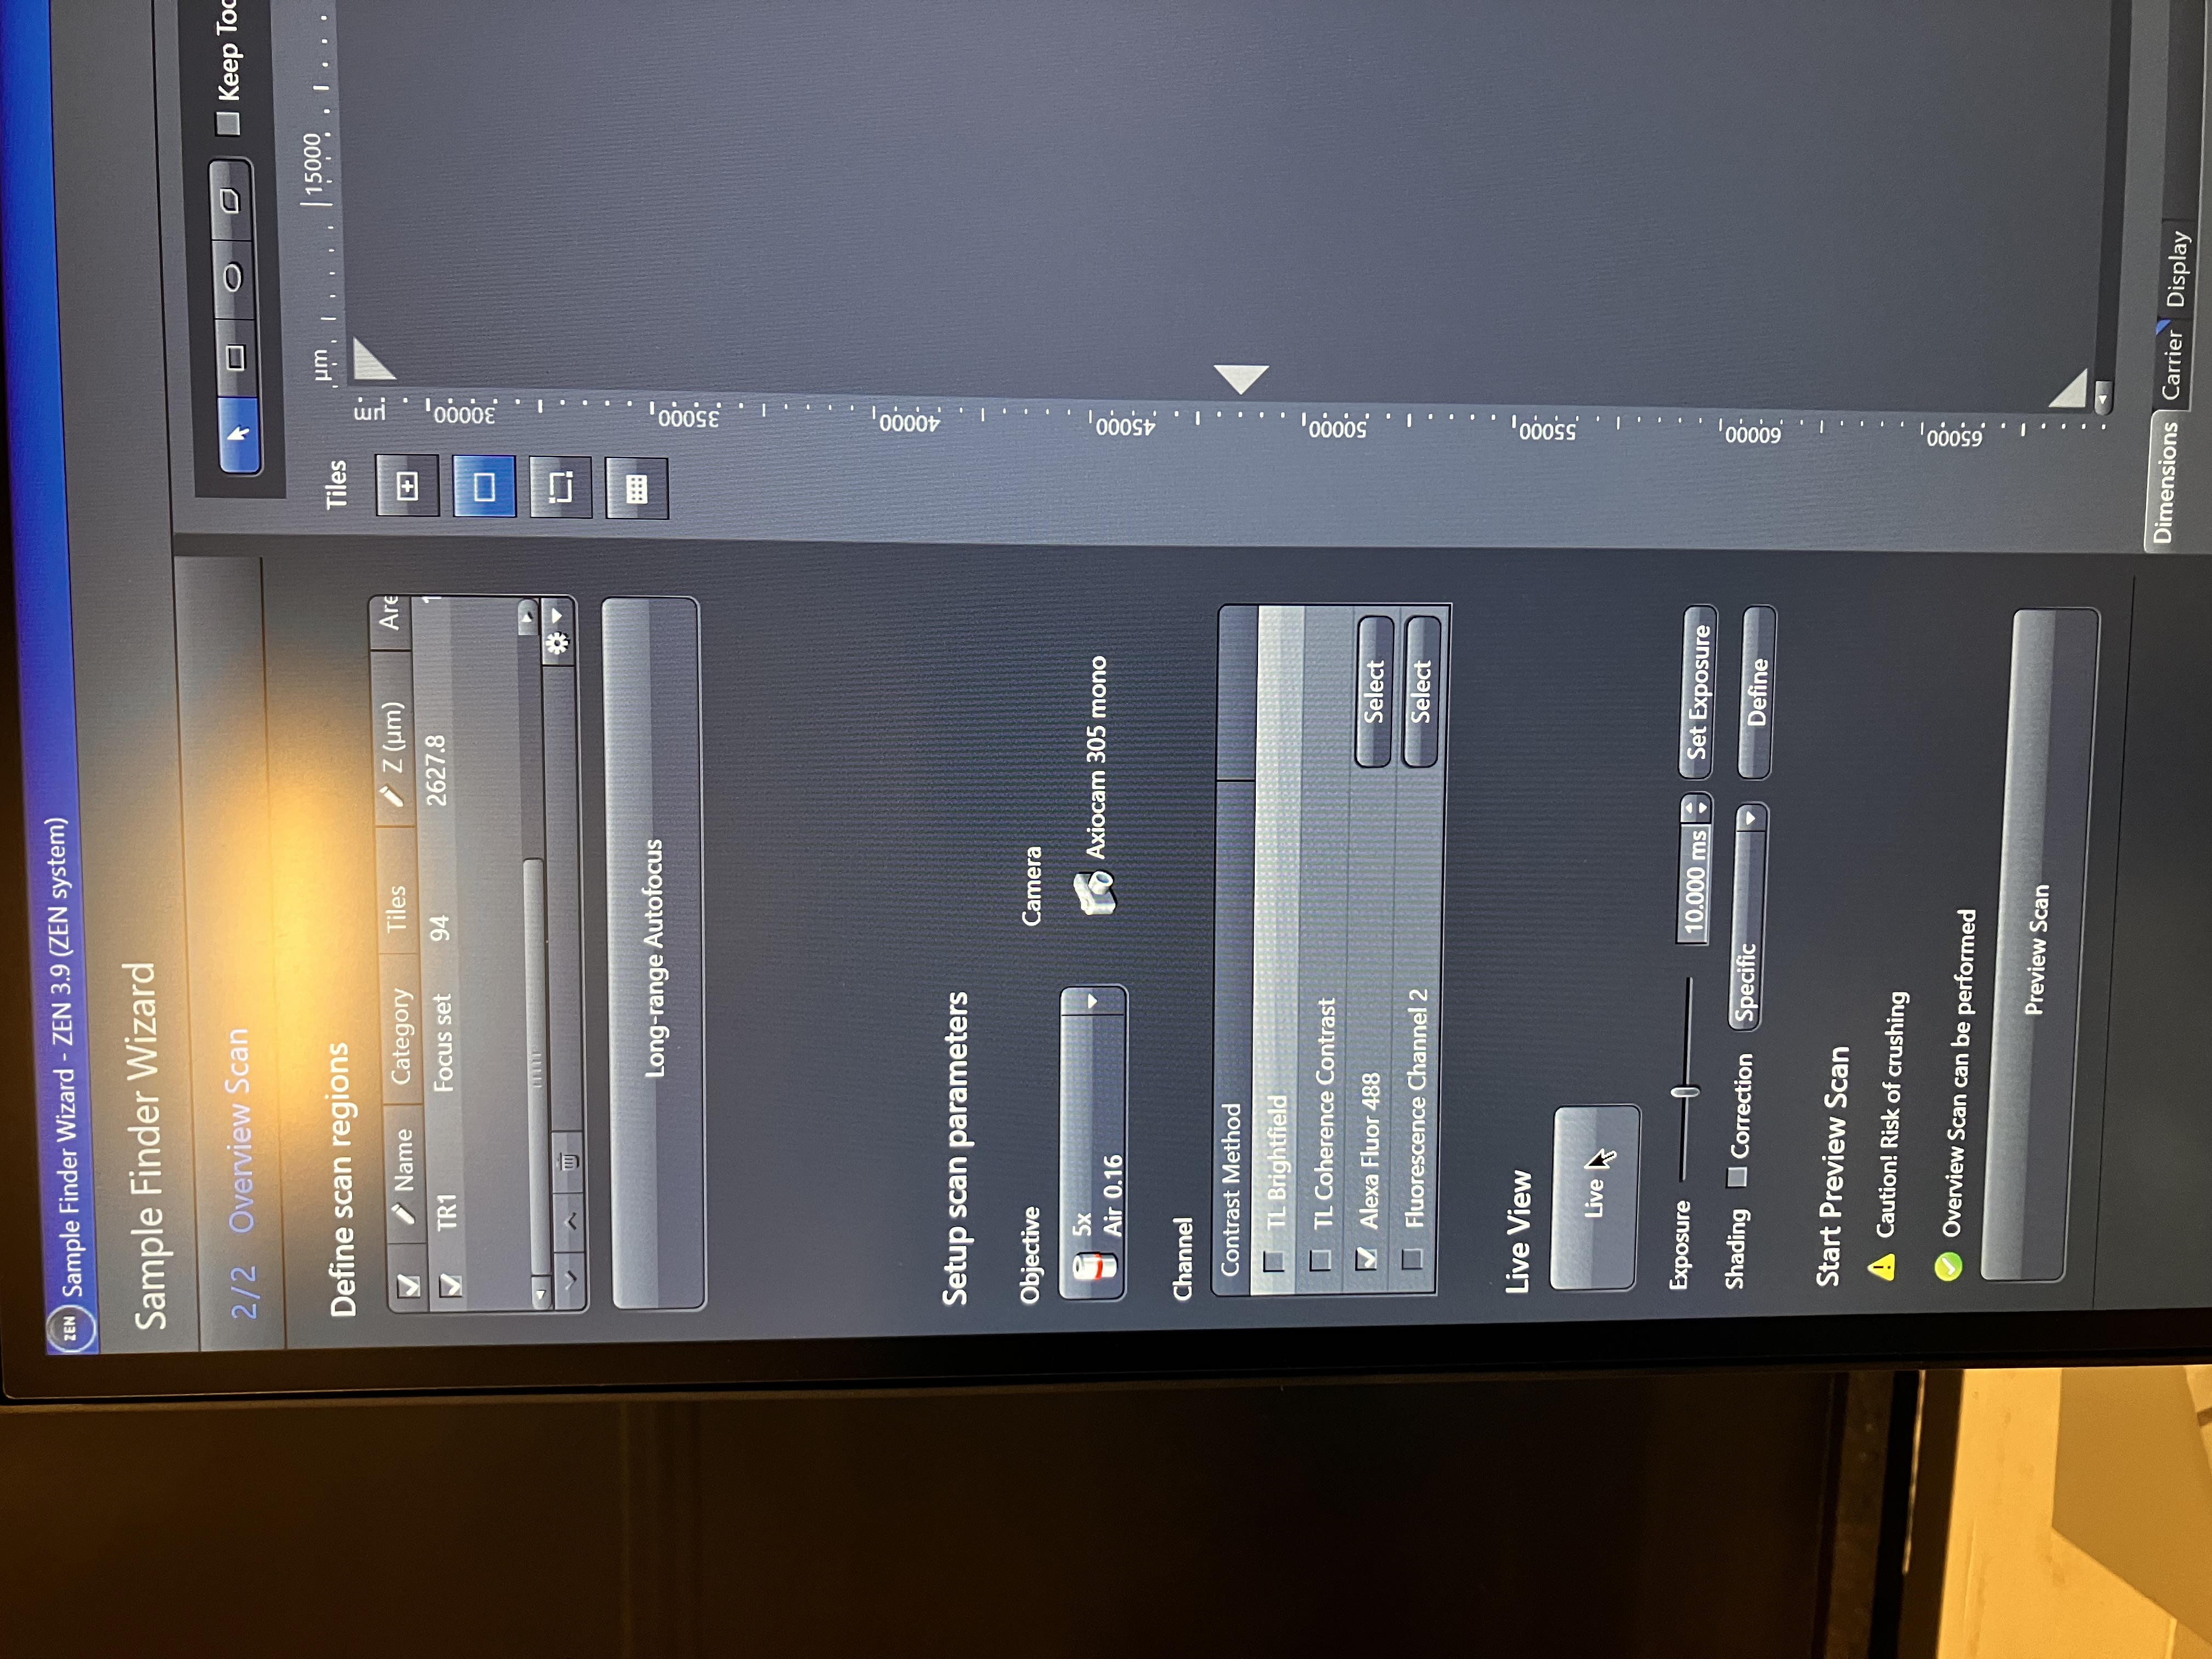
e. Click “Preview Scan” (top) and let the software run. You should see a quick tile scan being carried out (bottom):
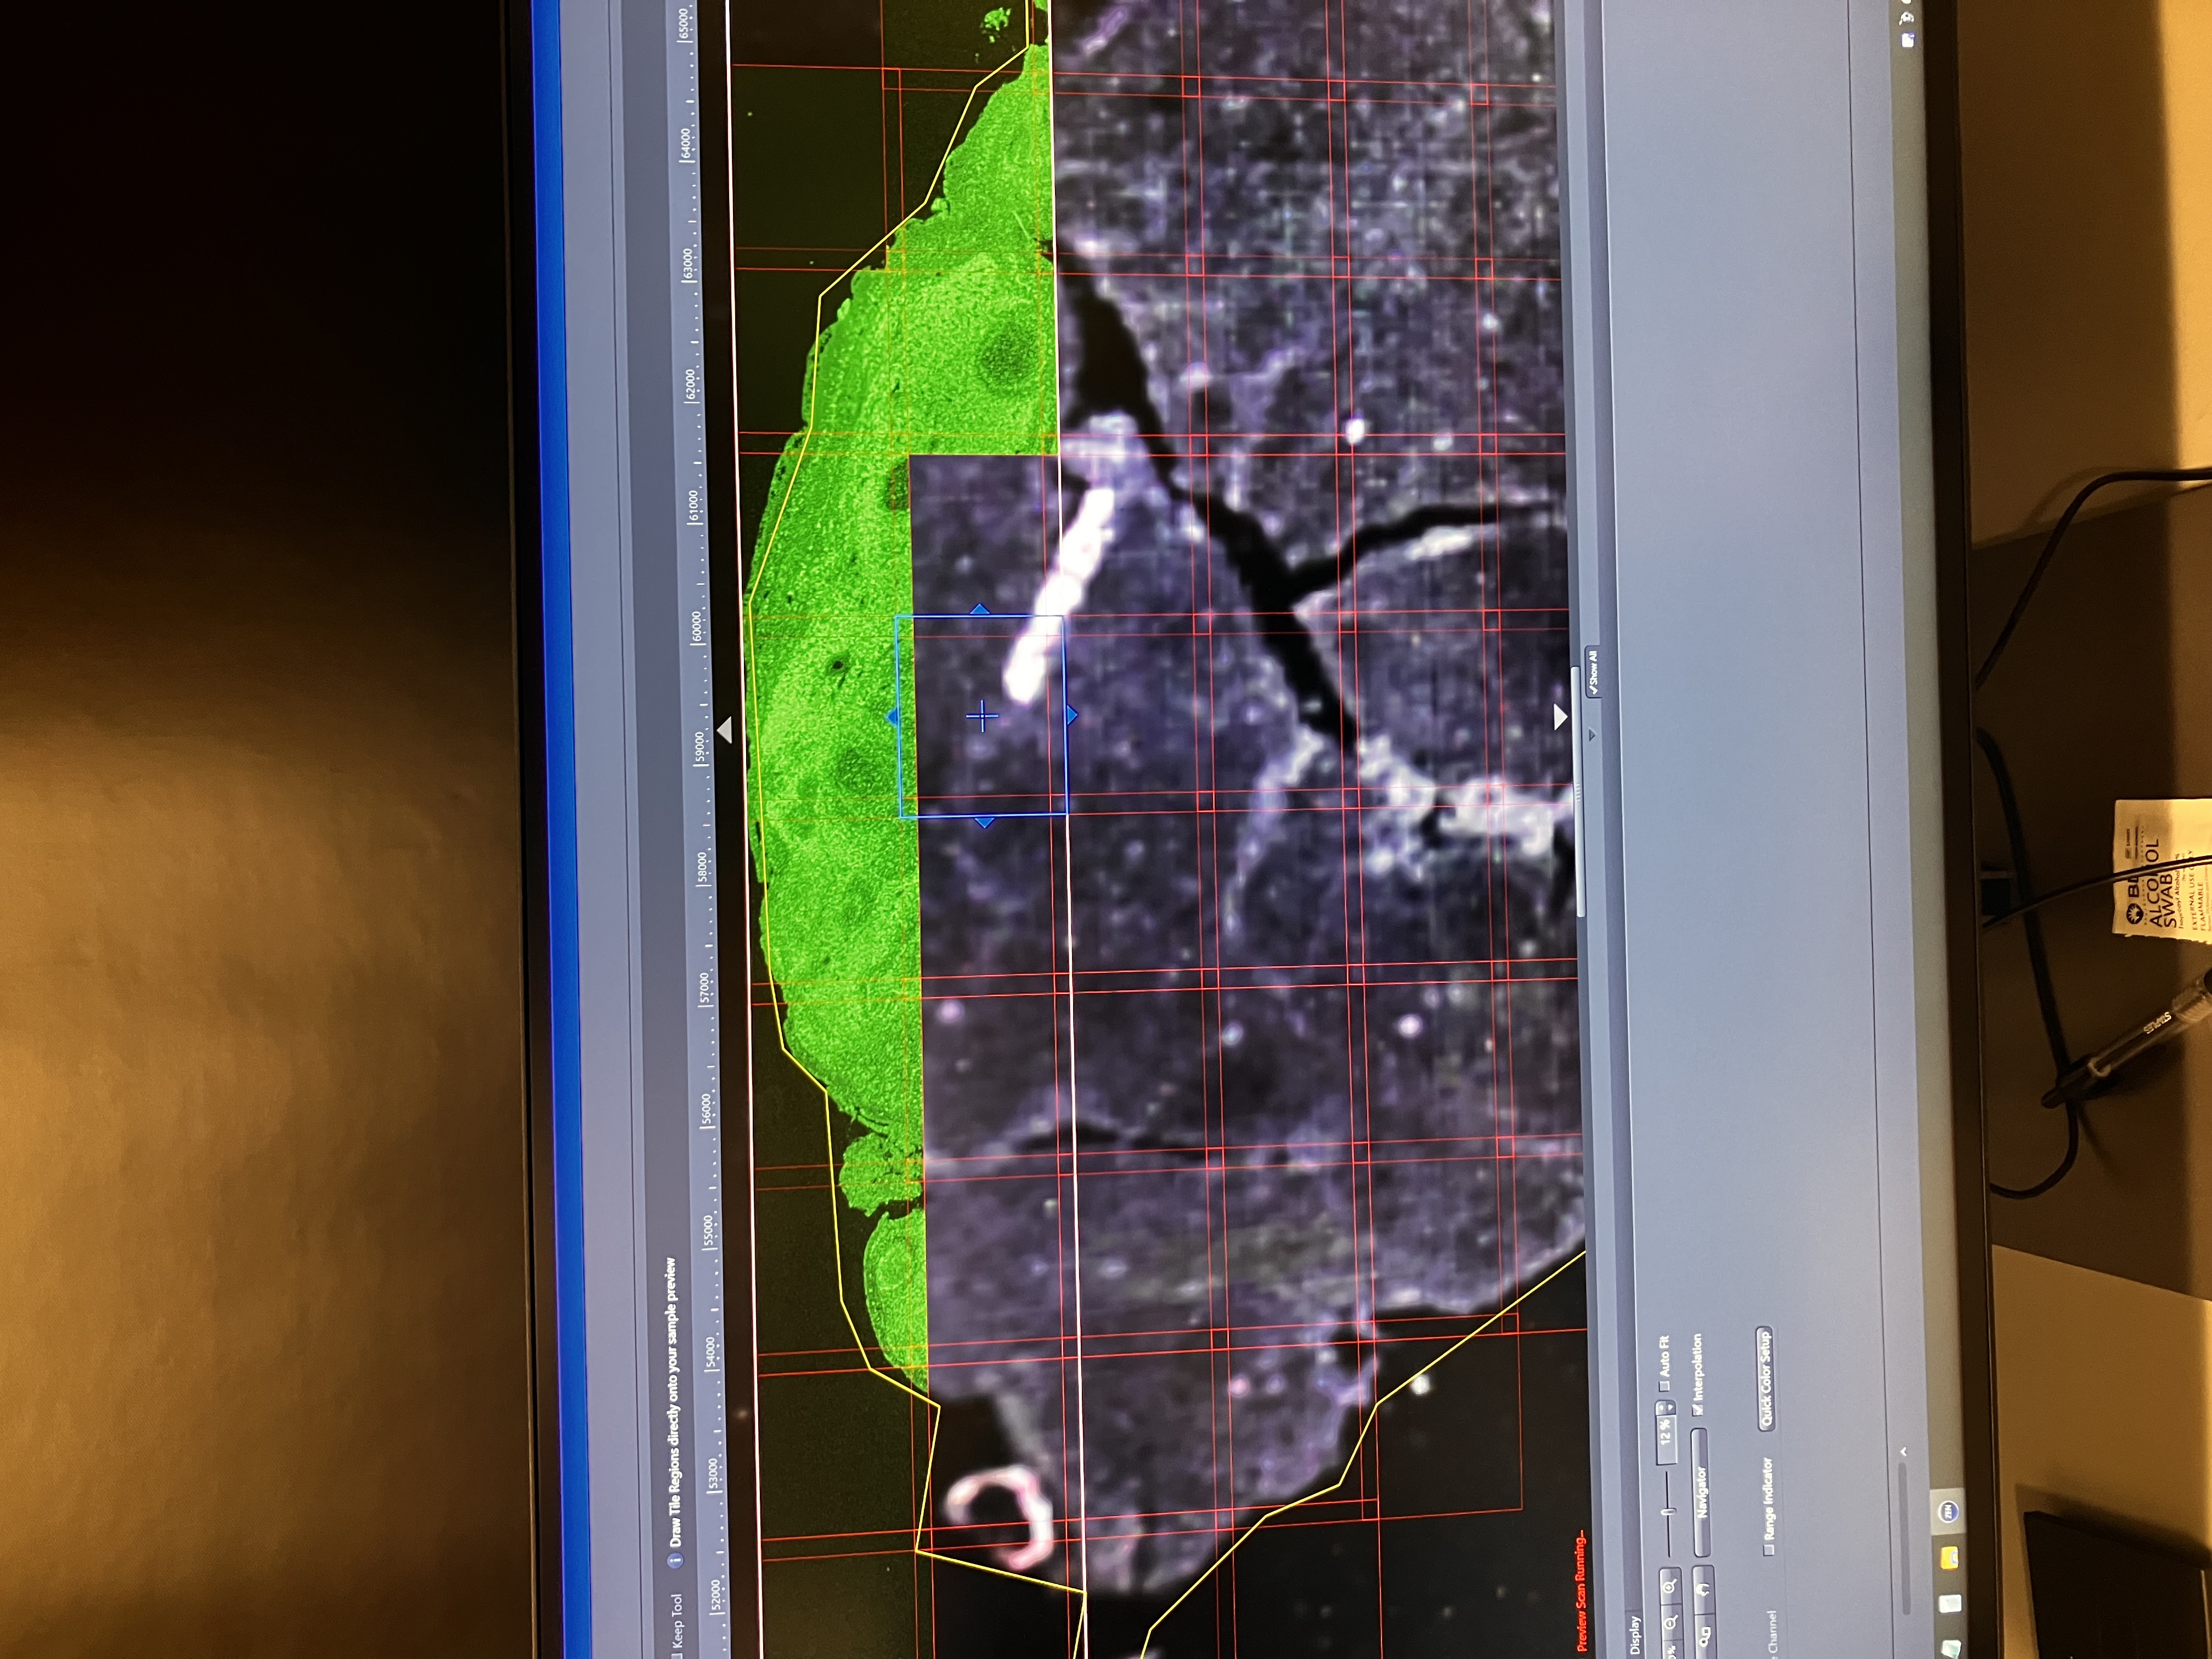
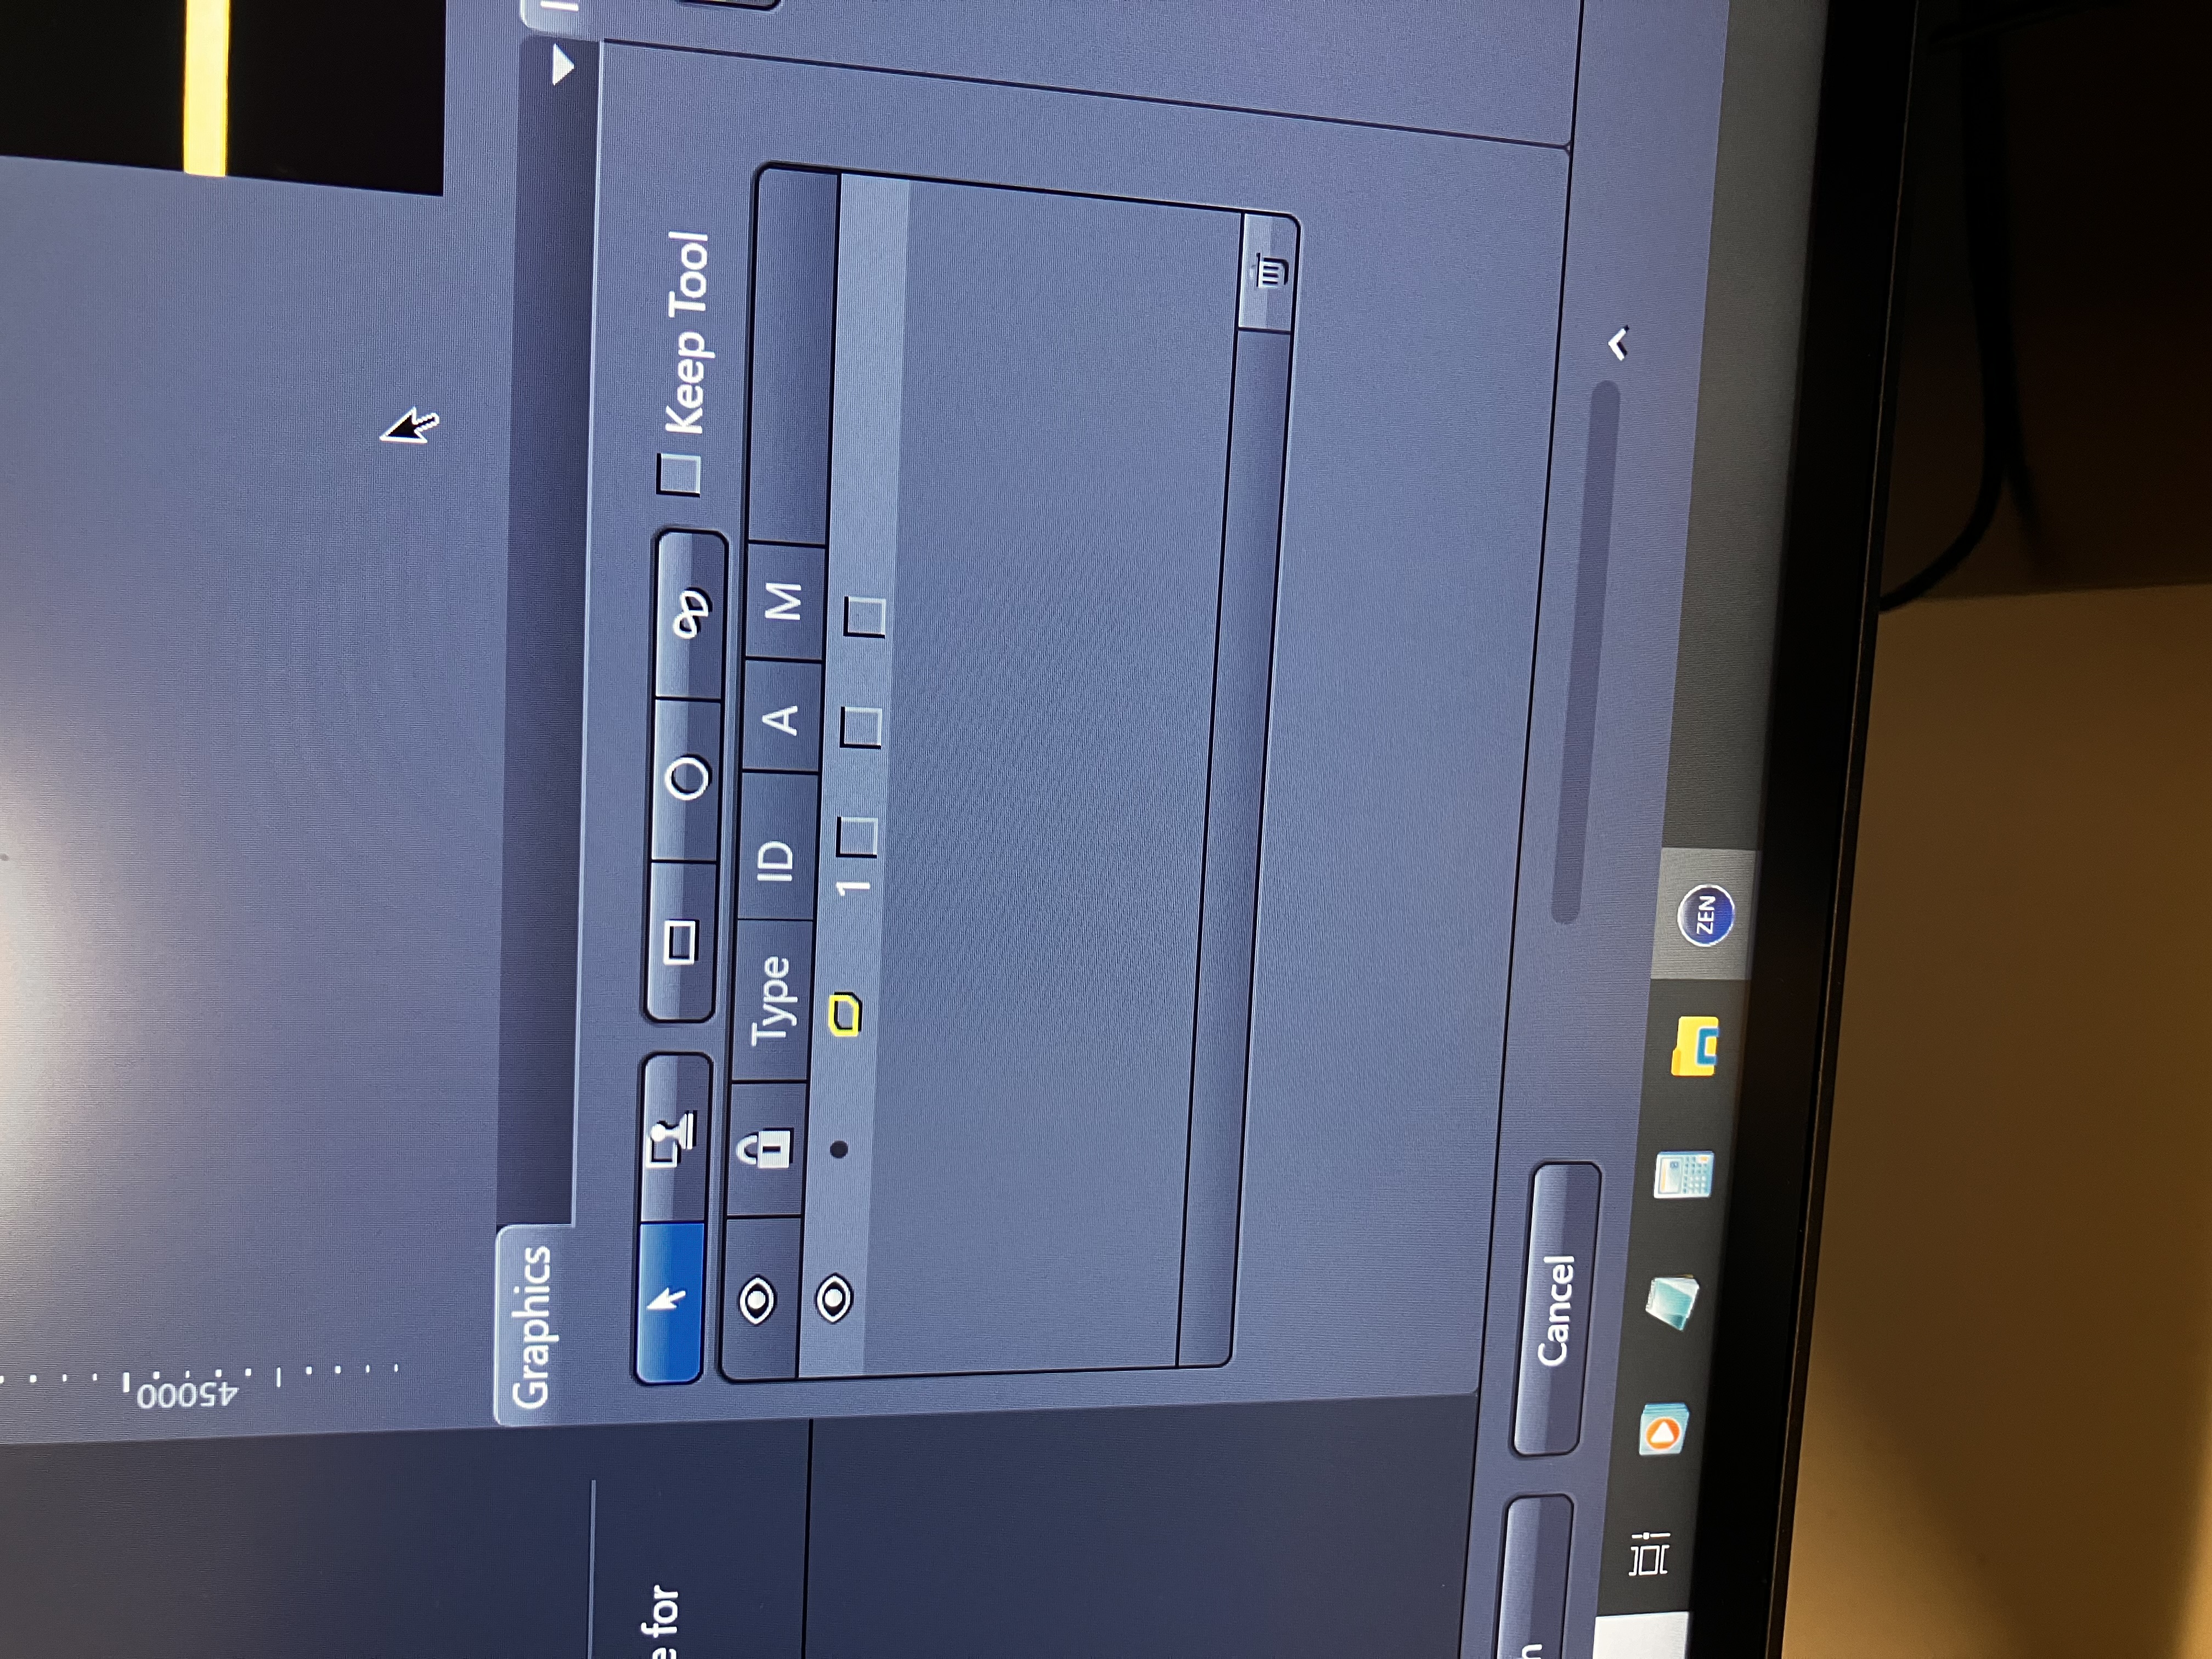
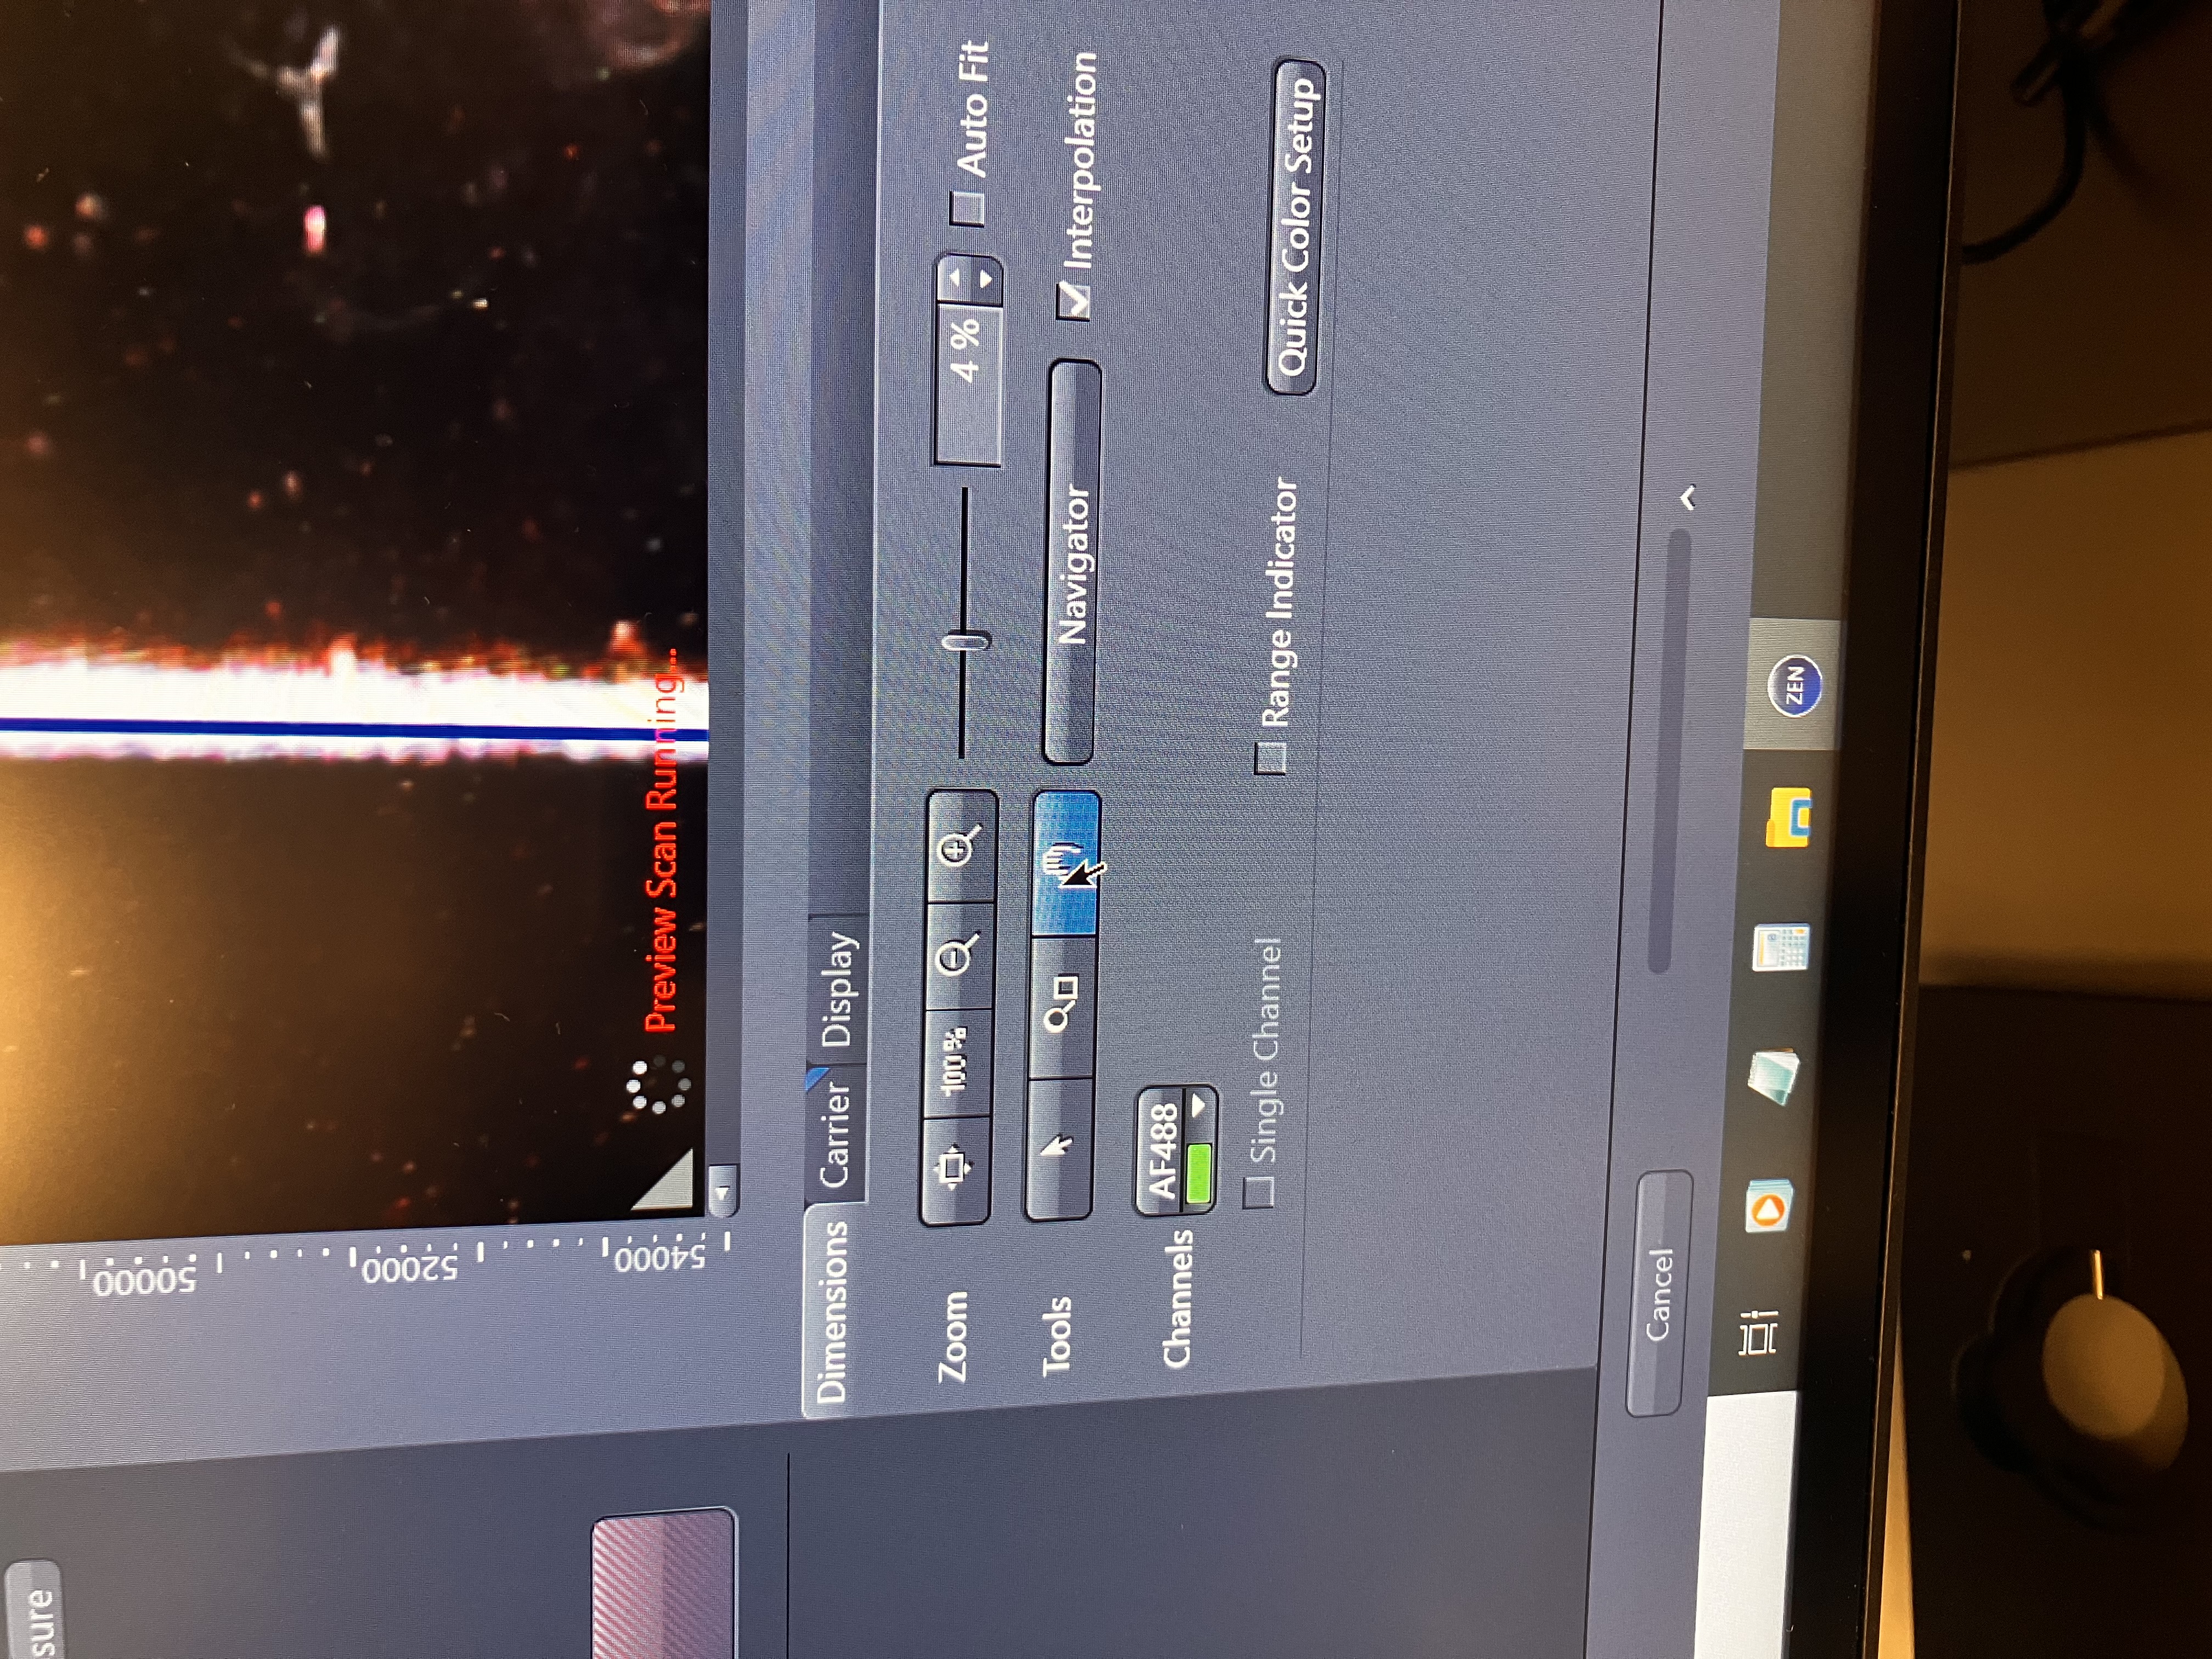
f. Once this scanning finishes, you can click “Finish” at the bottom of the screen. If you are next prompted to select a setup, just choose any of the defaults. Note here that the Core has noticed that it can be helpful to toggle the following tool on to prevent users from accidentally moving the tiles around:
2.5 Switch to the Desired Objective
- Click “Locate” in the top left corner of the screen.
- Decide if you will need to use immersion media. Below is some information that will help you decide:
5X: Supports air only
10X: Supports air only
20X: Supports air only
40X: Supports water, glycerin, or silicone
63X: Supports oil only
- Again, ensure that the objective turret has been lowered ALL THE WAY away from the stage.
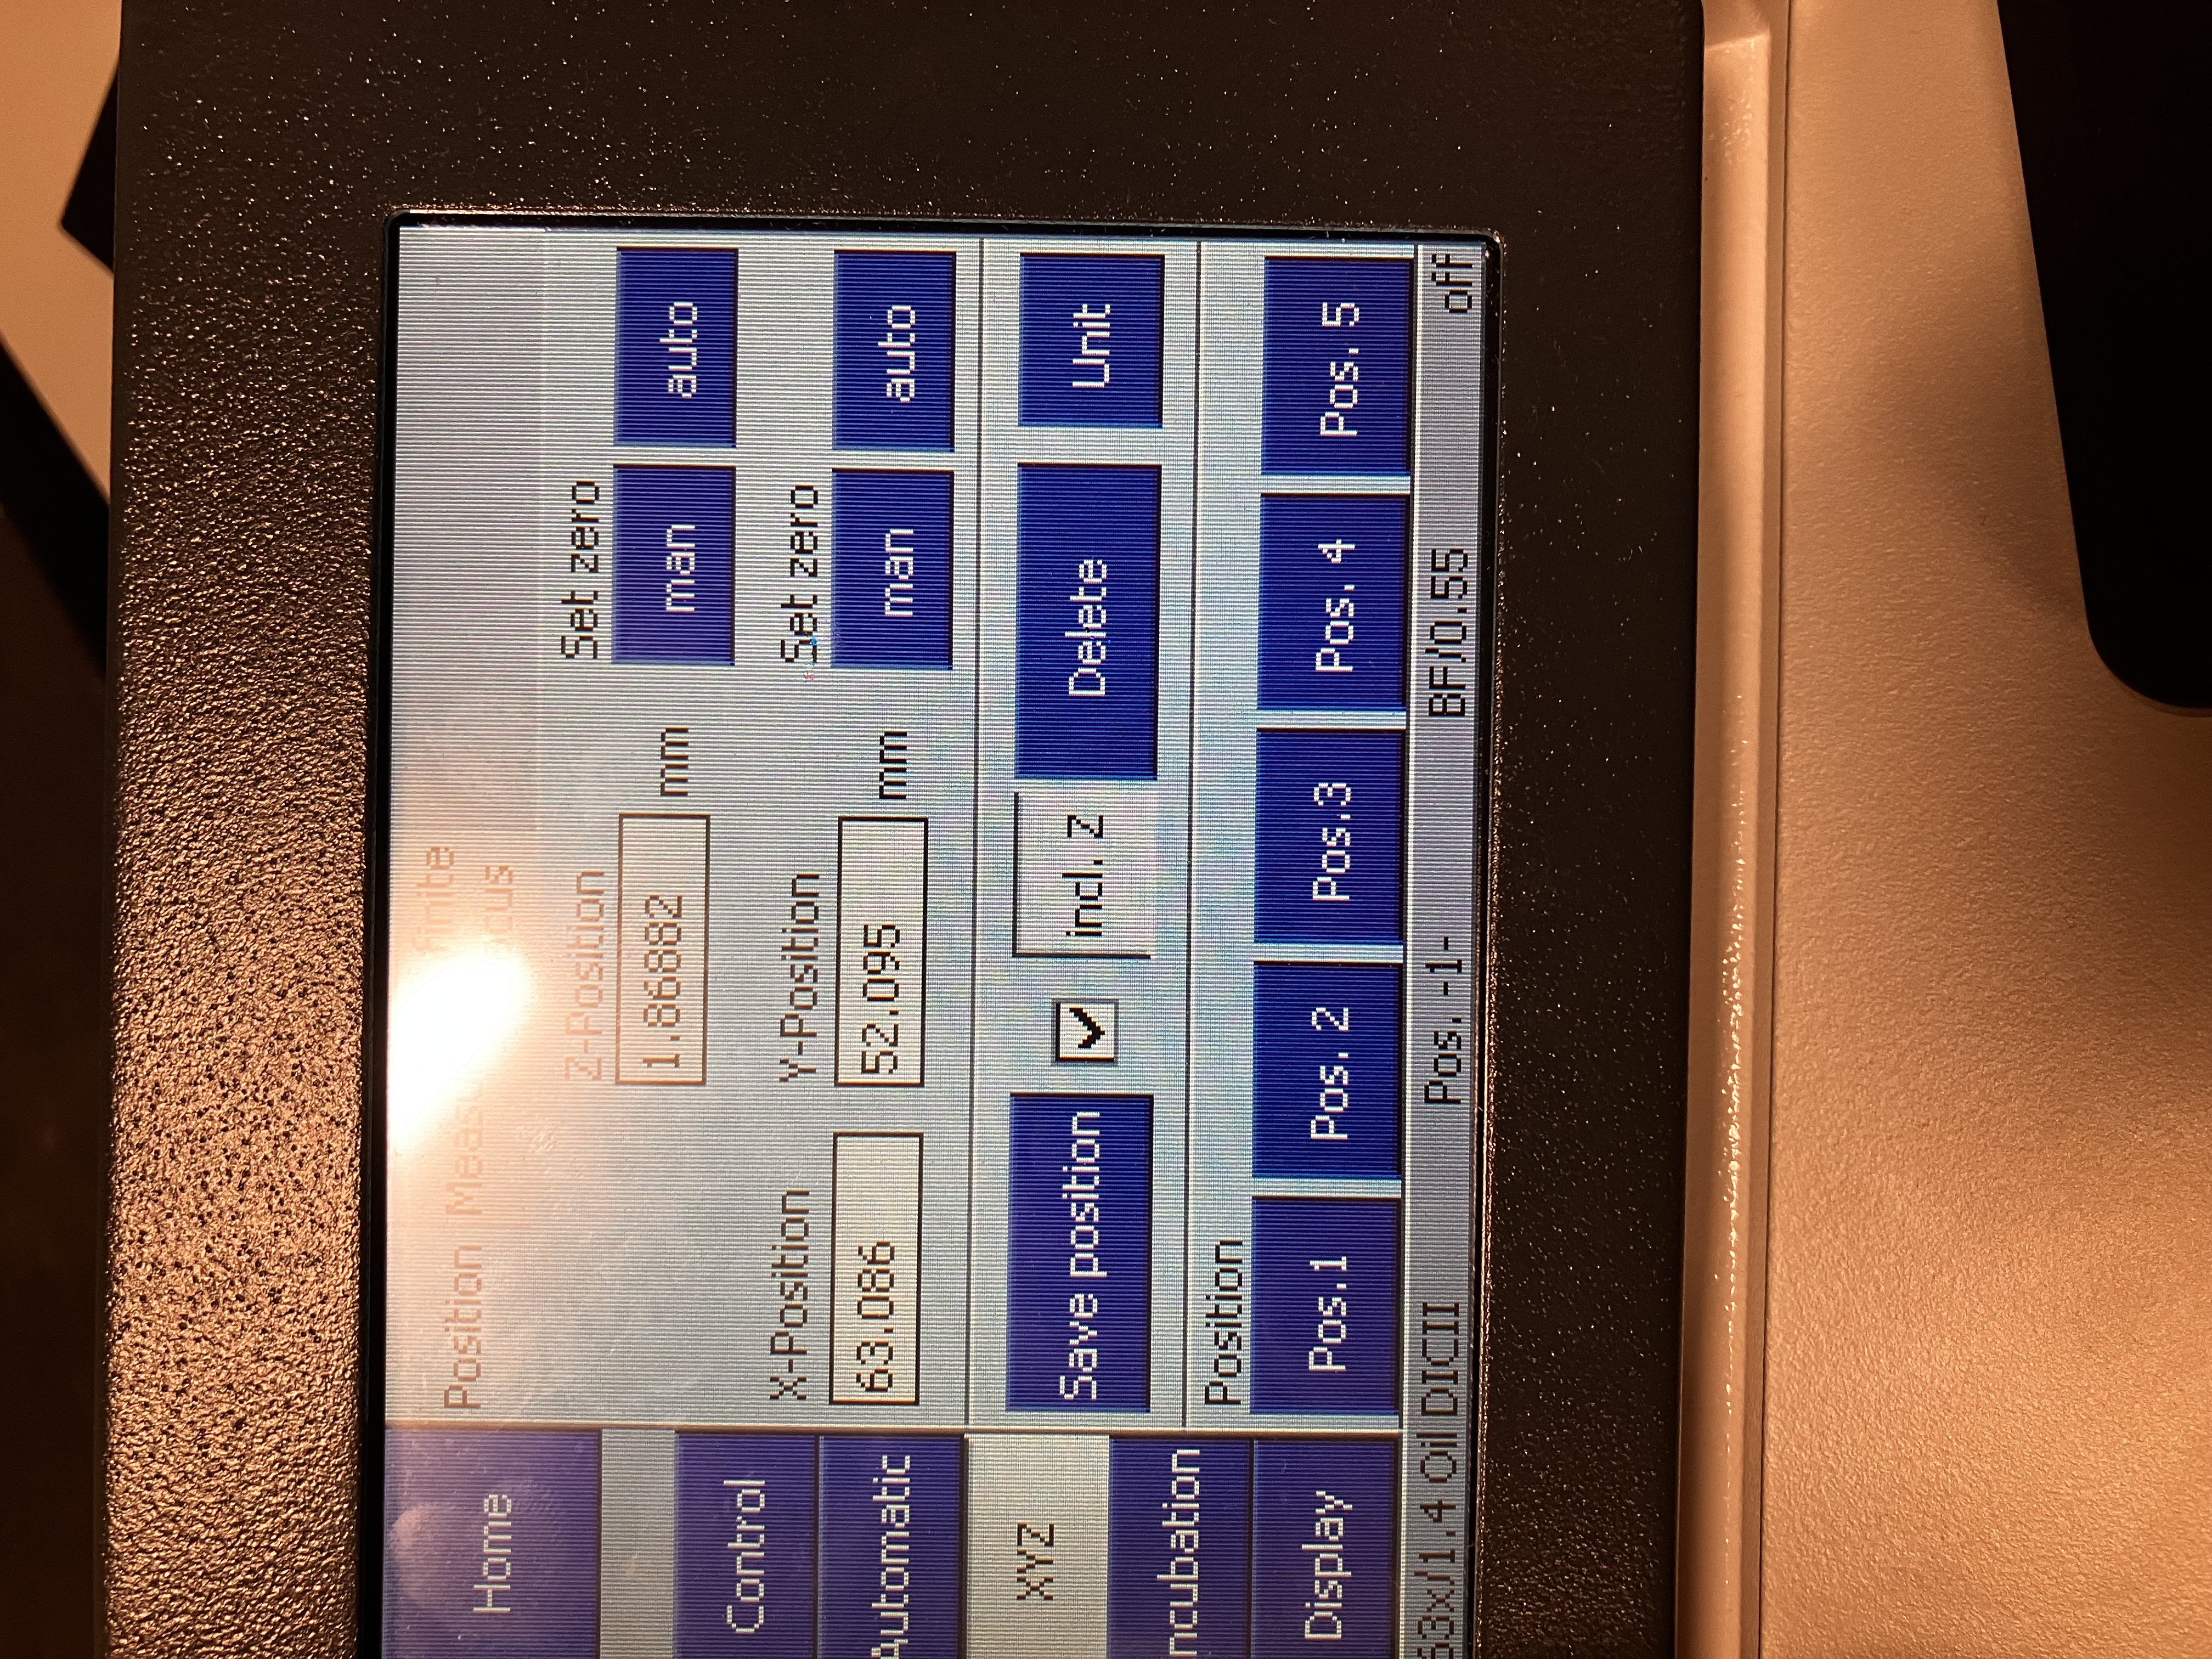
- Save the XYZ position of the slide as “Pos. 1” by using the touch pad:
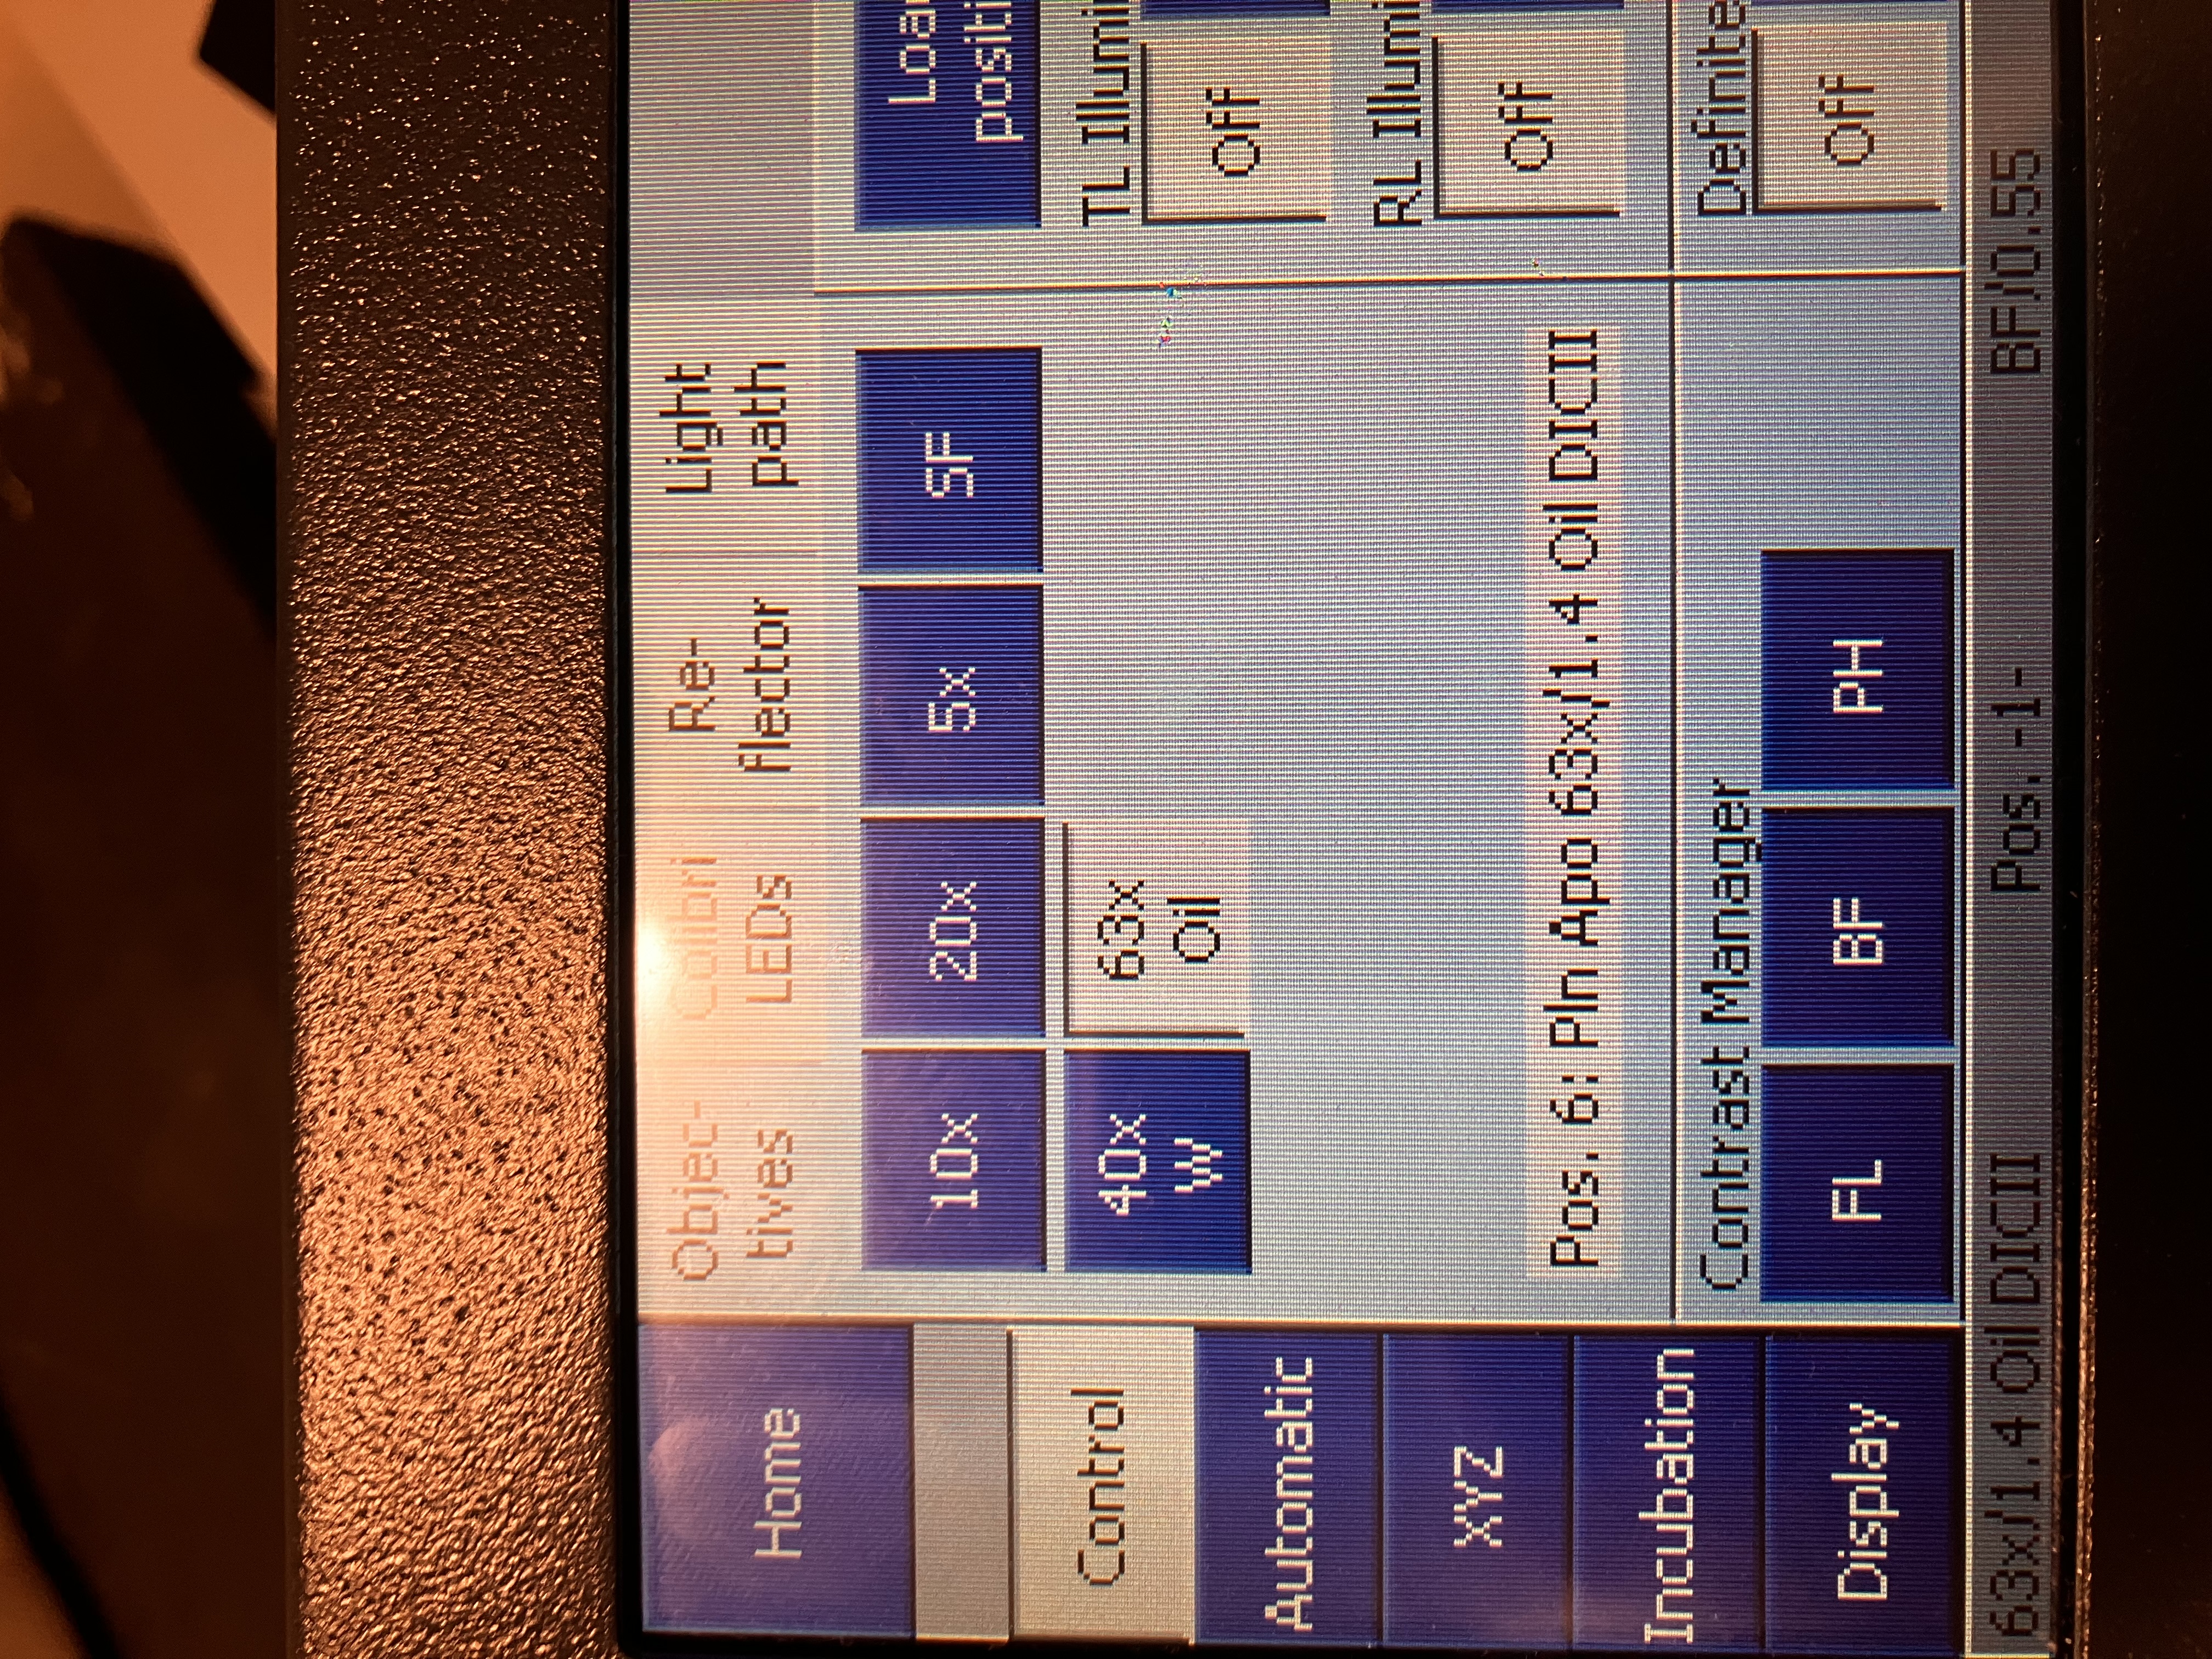
- Remove the slide, or the entire slide insert, trying your best not to perturb the slide’s relative position to the objective. Then, switch to the objective that you will be using, by tapping the corresponding option on the touch pad.
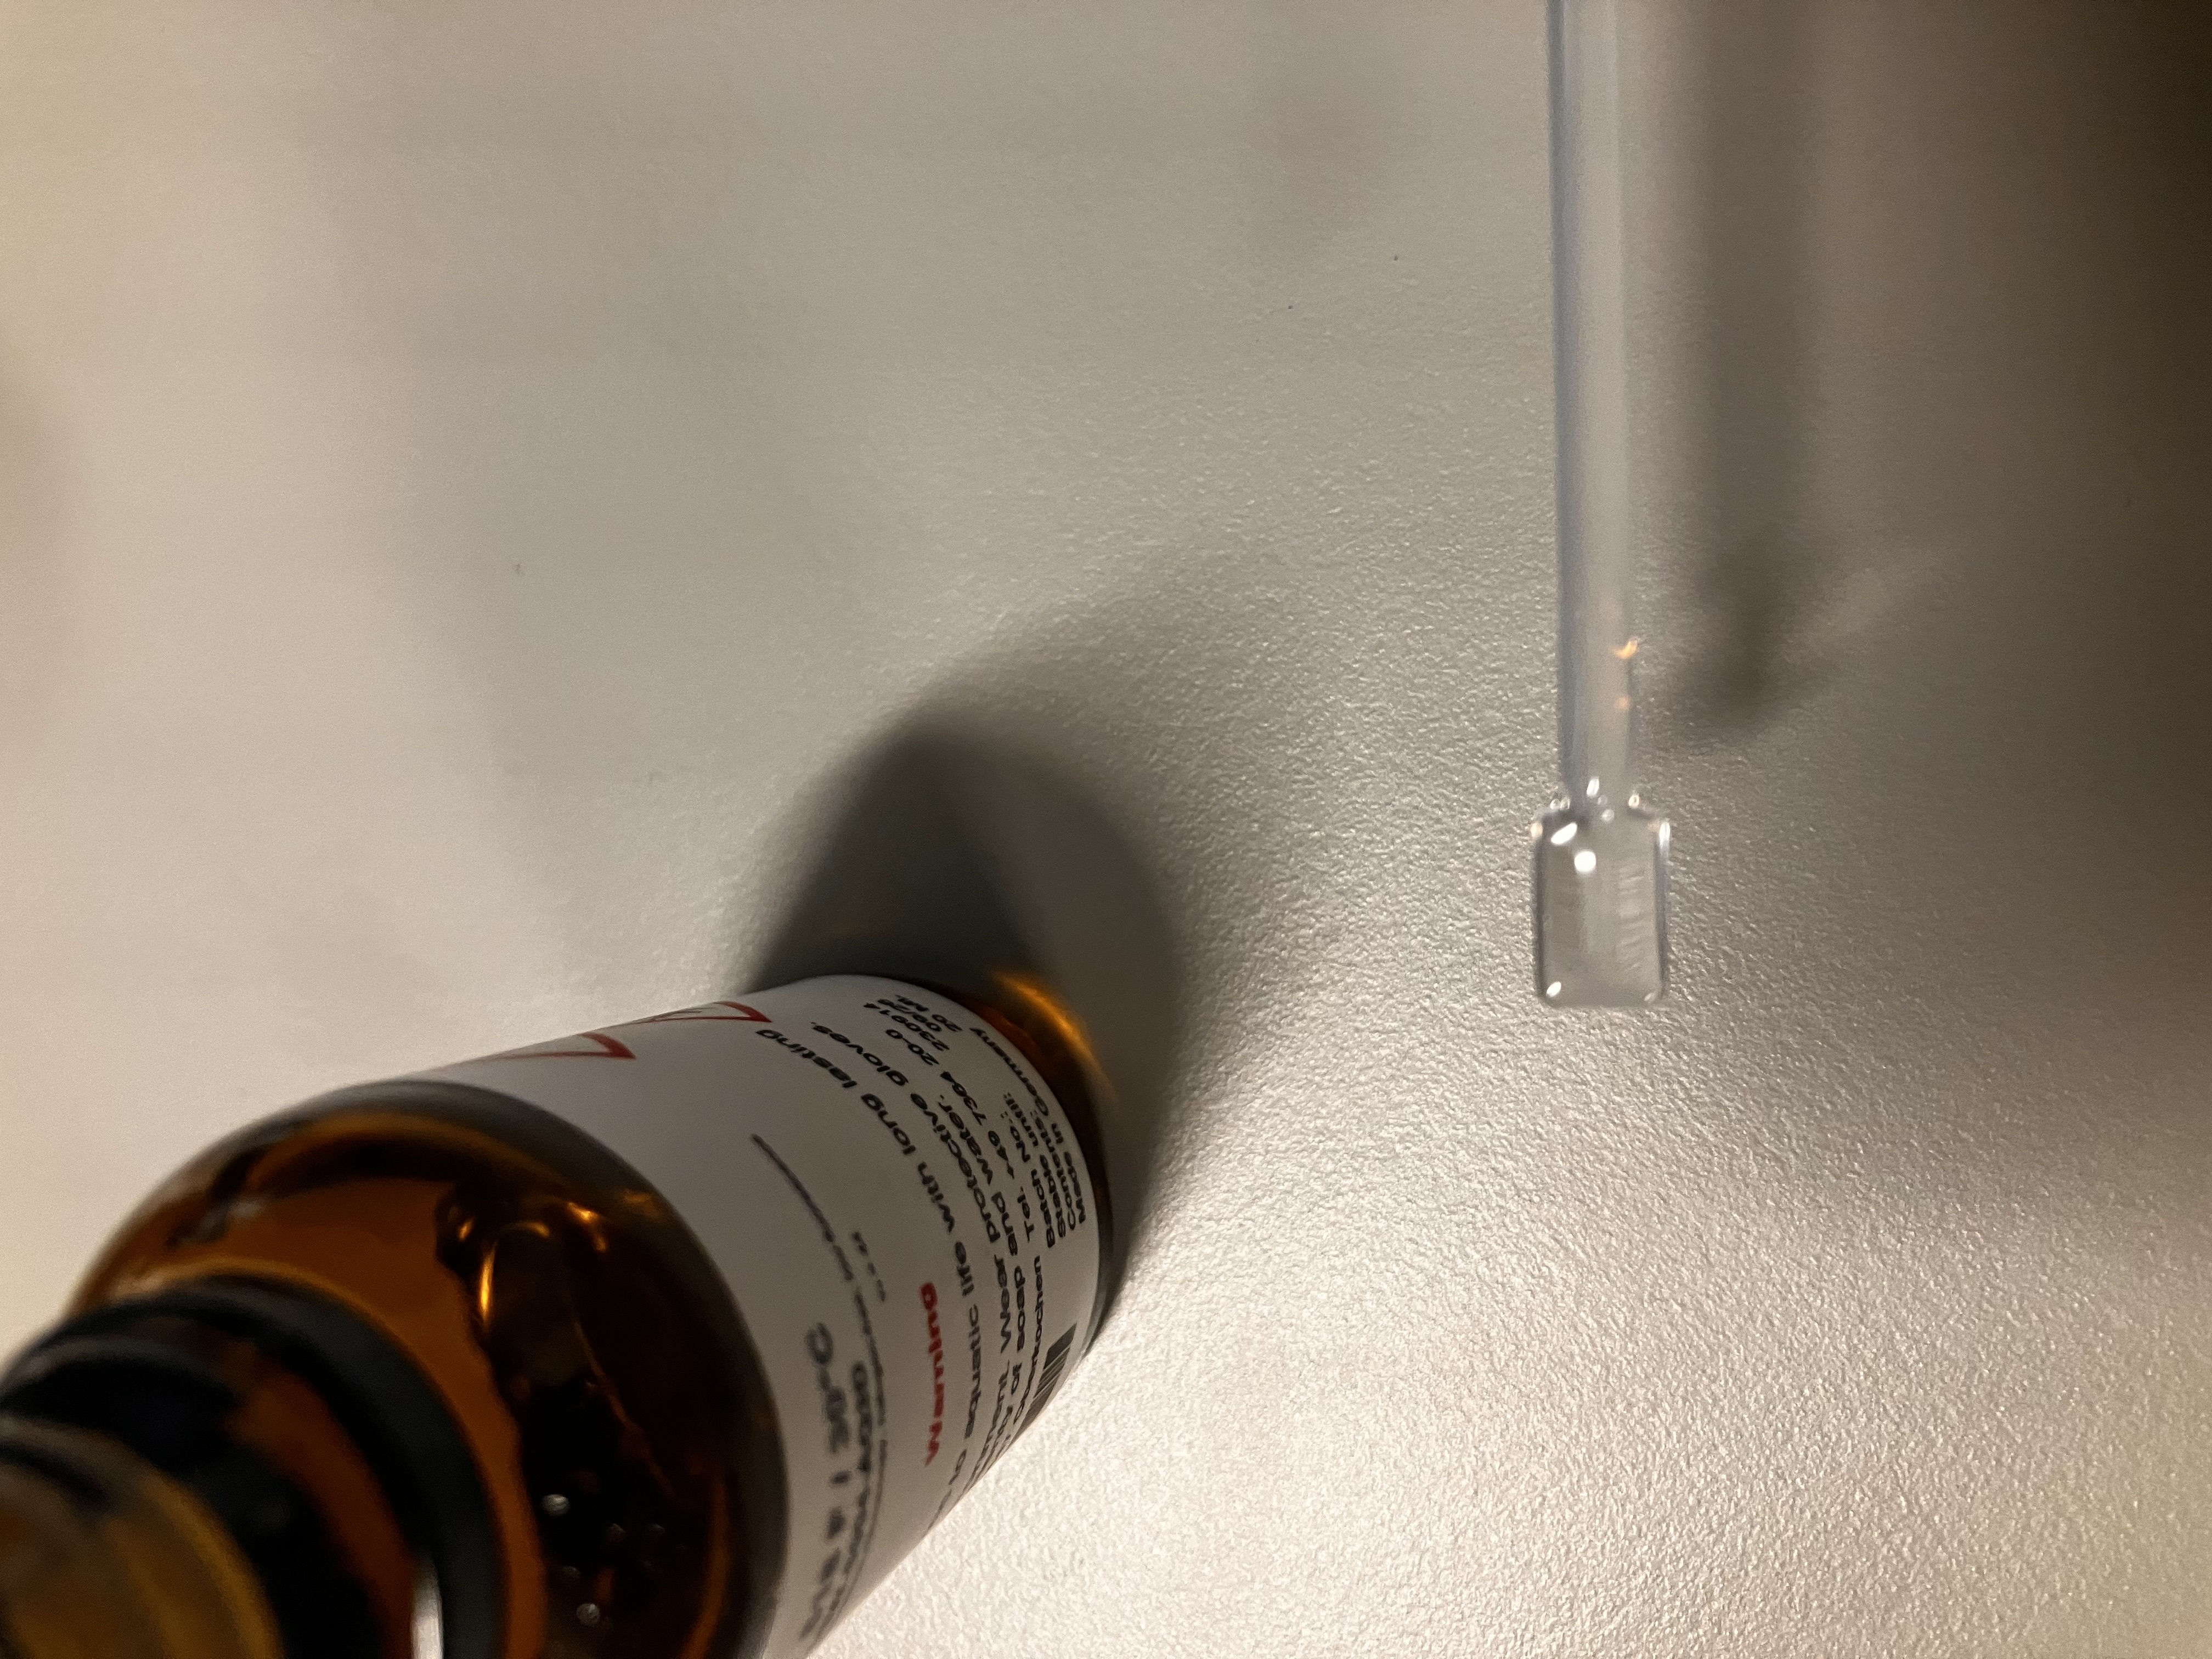
- Physically add the immersion media. Use very little media and wear gloves. You should be able to hold the brush over the table without any media dripping off (top). Paint a single drop of media onto the objective so it covers only the lens and some of the surrounding area (bottom):
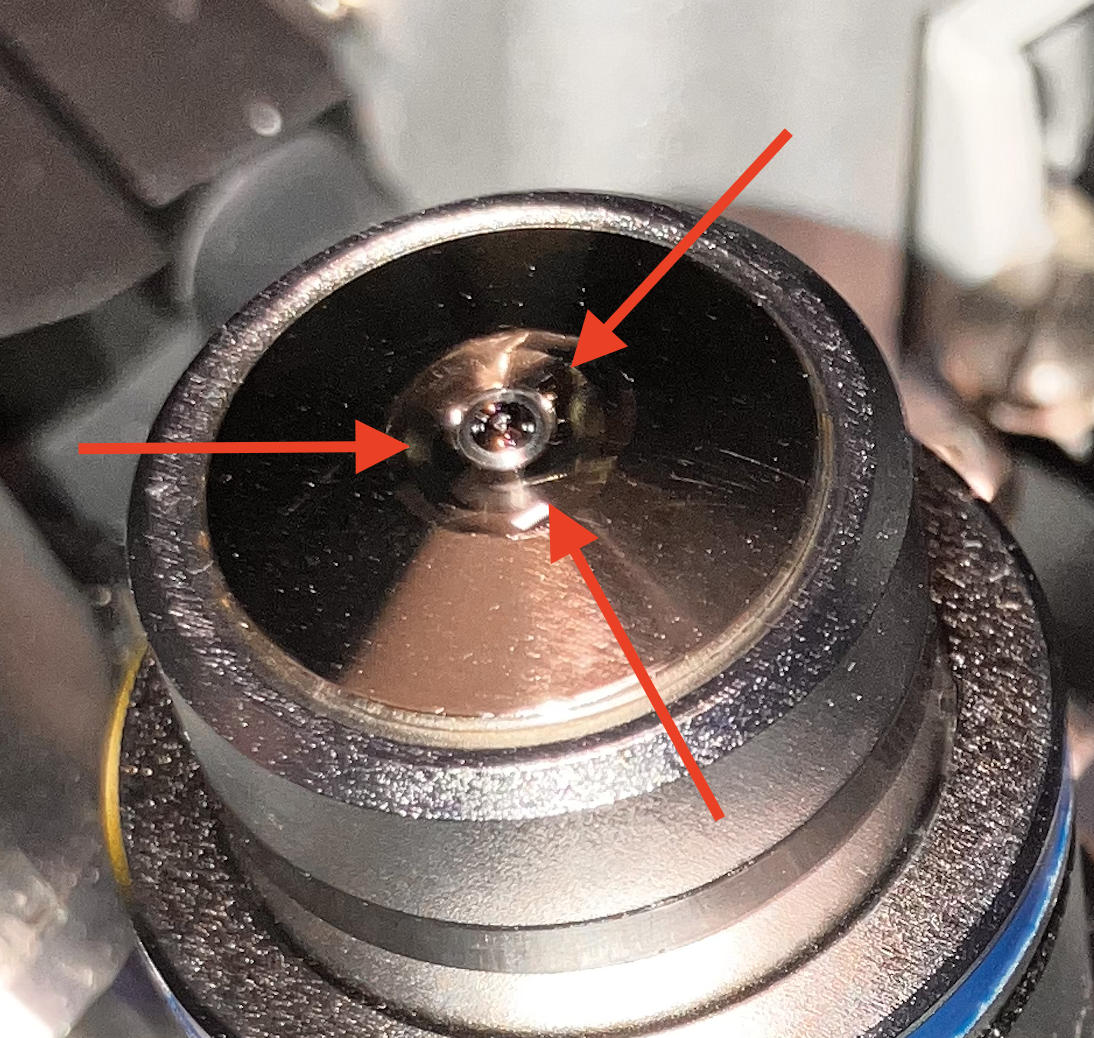
The red arrows mark the edges of the immersion media drop. The amount shown is plenty and possibly even more than is needed.
- Decide if you will need to adjust the objective correction collar and do so (you likely do not need to).
Note here that if you do not need to use immersion media or adjust the collar, then you do not have to remove the slide at all.
- After ensuring that the objective turret is all the way down (you can do this by tapping “Pos. 1”), replace the slide or insert very carefully, as to not perturb the slide’s relative position to the objective.
Note that if you absolutely cannot move the sample after doing your overview scan, you may try the following steps, very carefully:
- Lower the objective turret all the way and save that position, as outlined above.
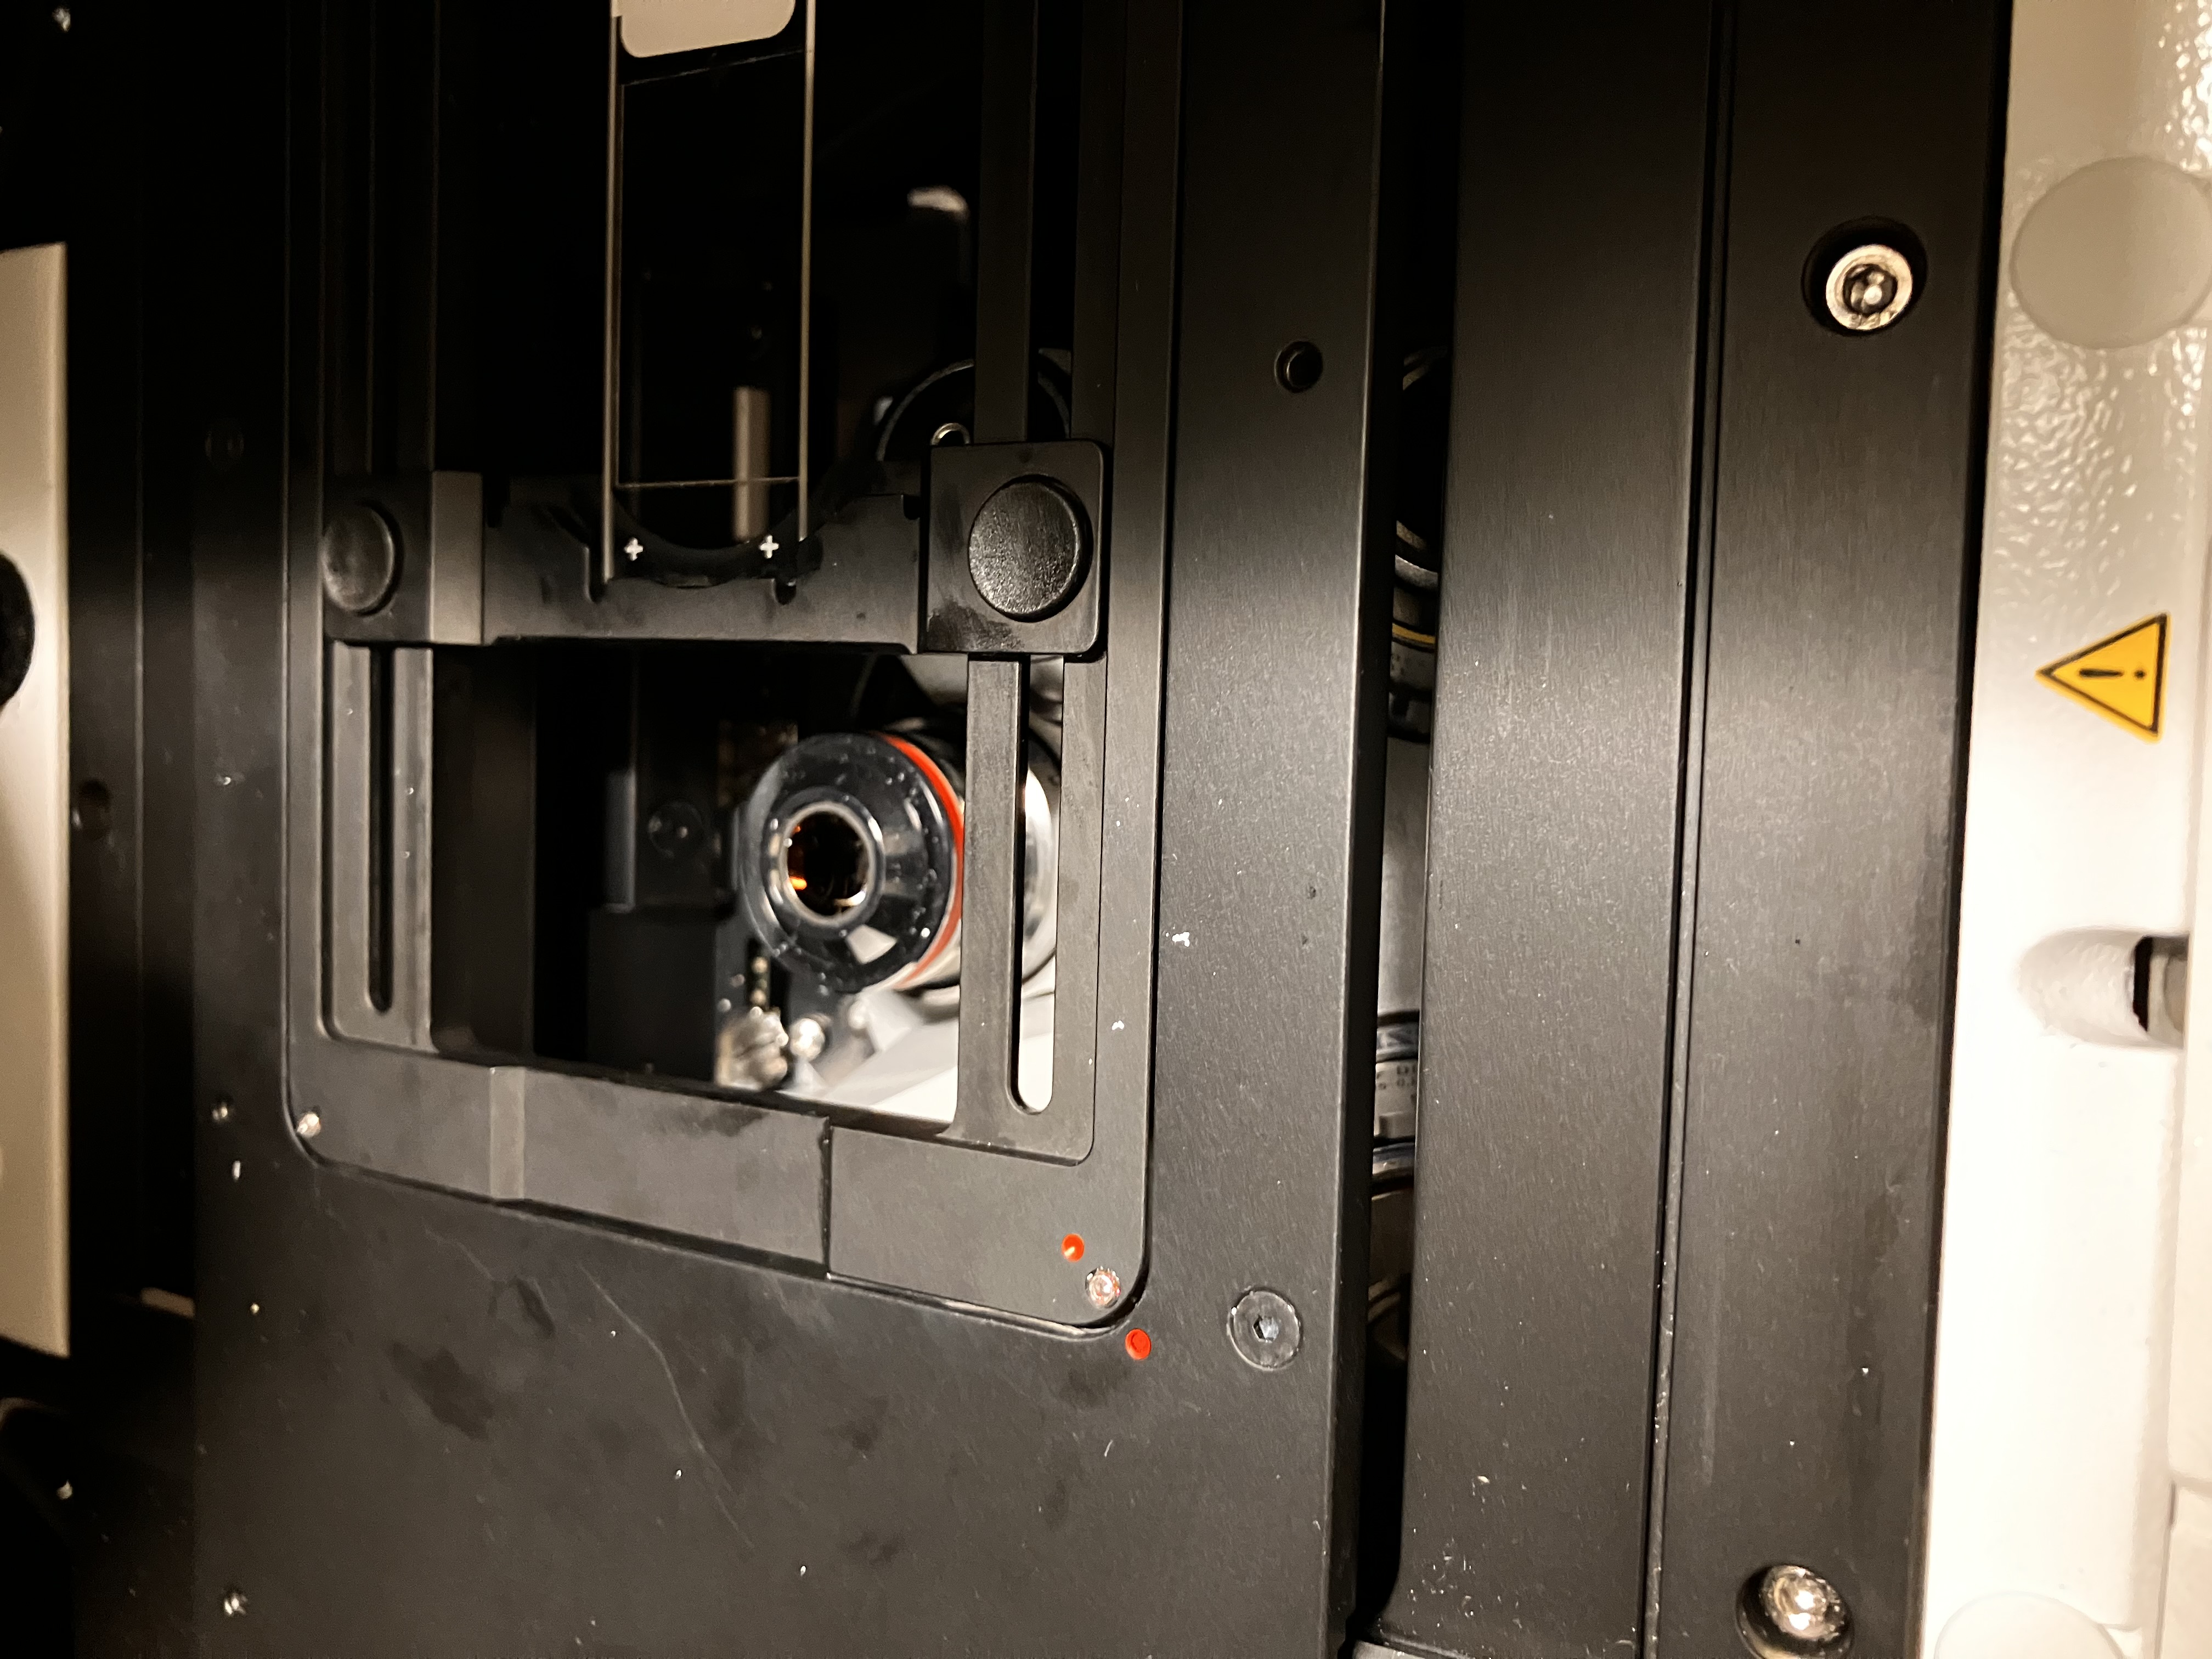
- Use the joystick to move the stage away from the objective as so, then change the objective:
- Apply the immersion media, as outlined above.
- Lower the turret all the way again (just to be extra sure it is all the way down).
- Tap “Pos. 1” on the touchpad to return the stage to the correct position.
- If for any reason you think that the stage might hit the objective during this process, assume that it will! Do not take any chances! Email the Core or simply remove the insert, as outlined above, instead. If you are responsible for breaking an objective, you may be required to pay, at least in part, for its replacement.
2.6 Adjust the Stage to an Acceptable Height
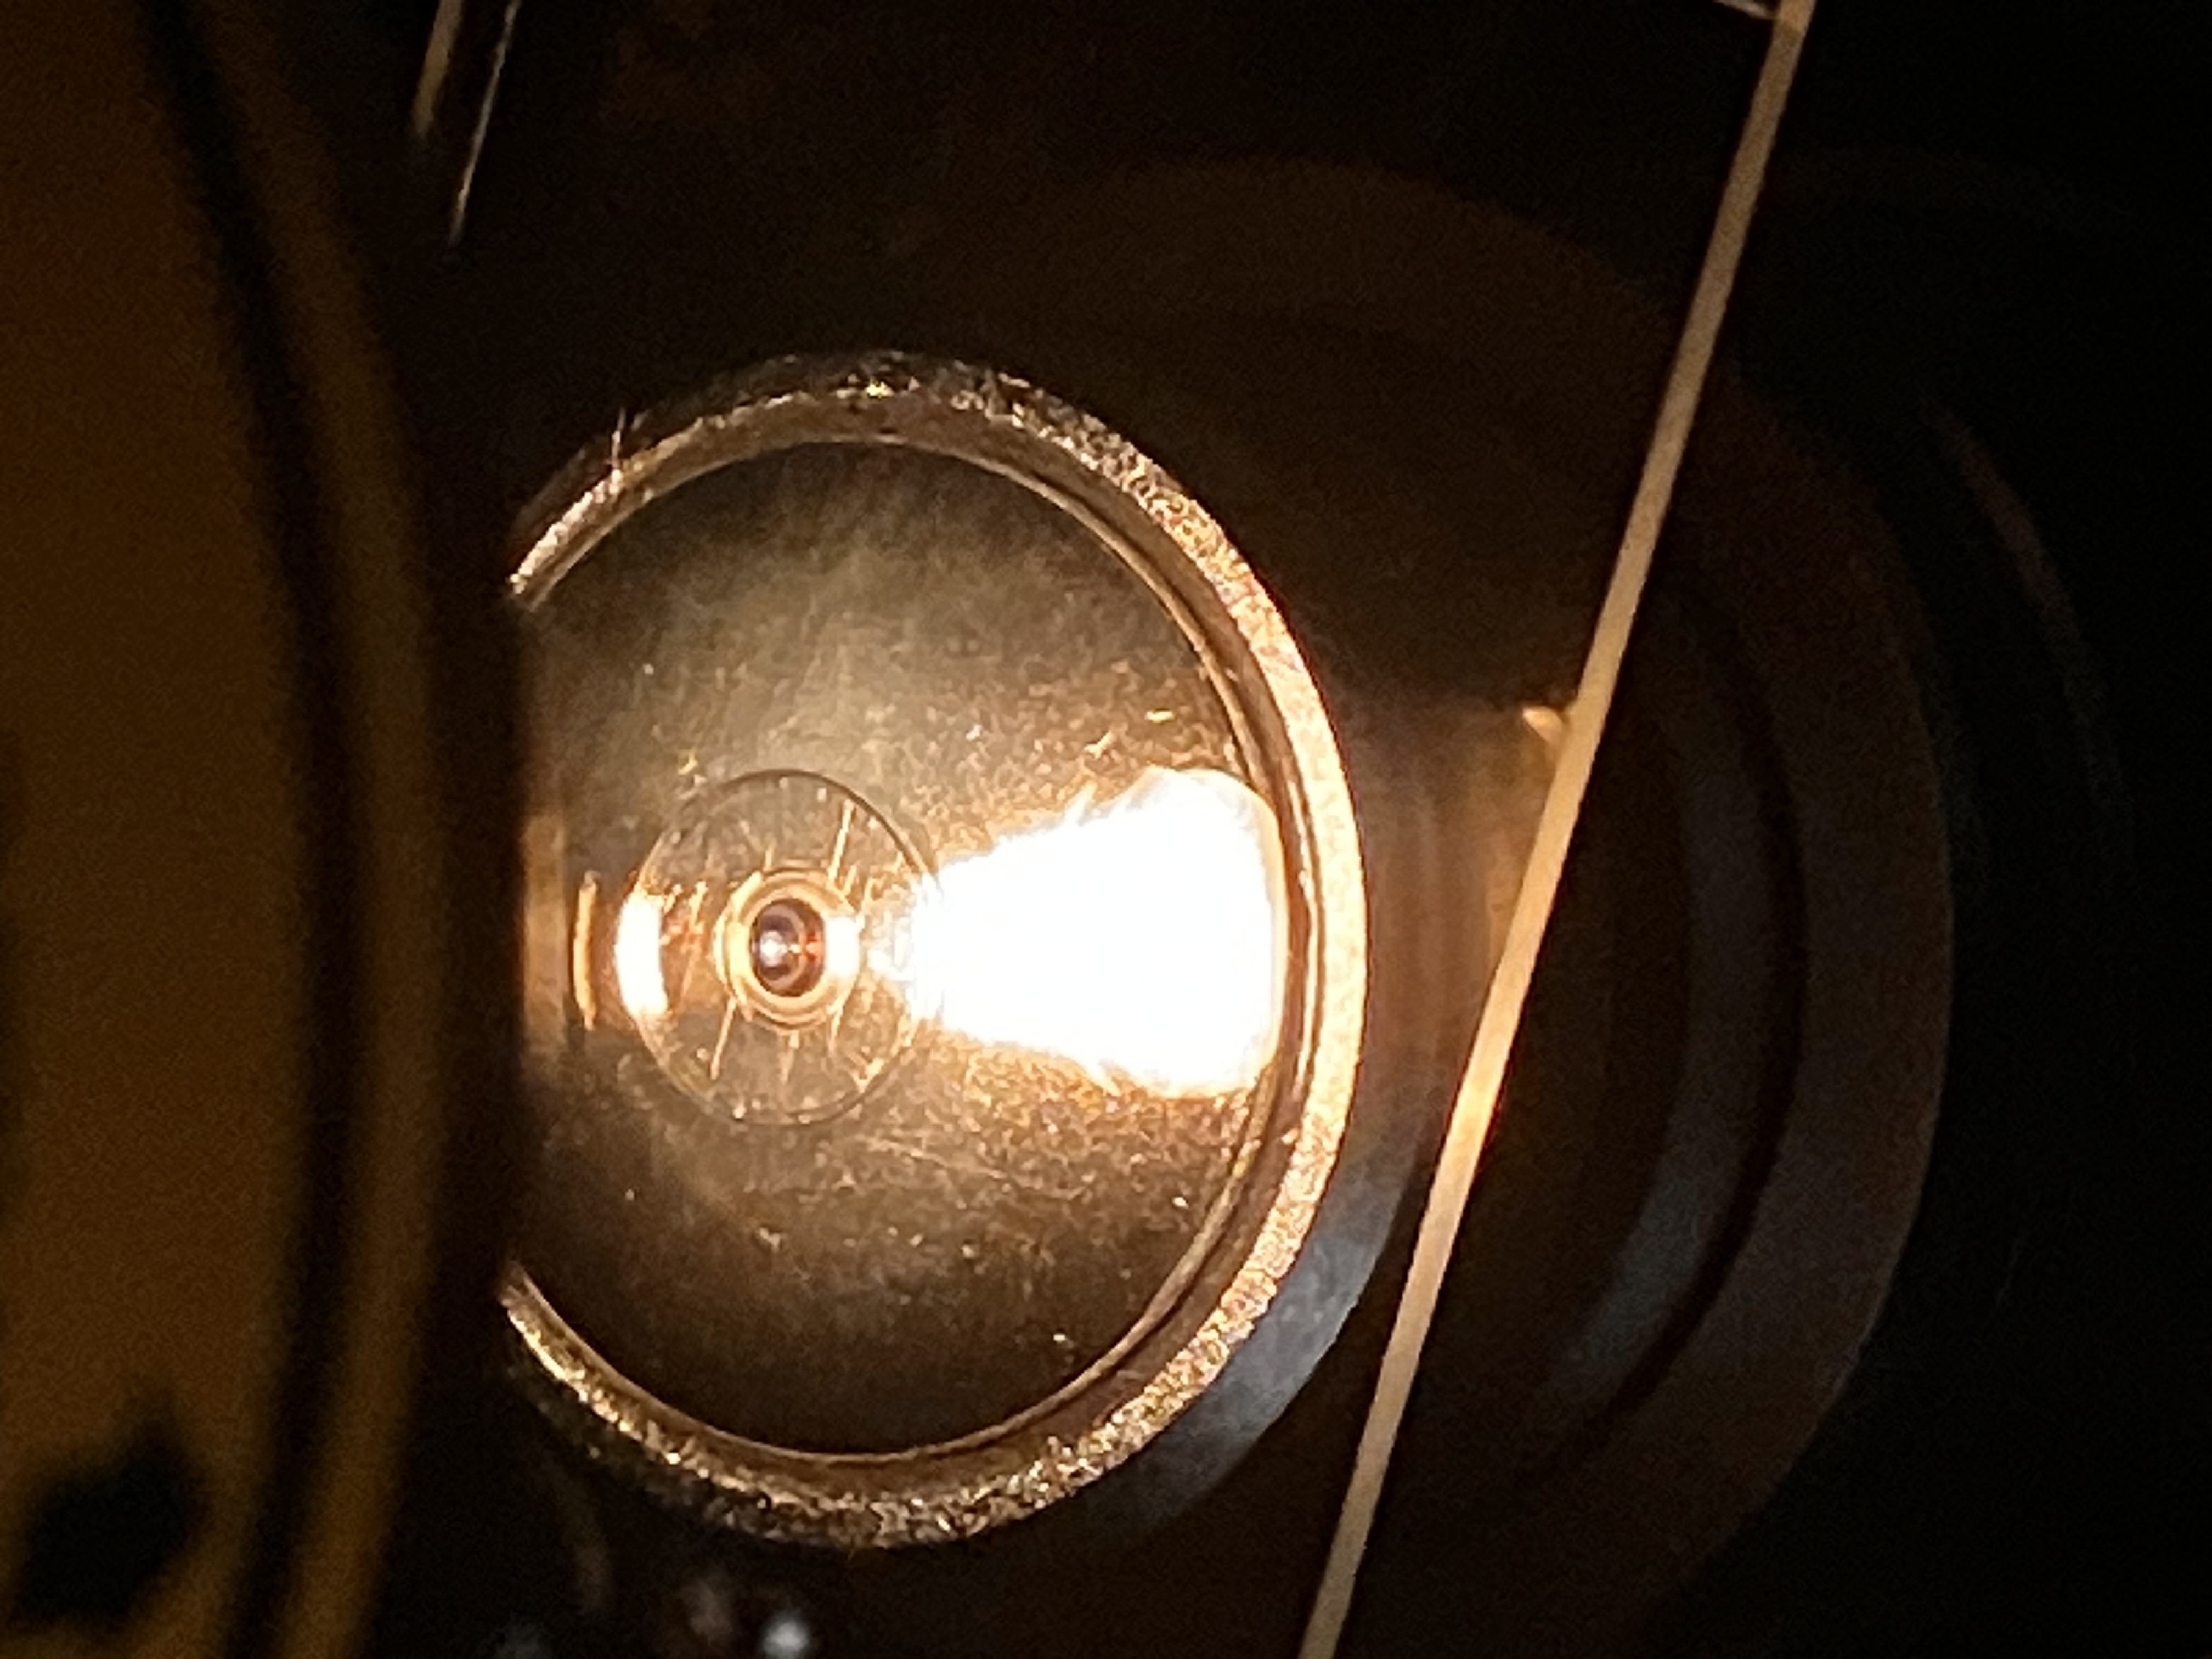
- If you are using immersion media, turn on the brightfield light, then slowly turn the focus knob until the media spreads out evenly on the slide or well surface:
- Turn on the laser for any fluor.
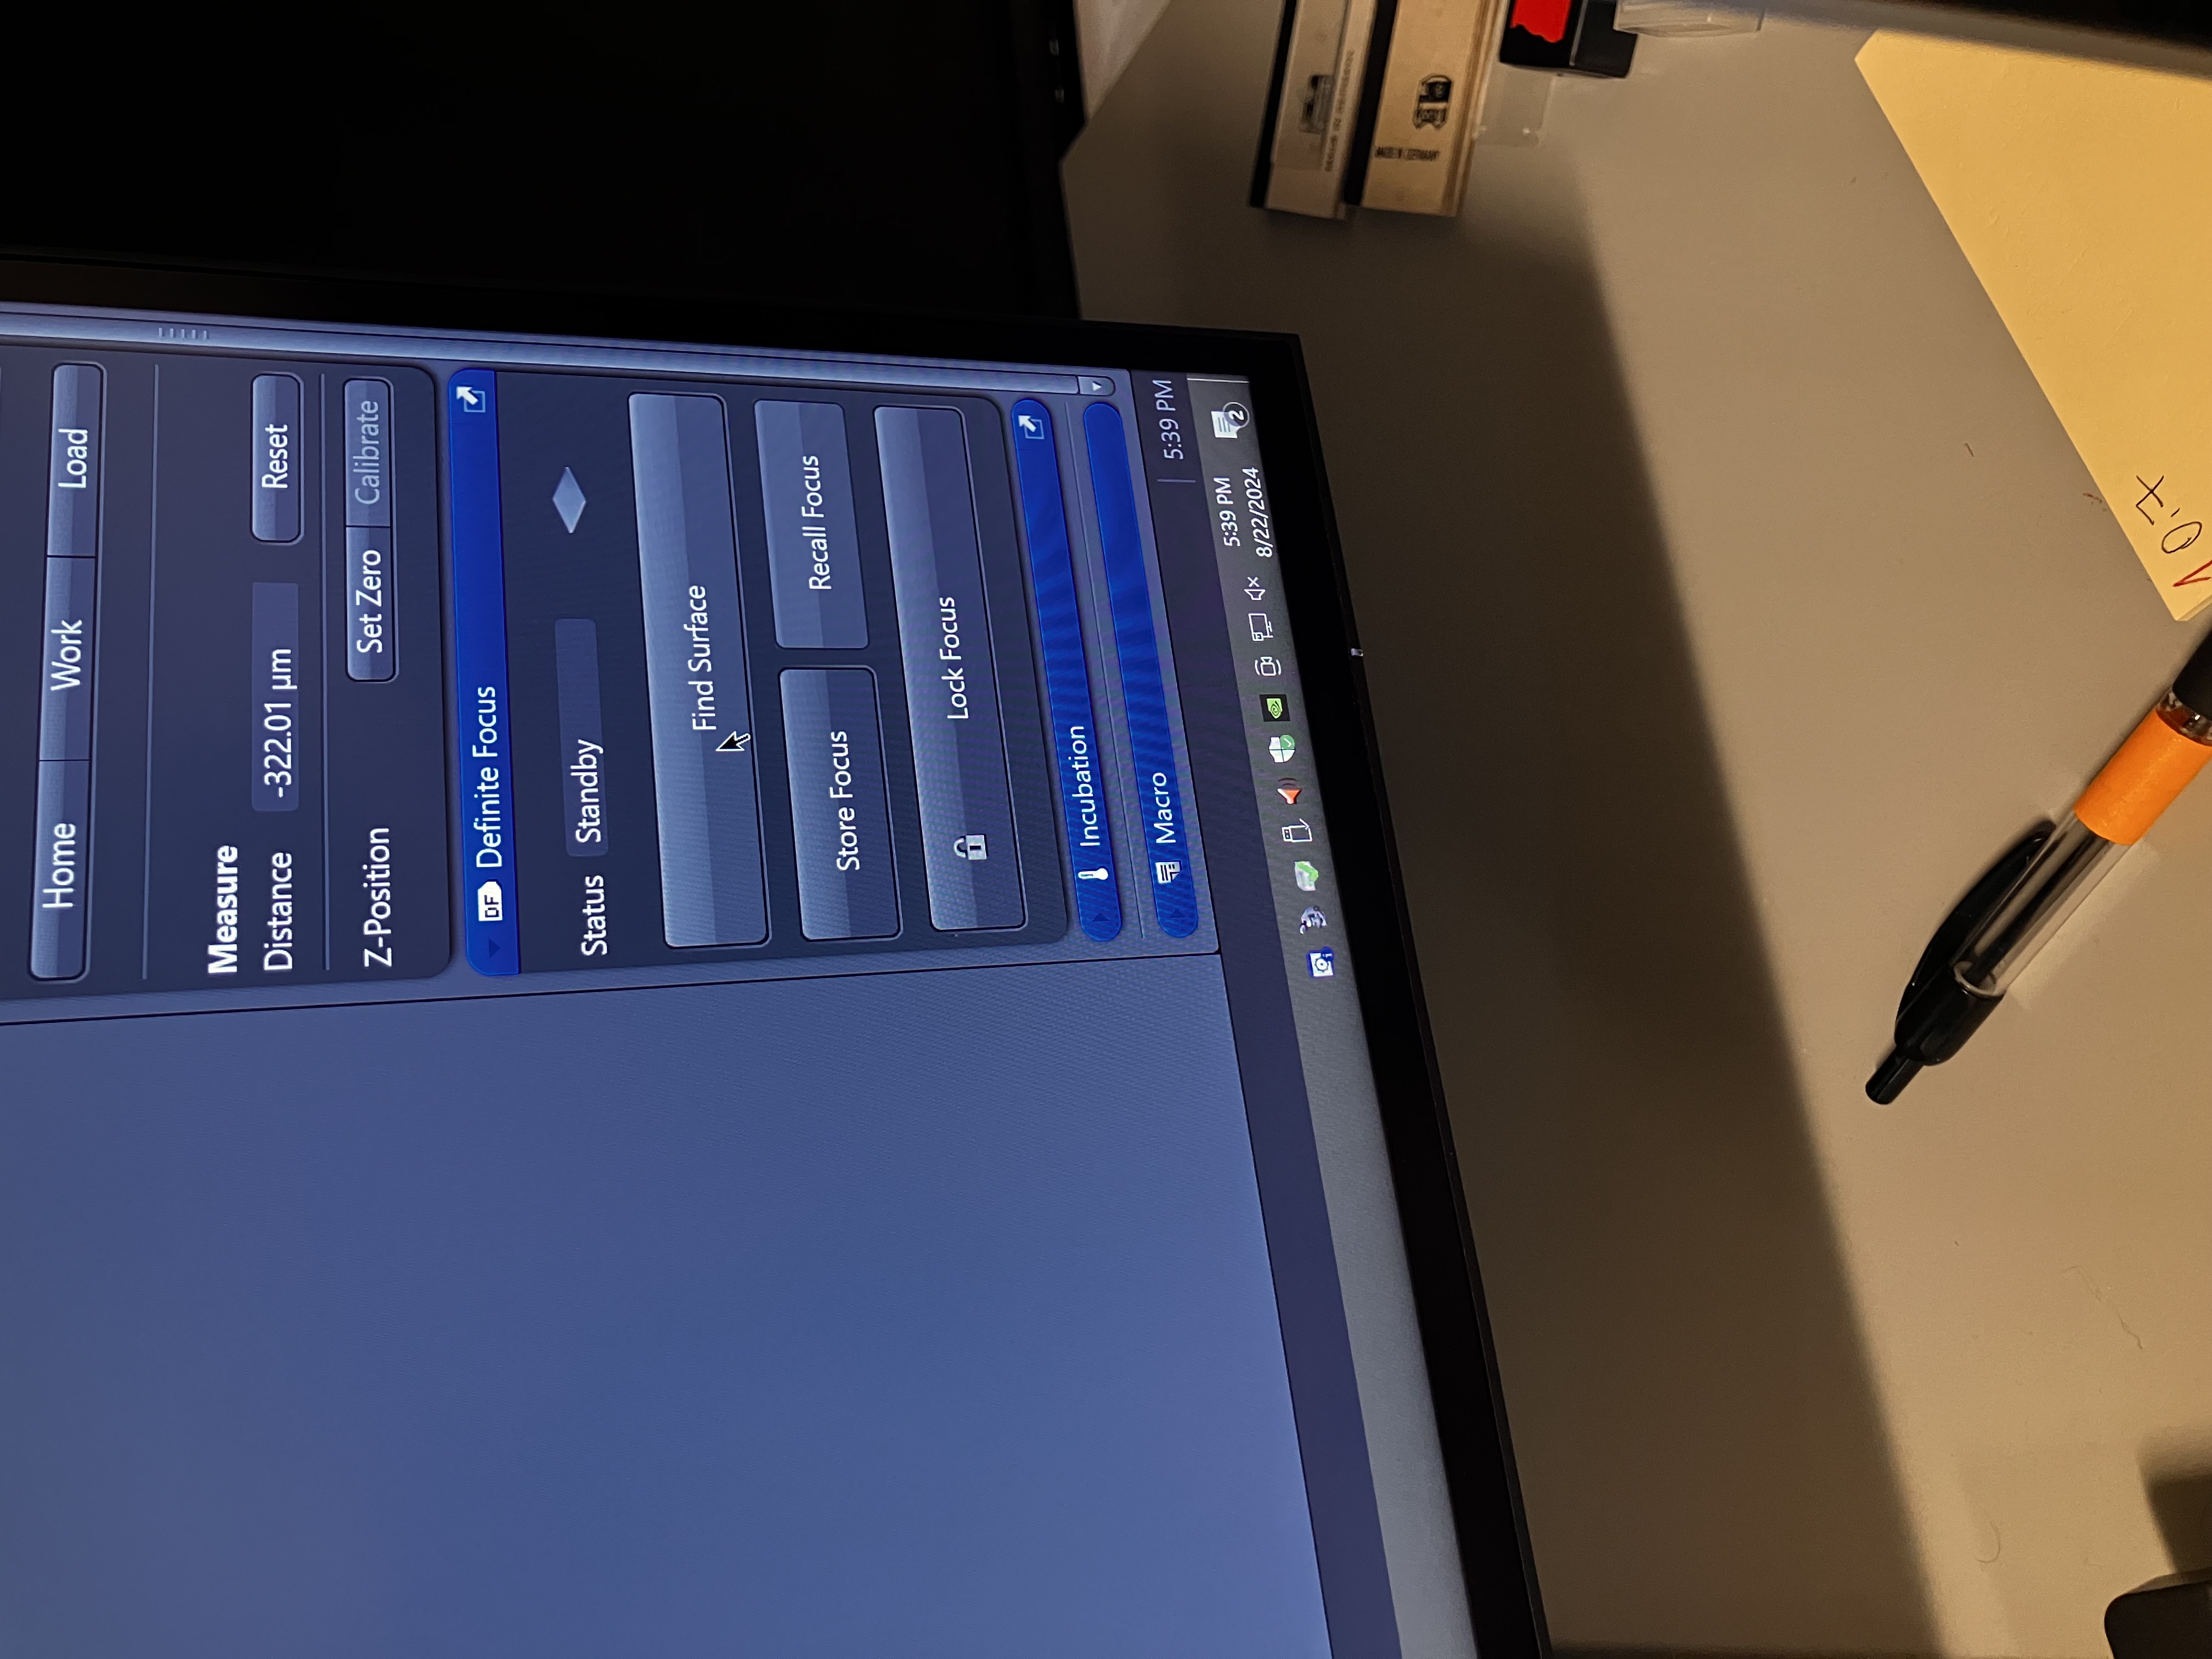
- Click “Find Surface” in the bottom right corner of the screen and let the software run:
- Now, looking through the eyepieces, use the focus knob to get the sample in the best focus that you can.
- Save this XYZ position as “Pos. 2” using the touch pad.