Chapter 9 General Shutdown Procedure
The following outline of steps should help any user shut down this microscope after essentially any imaging task on this microscope. For the shut down procedure for live cell imaging, see the designated section.
9.1 Make Sure Everything Is Saved
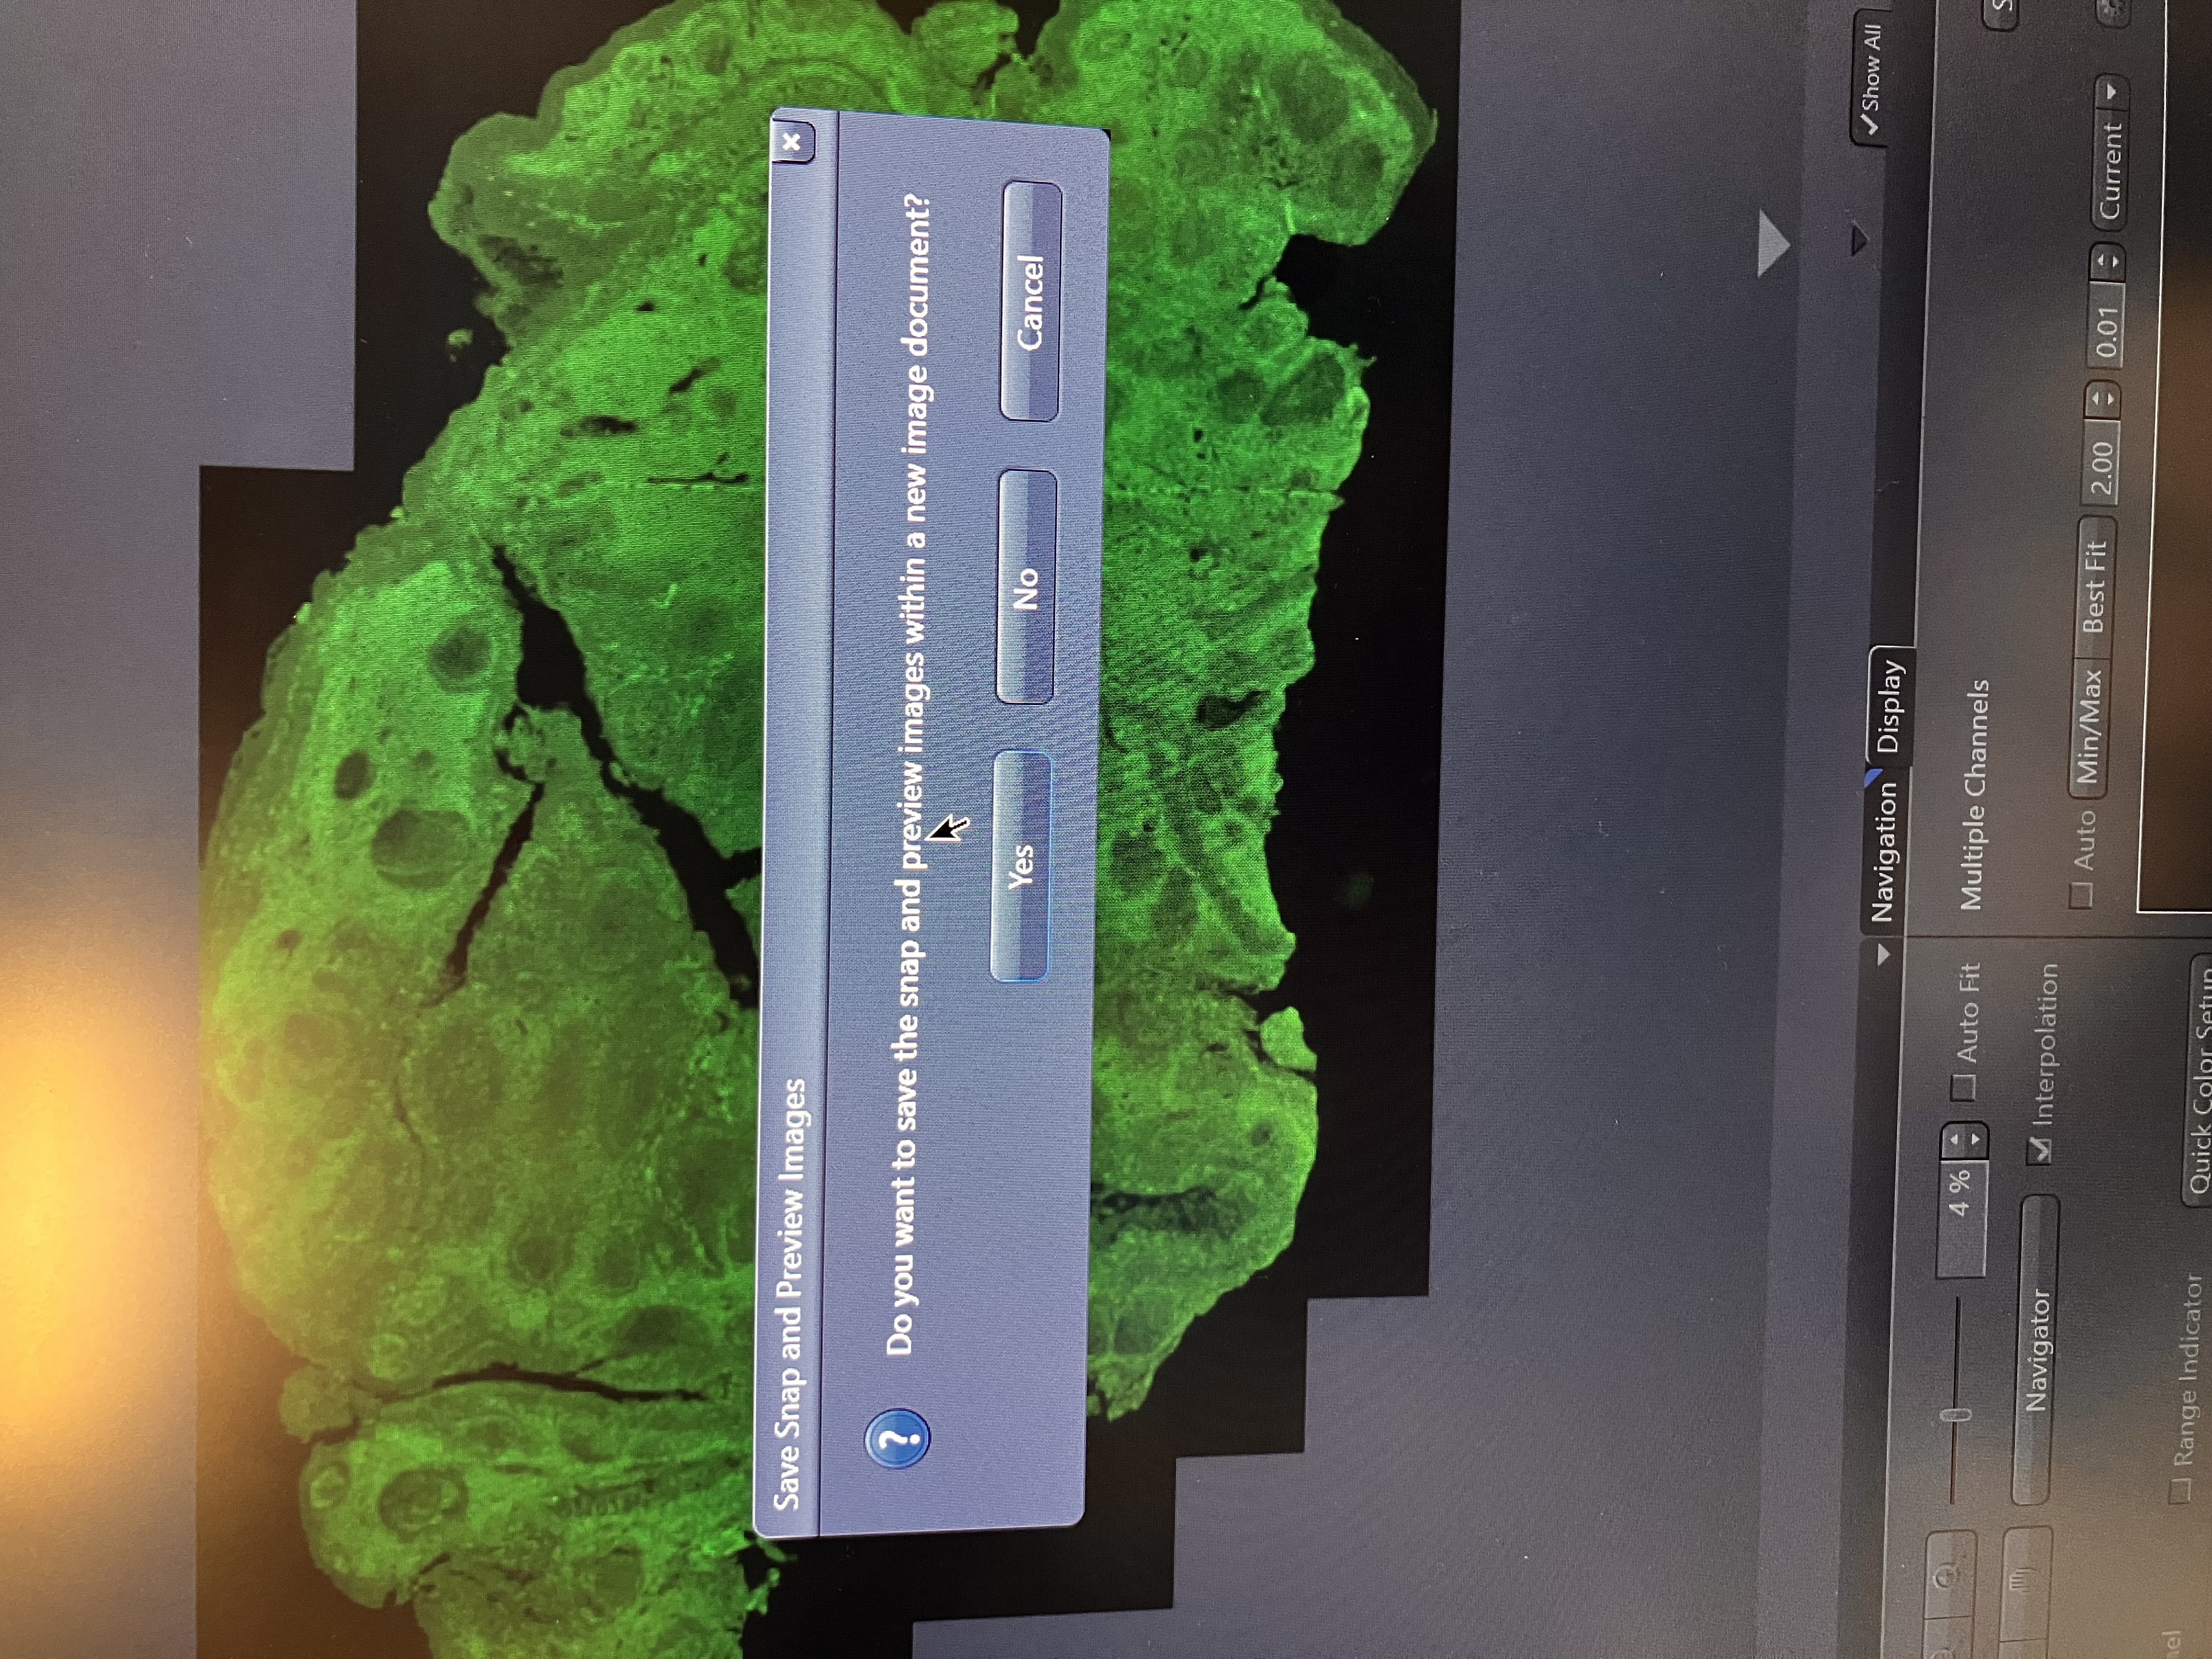
Save whichever images you plan to use for downstream analysis in your own folder. If there is any chance at all that you will need an image again, save it. It is near impossible to replicate an image exactly, once you have deleted it. You can also save a long-range AutoFocus preview scan of your sample, if you made one of these, in the next step.
9.2 Close Zeiss ZEN
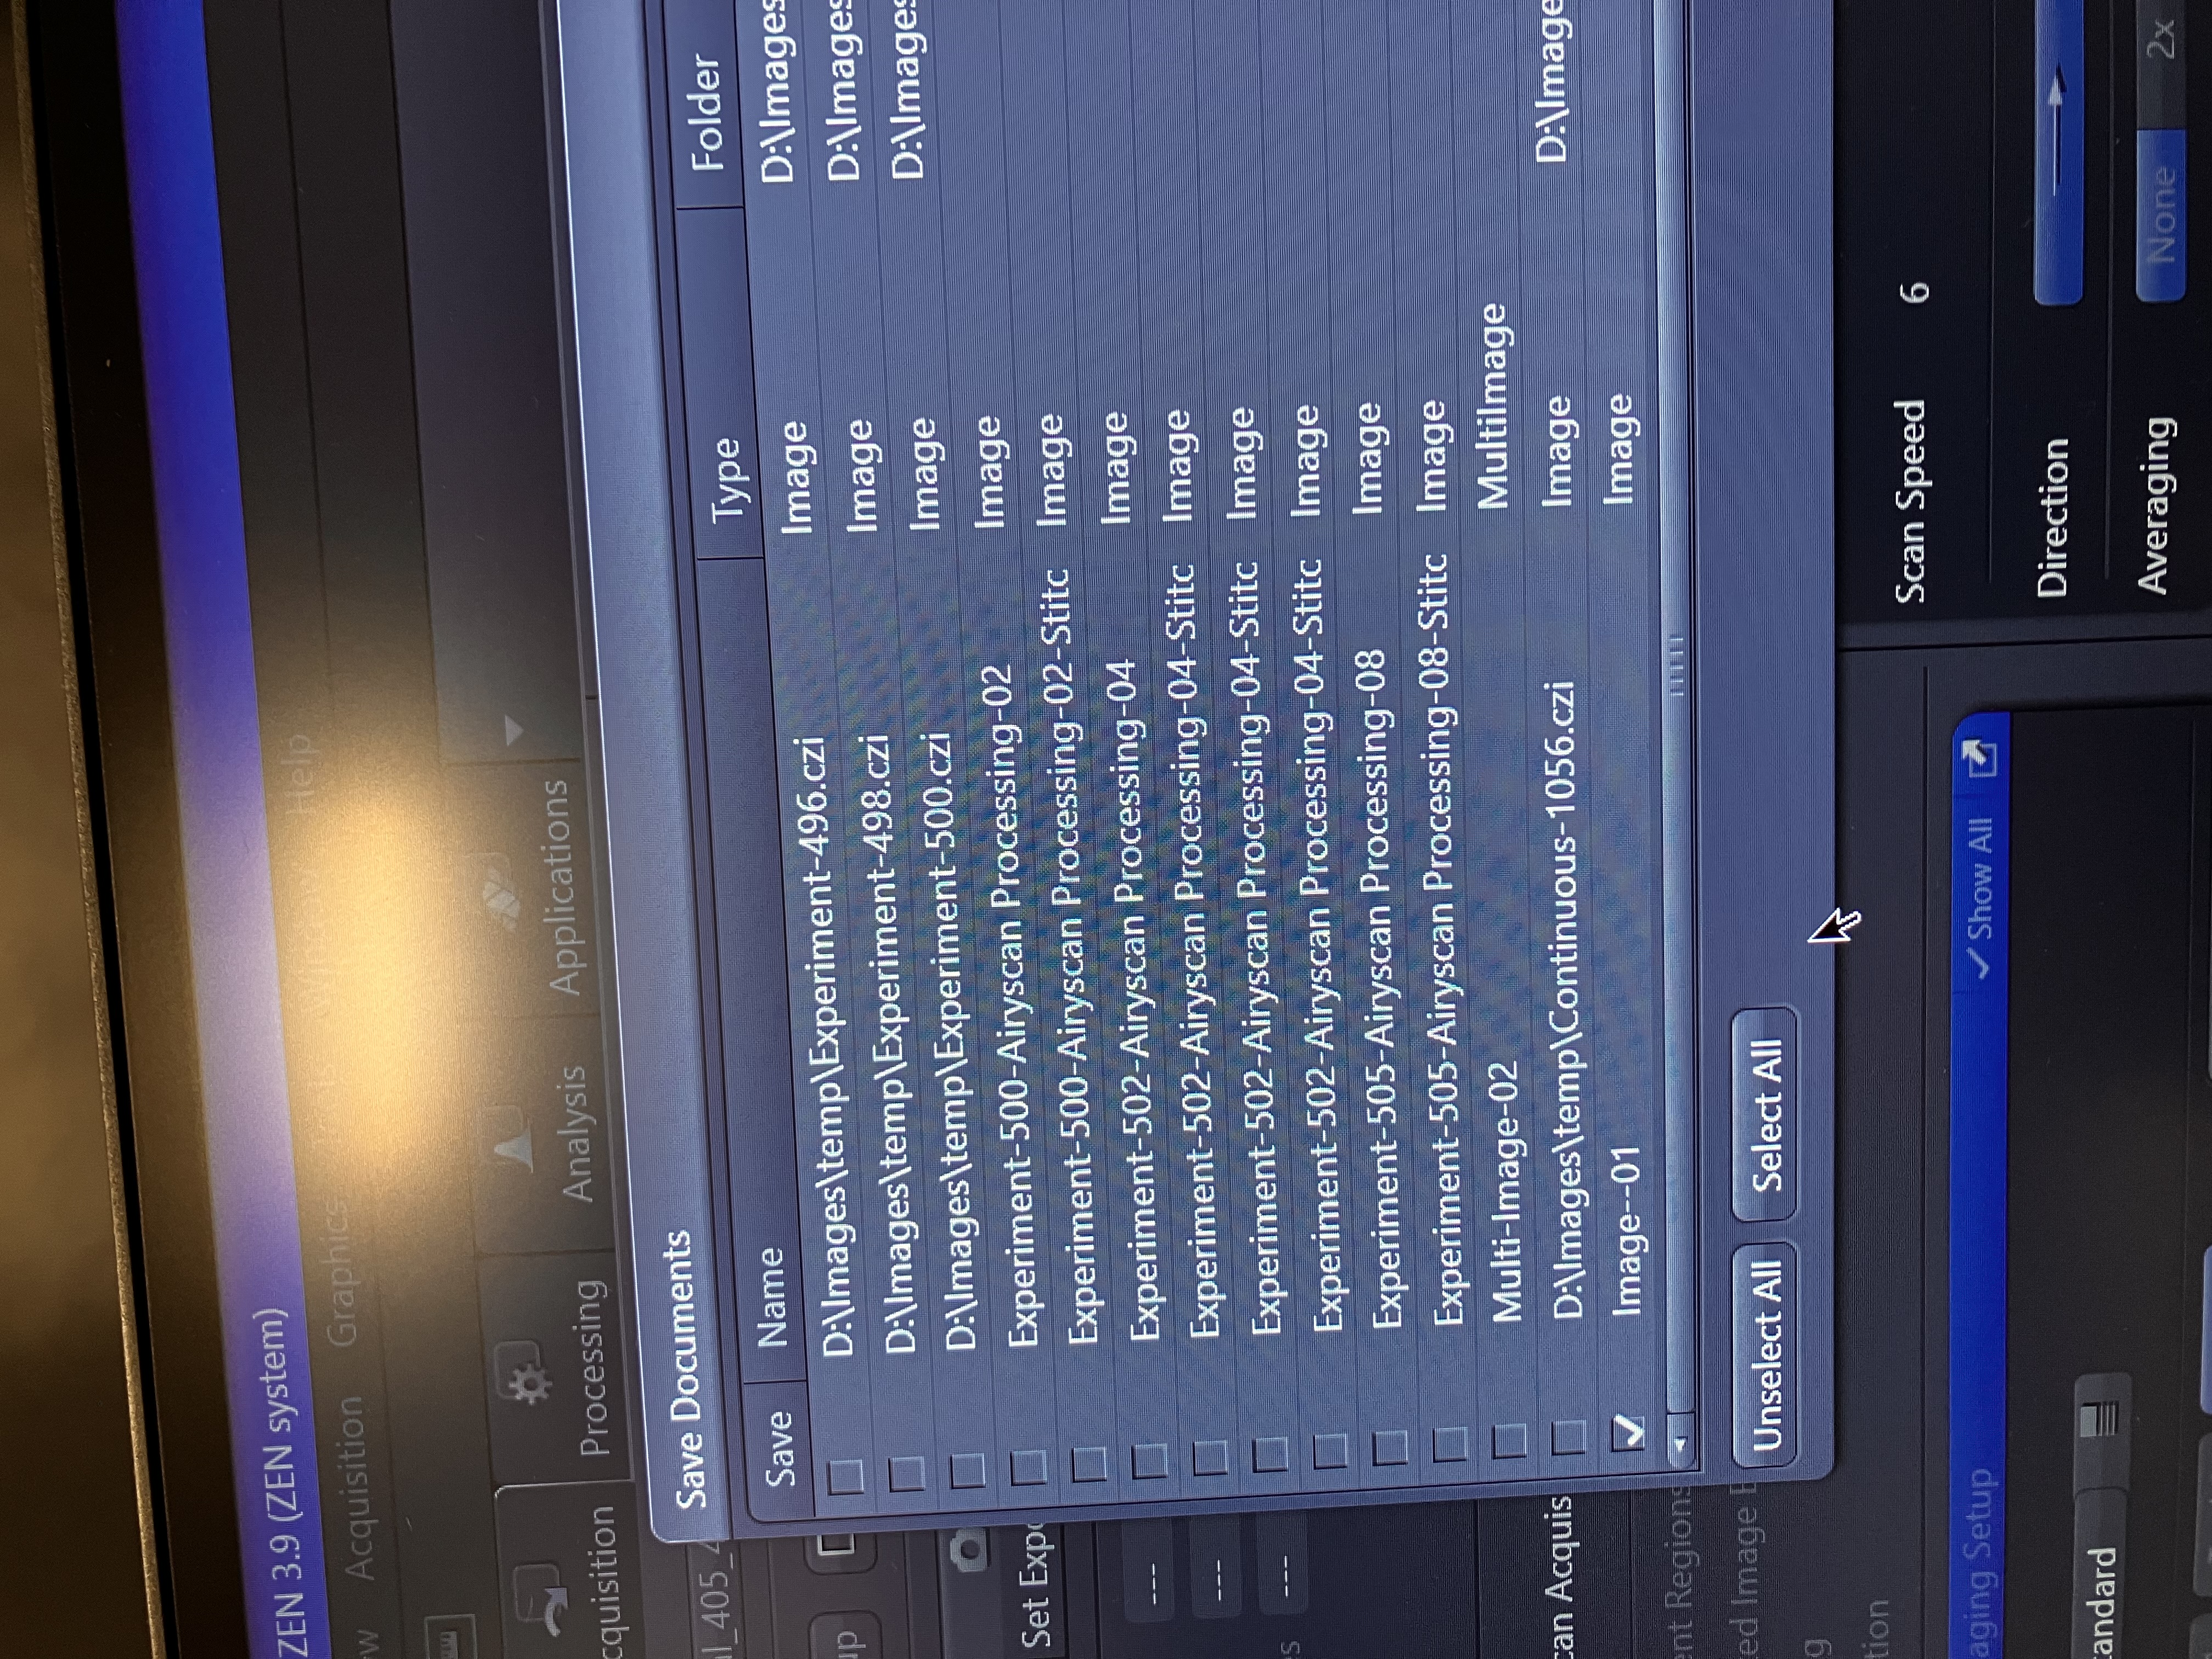
Simply click the “X” in the top right corner of the screen. Unless you want to save the long-range AutoFocus preview scan, do not worry about saving temporary files; you can deselect all and continue.
If you want to save said scan, leave the corresponding file selected only, and continue. This file will usually be called “Image-01” or something like that:
9.3 Shut Down the Computer
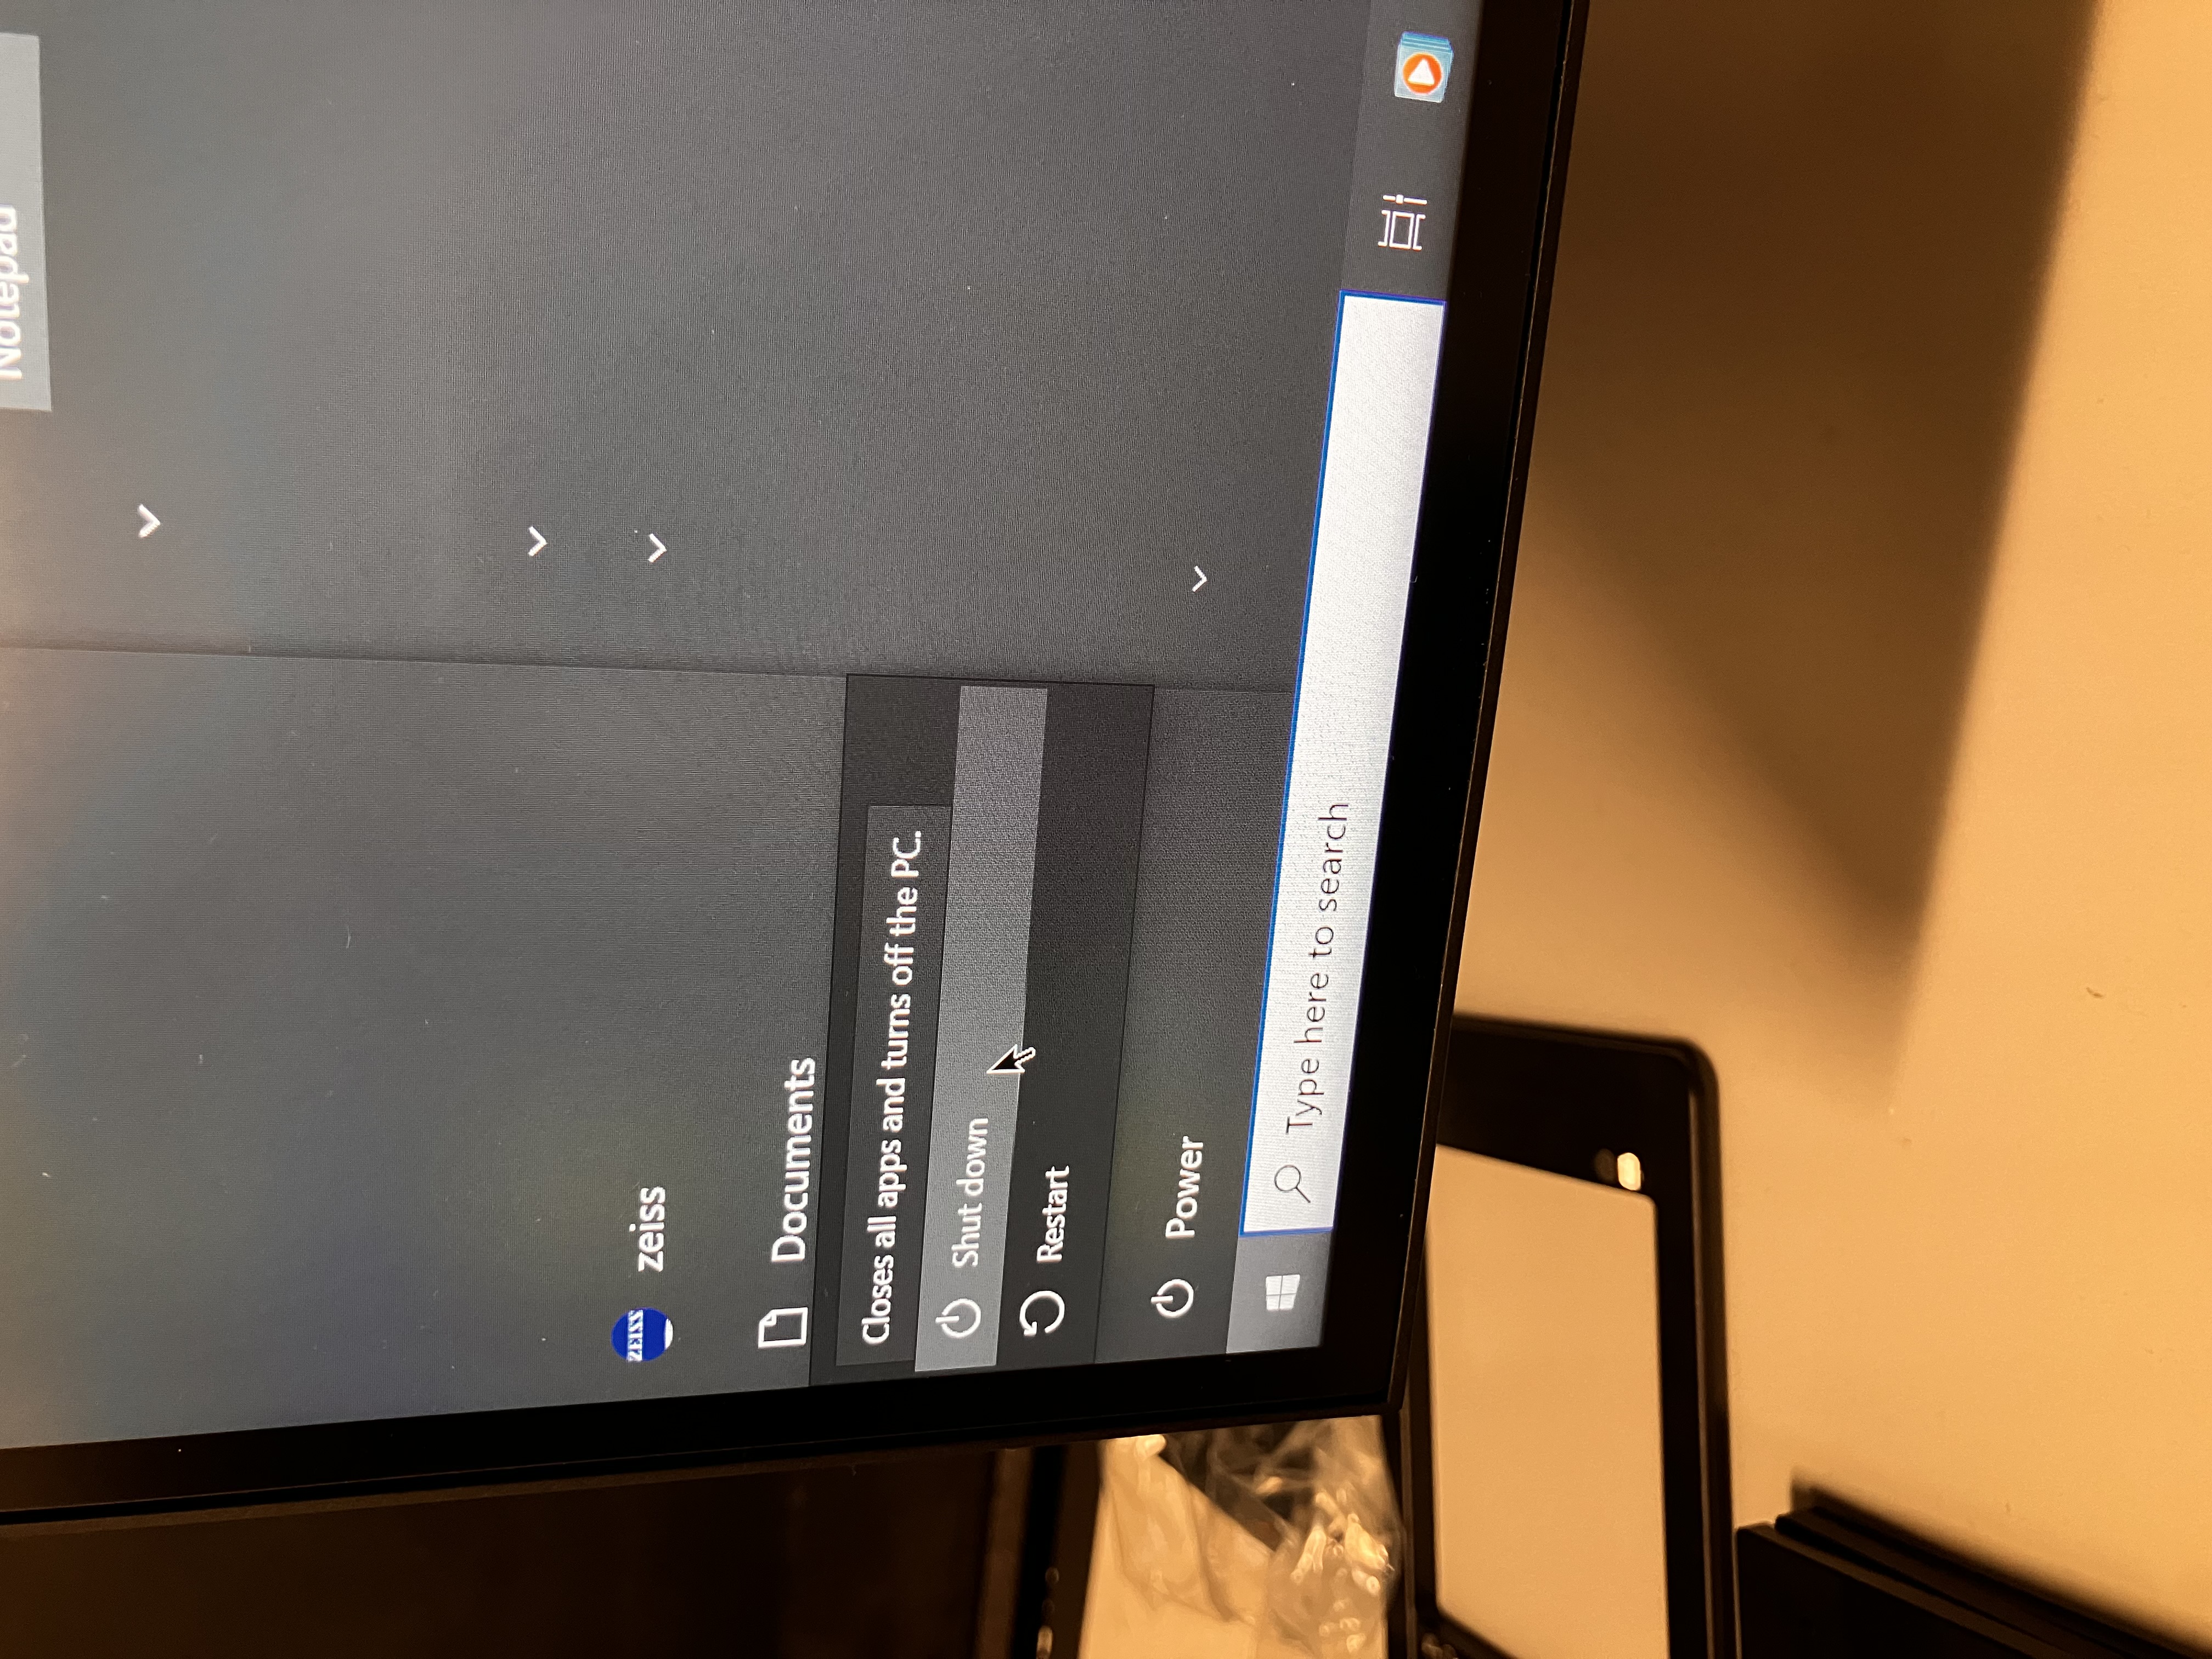
- Once ZEN completely finishes closing and you do not see any dialogue from the program anymore, click the windows icon in the bottom left corner of the screen.
- Click the power botton.
- Select “shut down.”
9.4 Remove Your Sample
- Lower the objective turret ALL THE WAY away from the stage by turning the focus knob toward you.
- Carefully remove the insert.
- If you used immersion media, clean your slide with a kimwipe and some water, if needed.
9.5 Clean the Objective Lens
This step only applies if you used immersion media.
a. Spray some lens cleaner onto a piece of lens-cleaning tissue. Do not spray the lens cleaner directly onto the lens.
b. Gently wipe the immersion media off of the lens, using the wet lens-cleaning tissue, until it is clean. YOU SHOULD NEVER USE ANYTHING EXCEPT FOR THIS TISSUE PAPER TO CLEAN THE OBJECTIVE LENSES. Kimwipes can scratch the lenses.
c. Throw the used piece of lens-cleaning tissue in the trash.

9.6 Switch Back to the 5x Objective
Use the touchpad to switch back to the 5x objective. This may seem unnecessary, but we ask that you do this so that there is no possibility that the next user does not realize which objective is in play and accidentally moves the stage in a way that scrapes the objective.
9.7 Close Everything
- Make sure that the top part of the microscrope has been pushed back down.
- Ensure that the light switch on top of the microscrope is turned off.
- Close the doors of the black box that surrounds the stage.
9.8 Turn Off the Power
If you see on the Research Cores schedule that someone is coming in soon after you (within an hour), you can skip this step.
a. Flip the switch labeled “2” to the “Off” position.
b. Flip the switch labeled “1” to the “Off position.
c. Do not turn off any other switches.
9.9 Make Sure the Space is Tidy
Remember that this is a shared space. Please do not leave your personal belongings, including your samples, in this space. Even if you are returning the following day for more imaging, the TCC cannot guarantee that your sample will be safe in this room. Lastly, if you spilled or dripped any immersion media on the table, please wipe it up with a kimwipe.