Chapter 3 Files and projects
In the previous chapter, we mainly worked with R and RStudio by typing certain codes into the console. The console is the entire left side of RStudio and looked like this:
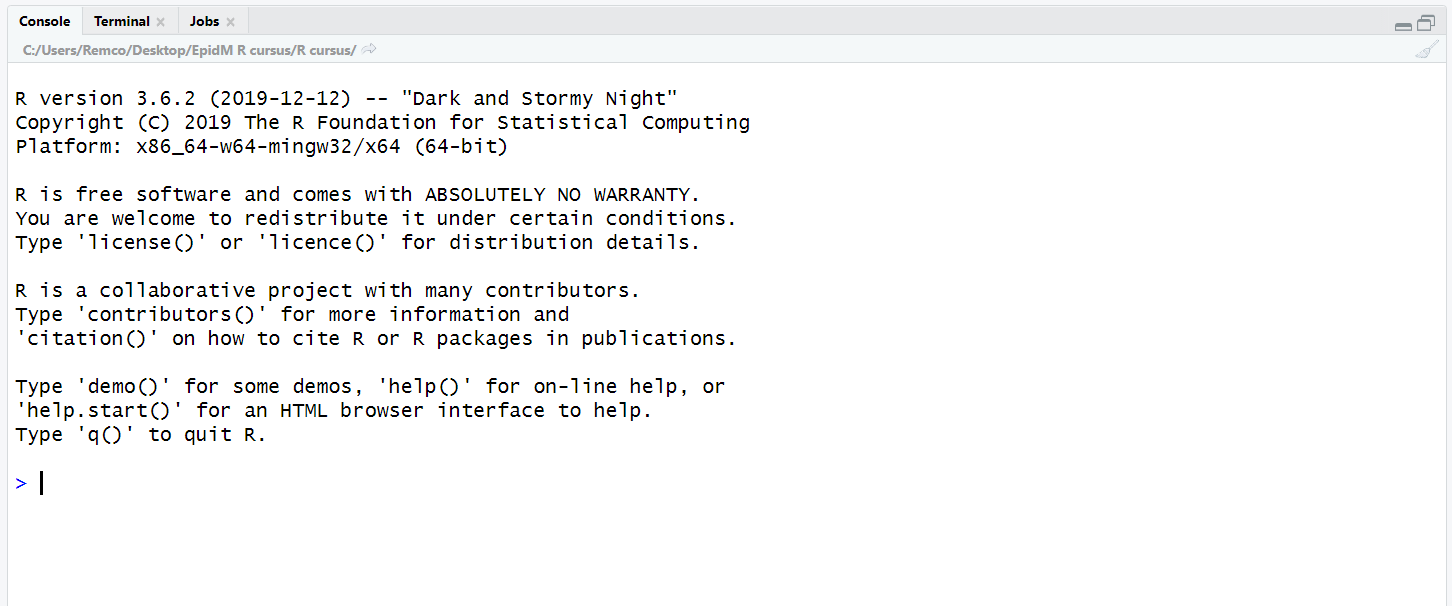
Figure 3.1: Console
Here we could type codes and let R calculate certain things. The disadvantage of this is that RStudio does not store anything when you work in the console. So that means that if you did some analysis and then shut down your computer that nothing is stored. If you want to save your codes and intend to use them later again we can work with files.
In this chapter, we will also look at R projects which provides some useful options to structure your files and data all in one place.
3.1 Files
We will start looking at files. You can create a new file by clicking on File > New File > R script in the upper right corner of RStudio. Or you can use the windows shortcut by pressing Control + Shift + N. When you have done this, your screen will look like this:
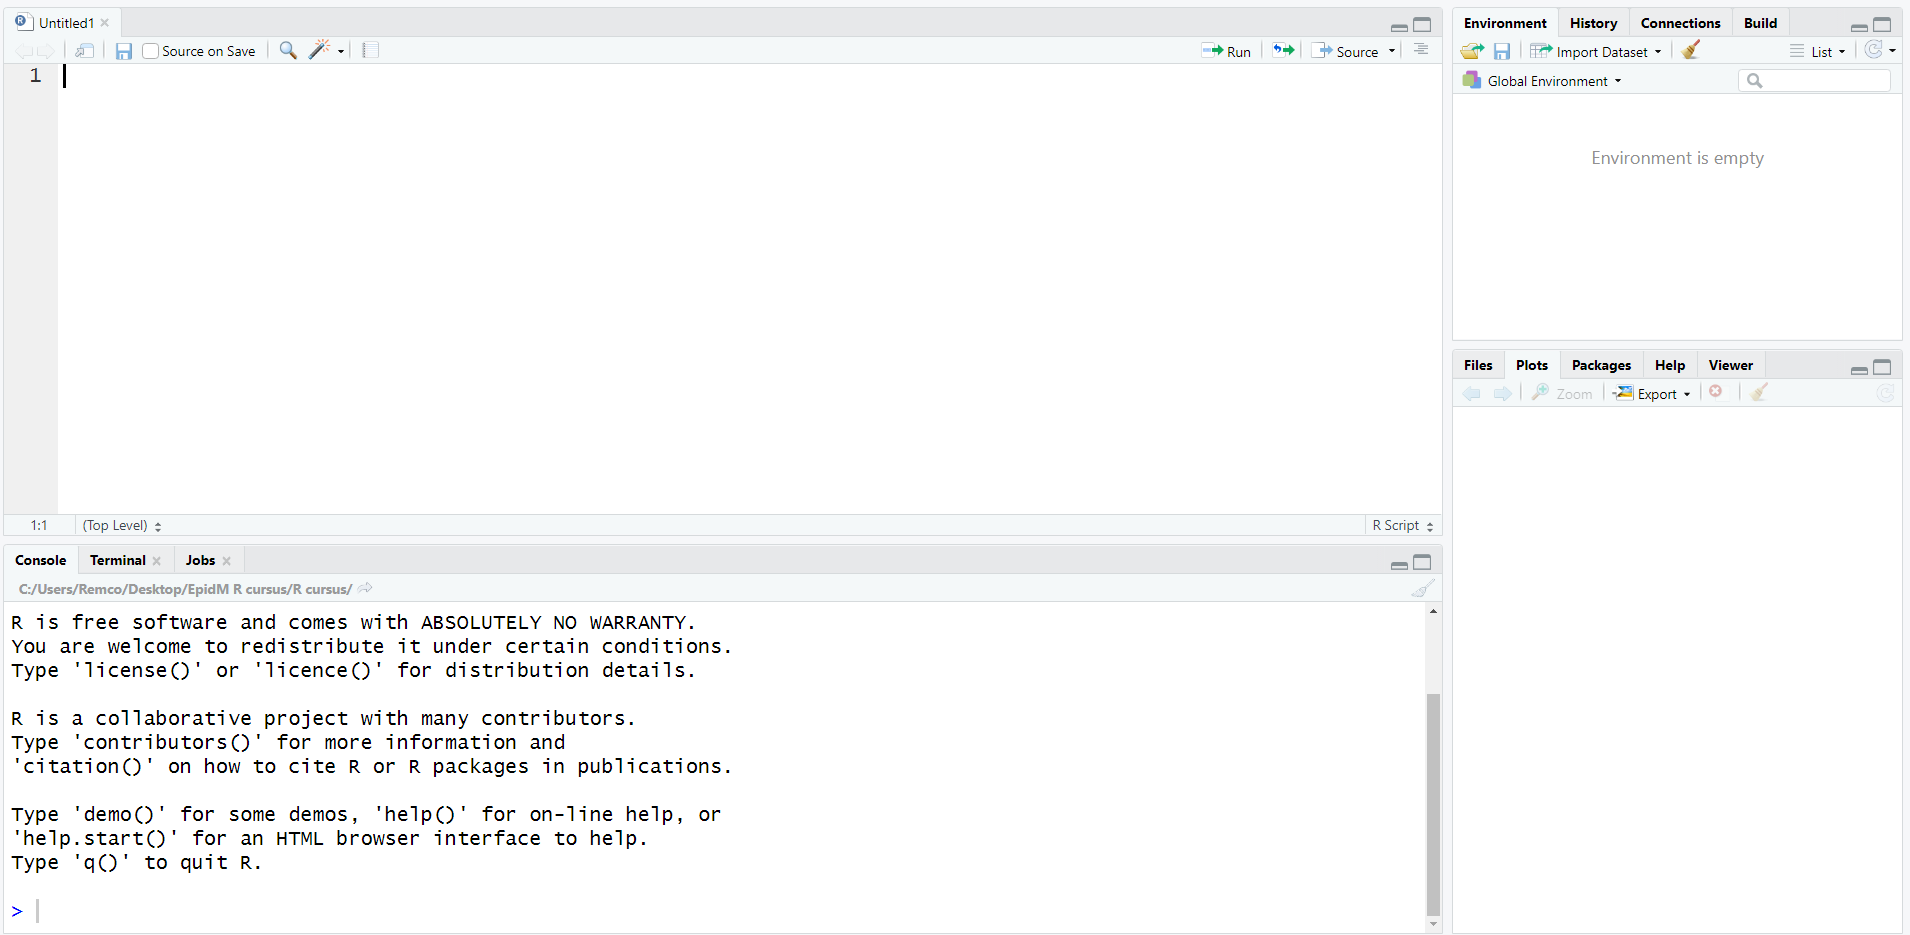
Figure 3.2: New file
So now we got an empty box extra on the left side of RStudio and the console we used to work with has been moved to the lower left side of RStudio. This empty box is an R file or script and you can type codes here again. For example, if you put 10 * 8 here and you want to compute it, you can select that code and then you can press the run option.
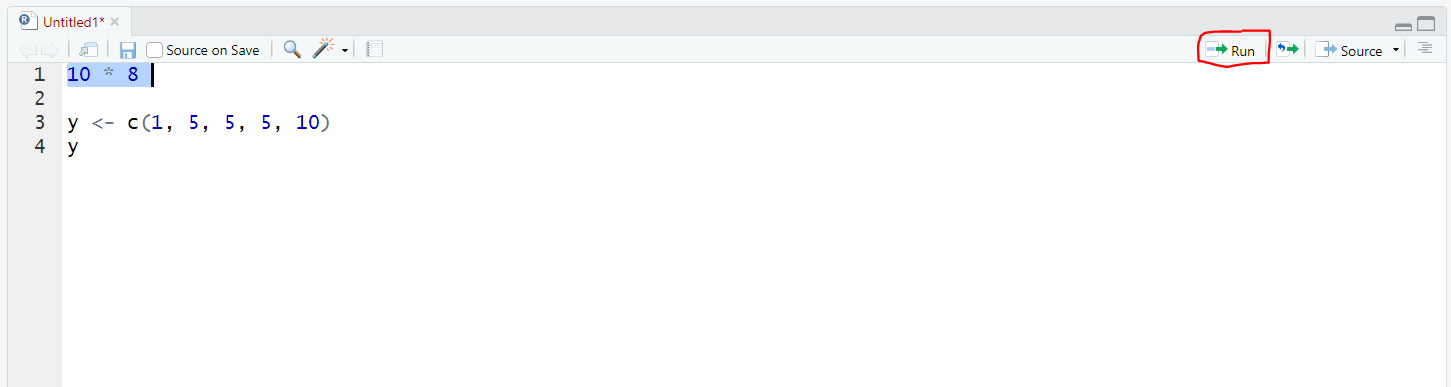
Figure 3.3: Codes in een nieuwe file
You can also put your mouse behind the code and press control + enter and then RStudio will also run the selected code. When we have done this, we see in the console (under our file now) that the result of 80 appears.
Everything we type and run in our R file will be read by the console and if there is a result it will be returned to the console.
If we run y <- c(1, 5, 5, 10) we see the following in the console below:
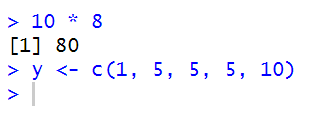
Figure 3.4: Output in console
We see that R has read the line of code but it doesn’t return anything. And as we may remember from the previous chapter, we know that we don’t get the numbers back until we type y. So if we now run the code with y in our file, R will return the stored numbers.
Furthermore, we see the name of our file at the top left of the screen: now Untitled1 and we also see that this is red and that it has an asterisk after the name which indicates that the file has changed since we saved it. And in this case, it hasn’t been saved at all yet. If we have typed code in our file we can save it by going to File > Save as in the upper left corner of RStudio and then we can name our R file and choose where we want to save it.
3.2 Projects
As we mentioned at the beginning of this chapter, R projects offer several useful options to keep all your R files and data files conveniently together. There are 2 options to create R projects:
- Creating a new project
- Or creating an R project within an existing folder
Within this chapter, we will explain both ways.
3.2.1 Making a new project
To create a new R project we go to the top left of RStudio to File > New Project… When we have clicked on this we get the following screen:
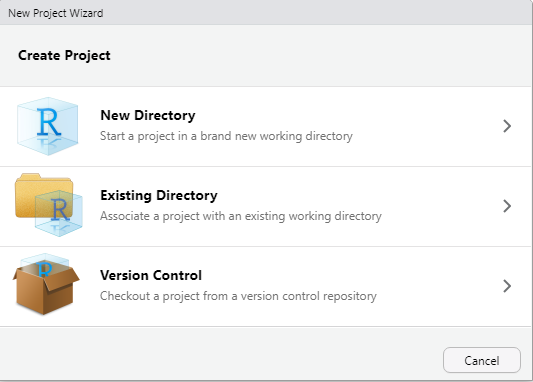
Figure 3.5: New project wizard
To create a new project we choose New Directory. Click on it and you will be asked what type of project you want to start. Choose here to create a New Project.
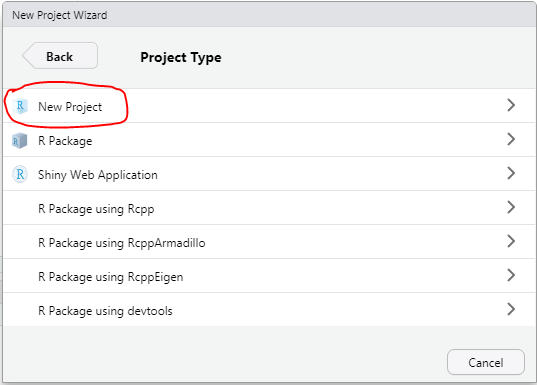
Figure 3.6: New project wizard I
Next, you will be asked how you want to name your new project at Directory name (I have filled in example project for now) and on which location it should be stored one option below it. Click here on browse to choose a folder where you can easily find your project. If you want RStudio to open your new project right away press the option in the lower-left corner of Open in new session and press Create Project.

Figure 3.7: New project wizard II
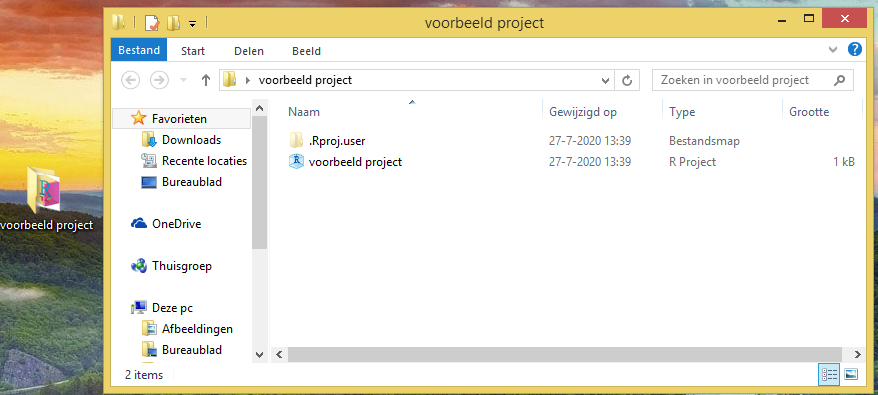
Figure 3.8: Example project
As you can see on my desktop on the left is my new folder called example project that we just created. When we open this folder, we see that an R project file has been created. When we open it we see the following:
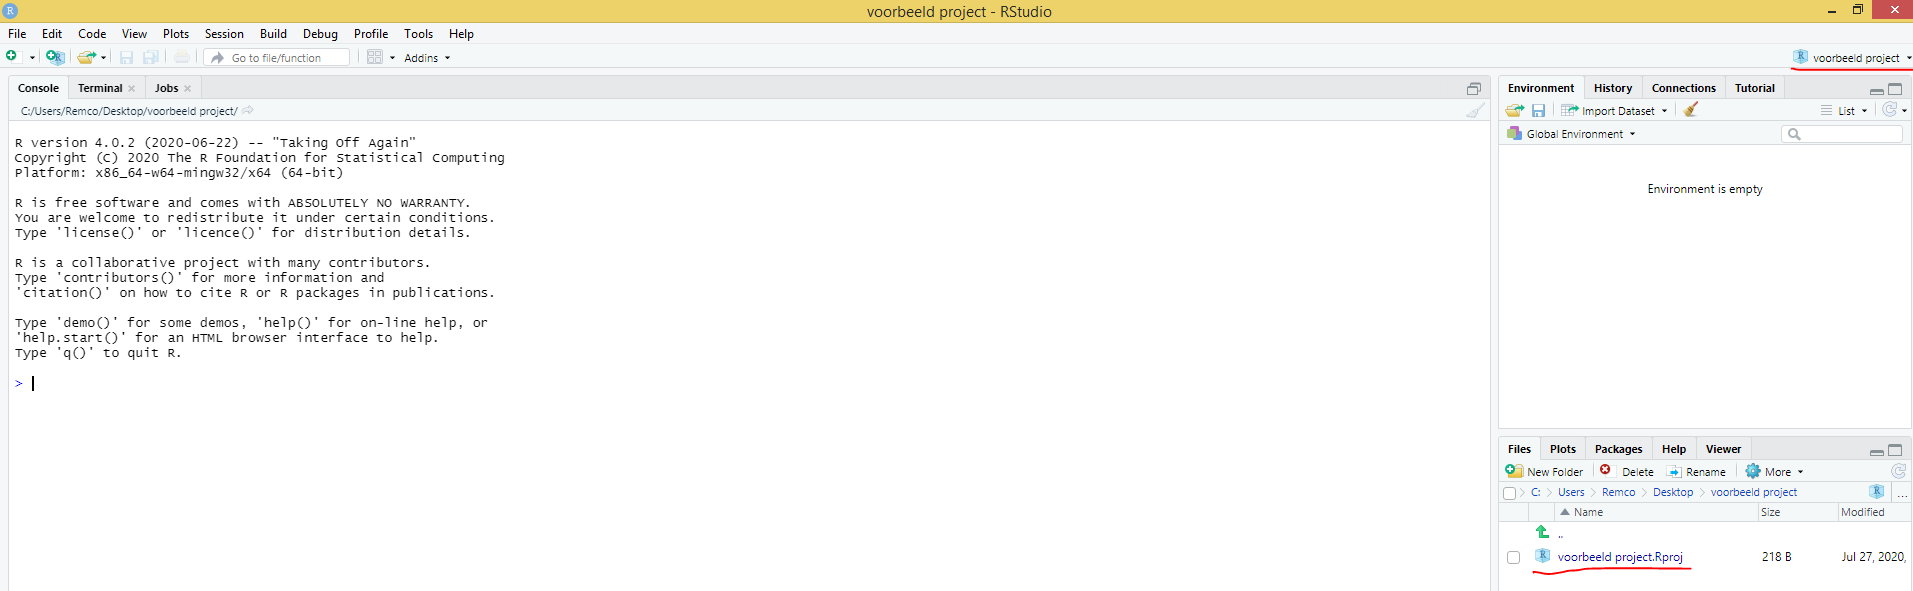
Figure 3.9: Example project II
I underlined 2 things in red here: in the upper right corner, you can now see the example project. This means that we are now working in an R project environment that we just created and under Files we see that the current working environment is the folder where we created our R project. The advantages of working with an R project is that we can store all our data, R scripts, and other things in one folder. Also, reading in data becomes much easier when we work with R projects.
3.2.2 Creating an R project within an existing folder
Now we will discuss the next option to create an R project and that is to create an R project within an existing folder. This is useful for example if you already have some data files in a folder and want to analyze them in the same folder. The other option is to create a new R project as explained above and simply move your data files to that folder.
To create an R project within an existing folder we also go to File > New project in the upper left corner of RStudio… and we end up on the same screen as when creating a new project.
Figure 3.10: Project wizard
This time we choose the 2nd option Existing directory and click on it.
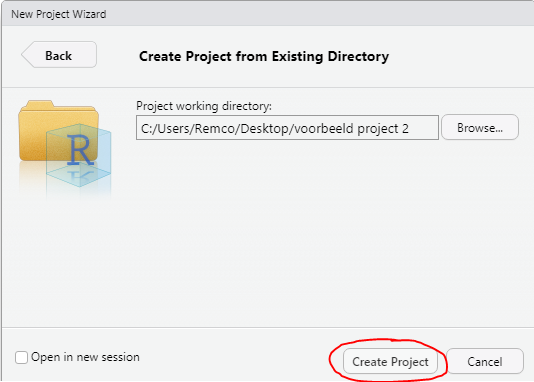
Figure 3.11: R project within existing directory
In my case, I had already created a new folder on the desktop called example project 2 with a data file in it. Regardless, choose the folder where you stored your data files by pressing browse and then click Create Project.
Once you have done that you can open your project again by navigating to the folder where you created your project and then open your R project.
In my case that looks like this:
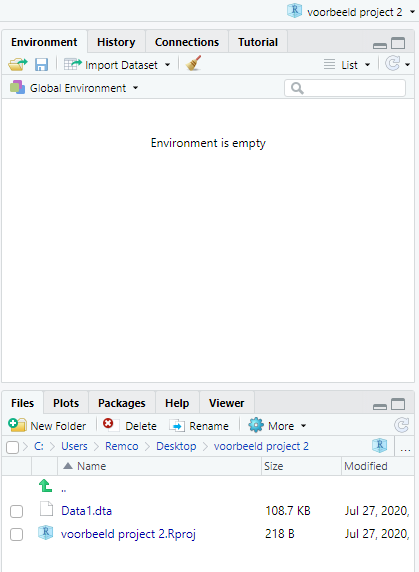
Figure 3.12: R project within existing directory II
Again, we see on the right side of RStudio that we are working in example project2 and we see that this folder contains our project and in my case, there was a data file stored in that folder called Data1.dta.