4.4 Recipes
4.4.1 Pan au Levain
This is our go-to Reinhart-style bread, and I give him all of the credit for suggesting the ingenious trick of adding whole wheat flour to the starter. My addition was to hybridize it with the Robertson approach to proofing, shaping and baking. I think you will be more than pleased with the results.
4.4.3 Sourdough Rolls
Below are two recipes from Amy Duska at Little Spoon Farms, a great source for sourdough ideas. Like me, she is self-taught in the art of sourdough baking, and her recipes are geared towards others with similar aspirations. Below are two of her recipes, each with a few tweaks I’ve incporated.
4.4.3.1 Dinner Rolls
I cooked these for Thanksgiving dinner, and I anticipate doing so from here on out (as well as any other occasion that calls for them). They are like store-bought dinner rolls, however the sourdough imparts more flavor. Like most of the recipes I’ve used, this is a three day process - make the starter (overnight), mix the dough and do primary fermentation (day 2), do refrigerated secondary fermantation over night, and shape and bake (day 3).
4.4.3.2 Day 1
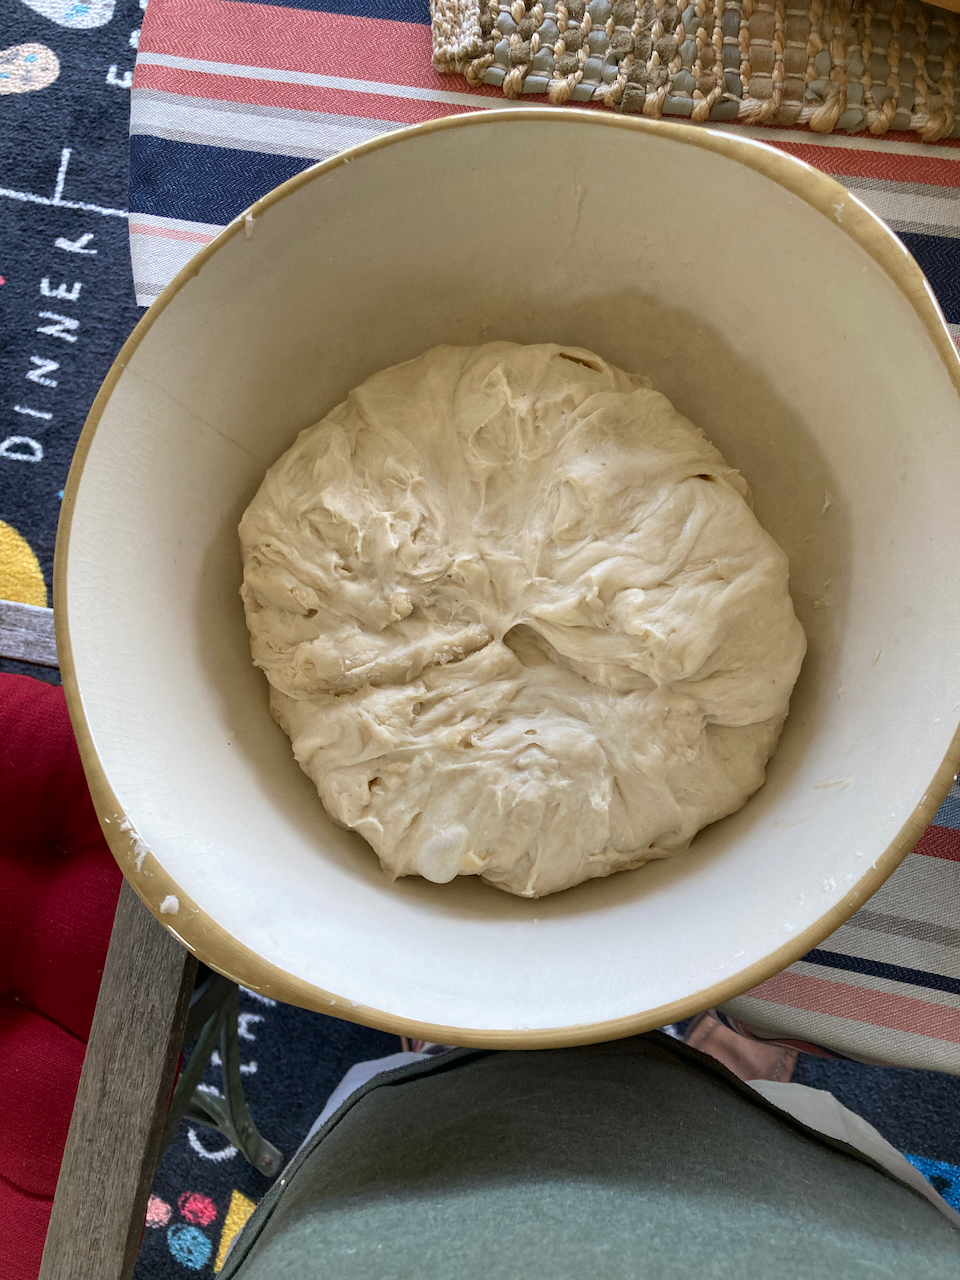
Make the starter as follows:
1 tbsp mother starter
~1/3 cup flour (either bread or all purpose)
3.5 tbsp water
Combine the above in a small bowl, cover with food service wrap, and let it rise in a warm place overnight.
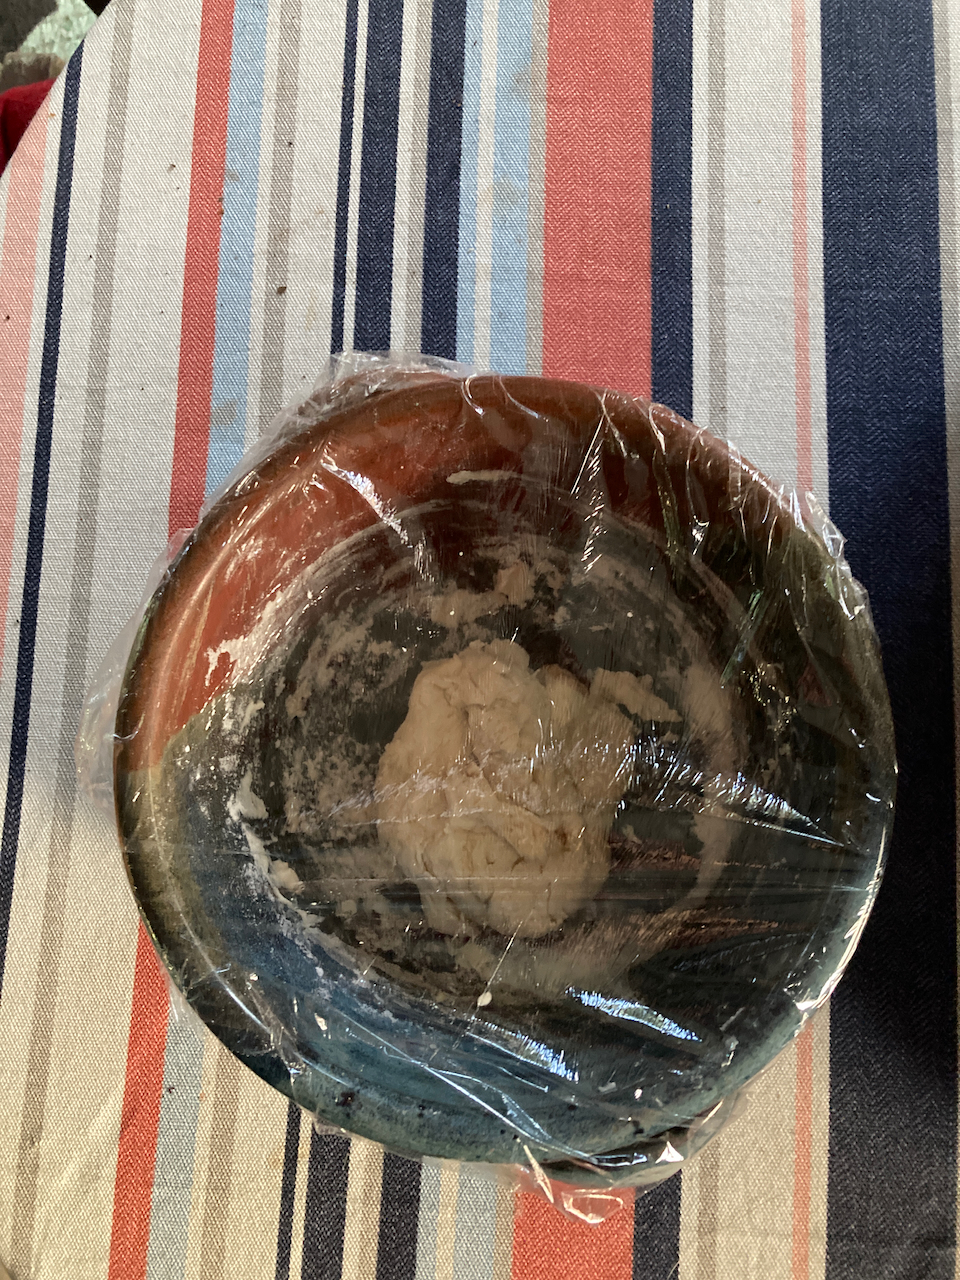
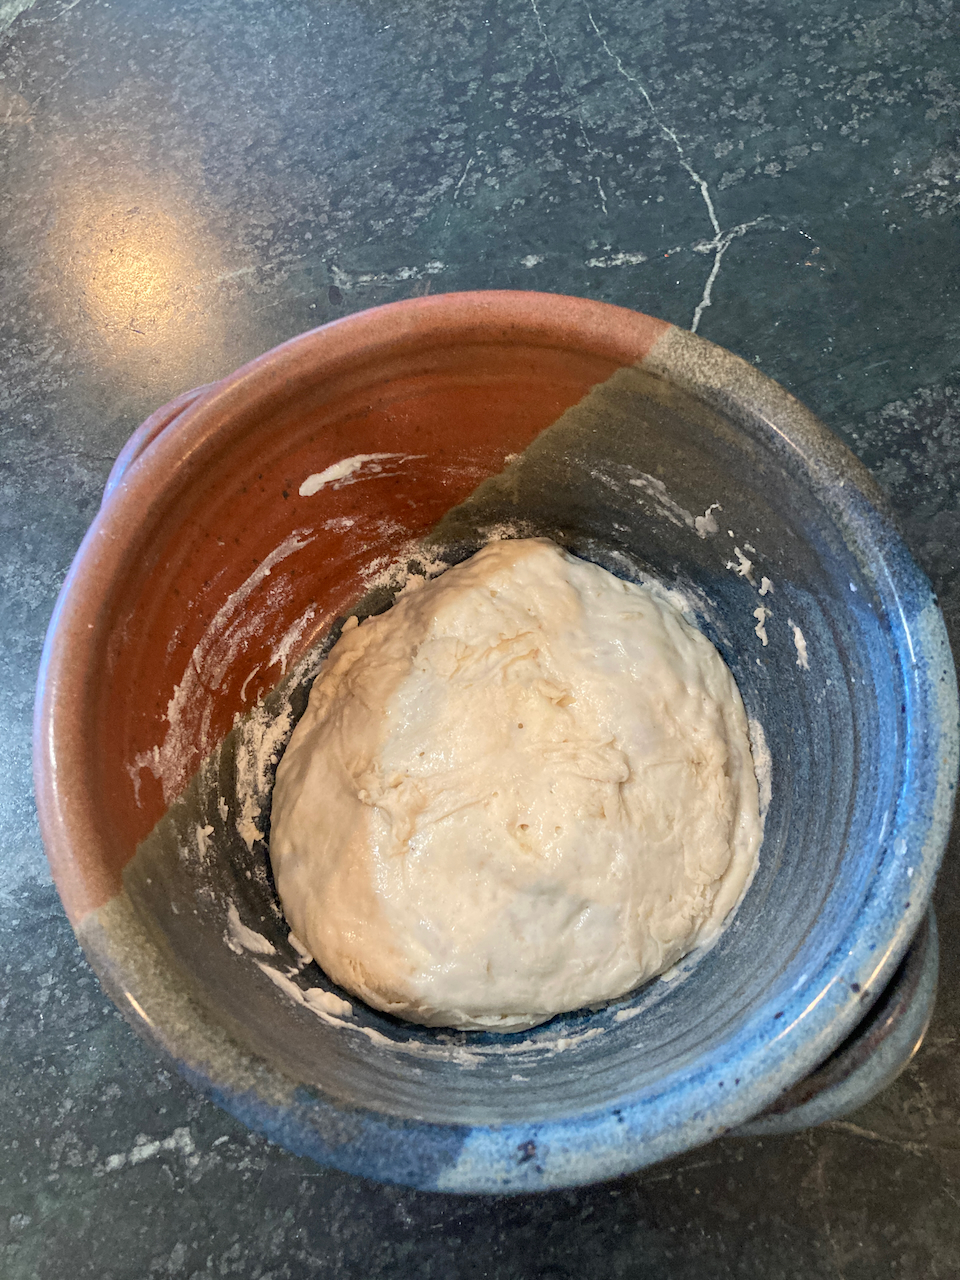
Starter Before and After Overnight Fermentation
4.4.3.3 Day 2
Dough ingredients:
2 tbsp melted butter
1 cup (240 gm) milk
1 tbsp (44 gm) sugar
1 tsp (5 gm) salt
1/2 cup (100 gm) starter
3 cups + 2 tbsp (375 gm) bread flour
1 tbsp melted butter to brush on surface after baking
Mixing the dough:
- Combine butter, sugar, milk and salt and warm over low heat until butter is melted. transfer to mixer bowl and let cool to room temperature.
- Add flour and starter and mix with paddle attachment at low speed, until the ingredients are mixed and hydrated.
- Transfer dough to a ceramic bowl, cover with a dish towel, and let it stand for an hour.
- Now comes our first exposure to tartine-style stretching and folding. Uncover the dough, and with moistened clean hands, pick up the dough from one side, stretch it a bit, and fold over what’s in the bowl. Repeat this process three times, rotating the bowl 1/4 turn before each one.
- Repeat step four two more times, allowing 30 minutes of rising time between each stretch and fold.
- Cover the bowl with food service wrap and refrigerate overnight.
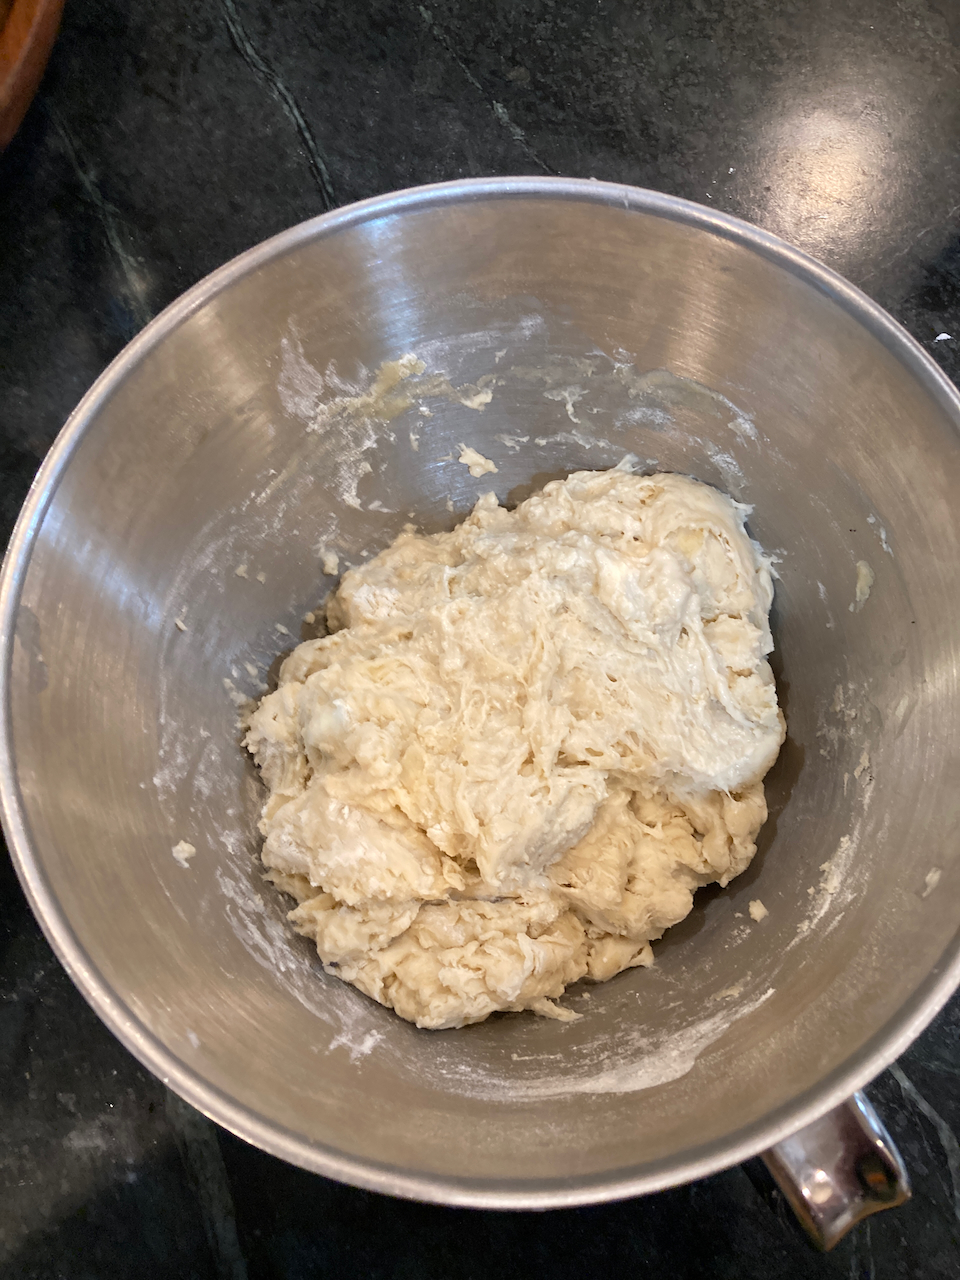
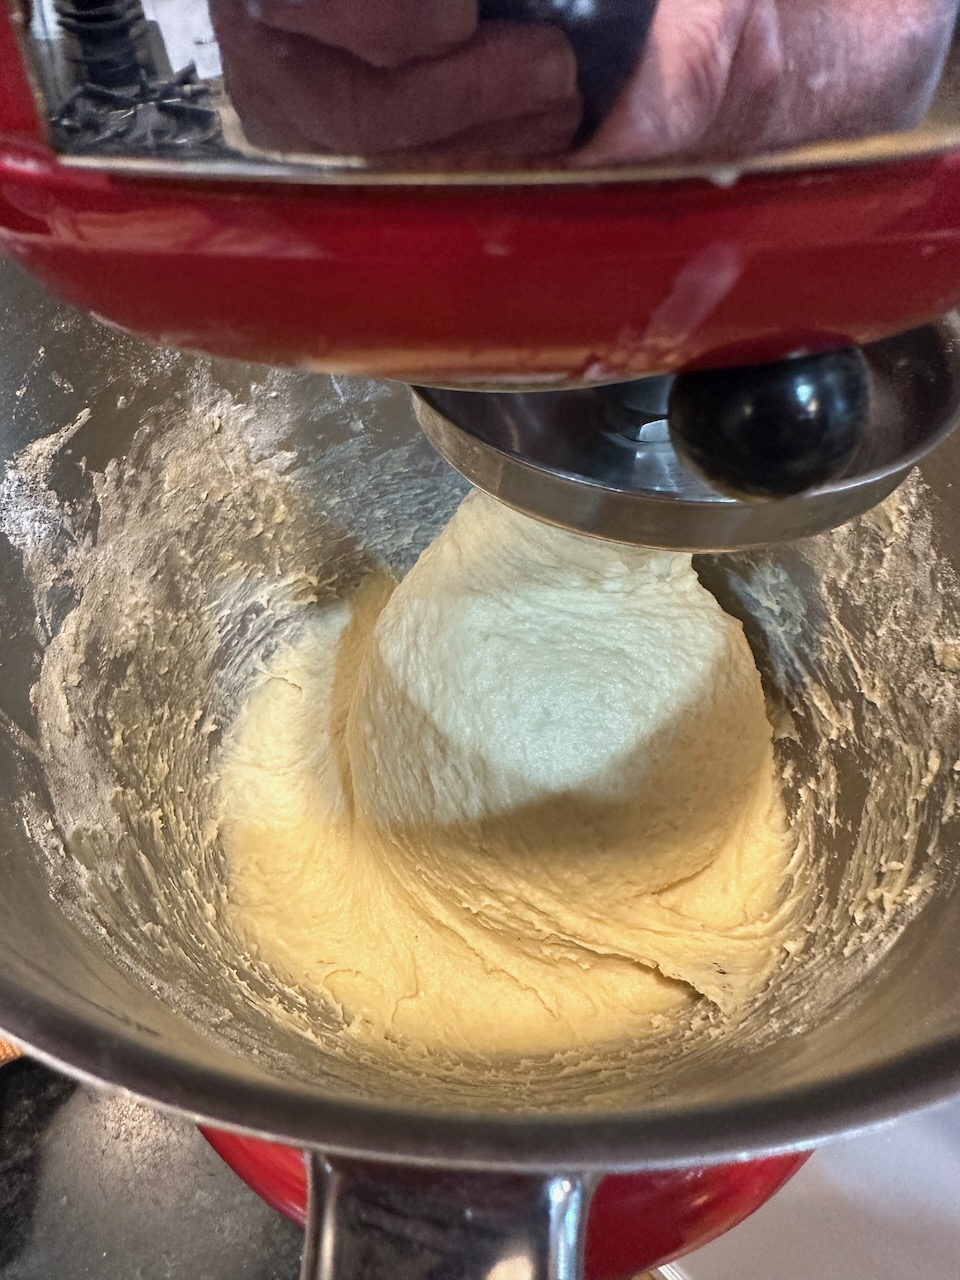
After initial mixing
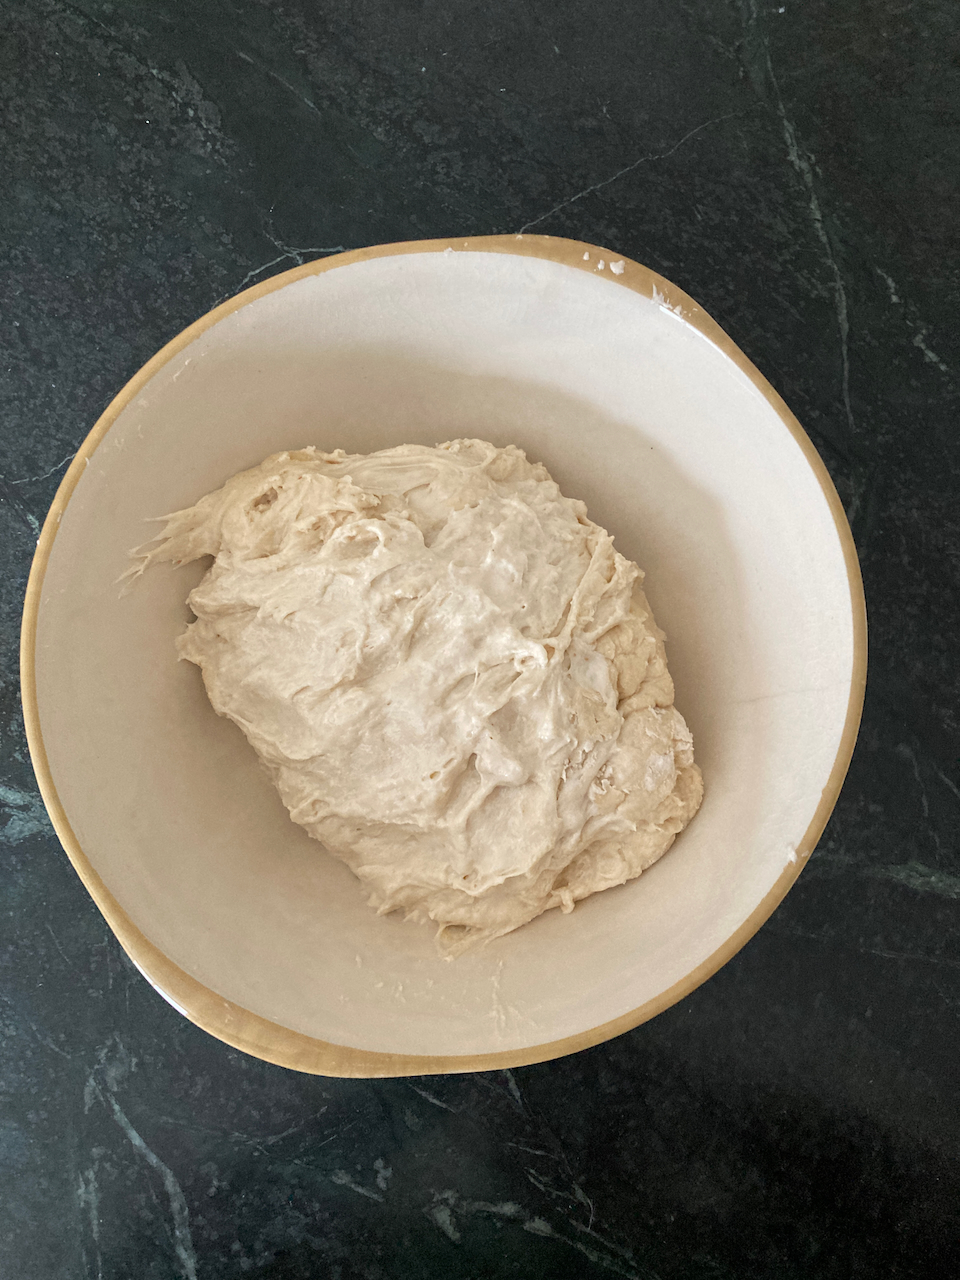
Dough before (left) and after (right) stretching and folding. Note that the dough has expanded in volume and has a smoother surface. It also becomes much more elastic.
4.4.3.4 Day 3
Today is shaping and baking day, a good day to plan for delicious fresh rolls with dinner!
- Remove the dough from the refrigerator and let it warm 1-2 hours.
- Put dough on a surface dusted with rice flour and divide into 12 roughly equal pieces of ~65 grams each.
- Shape each piece into a ball by turning up the sides and pinching them together. Arrange in a 9 X 13 inch baking dish dusted with rice flour (either a glass or a ceramic dush will work), cover with a towel, and let rise 3-4 hours.
- Preheat your oven to 375o F. Brush the surface of the rolls with melted butter and bake 25-30 minutes until golden brown.
4.4.4 Parmesan Bubble Loaf
This is a combination of three recipes, the dinner roll recipe we’ve already seen, the recipe from another old but excellent cookbook - A World of Breads by Dolores Casella, and the technique for making cheese breads from Reinhart. We used the first to make the dough and the others to process and bake the dough.
Note that this recipe, as given previously, makes enough dough for one loaf. I usually double everything to make two - one to eat right away (it doesn’t last long!) and one to freeze for later.
Ingredients
A batch of dinner roll dough, processed through Day 2 (in other words, substitute the following for the Day 3 instructions).
1/2 cup parmesan cheese, grated. (3/4 cup if doubled)
2 cloves garlic, grated or smashed (3 if doubled)
1/2 cup butter (3/4 if doubled)
1 batch dough
- After the dough has warmed from its overnight fermentation, gently flatten it on a floured work surface
- Fold in the parmesan, divide the dough into 14 pieces and shape into
balls.
- If you are doing a double batch, divide it into two halves and process each as above.
- Melt the butter, add the garlic and cook briefly.
- Lightly oil a standard bread loaf pan. Roll each ball of dough in the garlic/butter mix and stack in the loaf pan.
- Cover with a kitchen towel and allow it to rise 3-4 hours.
- Bake at 400o F. for ~45 minutes until the top of the loaf is golden brown.
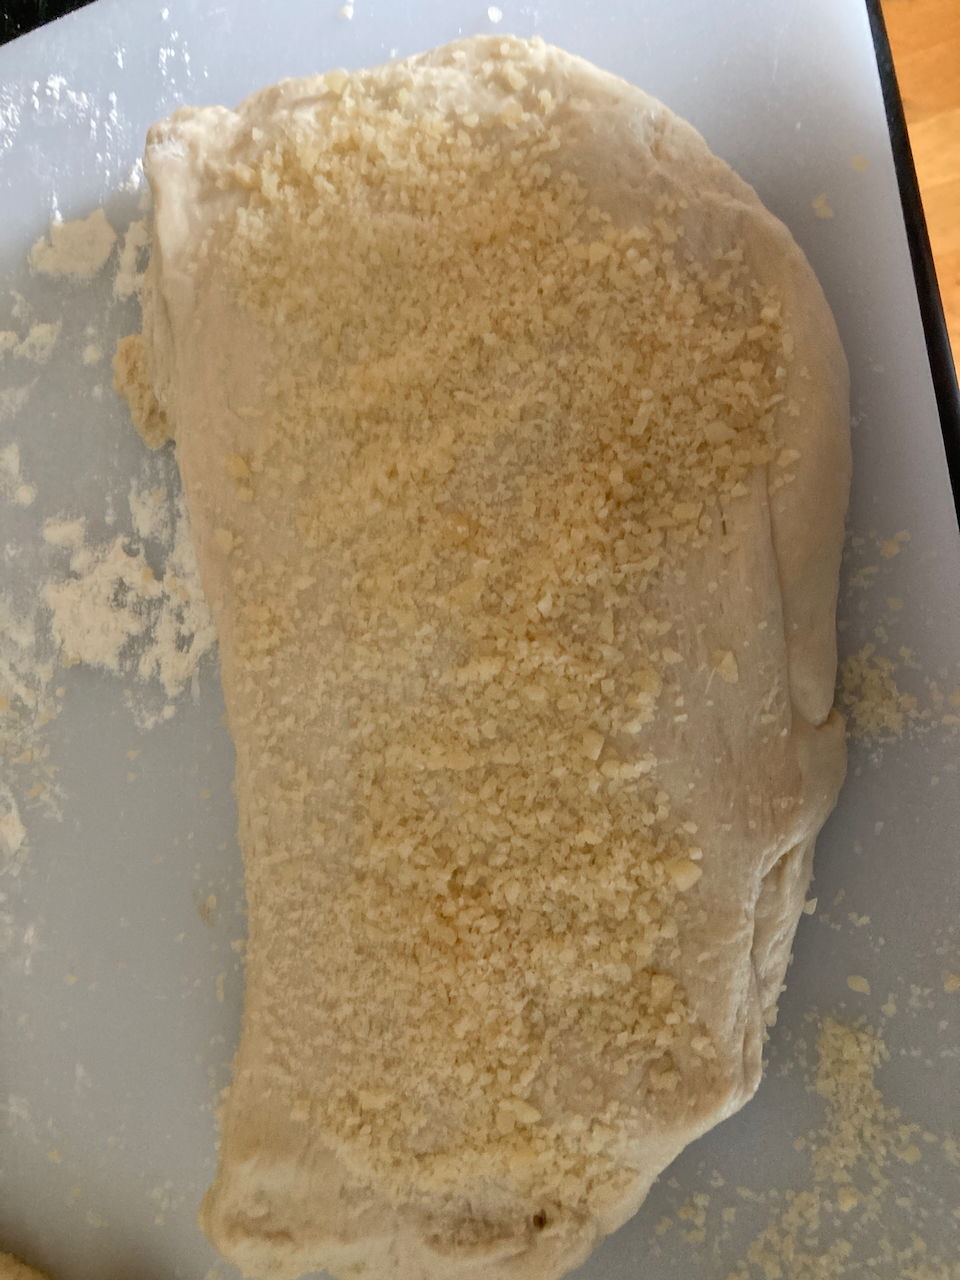
Flattened dough with cheese sprinkled on it.
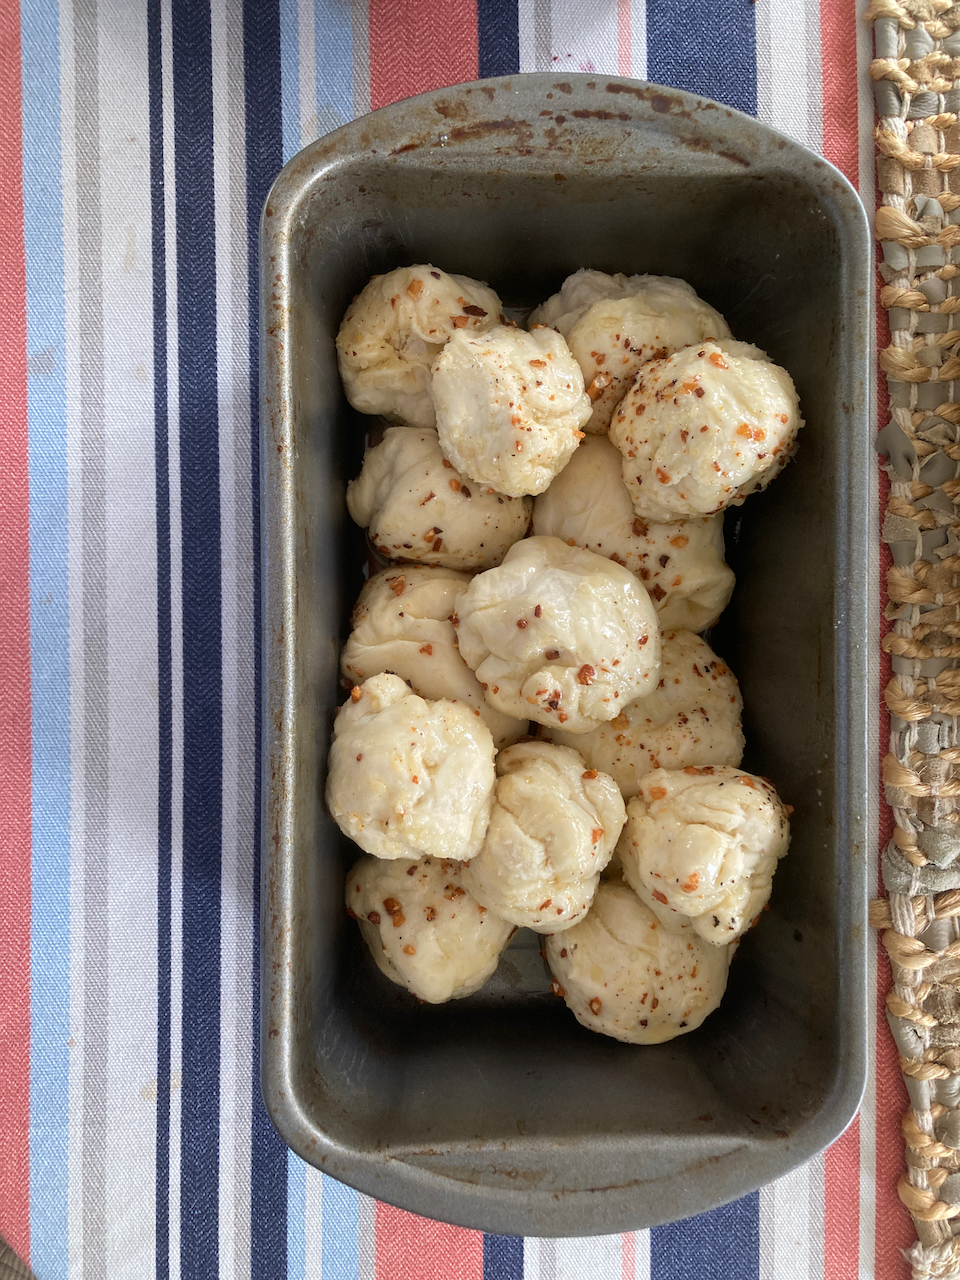
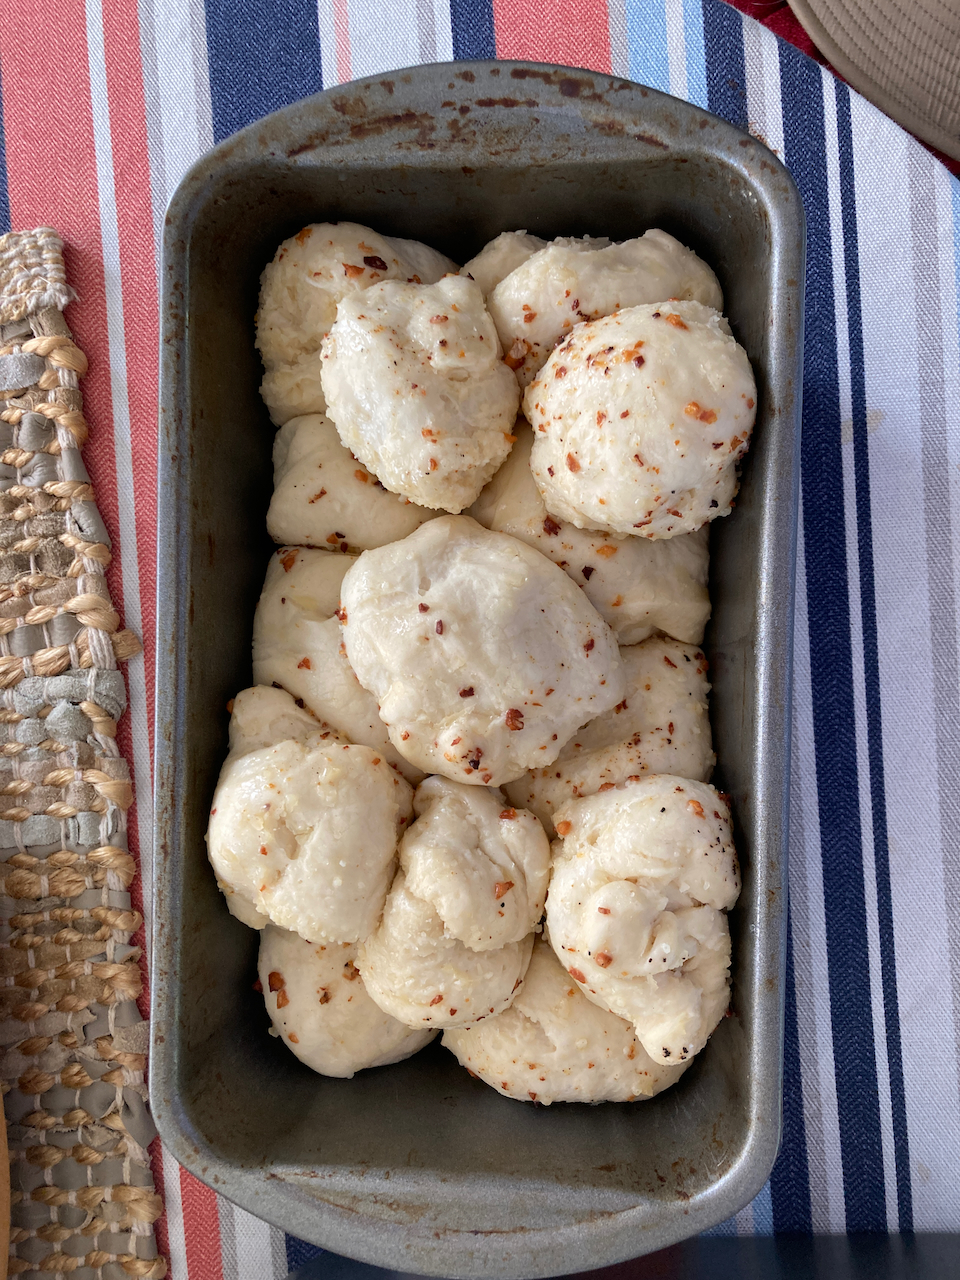
Unbaked loaf before and after the final rise.

The final product
4.4.6 Kaiser Rolls
4.4.7 Honey Wheat Sourdough Sandwich Bread
Thus far, the only bread recipe involving use of conventional loaf pans is Parmesan Bubble Loaf, and of course it is hardly a conventional bread. My wife’s Christmas gift of a Tupperware Micropro Grill (more below) gave me the opportunity to make excellent grilled sandwiches, so I obviously needed a sandwich bread for them. This is modified from Little Spoon Farms and seemed like a good place to start. I’ve incorporated what is now the standard procedure for dough preparation and proofing.
Ingredients
For the starter:
15 gm sourdough starter (1 tbsp)
50 gm all purpose or bread flour
50 gm water
For the dough:
100 gm starter (all of it)
325 gm water
2 tbsp honey (don’t try to weigh this)
10 gm salt
50 gm whole wheat flour
450 gm bread flour
- The night before preparing, mix all the starter ingredients in a small bowl. Cover and place in a warm location.
- Add all of the ingredients to a large bowl. Stir first with a spatula and then with your hands to hydrate all of the flour (a stand mixer would work as well - about 30 seconds on the lowest setting with a paddle attachment). Let the dough stand for one our.
- Wet your hands and perform a stretch and fold. Repeat the process every 30 minutes for 3-4 hours, until the dough has become fluffy.
- Place the dough onto a lightly floured surface. Shape it into a rectangle and fold inward from both sides, and similarly from top and bottom. Place it into a lightly oiled 9” X 5” loaf pan.
- Allow the loaf to rise in a warm place for another 3-4 hours.
- Preheat your oven (or toaster oven) to 375o F.
- Bake the bread for 45 minutes.
- Allow the bread to cool in the pan for 10-15 minutes before placing on a cooling rack.
4.4.7.2 Results
Both formulations yielded bread with excellent texture and flavor. The original recipe, of course, has more of a whole wheat flavor, and the tang of sourdough is somewhat muted. The second recipe yields more of a traditional white bread, and the sourdough notes are more prominent. I somewhat prefer it, but that is just a matter of taste. Try them both and decide for yourself.
4.4.8 Essential Tartine Bread
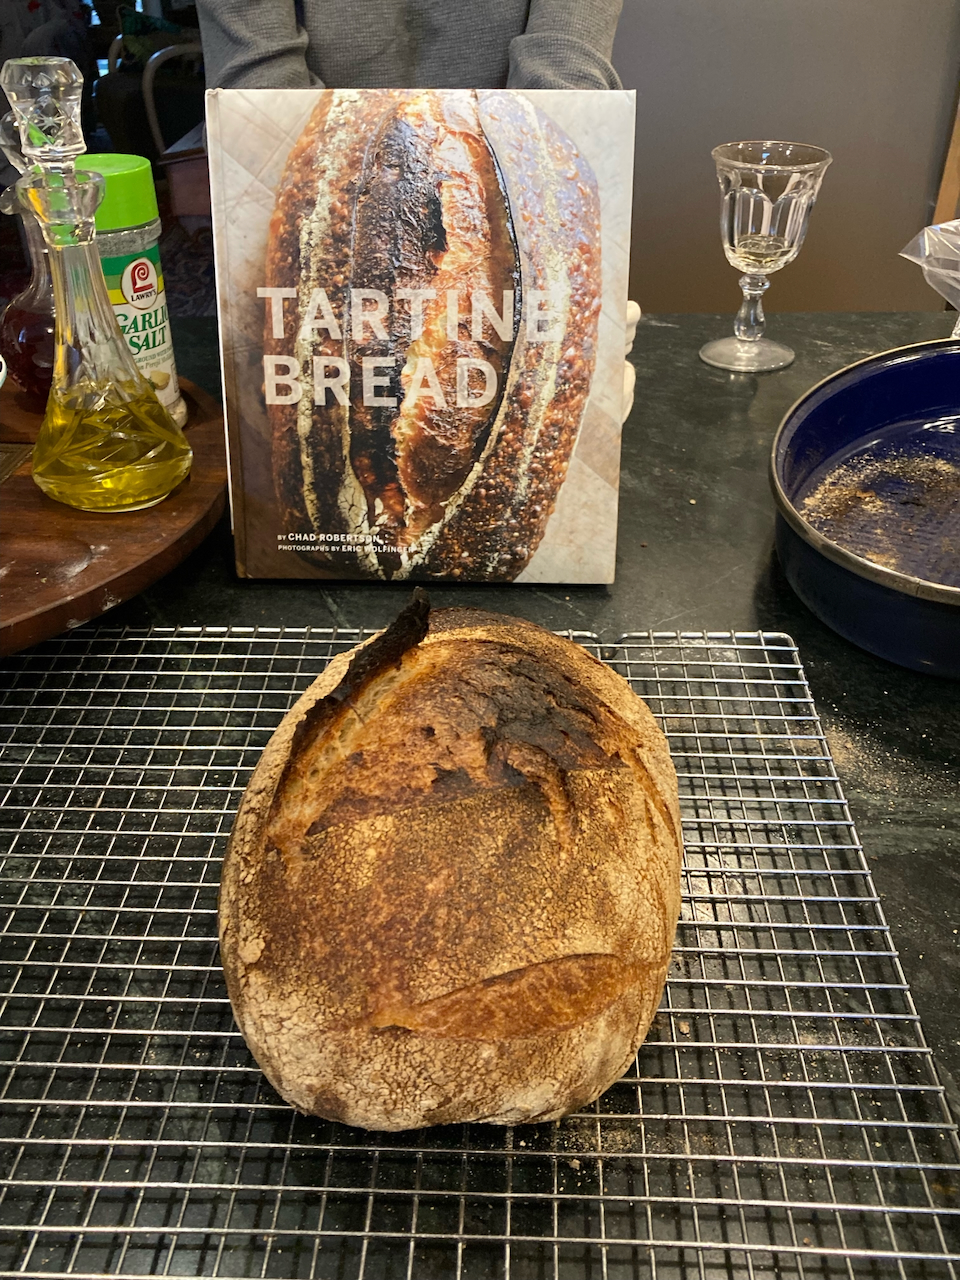
My first loaf and the source of the recipe
It is fair to say that Alice’s gift of the book Tartine Bread by Chad Robertson revolutionized my approach to bread making. Instead of calling for relatively stiff dough kneaded either by hand or in a stand mixer, a series of gentle stretch and folds is used during the bulk fermentation of a very soft dough. I have incorporated a stand mixer into the initial combining of ingredients - it saves a lot of mess - but otherwise I follow the original handling instructions (I have adjusted the flour ratio somewhat, but that was a matter of personal taste). If you want to go this route, it may involve some investment, but the results will be worth it.
So first, buy the book. It is available (and quite inexpensive) as an Amazon ebook, but I strongly recommend spending the bucks (currently $20.49) for the printed version.
Then there are the items described in the Kitchen Essentials section - a kitchen scale, a bench knife, proofing baskets, and a dutch oven/oven roaster. I already had the roasting pan, but I needed to buy the rest. As I recall, the total cost of those items was something on the order of $60.
4.4.8.1 My method
What I describe below is a bare bones set of instructions for making this bread. The book provides much more detail, along with copious illustrations. You might also want to watch this video to see the process in action.
4.4.8.2 The Leaven (or Starter)
1 Tbsp mother starter
100 gm bread flour
100 gm whole wheat flour
200 gm. Water
Mix these ingredients and let it rise at room temperature overnight in a container sealed with food service wrap.
4.4.8.3 Preparing the Dough
Ingredients
700 + 50 gm. Water (80o F.)
200 gm. leaven*
900 gm. bread flour
50 gm. whole wheat flour
10 gm. salt
* This will not be all of the starter. If you wish, the unused portion can be used to start a new batch of mother starter.
- Combine th 700 ml of warm water with the leaven, bread flour, and whole wheat flour in the bowl of your stand mixer. Mix with the paddle mixer on slow until the flour is fully hyrdated (about a minute.
- Let the dough stand for 25-40 minutes.
- Transfer the dough to a clean bowl (I use a ceramic one; Robertson recommends a clear plastic container).
- Add the salt and remaining water to the dough, and gently squeeze it in with your hands.
- You should allow for four hours of fermentation. During the first two hours, gently fold the dough with moistened hands, as described in the recipe for dinner rolls. You can continue folding during the last two hours, only be extremely gentle. The dough will have become more elastic, and its bulk will have increased by about 20%.
4.4.8.4 Shaping the loaves
From here on out, the key word is gently. During the rise, the dough will have become much more porous. We want to retain as much as possible so that the final product will have the light texture we desire.
- Turn the dough out onto a very lightly floured work surface.
- Divide the dough into two equal pieces with your bench knife, and flour the surfaces of each. Fold over the cut side of each so that there is a smooth floured circle on the top.
- Gently shape each piece into a smooth circle, cover them with a kitchen towel, and let them rest for 30 minutes.
- Flip each loaf with your bench knife or a large spatula, so that the floured side is now down.
- For each loaf, perform the following folds:
- Fold the third of the dough closest to you over the middle third.
- Stretch the dough horizontally to the right and fold the rightmost third over the center.
- repeat this process for the left of the dough.
- Now fold the rear third of the dough over the middle. While holding that in place, fold up the front of the dough to create a seam down the middle of what will be the bottom of the loaf.
- Gently shape the loaf into an oval, stretching slightly to help seal the seam.
- Now dust your proofing baskets with a 50:50 mixture of white and whole wheat flour.
- Place each loaf into a basket seam side up, cover with food service wrap, and refrigerate overnight.
4.4.8.5 Baking
- Put your dutch oven or roaster into the oven and preheat it to 500o F.
- While the oven is preheating, remove the first loaf from the refrigerator and dust the surface with rice flour.
- When the oven has preheated, carefully remove the dutch oven from
it.
- Place the loaf into the shallow piece of the dutch oven and score the surface with two lengthwise parallel cuts about 1/4 inch deep. A serrated knife works well for this.
- Cover the bread with the deeper piece of the dutch oven and return it to your oven. Reduce the temperature to 450o F.
- After 20 minutes, carefully remove the upper part of the dutch oven. You will release a lot of steam at this point, and the loaf should be just lightly browned.
- Bake for an additional 20-25 minutes until the crust is golden brown. Using a spatula, place it onto a cooling rack.
- Return the dutch oven to the oven and increase the heat to 500o F.
- While the oven is reheating, take the second loaf out of the refrigerator and dust with rice flour, in preparation for repeating steps 3 to 7 above.

The inside of the finished product, showing the open crumb that results from gentle handling of the dough.
4.4.9 Tartine Baguettes
This is our second recipe from Tartine Bread, one that is similar to the previous one but with a couple of key differences:
- It uses both sourdough and commercial yeast starters in the dough.
- Mixing, rising and baking can occur all on the same day.
There are also two ways to bake the bread. The first is on your baking stone, with a dish towel saturated in water placed in a shallow pan in the oven to create steam - the method in the original recipe.
The second is one I devised, and after many so-so results, have refined to something that gives me what I want - loaves with a light but firm golden brown crust. In it, I bake the loaves in a cakepan covered with foil for the first thirty minutes, remove the foil and continue to back until the loaves are browned, and then wrap them in clean towels while they cool. Furthermore, by placing a cookie sheet between the stone and the pan, the bottoms of the loaves do not get overcooked. Lots of web searching, combined with trial and error, led me to this method.
Finally, I’ve pretty much settled on using a half recipe and shaping into three loaves. That is what is given below
4.4.9.1 Starters
Leaven (sourdough starter)
1 tbsp. mother starter
110 gm. all purpose flour
110 gm water (80o F.)
Poolish (commercial yeast starter)
100 gm. all purpose flour
100 gm water (80o F.)
2 gm. active dry yeast
Mix the two starters in separate small bowls, cover with food service wrap and place in a warm location overnight.
4.4.9.2 Mixing and Fermenting
200 gm. leaven (all of it)
200 gm. poolish (ditto)
250 gm. water (75-80o F.)
375 gm. all purpose flour
175 gm. bread flour
5 gm. salt
- Combine leaven, poolish, water, and both flours in bowl of stand mixer. Mix with paddle attachment at low speed until all of the flour is hydrated (~1 minute). Cover with cloth and let stand 30-60 minutes.
- Transfer to a clean bowl and add salt and the remaining water. Work
them in with your hands.
- Let the dough rise in a warm place, gently folding every 30 minutes, until the dough becomes puffy and springy (Two hours). Cover with food service wrap and refrigerate overnight.
4.4.9.3 Shaping
- Place the dough on a lightly floured surface and divide first into three equal pieces.
- Shape each piece into a rectangle and let it rest for 30 minutes.
- Cover a cookie sheet with a towel and dust it with rice flour.
- For each loaf, do the following:
- Fold each rectangle of dough along the long dimension
- Pinch the seam together and stretch a bit to get the length of loaf you desire (I go for about 12 inches. Taper the ends
- Place the loaf on one edge of the towel seam side up.
- Repeat step 4 for the next loaf. When you place it on the towel, do so such that a fold of the towel is positioned between it and the previous loaf.
- When all loaves are shaped, cover with another towel and let them rise for 2.5-3 hours.
4.4.9.4 Baking
As noted above, there are two methods that can be used.
On a Stone
- Position your stone on a middle rack. On a lower rack, place a shallow pan containing a water saturated dish towel.
- Preheat the oven to 500o C.
- Invert the loaves onto a pizza peel and score the loaves with a 2-3 long angled and parallel cuts.
- As soon as the oven reaches temperature, place as many loaves as will fit onto the stone using a pizza peel dusted with rice flour.
- Reduce the temperature to 475o F. and bake for 15 minutes.
- Remove the pan with the towel and continue to bake for 15-25 minutes, until the baguettes are golden brown. Reomove from the oven and place loaves on a cooling rack.
- Repeat steps 2 through five as many times as necessary to bake all of your baguettes.
In a pan
- Preheat your oven to 500o F, with your stone positioned on a middle rack
- Invert the loaves onto a large (9 X 13 in. or larger) cake pan.
Score the loaves as above Cover with aluminum foil.
- Place the pan onto the baking stone in the oven, with a cookie sheet between the pan and the stone. Lower the temperature to 475o F. and bake for 30 minutes.
- Remove the foil and continue to bake for another 10-15 minutes, until the loves are a rich golden brown.
- Wrap the loaves in clean kitchen towels and place on a cooling rack.
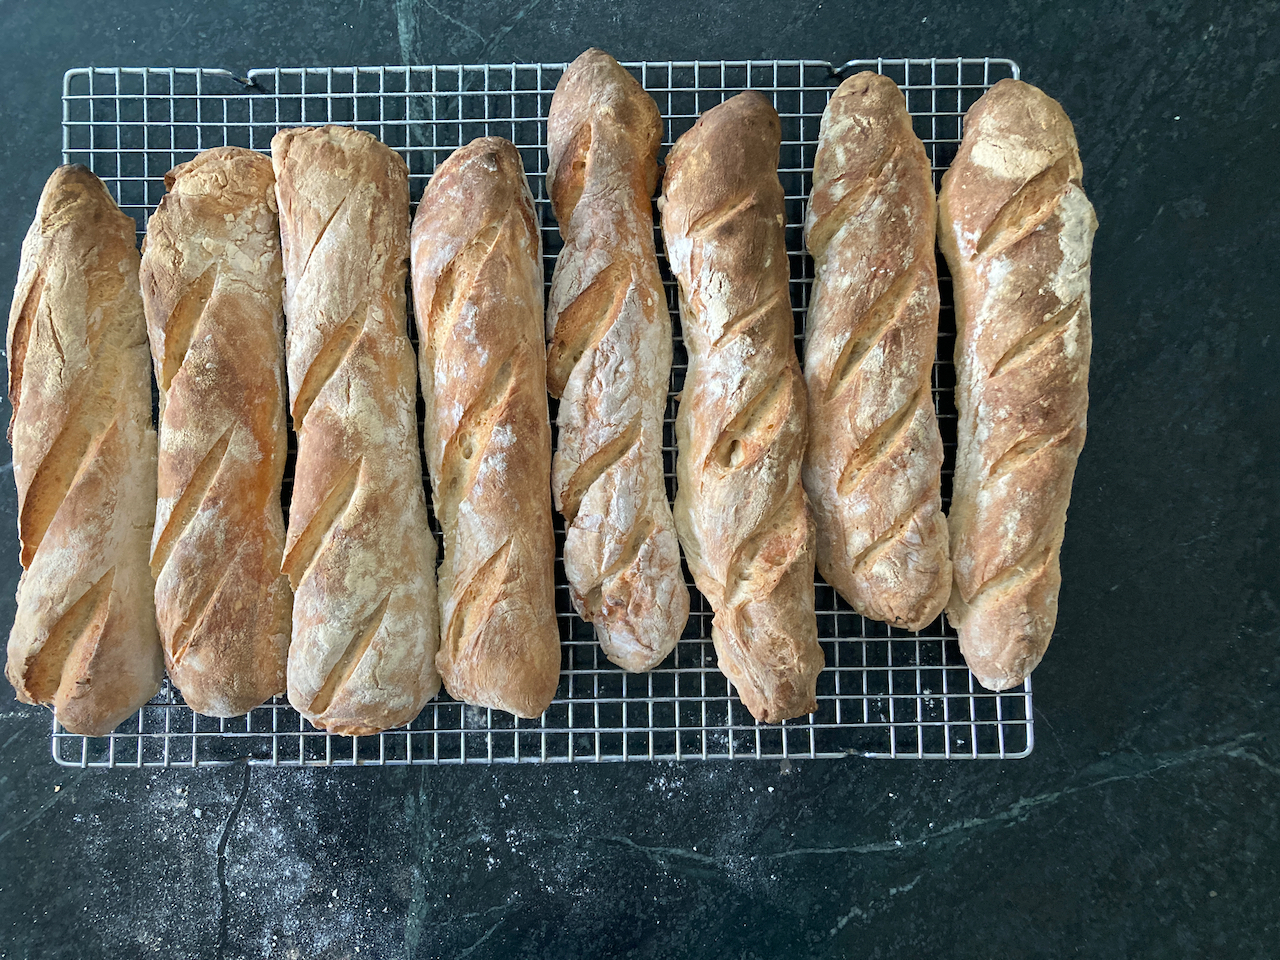
The final product. In this case, a double recipe was prepared andthe dough was divided into eight loaves. All were baked on a pizza steel (method 1) on the same day.
4.4.10 Sourdough Brioche Buns
In my seemingly eternal quest for decent homemade burger buns, this sounds like a recipe worth trying. As an alternative, here is a simpler recipe. The main difference is less butter and sugar (probably a good thing, dietarily speaking).
4.4.11 Sourdough Burger Rolls
This one is still a bit of a work in progress, so stay tuned for adjustments. I made a half recipe, and the results were okay but probably can stand some improvement.
The biggest surprise for me was how soft the dough was. Even after adding a little bit of extra flour, it still didn’t ball up on the dough hook like most bread doughs do.
Also, the main recipe calls for use of the dough hook to knead, but the notes suggest that a stretch and fold approach might work as well. I’m going to include the latter below, but please refer to the original recipe if you prefer to use your stand mixer.
So here is the half recipe. Note that the original whole one calls for three eggs; I used two in my first try but that seemed excessive.
Ingredients
For the levain
25 gm bread flour
25 gm water
1.5 tbsp mother starter
For the dough
3/4 cups ultrapasteurized whole milk, room temperature
1 egg
2 tbsp unsalted butter, room temperature
75 gm levain (all of it)
375 gm bread flour
8 gm Kosher salt
- The night before you prepair the dough, combine all of the levain ingredients, cover, and set in a warm place.
- Combine the milk, eggs and sugar, followed by the flour, start and levain. Cover and leave at room temperature for 60 minutes
- Work in the softened butter with your hands.
- Let the dough stand for two hours, performing a “coil fold” every thirty minutes (see below).
- Cover with food service wrap and refrigerate over night.
- Let the dough sit at room temperature for at least one hour.
- Divide the dough into six equal pieces. Roll the pieces into smooth balls and place on a sheet pan covered with lightly oiled parchment paper. If necessary, flatten each gently with the heel of your hands.
- Cover and let rise for 2-3 hours in a warm place.
- Brush the tops of the rolls with an egg wash consisting of one egg and 2 tbsp. water.
- Bake in a 400o F. preheated oven until the rolls are golden brown. Place them on a cooling rack and cover with a clean kitchen towel while they cool.
4.4.11.1 Coil folding
This is a modification of our usual stretch and fold procedure, appropriate for high hydration dough like this. I’ve included a video that shows how it is done, but the basic steps are as follows:
- With moistened hands, loosen the dough from the sides of the bowl.
- Place your hands under the middle of the dough on both sides and let it fold on itself.
- Place the dough in the bowl such that the fold is now horizontal.
- Rotate the bowl and repeat steps 2 and 3.
4.4.7.1 Comments