6.5 Other Stuff
6.5.1 Yogurt
Let me be clear at the outset - while I cook with it I don’t eat it. Hence, I will leave it to others to comment on flavor. Below is my first attempt, based on both a recipe from Pitre’s Instant Pot® Indian cookbook and other suggestions from a variety of online sources (such as this one).
There are two protocols for fermenting yogurt, dubbed “cold start” and “hot start”. In the cold start method, one starts with ultrapasteurized milk, the kind that will keep for months without spoiling. Since it has already been completely sterilized, there is no need to heat it to a high temperature prior to initiating fermentation. On the other hand, the hot start method is for regular old homogenized milk, which does need an initial sterilization step. So which to use? Both have tradeoffs, to wit:
Cold Start is simpler - just dump and go. However, the cost of the milk per quart is about double that of regular milk.
Hot Start uses cheaper milk, but does require initial heating to 180o F, followed by cooling prior to inoculation. Thus, it takes longer to complete.
Ingredients
1 quart whole milk
1 packet of yogurt starter*
Hot Start
- Add milk to inner pot. Select the yogurt cycle set to high and press start.
- When the pot reads “boil” check the temperature of the milk. It should be ~180o F. The pot should turn off after a few minutes; when it does, remove the lid and let the milk cool to < 110o F.
- Remove the film from the surface of the milk by dragging a fork through it.
- Add 1 tbsp yogurt starter culture or 2 tbsp of a previous batch and mix briefly.
- Set yogurt cycle to Low and press start. Time should auto set to 8 hours, and milk will be held at 110o F. I typically set mine to 9 hours, but that’s personal preference.
- Put glass lid or pressure lid on venting on and let incubate. Yogurt is done when it moves as a solid mass.
- Place in refrigerator over night. For Greek style, place it in a strainer lined with cheesecloth or a coffee filter over a bowl.
- In the morning, whisk it until smooth and place in a storage container. For Greek style, place it in a strainer lined with cheesecloth or a coffee filter over a bowl and let it strain 1-2 hours. Reported refrigerator shelf life is two weeks.
* It is possible to start with commercial yogurt, assuming is says “live culture” or somesuch on the package, but I initiallydecided to buy a dehydrated starter from Amazon. Subsequently I’ve been able to keep this going like sourdough starter, making a new batch every week or so.
Cold start
- Place 1 quart of ultrapastured milk into the pot.
- Add either dried yogurt started or 2 tbsp. active culture yogurt. Stir briefly.
- Press the Yogurt button and select “Low” and the desired incubation time (again, I find 9 hours to be optimal).
- Follow steps 7 and 8 of the hot start method.
6.5.1.1 Notes
So which method is better? I’ve tried both, and in truth I got the best results with a cold start. Yes, the milk is more expensive per volume, but I found that, when buying milk by the half gallon, I usually ended up throwing away the second quart. So, all in all the cost evens out, thus making the convenience of cold start the determining factor.
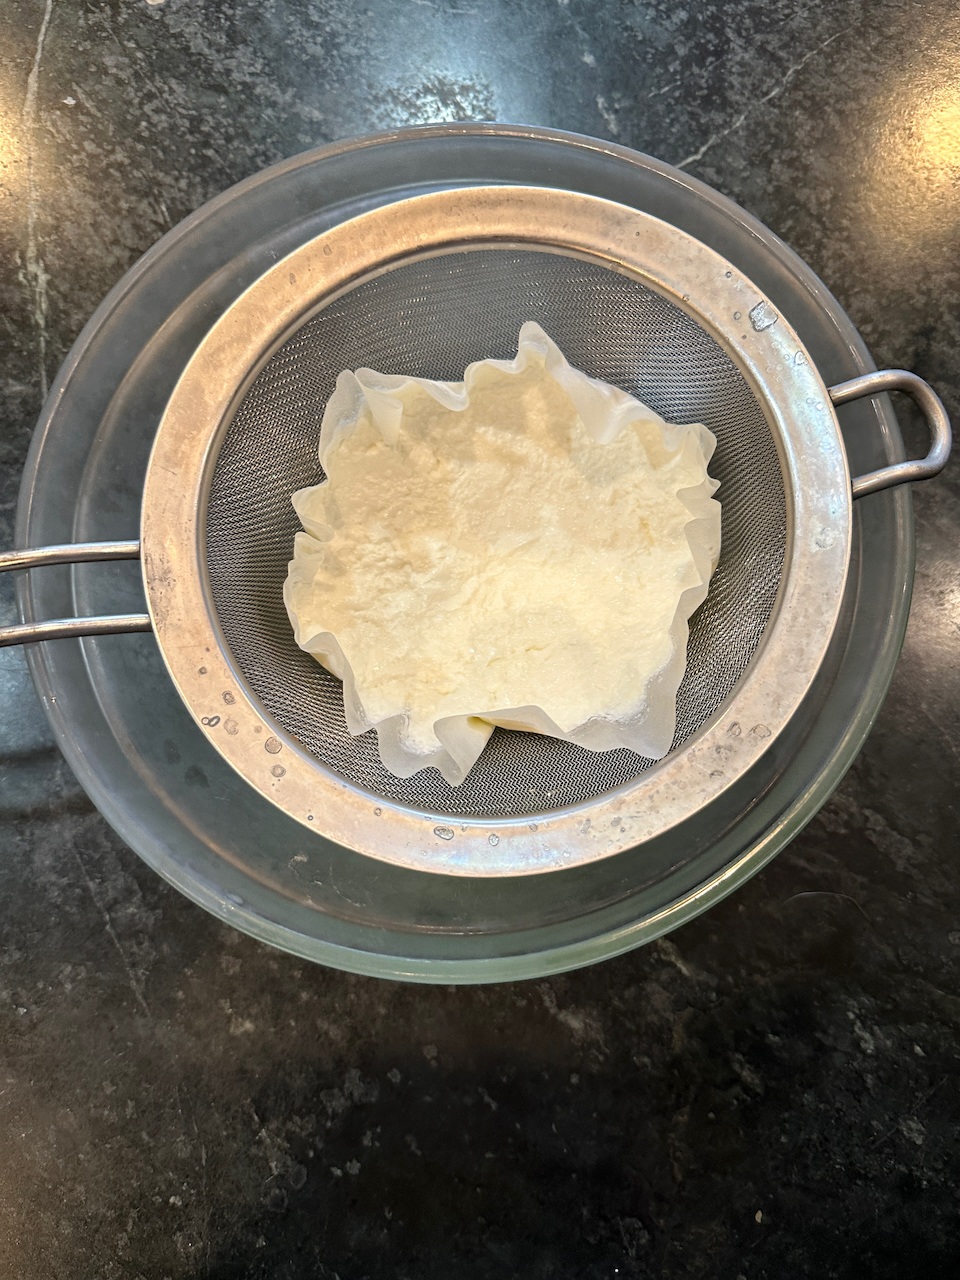
The results after being drained through a coffee filter overnight
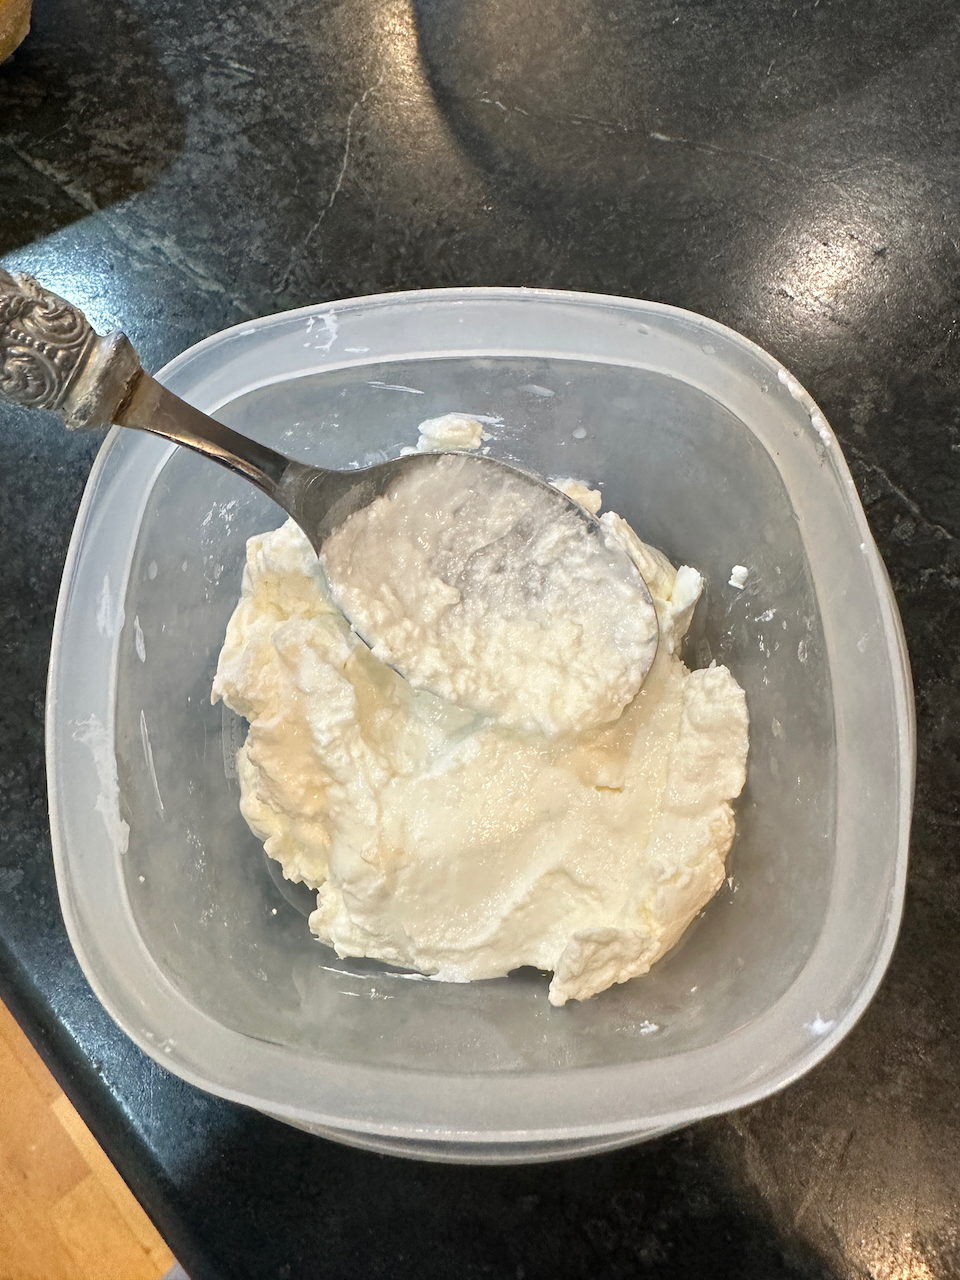
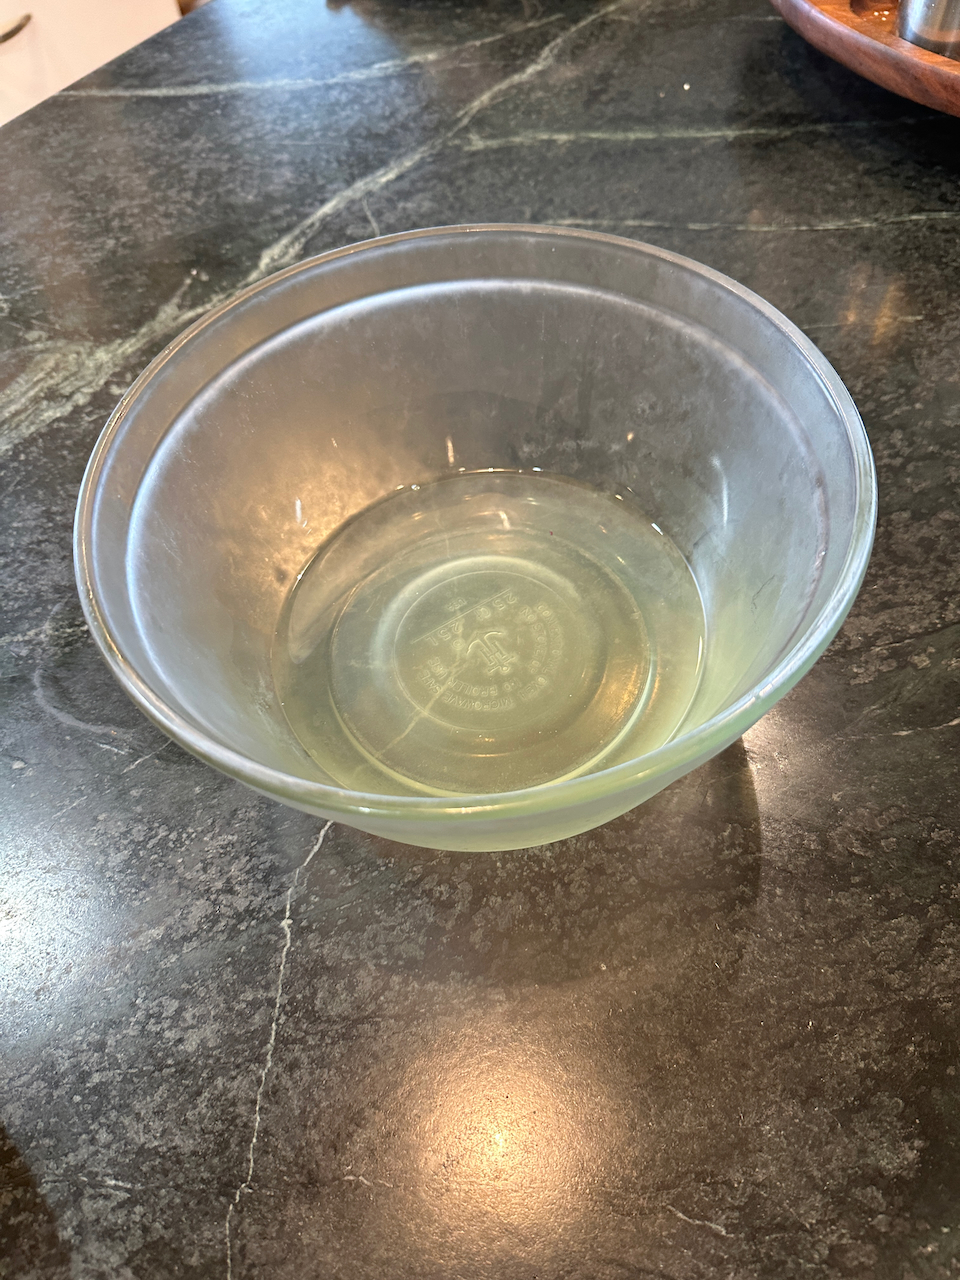
The separated results - greek yogurt on the left and whey on the right. If a thinner yogurt is desired, some of the whey can be whipped into it prior to use.
6.5.2 Chocolate Cheese Cake
OK, I certainly don’t need to eat cheesecake, and in the past it was easy to avoid making, largely because it usually fails. However, I couldn’t resist trying in the Instant Pot®, based on glowing internet comments. Well, I finally succumbed to tempation and tried this recipe.
Ingredients
10-20 double stuffed oreos*
2 packages Philadelphia Cream Cheese
1/2 cup sour cream
3 tbsp sugar
2 tbsp unsweetened cocoa powder
2 eggs
4 oz. melted semi-sweet or dark chocolate
1 tsp vanilla
For optional topping
1/2 cup chocolate chips
1/2 cup heavy cream
- Be sure that all ingredients are at room temperature
- Pulverize the oreo cookies (complete with creme) in a food procesoe and pack them into the base of a lightly oiled 7 inch springform pan. Place in the freezer until ready to fill.
- Whip the cream cheese in a stand mixer until fluffy.
- Add sugar and mix until it is just combined.
- Add sour cream and mix briefly.
- Add the melted chocolate, vanilla, and cocoa powder and mix by hand until combined.
- Ad the eggs and mix in, doing so as little as possible.
- Pour the filling into the crust.
- Cover the crust with aluminum foil.
- Place the trivet into your IP, along with 1 cup of water. You may also want to make a “sling” out of folded aluminum foil, that can be used to remove the cooked cheesecake.
- Place the pan into the IP, seal, and pressure cook on high for 35 minutes, followed by a natural release.
- When the pot can be opened, carefully remove the cheesecake from the IP.
- Keeping the foil cover in place, allow it to cool to room temperature.
- Refrigerate overnight, and then remove from the springform pan and enjoy.
*The original recipe calls for 20 cookies, but I found that to be a bit obsessive.
NOTES
When I went to make this the first time, I discovered I was low on sugar, so I reduced it from the 6 recommended tablespoons to three. I was still delicious.
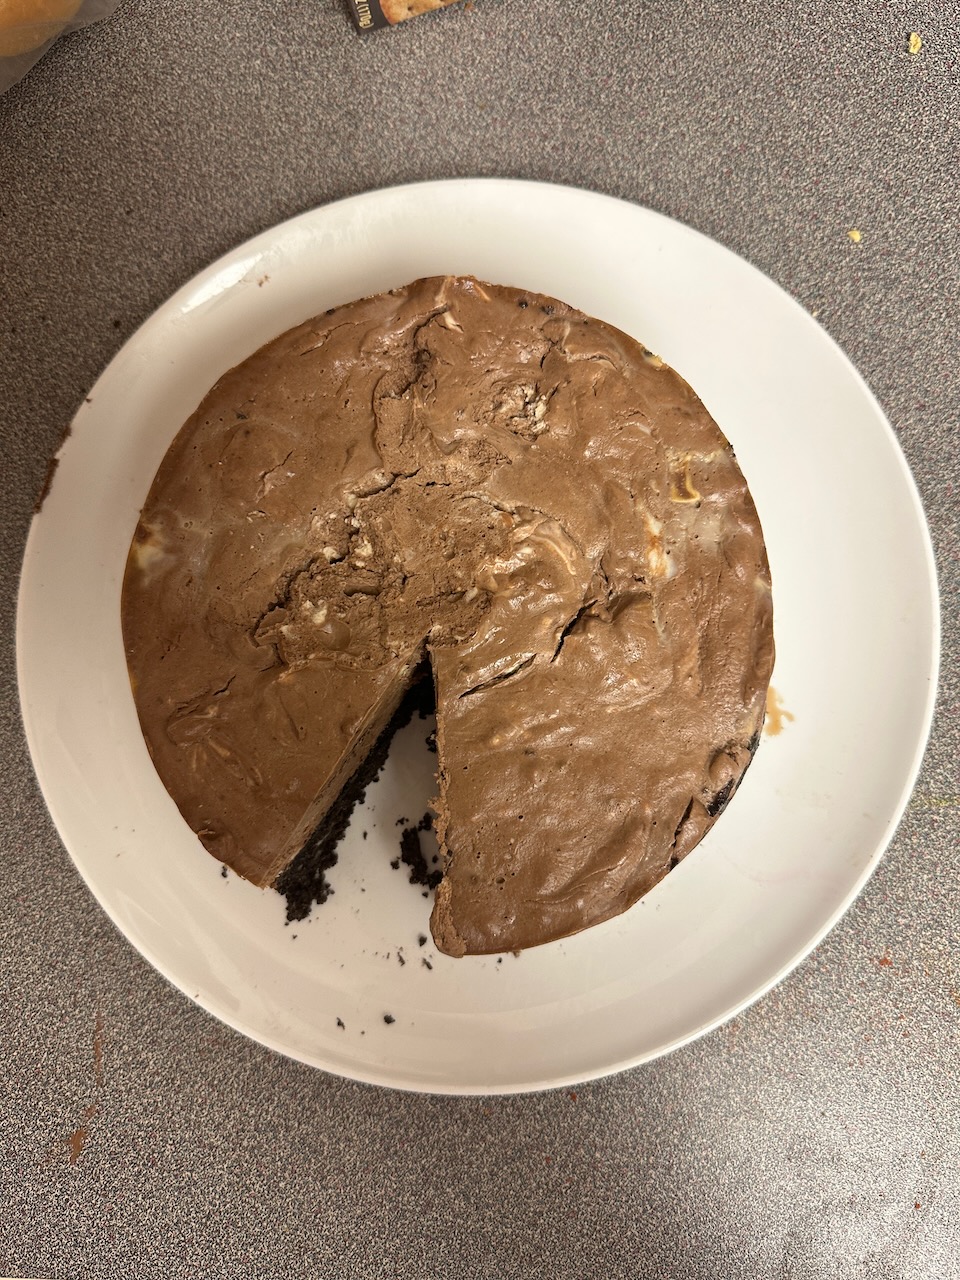
After cooking overnight, this cheesecake was irresistible.