Chapter 3 RStudio Project
3.1 Objectives
At the end of the chapter, we expect readers to be able to:
- link their RStudio with our datasets. The datasets are on our GitHub repository.
- create an RStudio Cloud project using our GitHub repository
- create an RStudio project on a local machine using our GitHub repository
3.2 Introduction
In this chapter, we will guide you to have a similar folder and file structure to our project for this book. This folder and file structure will help you run the codes with minimal error risk. Furthermore, to achieve this, we will use the RStudio Project.
On the RStudio Project webpage, it says that RStudio projects make it straightforward to divide your work into multiple contexts, each with their working directory, workspace, history, and source documents.RStudio projects are associated with R working directories. You can create an RStudio project:
- on RStudio Cloud or RStudio on your local machine
- In a brand new directory
- In an existing directory where you already have R code and data
- By cloning a version control (Git or Subversion) repository
3.3 Dataset repository on GitHub
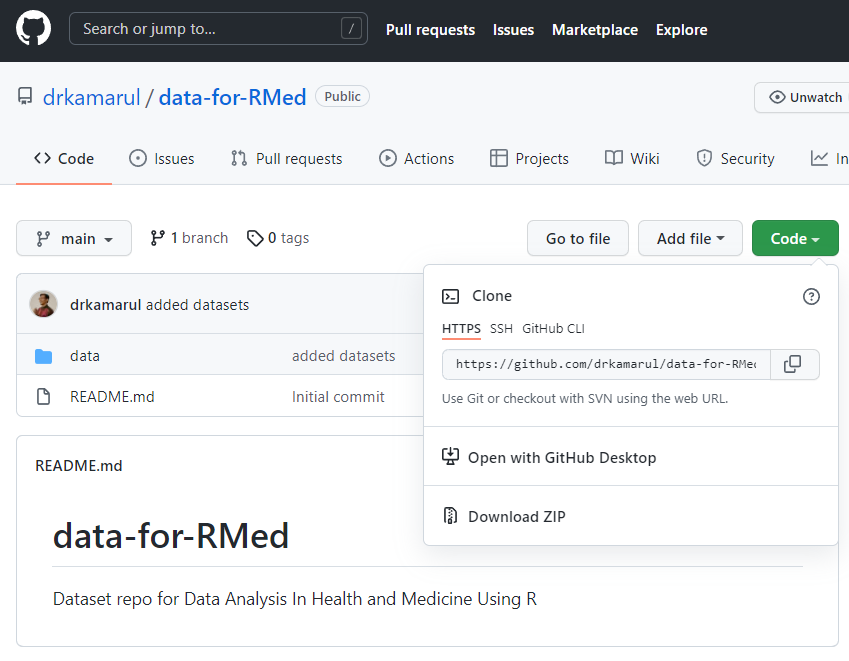
We will use the our GitHub repository that contains the book’s datasets. The name of the repository is data-for-RMed. To go to the repository, click on this link
3.4 RStudio project on RStudio or Posit Cloud
Rstudio Cloud is now known as Posit Cloud. With RStudio and Posit Cloud, you can easily and conveniently access RStudio IDE. In this section, we will show you how to create a RStudio or Posit Cloud project copied from our book repository on the GitHub. We advise you to follow these steps:
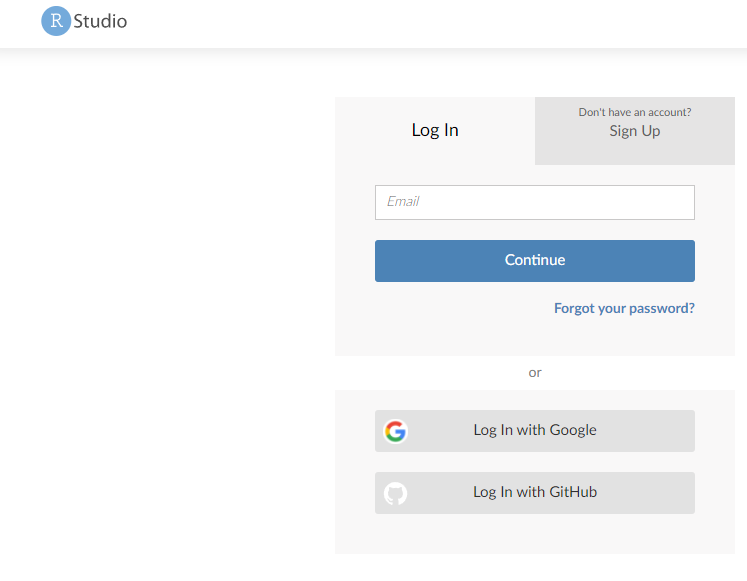
- Go to your RStudio Cloud login page.
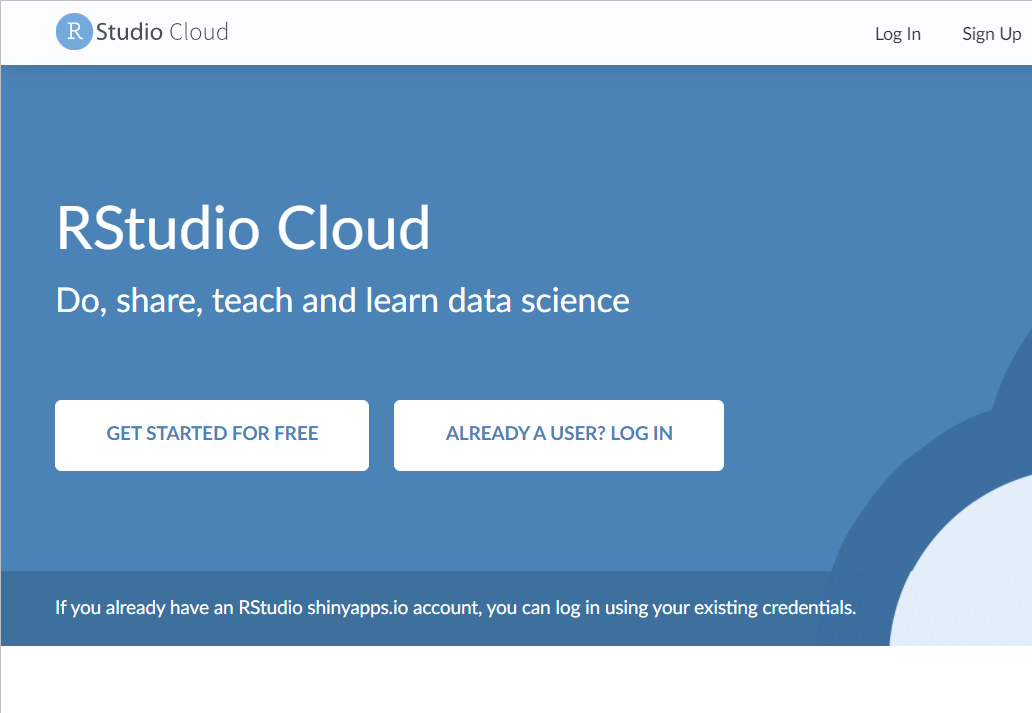
- Next, log in to your RStudio or Posit Cloud using your credentials.
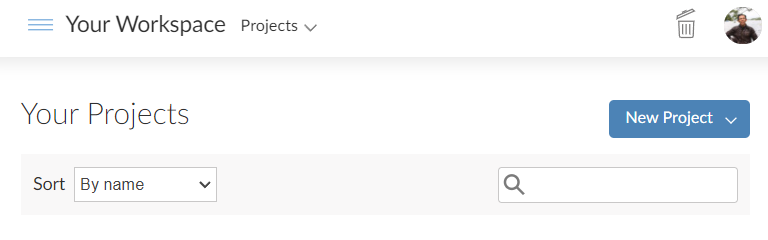
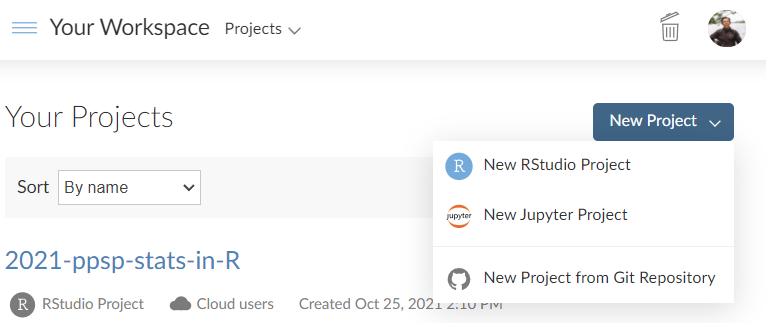
- Once inside your work space, click New Project.
- Click on the New Project from Git Repository.
After you have clicked the New Project, go back to our data-for-RMed repository on GitHub.
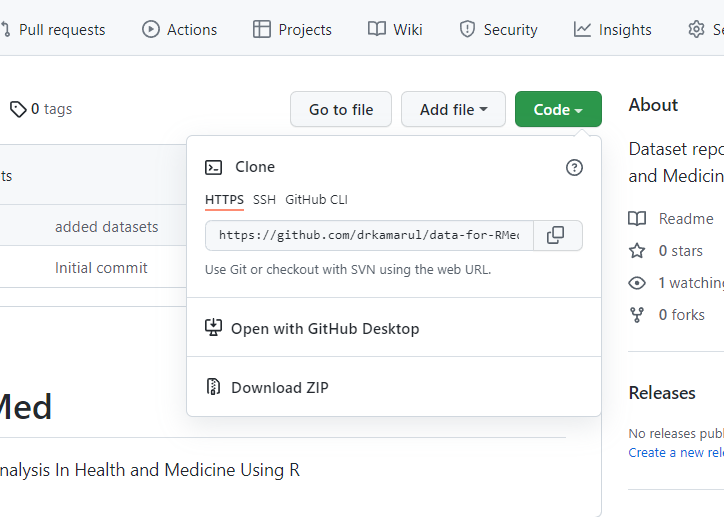
Click on Clone button.
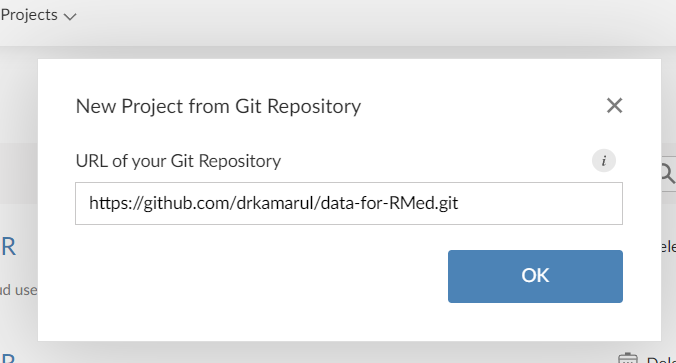
Then click the copy button for HTTPS.
Paste the copied HTTPS link. You have just cloned the repository to your RStudio or Posit Cloud. This will ensure your file structure is the same with that of our RStudio or Posit Cloud.
Then, click OK.
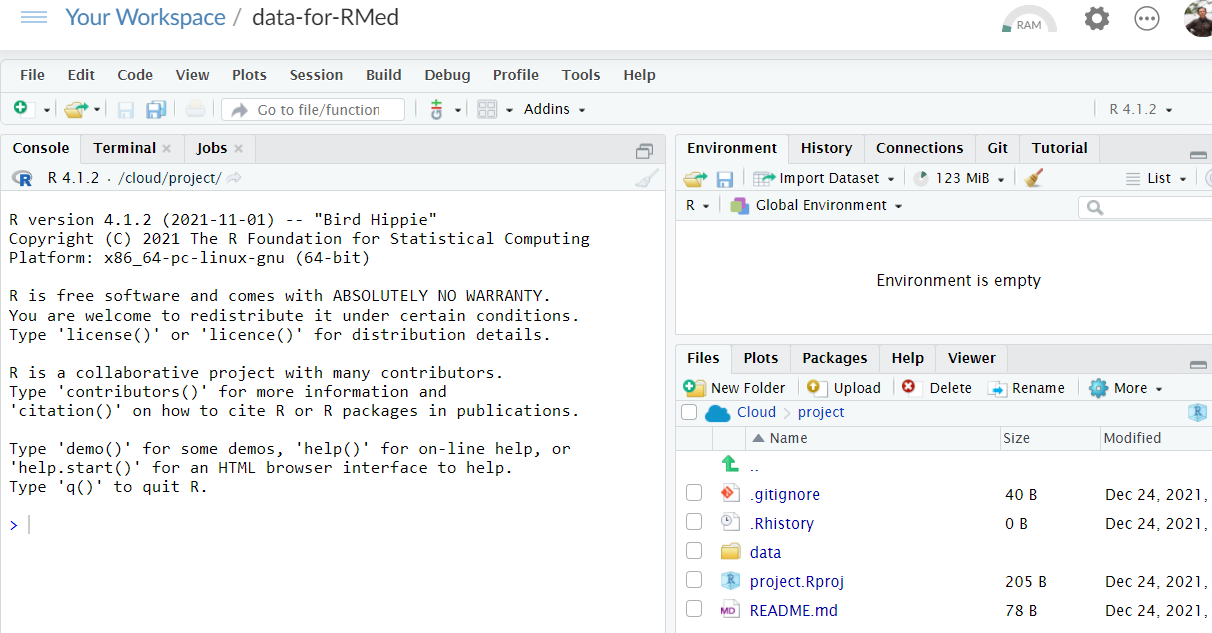
What you will see on your screen is a a new Rstudio Cloud project. It will read Your Workspace and the directory name is data-for-RMed
3.5 RStudio project on local machine
The steps are rather similar if you want to create a new project on your local machine using the same GitHub repository.
Below, we list the steps that you can follow to create a new project based on our GitHub repository:
- Start your the RStudio IDE.
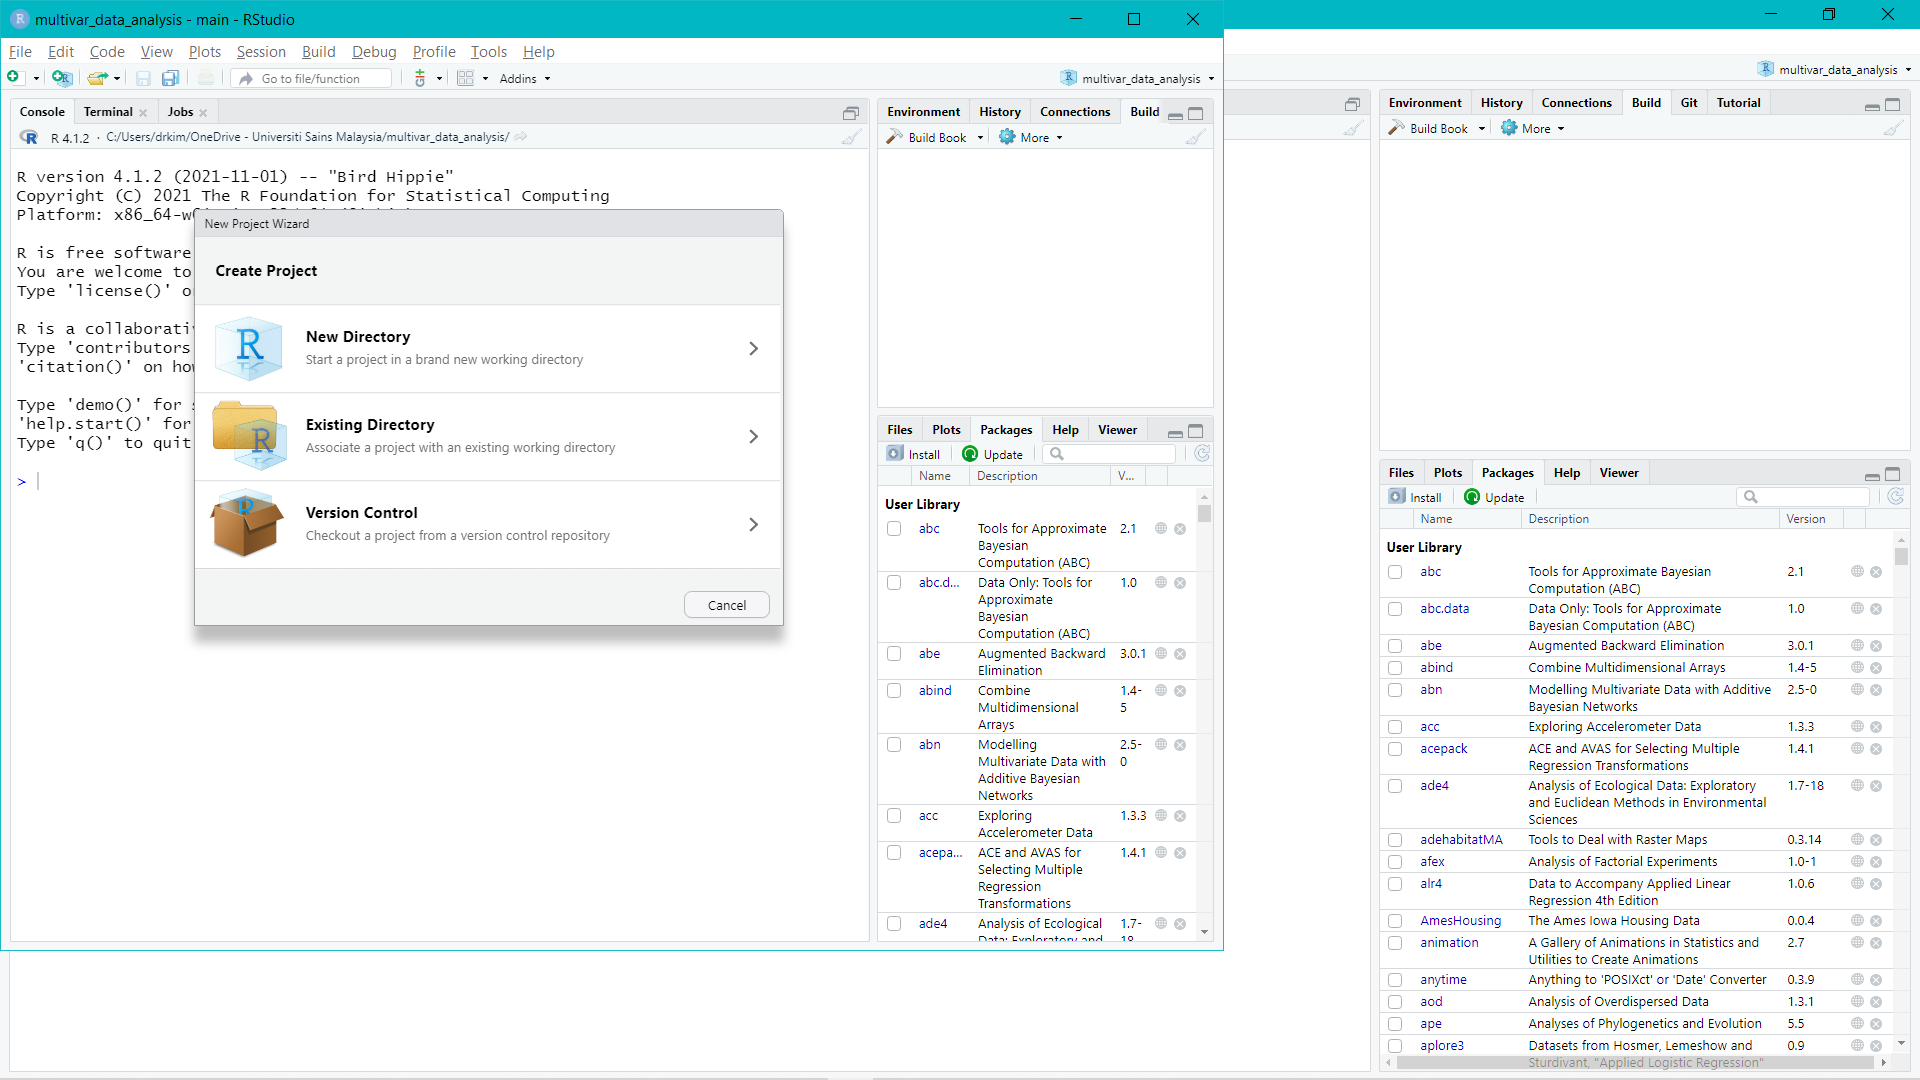
- On the menu, click File, then click New Project.

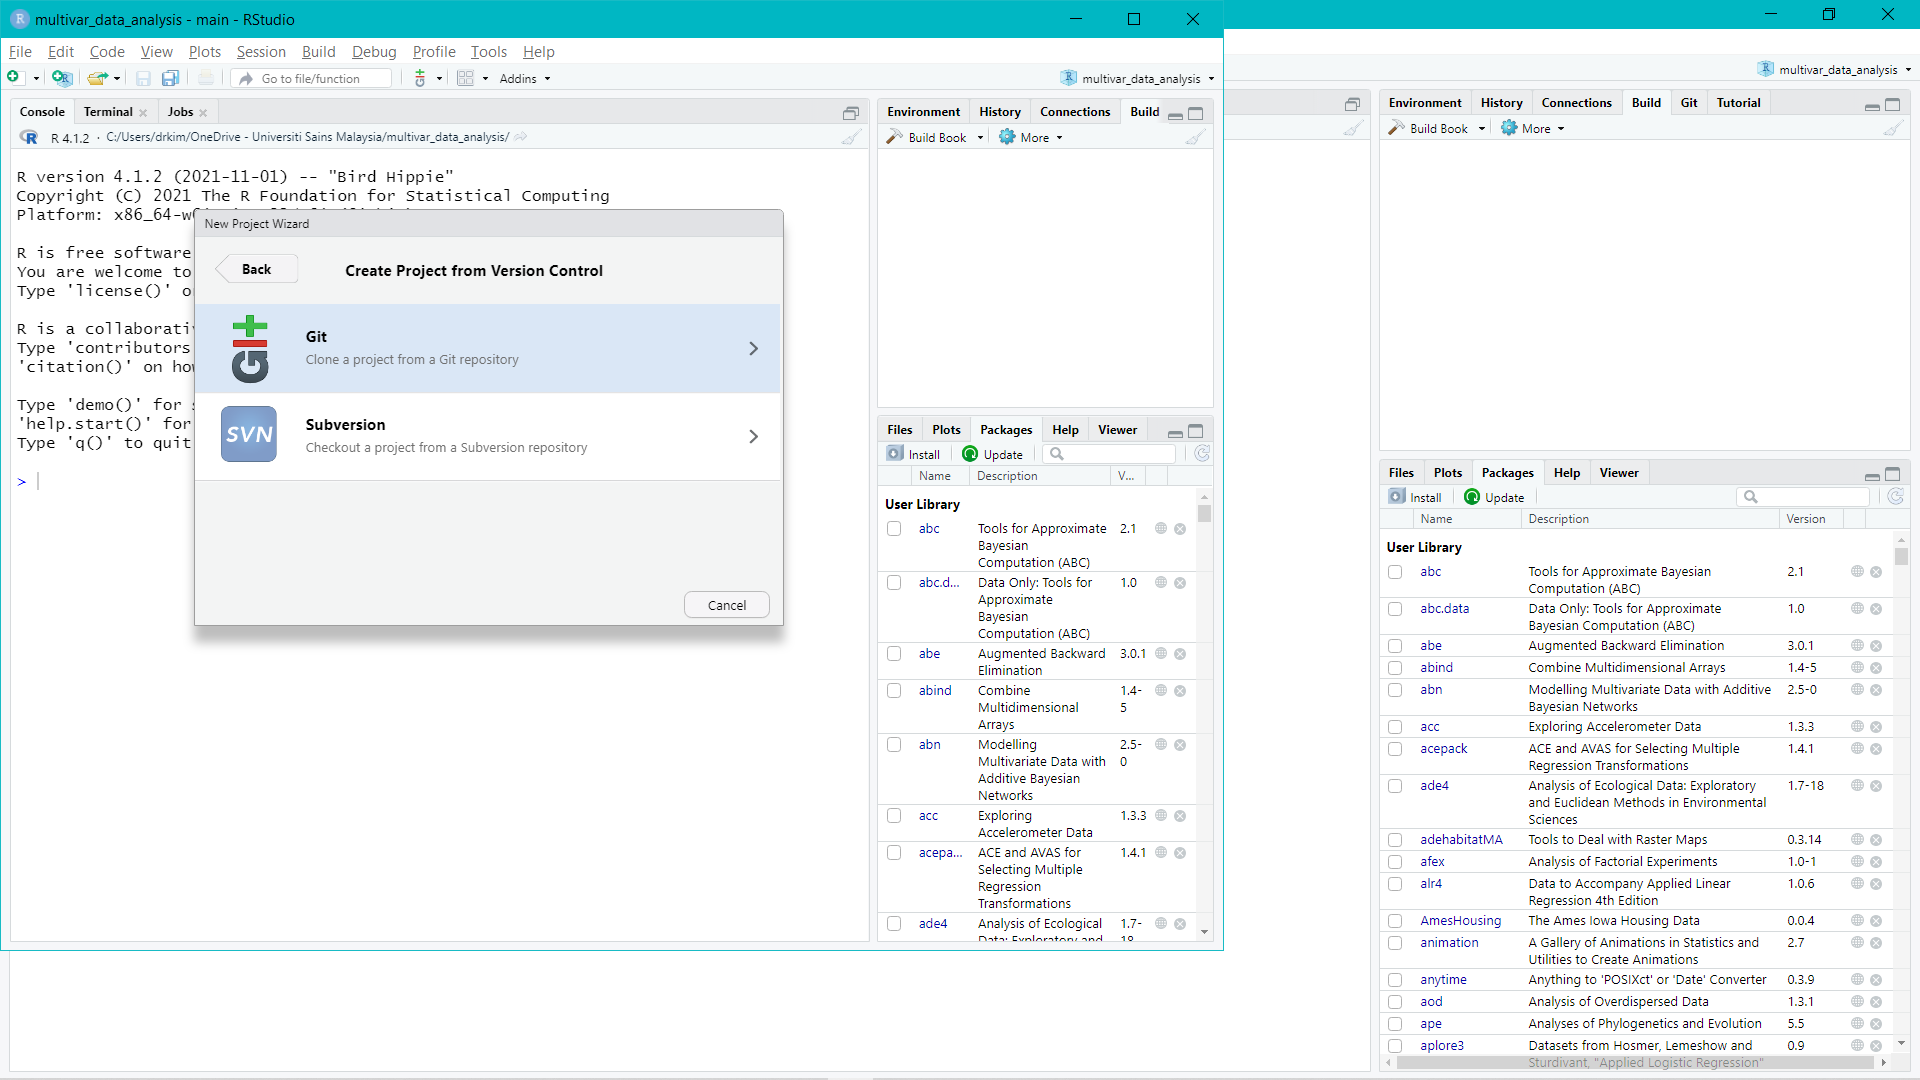
- Next, click Project and then click Version Control.
- After that, you click Git.
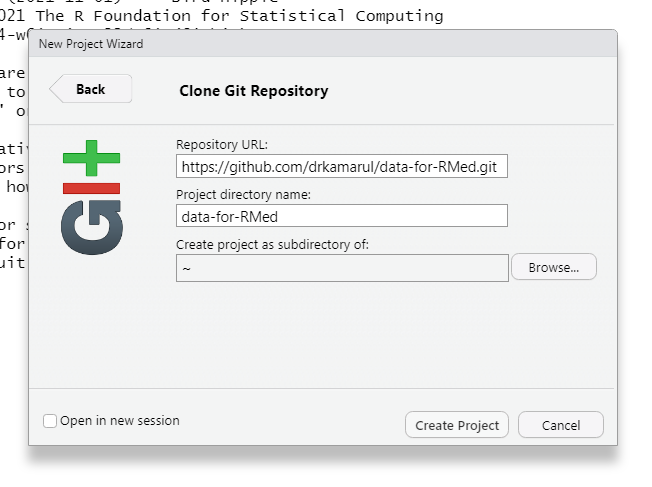
- As you remember from the previous step where we copied GitHub HTTPS link. So it is the same step here; Copy the HTTPS link from dataset-for-RMed GitHub repository.
- Now, you can paste the HTTPS link (see the Figure). You will notice that the Project directory name will be automatically filled. You can next click on Browse, so that you can choose whichever folder that you prefer to be your working directory.
We recommend you using your home directory (such as Documents if your are using Microsoft Windows OS).
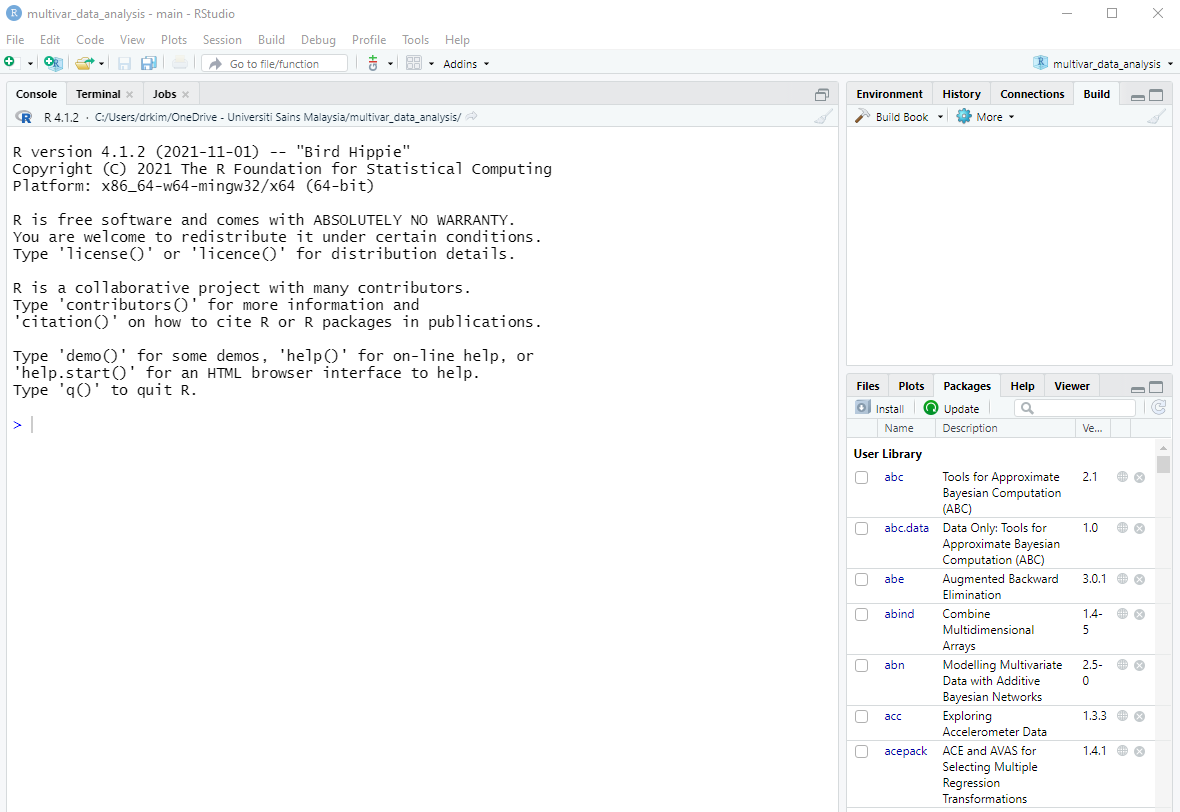
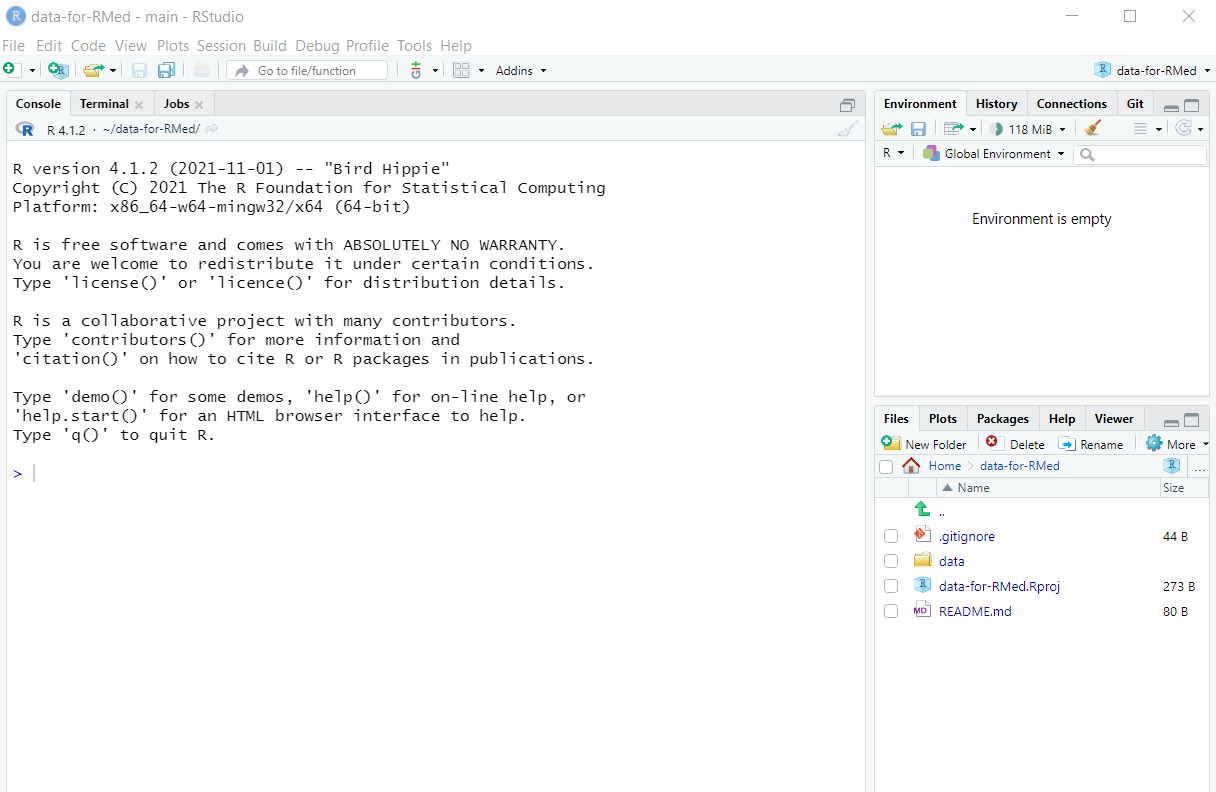
And now you will notice that RStudio will create a new working directory on your local machine. This working directory contains the same folder and file structures with the our GitHub repository:
3.6 Summary
In this chapter, we showed to readers how to set their R environment so they will the produce same folder and file structures in their RStudio working directory similar to ours. By using this strategy, we will minimize the errors the readers are making when they are the R codes from our book. We also show the location of the datasets. They are originally stored on the GitHub repository for this book. Then, we provided the instructions to readers so they are able to create a new RStudio projects on Posit Cloud (previously known as RStudio Cloud) remotely and on their RStudio IDE on the local machines.