6.2 Netlify Drop
Netlify (https://netlify.com) is a platform that offers cloud hosting and serverless backend services for static websites. Netlify offers both free and paid tiers for service, but they also offer a service called Netlify Drop (https://app.netlify.com/drop), which is a free publishing option that does not require a Netlify account to start. This option does not rely on your bookdown project being in a version-controlled repository. All you need is a bookdown project that you can build locally.
6.2.1 The build-and-deploy pipeline sequence
This publishing approach sets up the following flow of events:
- You start with a local bookdown project.
- You build your book locally to an output directory of choice (
_book/by default). - You go to Netlify Drop (https://app.netlify.com/drop), and drag & drop the output directory into the Netlify browser-based user interface.
- You make changes to your book, rebuild locally, then drag & drop the output directory again into Netlify to update.
The above is an overview—read on for step-by-step instructions.
6.2.2 Before you begin
Start with a local bookdown project. It does not need to be in GitHub or another version-controlled repository.
If you do not have an existing book, you can create a simple bookdown HTML book to practice with instead. See Figure 3.3 for how to create a new book in RStudio, or use the function bookdown::create_gitbook() or bookdown::create_bs4_book() from your R console if you do not use RStudio.
6.2.3 Build your book
From your bookdown project, build your book locally using whichever method from Chapter 5.1 you prefer.
6.2.4 Deploy your site
Go to Netlify Drop (netlify.com/drop), where you should see a box that tells you to “Drag and drop your site folder here.”
Next, drag and drop the output directory from your bookdown project (_book/ by default, unless you changed this in your _bookdown.yml file) into that box in your web browser. You should see your book deploy quickly with a random subdomain name of the form https://random-word-12345.netlify.com.
You will also see a notice that unclaimed sites are deleted after 24 hours. You can sign up for a Netlify account to claim your site and keep it online permanently.
6.2.5 Optional: Update your site
After signing up for Netlify, you can update this kind of site, but it is a manual update. Go to Netlify.com and navigate to find your site, then click on “Deploys.” You should see a box as shown in Figure 6.1, indicating you may drag and drop your site folder to update your site (you may need to scroll to the bottom of this page).
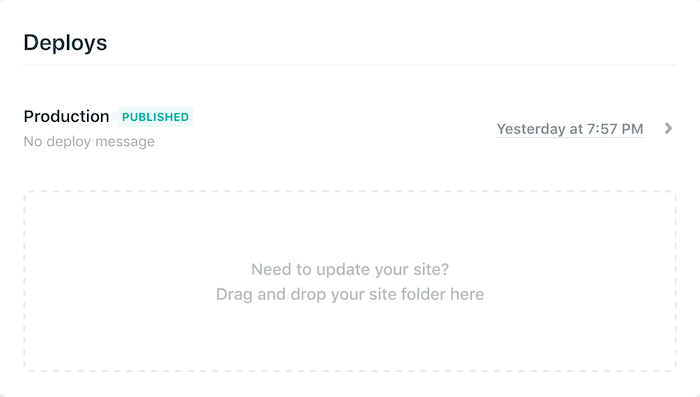
FIGURE 6.1: Screenshot of drag and drop deploy update box on Netlify.
Edit your book, build it locally again, then drag and drop the output directory here again.
6.2.6 Optional: change the default subdomain
Navigate to your site’s landing page on Netlify.com (https://app.netlify.com), click on Overview > Site Settings. Under Site information, click on Change site name and update it to a name that you want. If you want to use your own domain instead of Netlify’s subdomain, please read the documentation at https://docs.netlify.com/domains-https/custom-domains/.
6.2.7 Drawbacks and alternatives
This workflow is great to quickly share a book prototype. However, if you opt to not claim your site, the link will expire in 24 hours. Even if you do claim your site and set up a Netlify account, this workflow is not ideal for books you are actively editing or collaborating on because every time you update your local version of the book, you need to manually upload the book to Netlify. You are also not reaping the benefits of version control with this approach.