2 Setup
First things first: Let’s download R and RStudio.
As ModernDive puts it, you can think of R like the engine of a car, and RStudio like the dashboard of a car. The engine (R) is the tool that does all of the work, and the dashboard (RStudio) is a tool that 1) makes what the engine is doing comprehensible for the user and 2) facilitates interaction between the user and the engine.
In this section, you’ll download R and RStudio. Then, I’ll give you a brief tour of the RStudio interface and we’ll run our first lines of code.
2.1 Downloading R
Instructions are current as of September 2023.
2.1.1 For Windows users
- Go to https://cloud.r-project.org/.
- Select ‘Download R for Windows’.
- Select ‘base’.
- Select the option to download the latest version of R.
- Run the installer and follow its instructions.
2.1.2 For Mac users
- Go to https://cloud.r-project.org/.
- Select ‘Download R for macOS’.
- Select the option to download the correct version of R for your Mac.
- The version that works depends on your computer’s processor. You can check this by looking at the “About this Mac” screen. Older Macs want the
-x86_64.pkgversion, newer Macs want the-arm64.pkgversion.
- Run the installer and follow its instructions.
2.2 Downloading RStudio
You never need to open the R application itself. Instead you’ll access R through RStudio, an application developed by Posit.
2.2.1 For Mac users
- Visit the Posit website.
- Click the option to download RStudio for MacOS.
- Open the
.dmgfile that you downloaded. - Drag the RStudio icon into the Applications folder.
2.2.2 For Windows users
- Visit the Posit website.
- Click the option to download RStudio for Windows.
- Open the
.exefile that you downloaded. - Follow installation instructions.
2.3 Common installation issues
There are many different versions of R and RStudio. Typically, if you install the latest version of both, everything works fine. But make sure that you have installed the correct version.
Sometimes, there can be issues if you have used R or RStudio in the past, and you are downloading a new version now. Loosely speaking, your computer can get confused if there are multiple versions of the same program. If you encounter problems, it may help to uninstall any previous versions of R or RStudio, and try again.
2.4 A tour of RStudio
When you first open the RStudio application, the window will look something like this.
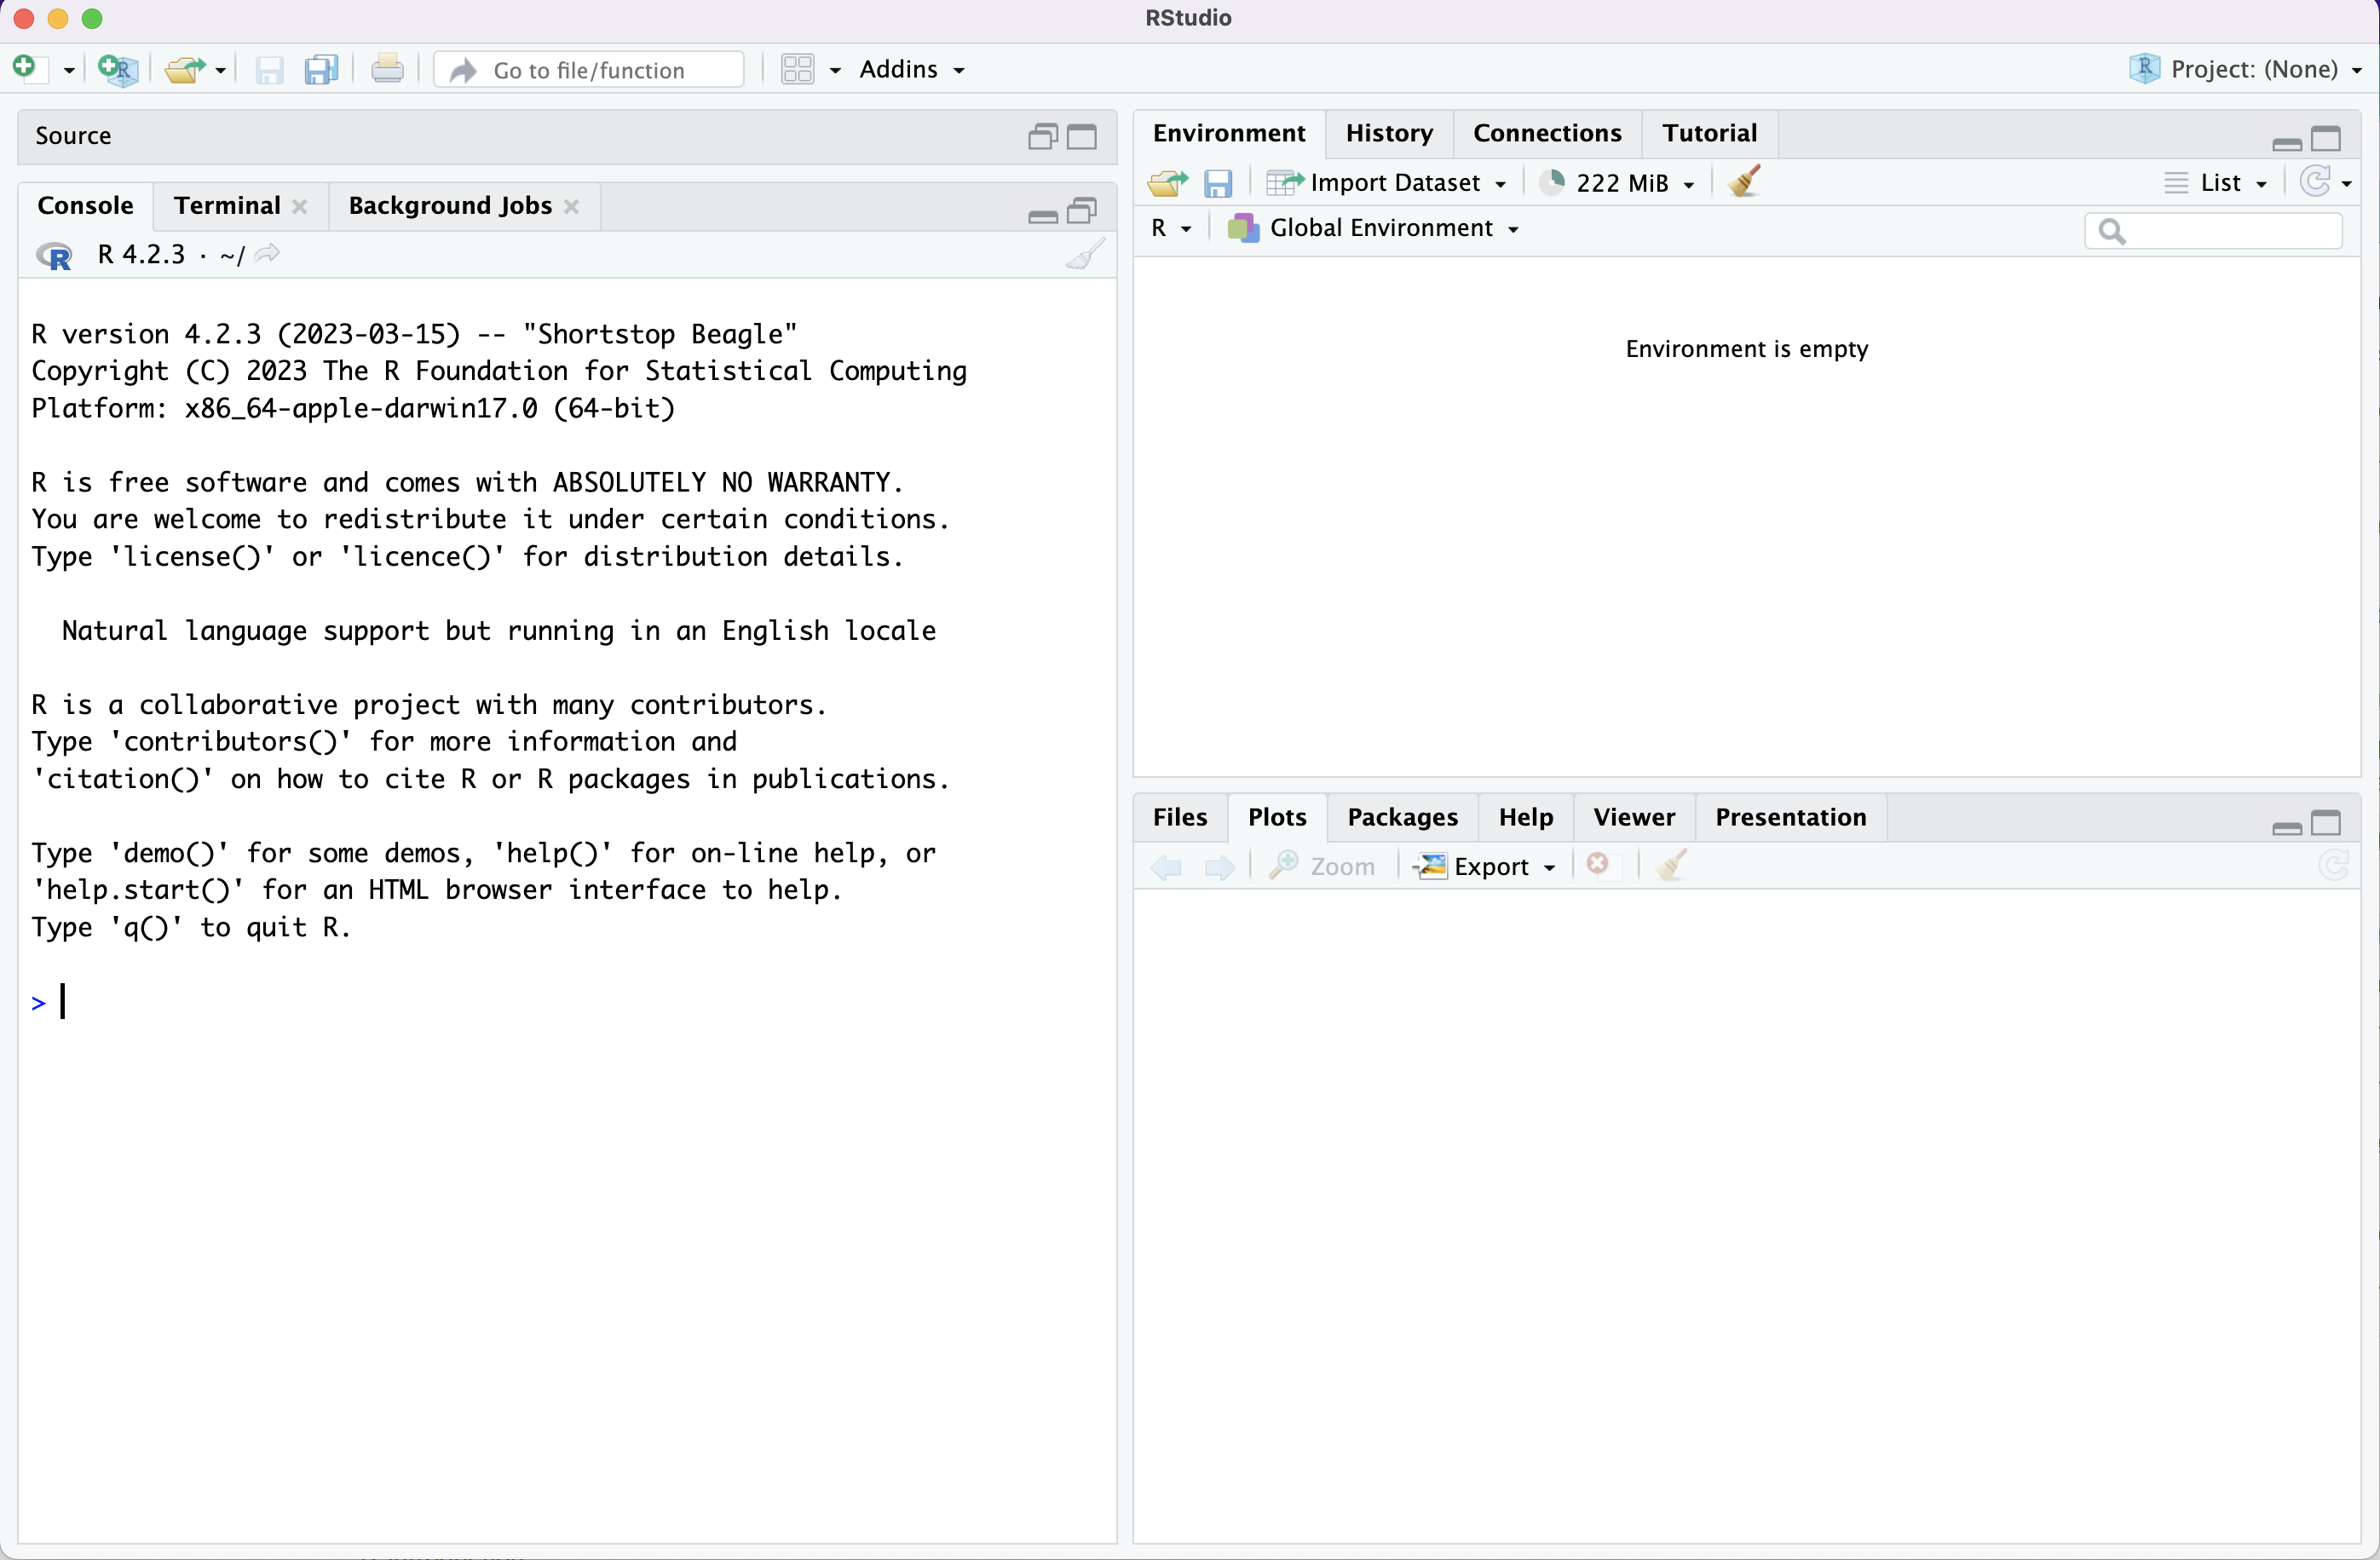
Figure 2.1: The initial RStudio screen
The screen is divided into panes: console on the left, environment on the top right, and plots on the bottom right. You may also see a minimized pane, source, on the top left, but don’t worry if it’s not there – we’ll add it soon.
Each pane has multiple “modes,” as you can see by the different tabs in each pane (e.g, you can switch the “plots” pane to the “help” pane), but these four default panes are the most common way to interact with RStudio. Let’s walk through what these panes do.
2.4.1 The console pane
The console is the place for you to interact directly with R. If you type R code in the console and hit enter, the code will run. Let’s try it! Type a single line of code into the console: print('Hello world!'). Then hit enter.

Figure 2.2: Running code in the console
Congratulations! You’ve run your first line of R code. print() is a simple function that takes a single input and displays it in the console.
2.4.2 The environment pane
Let’s use the console to create an object. Try running x = 1, and then print(x).
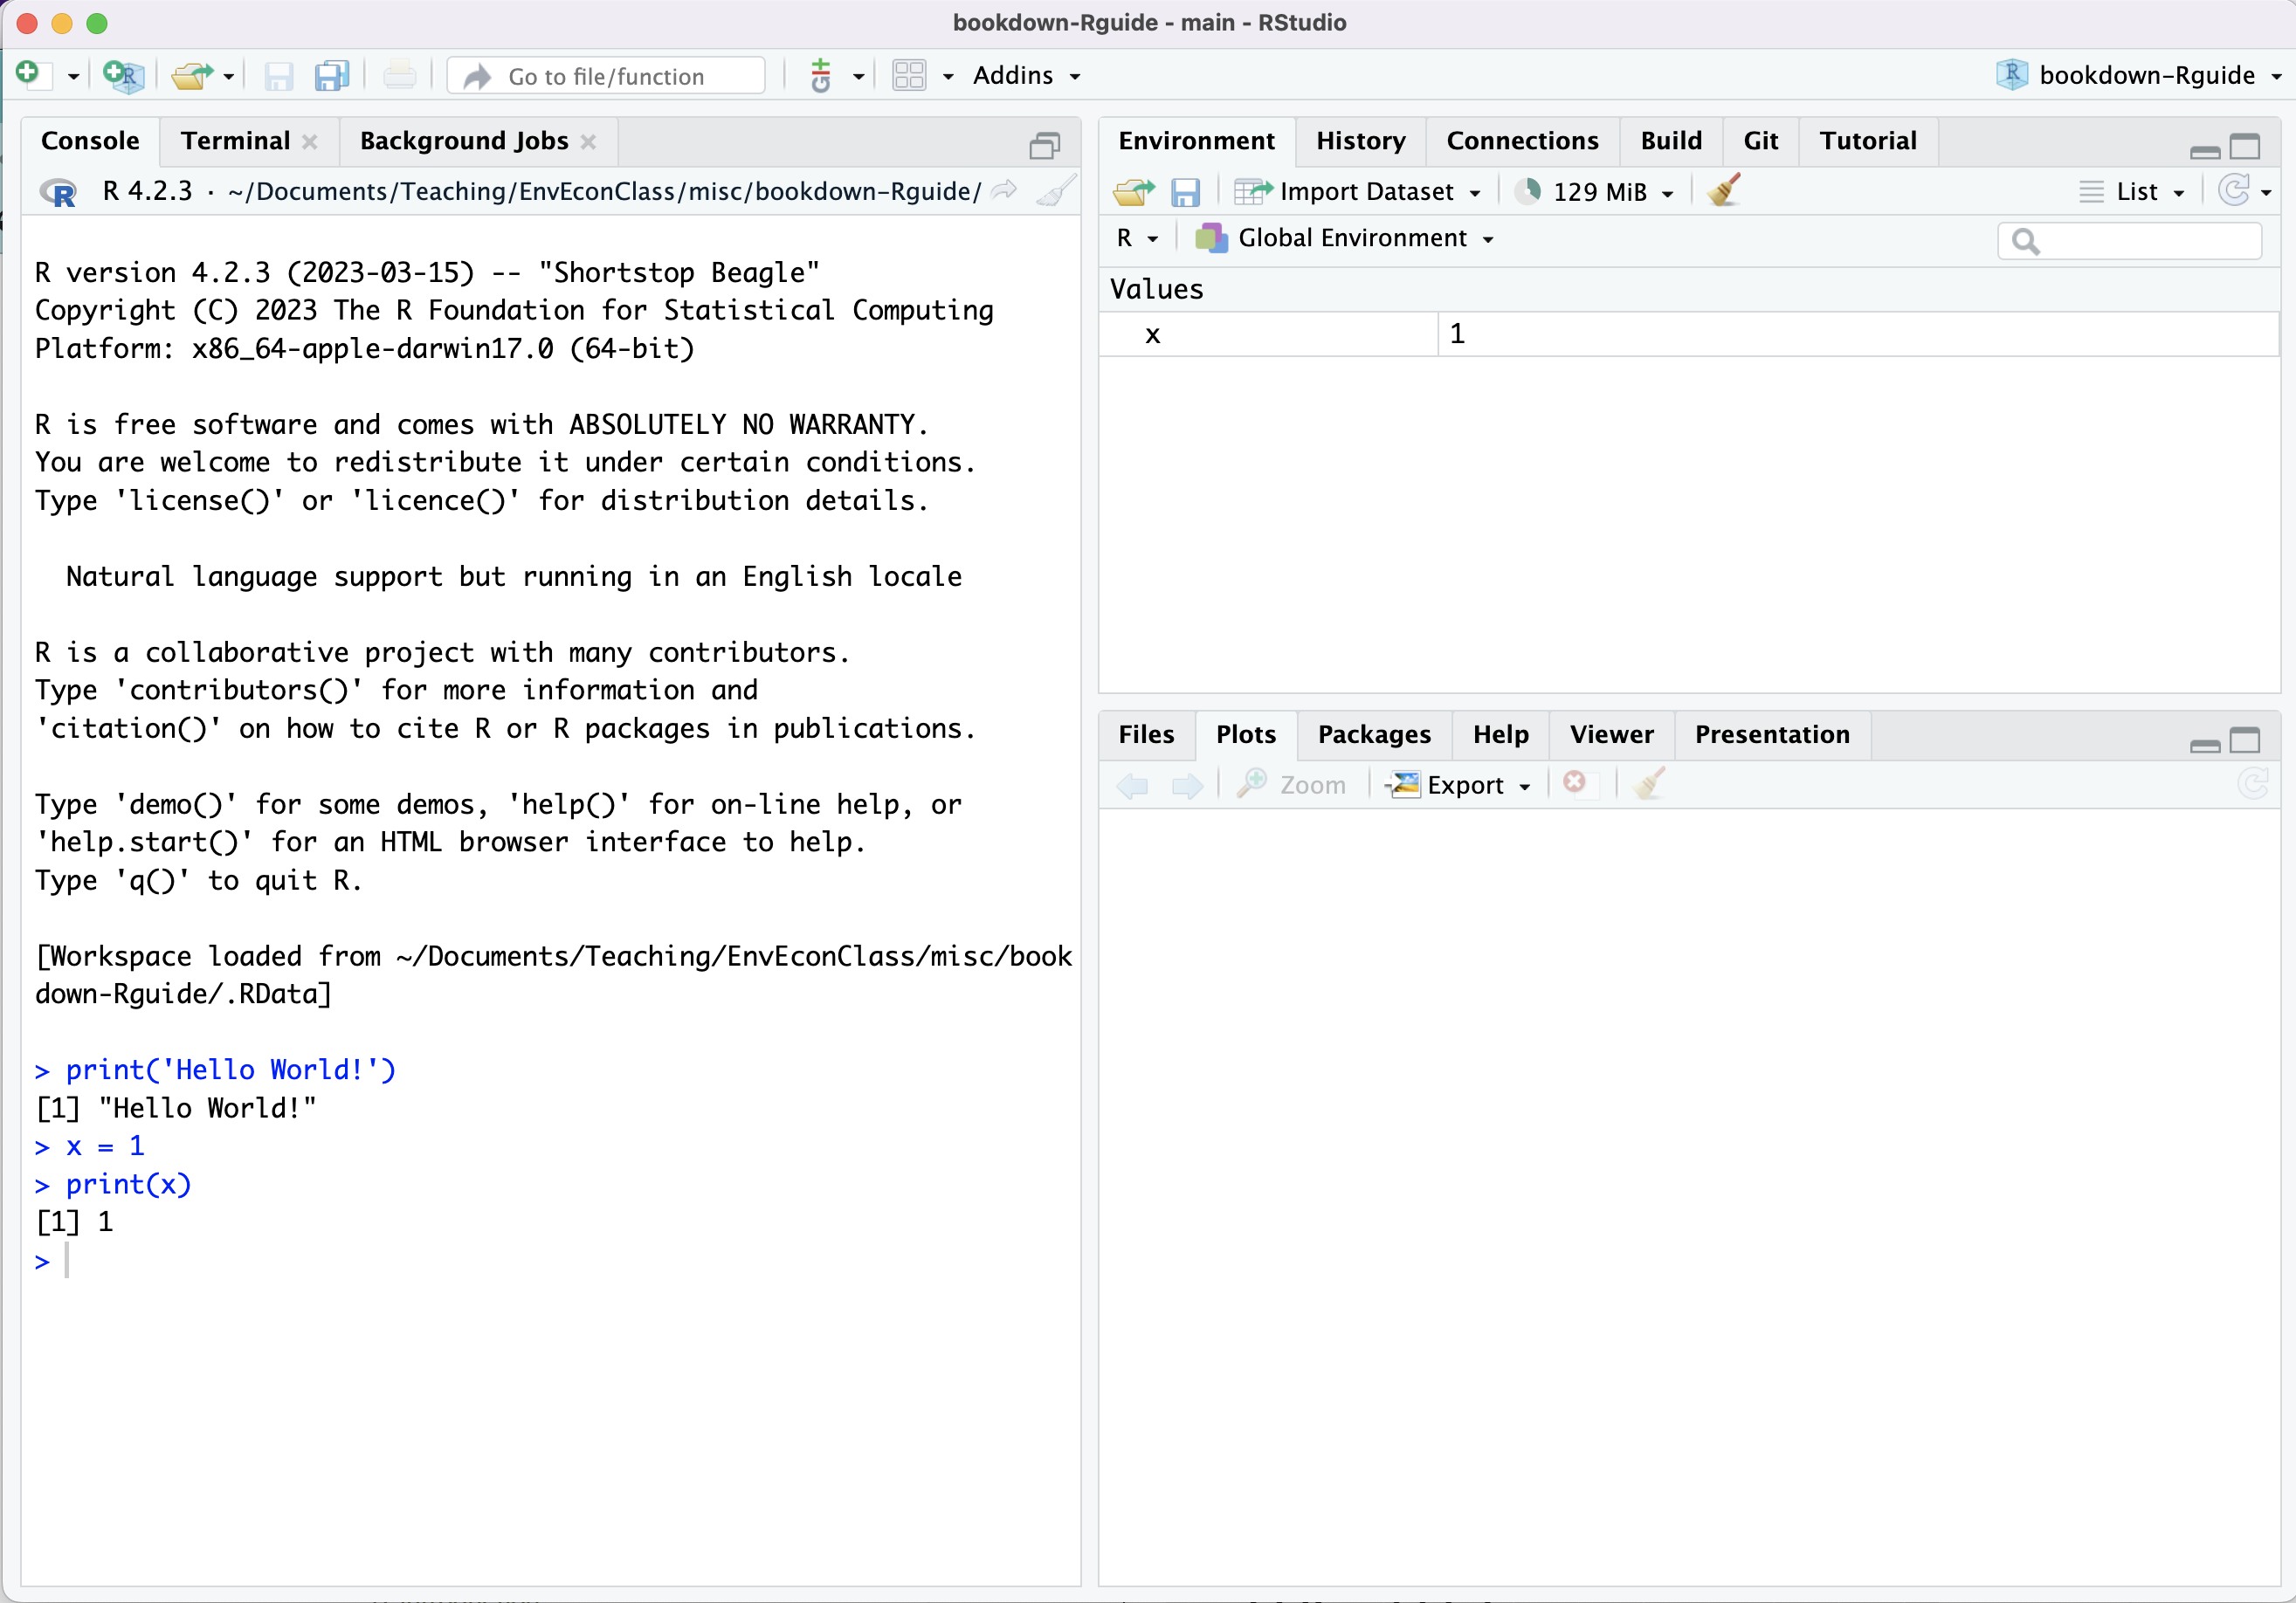
Figure 2.3: Creating an object
x = 1 creates an object. See Section 3 for more on the objects in R. The main thing is that now the environment pane is no longer empty. It is telling us that we have created something called x, and R knows that x actually means 1.
In the future, we will conduct analyses where we create many objects, and it can be hard to remember them all. The environment tab helps us keep track.
2.4.3 The plots pane
We will often create plots to visualize our data. I cover plotting in chapter 4. When we create plots, they appear in this pane.
2.4.4 The source pane
The console is a great place to do quick and simple tasks, like printing an object or testing a single line of code for errors. However, the console is a terrible place to work on even small projects. There are two main problems. First, if you want to stop working, close RStudio, and start again later, you will lose all of your work, since the console is cleared. If you had written, say, 20 commands in the console to clean a dataset, you would have to write all 20 again in your new session. Second, just as it is hard for you to replicate your own work in the console, it is even harder for someone else to replicate it. This is a problem since good science requires transparency and collaboration.
We solve this problem by writing scripts in the source pane. Go to File -> New File -> R Script to create a new untitled script. Your screen will look like this.
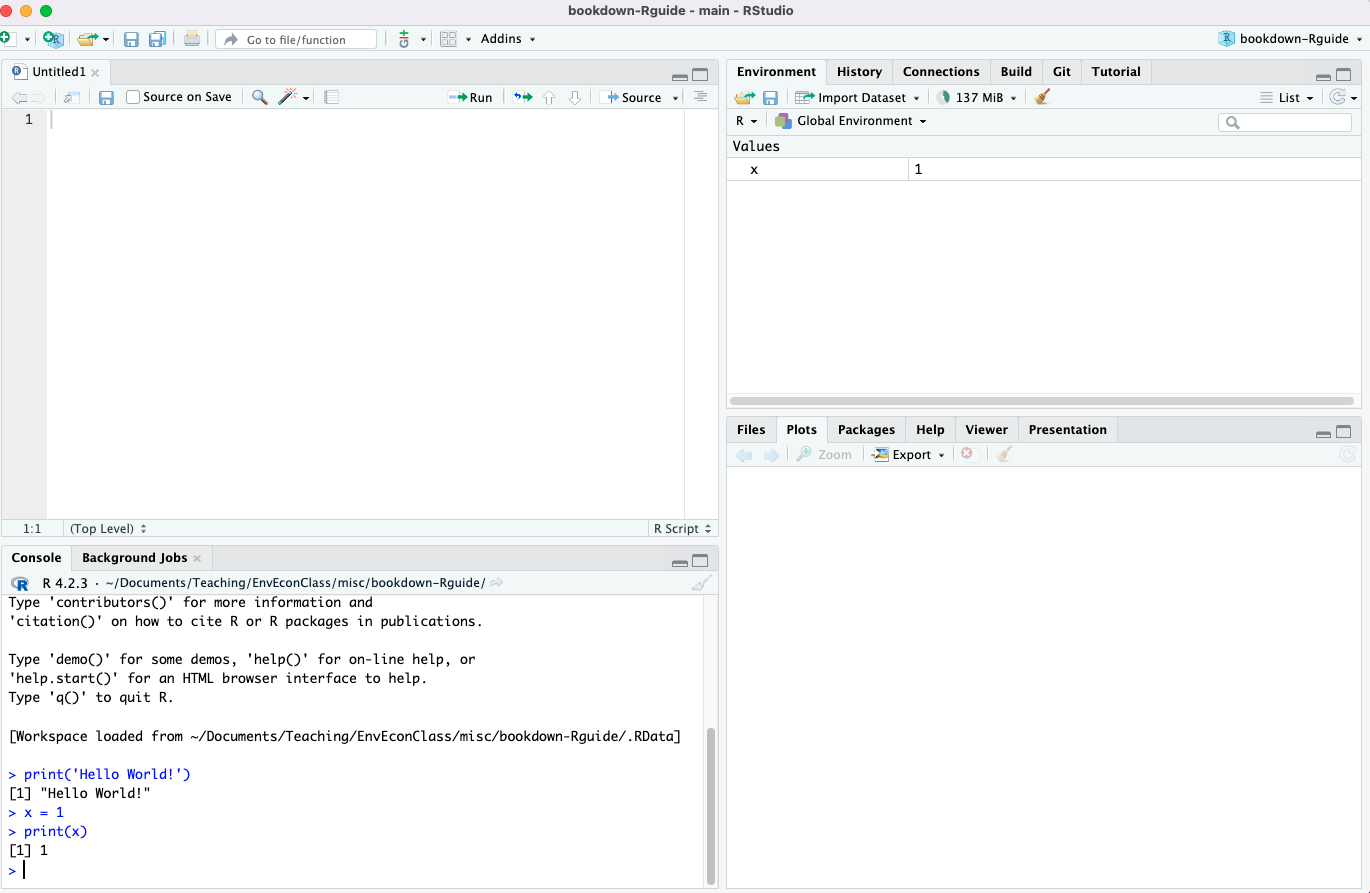
Figure 2.4: The source pane
There is now a text editor in the top left pane. You can type lines of R code into that text editor for R to run sequentially. When you click “Source” (the button at the top right of the pane), R will try to execute the first line, then the second, and so on, until it encounters an error or it reaches the final line.2 All objects created will be visible in the environment pane, and all outputs will appear either in the console pane or in the plots pane.
Here is an example. I have written a script that creates several objects and then prints them. This is what my screen looks like after I click “Source” to run the script.
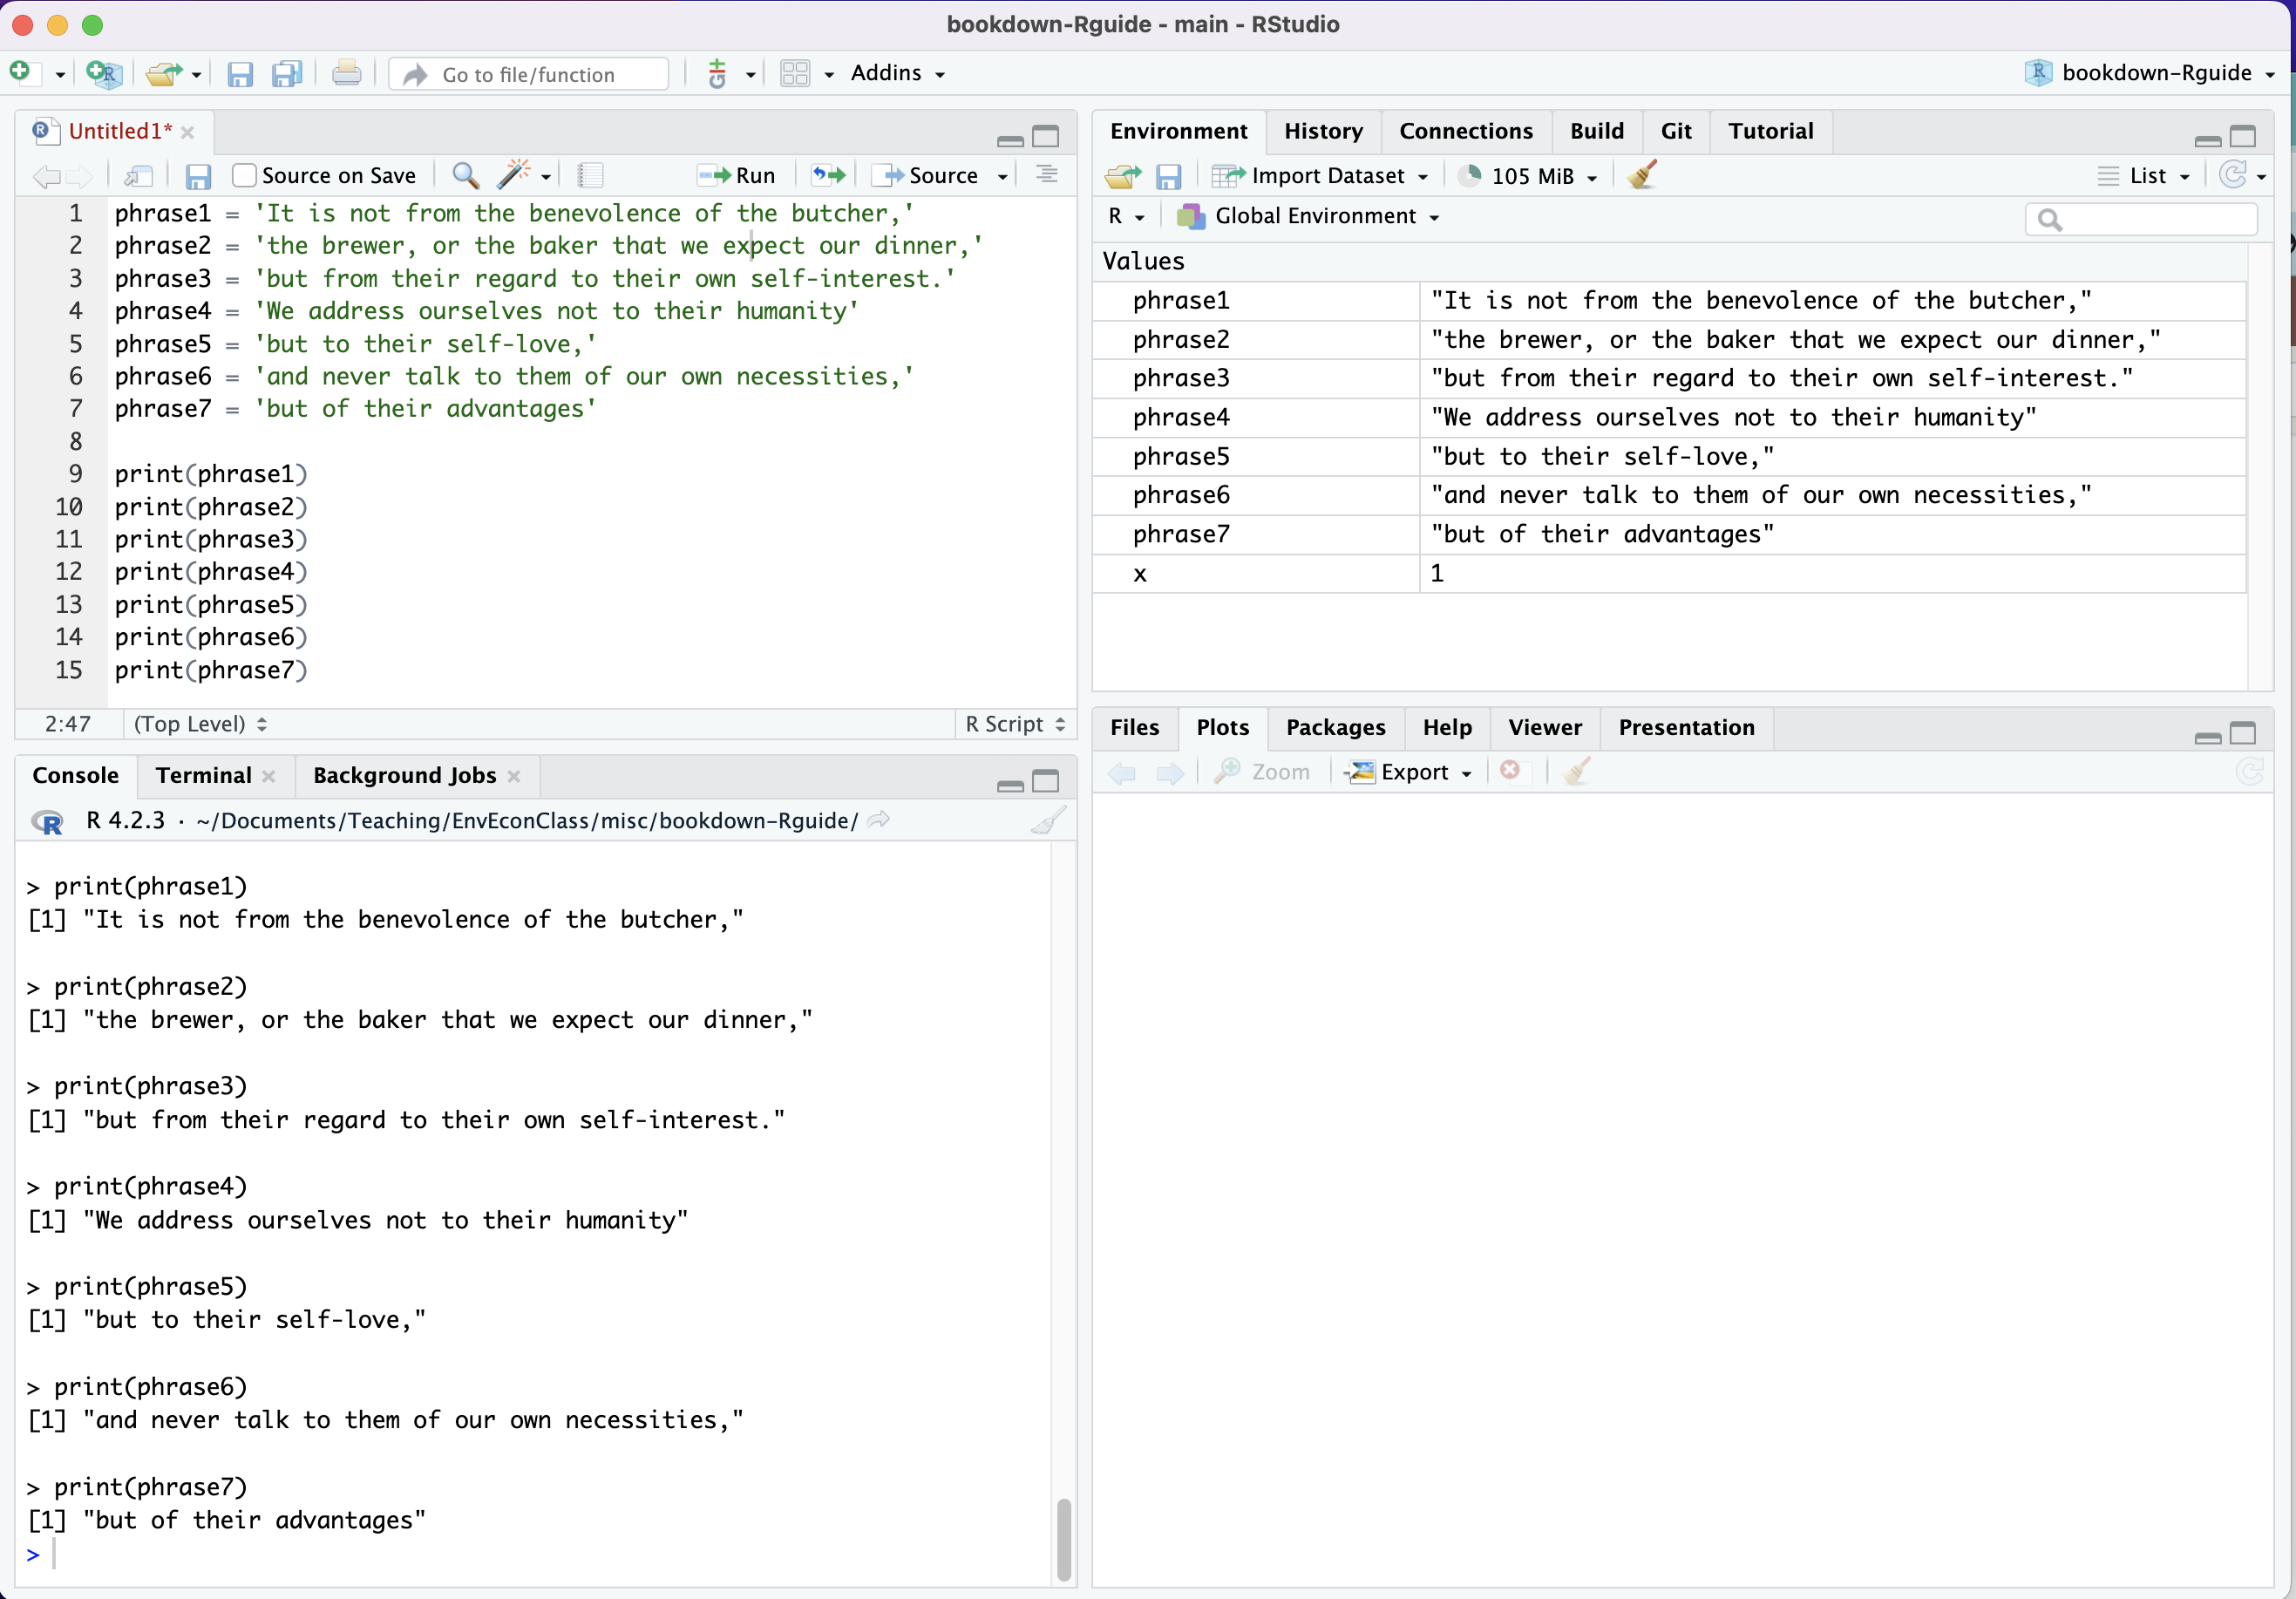
Figure 2.5: An example script
All the created objects appear in the environment pane. And my printed output appears in the console.
You may notice that x is still in the environment, even thought there is no code that creates it in the script. That’s because we created it in the console. If I wrote another line of code in this script, print(x), it would work just fine. But if I sent the script to a colleague and told him to run it, it would fail, since the script never creates x. That’s why it’s important to do all of your main analyses in scripts, rather than in the console!
In E3, you are not allowed to complete homework assignments in the console. We require that all analysis for homework assignments be completed as scripts or in markdown.