Chapter 3 Github
Divia
3.1 Setting up git and Github
Git is a version control tool that lets you collaborate on code. It’s really helpful for projects where multiple team members are working on the same thing. Github is a company that creates tools that work with git. We use Github to manage our files with git.
First, you should install git and create a Github account. On Macs, git is easily installed with homebrew
After you make your account on Github, mke sure you’ve been added to the January Advisors organization on github (ask someone!) so you can collaborate on our repos.
3.2 The Basics
Once you’ve cloned your repo, you’ll find yourself in the main branch of your project. This is the default, and it will be the branch that you merge all your final changes into.
Cloning also sets up the remote git repository automatically. The remote is the version of your repository stored in Github that everyone makes changes to. Basically, after you clone into a repository to make a local copy, you do your thing, and then push it back up to the remote. The default name for the remote is origin
3.2.1 The git workflow
R Studio has a git interface that you can use, but I find git a lot more powerful and straightforward to use in a command line. The basic git workflow looks something like this:
After you have cloned into your repo:
git pull- When you first clone a repo, it will be up to date, but frequent pulling in the main branch can help avoid git nightmares and is a good habit to build. This command “pulls” down any changes made by others into your local repo that were pushed up to the remotegit checkout -b "branchname"- Next, make a feature branch. This makes a copy of the code that is unique to you so that you can make your changes in an uninterrupted environment. Once you have checked out a branch, you can start making your changes.
I like to push my branch “upstream” to the remote once I check it out to get it out of the way. You can do this by running git push -u origin "branchname" - This sets up the branch in your remote repository for you to push up to.
git status- check the status of your changes - Are they committed? What has been changed? You might want to re-rungit branchto make sure you are in the right branch for the piece you are working on.git add- Add your files to the staging area and get ready to push them. You can do this either by name (git add filename.file) or you can just add all the files withgit add .git commit- “Commit” your changes and explain what they are withgit commit -m "Commit message here"- the commit message is a brief explanation of what you have donegit push- “push” your changes to the “remote” repository.
3.3 The pull request process
Once you’ve finished making your changes, you can go to the repo on Github and make a pull request (PR) from your branch. Here it will tell you whether you have merge conflicts and what needs to be changed. You can also document your changes here more verbosely. Generally, it’s good practice for your PR to contain a link to the task that the PR referred to, a description of changes made, and anything else someone would need to know looking back at the project history.
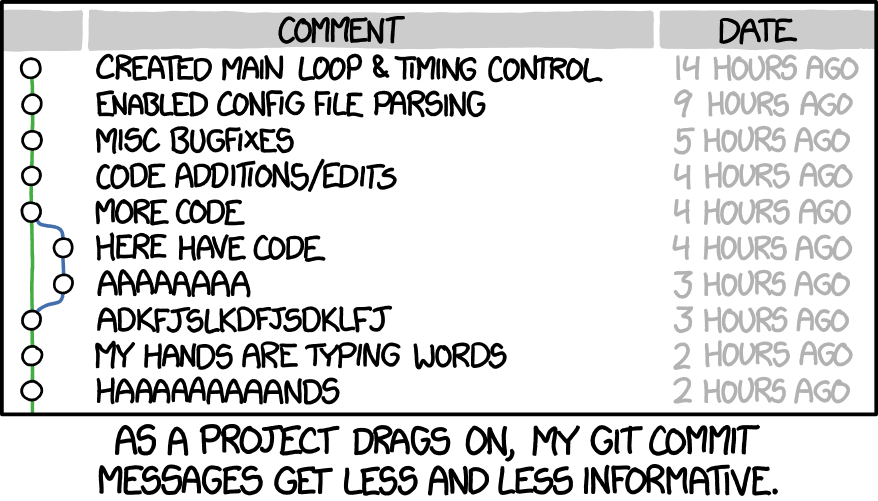
Once you have a succinct PR, you can request your teammates look over it, and everyone thinks it looks good, you should “squash and merge” your changes. This combines all of your commit message history into one succinct commit (pulled from your PR message) and merges it into the main branch. Now, when people look back at the history of a project, there will be a reasonably readable progression to follow, instead of this: