Session 8 Projects and Reproducibility
8.1 Reproducibility
Please follow the workshop on Open Research and Reproducibility by Andrew Stewart - one of our colleagues at the University.
8.2 Setting up a new project
As your use of R extends, it’s a good idea to organise your code around projects. For example, all the code, data and write-up for a specific assignment might be viewed as a project. There are many benefits to organising your folders and RStudio in this way: it keeps your work organised and together, you can set project-specific options in R. A particular advantage is that it avoids the need to set working directories (as we discussed back in Chapter 5). Using setwd() is considered bad practice for sharing code, and reusing it yourself in future. If I send you some code which starts with setwd("path/on/my/computer"), it will not work on your computer without being modified. Projects avoid this messy problem, because the working directory is always the project’s directory.
To set up a new project, go to File > New Project in the RStudio menu, and follow the prompts. Note that you can start a new project in a new directory, or use an existing directory. You can therefore turn your code up to now into a project by setting up a project in the directory where your current code is stored. Or, if you prefer, start from scratch.
We recommend you set up a project now, for all of the R script you are writing during this course.
For more on R projects, see Chapter 8 of R for Data Science
8.3 RMarkdown
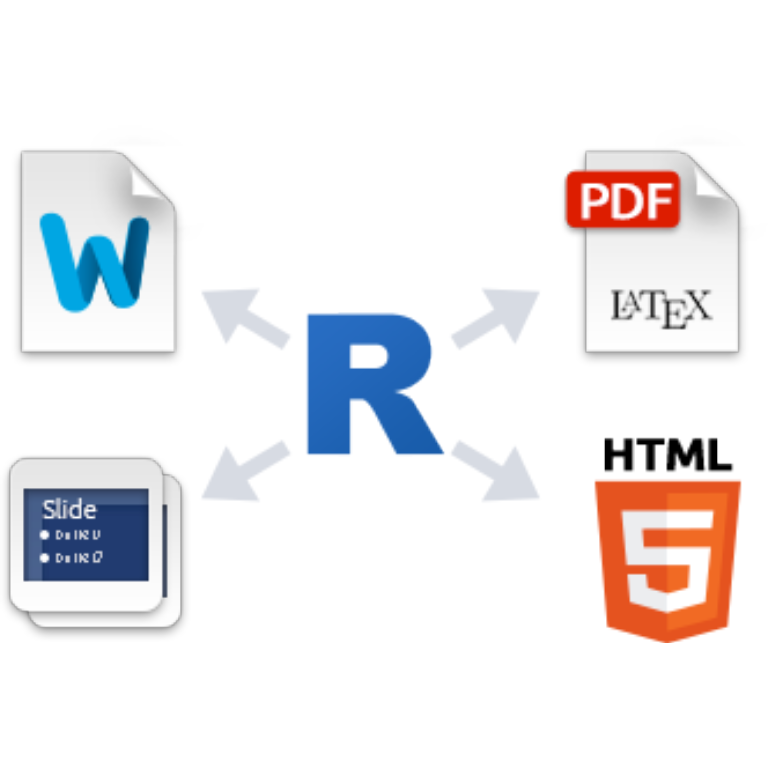
R Markdown documents are fully reproducible (they can be automatically regenerated whenever underlying R code or data changes).
Available output formats include
– HTML,
– PDFs,
– MS Word documents,
– Beamer,
– HTML5 presentations,
– Tufte handouts,
– R package vignettes,
– and even entire websites.
A cheat sheet of all the information is available at https://www.rstudio.com/wp-content/uploads/2015/02/rmarkdown-cheatsheet.pdf.
For more information on R Markdown, see http://rmarkdown.rstudio.com.
8.3.1 STEP 1
File > New File > R Markdown (This creates the template with the necessary info at the top of the .Rmd file)
8.3.2 STEP 2
Code is written in chunks (Insert R chunk) and all text around the chunks. The hash symbol is used to display a heading
8.3.3 STEP 3
Click the Knit to html/word or pdf and R creates a well presented document for you.
8.3.4 Example
---
title: "Example"
author: "Camilla Sammut-Powell"
date: "07/09/2018"
output: html_document
---

## R Markdown
Here is an example of summarising the car data
#```{r}
#summary(cars)
#```
and here is my plot
#```{r}
#plot(cars)
#```

Note that the chunks here are commented out using the `#` symbol.
If you wanted to evaluate them, you would need to remove the `#` symbol.
8.4 Exercise: Your First Project
You will now set up your first project in RStudio as a practical exercise.
You can use the either the earlier ‘fizz buzz’ functions as a starting point, and build this into a project where you use RMarkdown to embed the code and write some brief comments on your findings. Or, use the explorations of the iris dataset. Or, feel free to choose a topic of your own.
In building your project, please consider the following:
You should use version control, and have a sensible folder structure.
R Code should be embedded in the document.
Experiment with the different features that RMarkdown provides (see the documentation referred to above).
We will cover plotting and graphs / visualisation later, but feel free to explore this now if you like.
We recommend that you use projects, and RMarkdown, to complete your assignments for the Fundamentals of Mathematics and Statistics for Health Data Science, and Biomedical Modelling courses.
8.5 Further Reading
Try the RMarkdown workshop from Andrew Stewart’s course.
See Chapters 27, 29, and 30 of Wickham & Grolemund.