Chapter 3 Importing data
Now, let's import some geospatial data for visualization. First, let's import a point vector data file of superfund sites in the San Juan area. Then, import a polygon vector data of social vulnerability. Lastly, import a raster data file of elevation. The function to import vector data types is readOGR() and the function to import raster data types is raster(). Keep in mind that the <- symbol creates a variable name that we can use throughout our program; alternatively, we can just use = instead. Creating variables makes it easier to track information that is passed through our code. We can see what variables we have named by inspecting the Environment window on the top right corner of our RStudio pane: 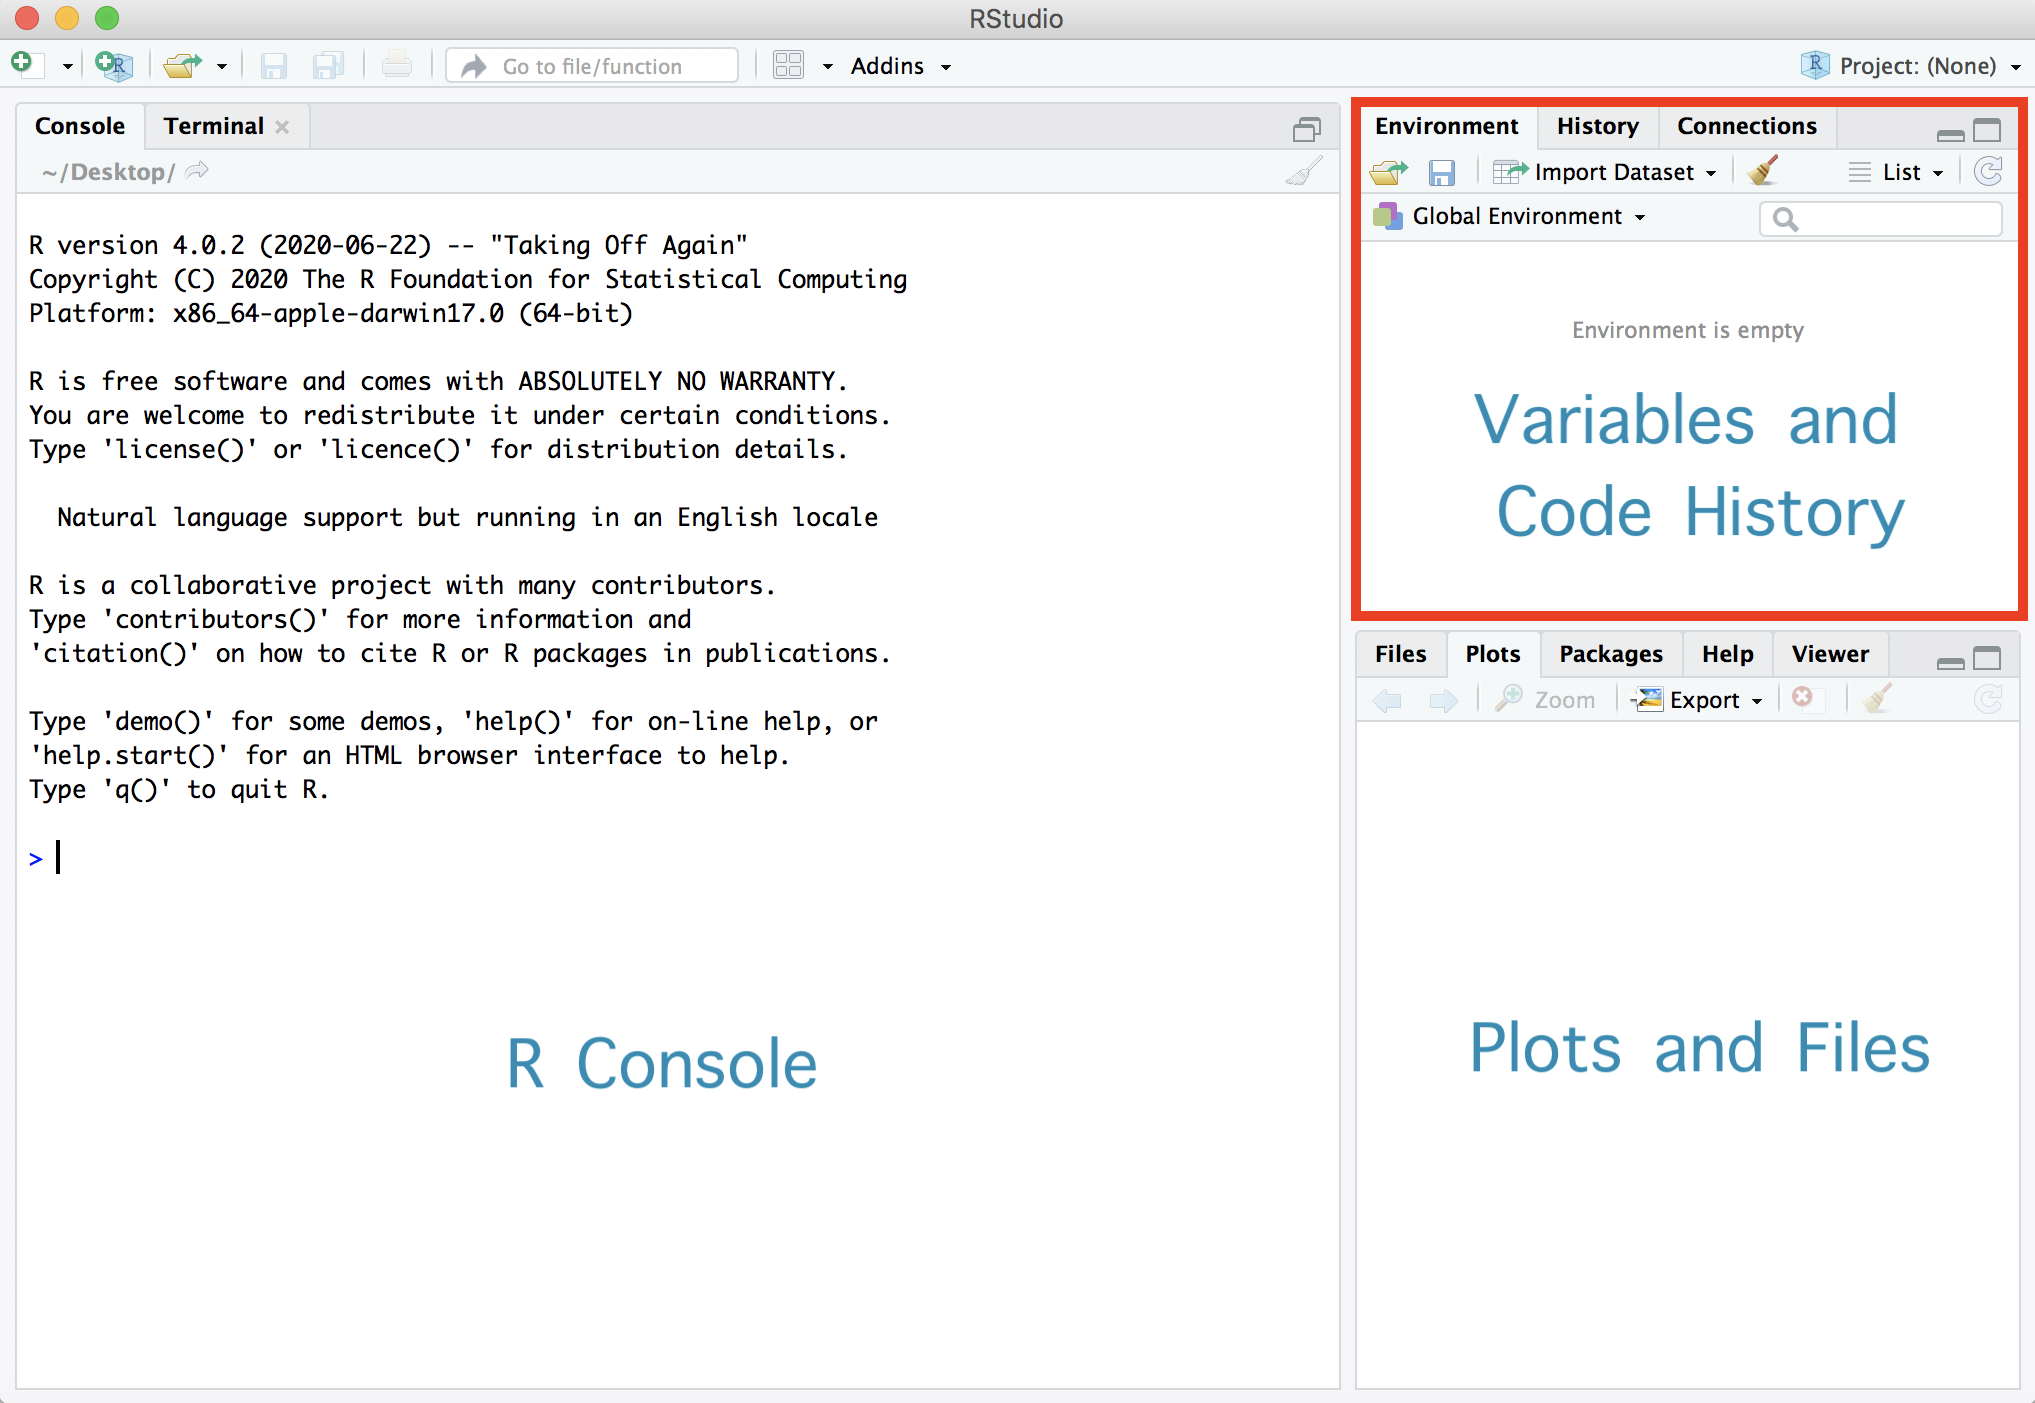
Below, I demonstate how we can import the superfund sites, social vulnerability index, and elevation datasets. With the code shown below, the directory names are the only bits that need to be changed. The directory name is where the data is located. Since the functions do not know where to look for the data, you need to tell it where it is located. If your data is located in the Downloads folder on your computer then you might say "~/Downloads/data.shp". Here, the ~ symbol indicates the home directory on your computer.
For example, on my computer I have a folder on my Desktop named INFEWS-ER. Inside that folder is another folder named GIS, and inside that is a folder named superfund. Within this superfund folder is where my superfund_clipped.shp file is located. So when I tell R where to look for my data I have to designate all these folders. So telling the computer to look in these folders (Desktop -> INFEWS-ER -> GIS -> superfund -> superfund_clipped.shp) to find my data file will look like this in code "~/Desktop/INFEWS-ER/GIS/superfund/superfund_clipped.shp" where the / symbol seperates the folder names.
Note: In the code below the # symbol demonstrates lines of code that serve as comments. So the text after a # symbol only serve as comments and not actual code that is run by R.
# Superfund Sites
superfund_dir <- "~/Desktop/INFEWS-ER/GIS/superfund/superfund_clipped.shp" # Change this to your own file directory
superfund <- readOGR(superfund_dir) # import the superfund sites shapefile

# Social Vulnerability Index data
svi_dir <- "~/Desktop/INFEWS-ER/GIS/SVI/SVI.shp" # Change this to your own file directory
svi <- readOGR(svi_dir) # import the social vulnerability index shapefile

# elevationvation data
elevation_dir <- "~/Desktop/INFEWS-ER/GIS/elevation/elevation.tif" # Change this to your own file directory
elevation <- raster(elevation_dir) # import the elevation raster
## OGR data source with driver: ESRI Shapefile
## Source: "/Users/eminefidan/Desktop/Projects/INFEWS-ER_DRR/Bookdown/superfund/superfund_clipped.shp", layer: "superfund_clipped"
## with 4 features
## It has 18 fields
## Integer64 fields read as strings: SEMS_ID Construc_1 ObjectId2## OGR data source with driver: ESRI Shapefile
## Source: "/Users/eminefidan/Desktop/Projects/INFEWS-ER_DRR/Bookdown/SVI/SVI.shp", layer: "SVI"
## with 316 features
## It has 124 fieldsNotice that code outputs appear starting with ##.