1 Installation
Teachvatory is an open-source project published on GitHub. You can find the repository here.
1.1 Understanding what is a GitHub repository
As with most open-source project, the way we interact with the app’s development is using Git. This way we can collaborate and keep control of the changes made to the app by each contributor. If you are not familiar with Git and GitHub, we highly recommend start reading the Introduction to Git article by GitHub and GitHub Skills, which is a repository with easy-to-understand tutorials to begin using Git and GitHub.
If you already feel comfortable cloning a GitHub repository into your computer, let’s continue!
1.2 Cloning teachvatory repository
Go to Teachvatory’s Github and clone the repository to a specific folder in your computer. Here you can find a detailed explanation on the many ways you can clone your repository.
1.3 Installing the keys (secrets)
Teachvatory needs keys to access the different services it consumes. As of Febreaury 2023, Teachvatory connects to:
- Google Drive
- Polished (authentication system)
These keys should never be uploaded to GitHub. If you do so, they keys will be accessible by anyone, compromising the app’s security. The app’s administrator needs to send them to you privately.
Once you get the keys:
- Copy the
.secrets/folder in the app’s directory - Copy the
.REnvironfile in the app’s directory
Congratulations! You now have all the files needed to run the app in your local machine. Let’s go now to install the packages!
1.4 Installing packages
Before installing any other package, be sure you install the Golem and Shiny packages.
install.packages(c("shiny", "golem"))Now you have two ways to install the remaining packages: the easy one, and the long one.
1.4.1 The easy way
- Open
teachvatory.Rprojin RStudio by to load the app and set the working directory. - Open
dev/run_dev.R. This is the script we will be using to start the app in our local machine (more on this later.) It should look something like this:
# Set options here
options(golem.app.prod = FALSE) # TRUE = production mode, FALSE = development mode

# Comment this if you don't want the app to be served on a random port
options(shiny.port = httpuv::randomPort())

# Detach all loaded packages and clean your environment
golem::detach_all_attached()
# rm(list=ls(all.names = TRUE))

# Document and reload your package
golem::document_and_reload()

# Run the application
run_app()- Run all the lines of code
- The app won’t start because it won’t have all the required packages installed. But don’t worry! We were expecting that.
- In the console you will be asked if you want to install all the dependencies. Say:
Yes
That should be all!
1.4.2 The long way
As the app is built as an R Package, we can find all the packages we need to install in the DESCRIPTION file in the app’s directory. DESCRIPTION should look something like this:
Package: teachvatory
Title: Teachvatory
Version: 0.0.0.9000
Authors@R:
    person("Gonzalo", "Jara", , "gonzalojarasaba@gmail.com", role = c("cre", "aut"))
Description: An observatory for your teaching.
License: MIT + file LICENSE
Imports:
    bs4Dash,
    config (>= 0.3.1),
    data.table,
    dplyr,
    DT,
    golem (>= 0.3.5),
    googledrive,
    googlesheets4,
    highcharter,
    polished,
    shiny (>= 1.7.4),
    shinycssloaders,
    shinyjs,
    shinyWidgets,
    sparkline,
    stringr,
    waiter
Encoding: UTF-8
LazyData: true
RoxygenNote: 7.2.2
Suggests:
    testthat (>= 3.0.0)
Config/testthat/edition: 3
The “Imports” list are all the packages you need to run the app. You can install them one by one using install.packages("package-name") or using a vector with all of their names: install.packages(c("pkg1", "pkg2", "pkg3", ...))
We are done installing all the dependencies :).
1.5 Run the app!
Now that we have the secrets and all the packages installed we are ready to launch the app locally.
- Open
dev/run_dev.Rand run the script. You can select all the code (CMD+A) and then run it (CMD+ENTER). - To stop the server, press CTRL+C on the R Console.
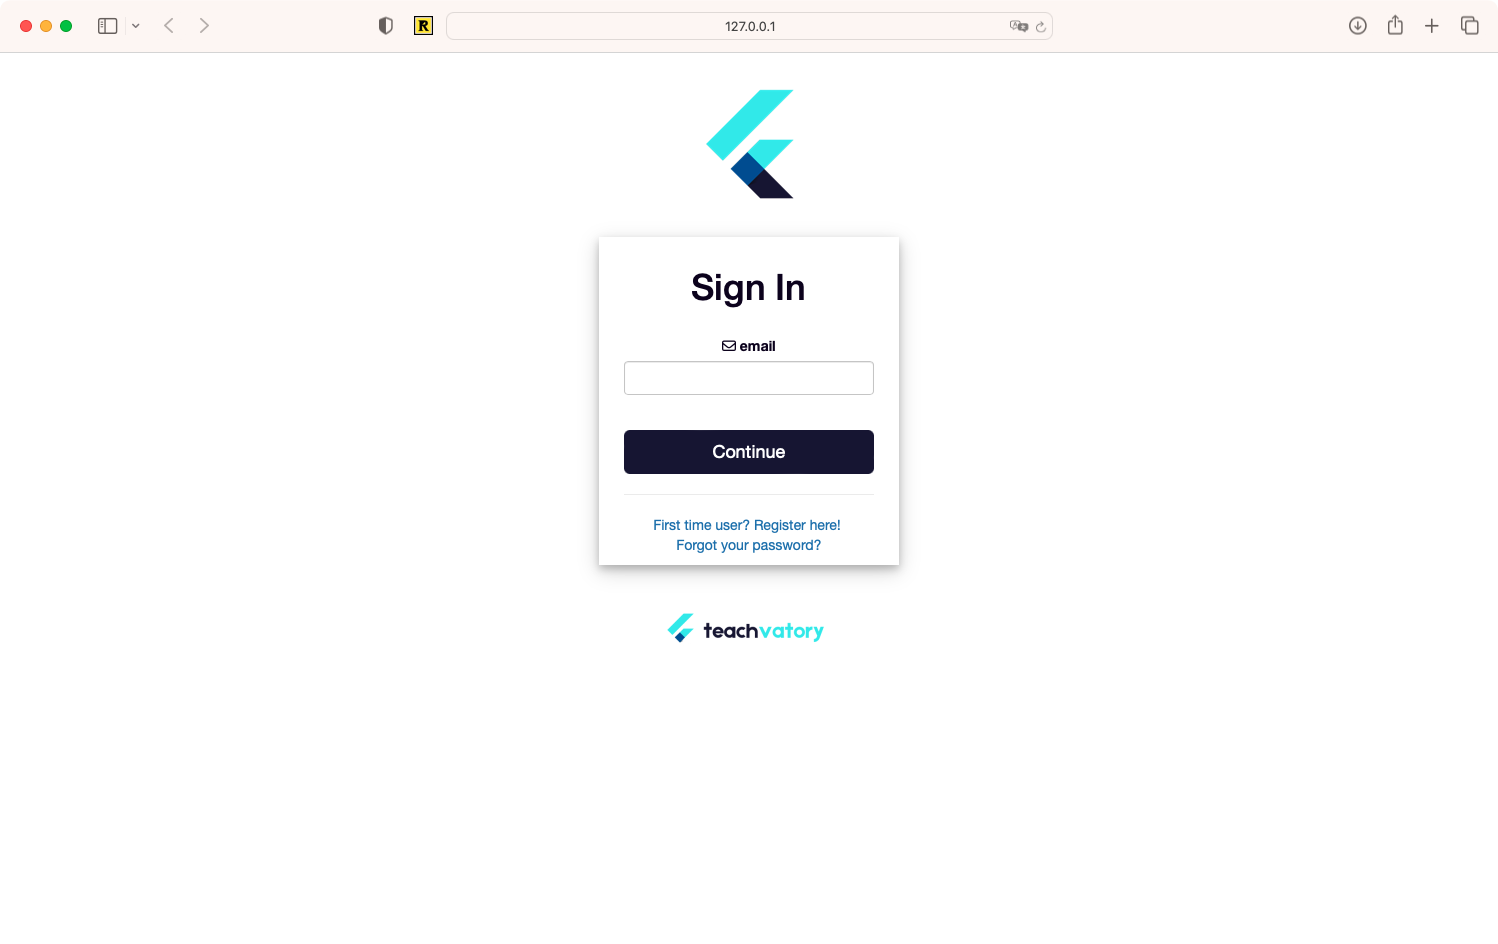
Figure 1.1: The app is up and working! Congratulations