3 Edit the app
The app development relies on two technologies: * Git/GitHub: store, manage, track, and control changes of the project. * Linear App: keep track of issues to solve and features to implement.
3.1 Linear role
The backlog of issues are kept on Linear. To access the Teachvatory project on Linear you will need to create an account and ask the administrator to send you an invitation.
Linear is a task-management system where we keep track of all the new features we want to implement and also the bugs and issues that need to be solved.
We use Linear because is a simple task-management that integrates with GitHub so the tasks’ status will be updated depending on the stage they are in the Git editing process.
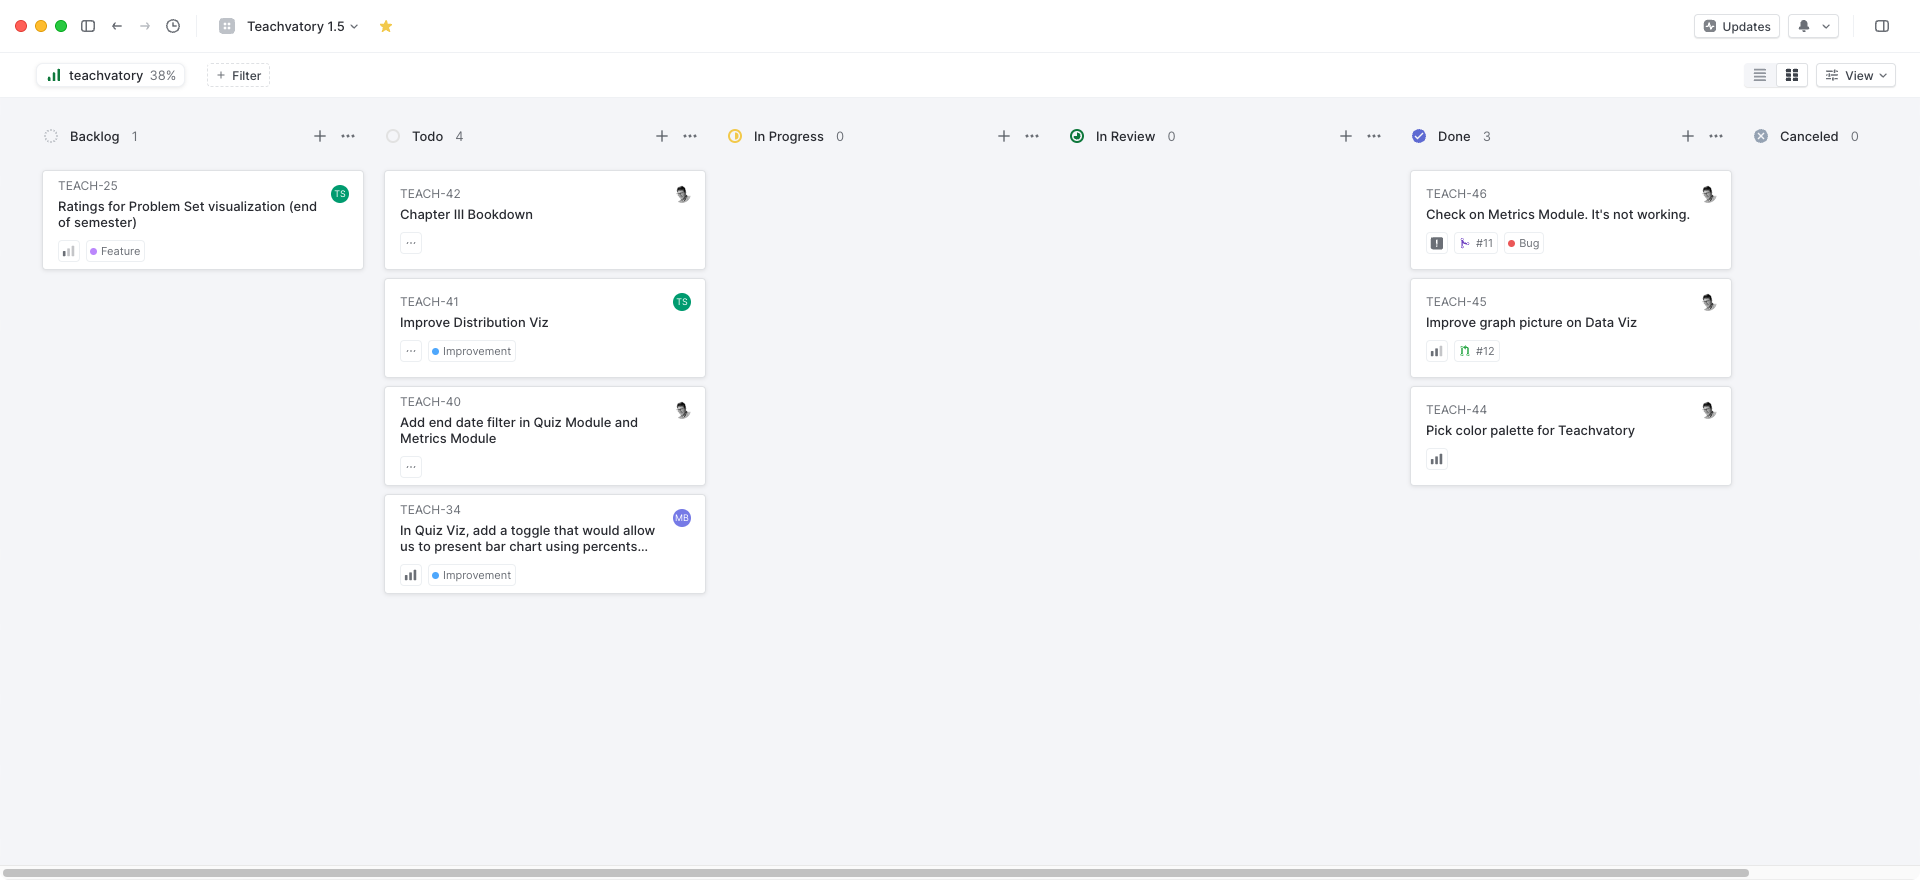
3.2 Add issue to backlog
Whenever you find any bug or think of a new feature that might be worth exploring, you can create a new issue in the Backlog. Try to be as specific as you can and use action verbs to describe it. For example, instead of creating an issue named Quiz visualization, a better name would be Add title and legends to Quiz Multiple Choice visualization.
During each sprint meeting, the team will prioritize the issues in the backlog, decides the ones to work on during that sprint, create a new project on Linear for the sprint (for example: Teachvatory 1.4), and assign each issue to a developer.
3.3 Work on a sprint’s issue
Say for example that you want to start working an your assigned issue: Write Chapter III Bookdown: "Edit App".
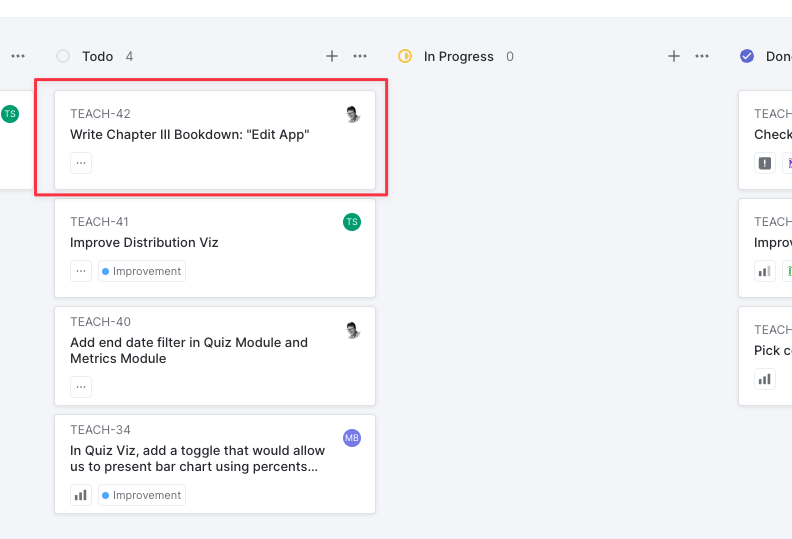
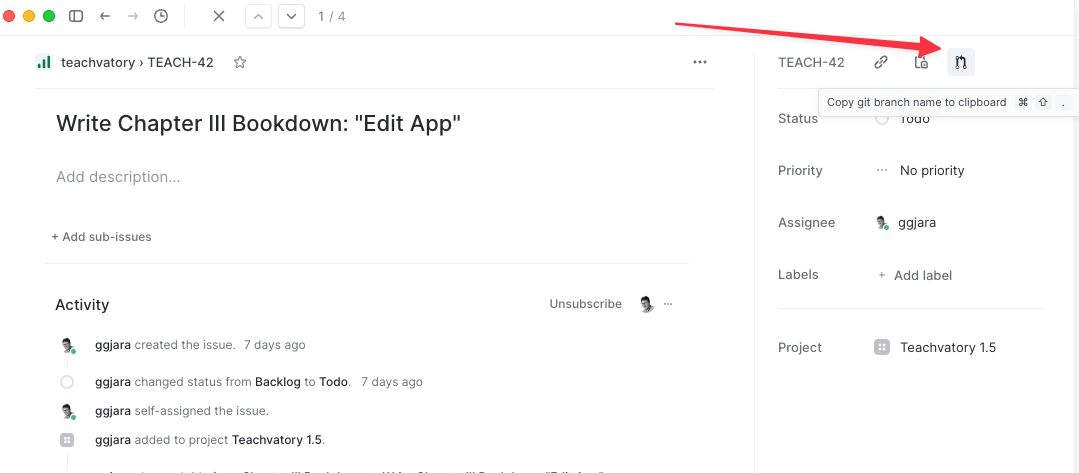
3.3.1 Copy the branch name of the issue
The first thing to do is open the issue and click the branch icon. This will copy to your clipboard the branch-name that you need to use when creating a new branch in the project. All the changes you make to the code in order to solve the issue must be made in this new branch. This way we keep track of what changes were made to change which issue.
3.3.2 Create a new git branch in the project
Go to your preferred terminal console (you can use the Terminal in RStudio) and standing on the app directory write: git status.
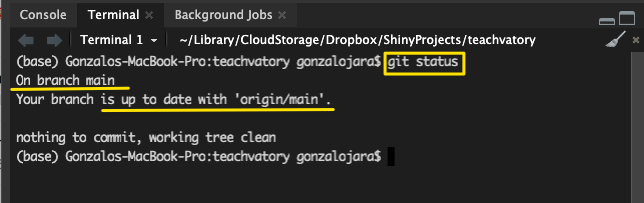
You should see that you are on branch main. If you do not it means you are standing on other branch and you will have to move to the main branch. To do so, type: git checkout main.
If you are on the main branch and you do not see Your branch is up to date with ‘origin/main’, it could mean two things:
Your local version of the main branch is behind the branch version on the GitHub remote repository. You will need to pull the contents on the web to your local machine. To do so, type:
git pull origin main. (origin refers to your local repository.main refers to the branch you are pulling from.)Your local version of the main branch is ahead of the version on the GitHub repository. This should not happen as you have to make all changes to the source in another branch. One likely possibility is that you made a change on the source code when standing on the main branch. If this is the case, check which files where changed (they should appear when you typed
git status) to check that it’s not a major change. If the changes could be eliminated, typegit stash.
If you are standing on main and you get Your branch is up to date with ‘origin/main’ you can now create a new branch.
To create a new branch write:
git branch [branch-name]
To move to that branch after creating it:
git checkout [branch-name]
You can also do the two commands in one:
git checkout -M [branch-name]
For example, if the branch-name you copy from Linear is: “teach-42-write-chapter-iii-bookdown-edit-app” your code will look like
git checkout -M teach-42-write-chapter-iii-bookdown-edit-app
Just to check, type git status to see if you are standing on the right branch.
Now we are reading to edit the source code!
3.3.3 Making changes to the source code
When you are working within a branch you have flexibility in how to edit and save the changes. Some general principles:
- To add the changes, type
git add .. - To commit the changes, type
git commit -m"[name-commit]". This will assign all the added coded (with git add) to a specific commit. A good practice is to make a commit every time you finish a self-contained improvement/change in the code. For example, if my issue is “Write Chapter III of Bookdown”, I would add&commit my changes every time I finish a sub-section of the Chapter. - All changes made to the source code within a branch will not be reflect on the main branch, so don’t worry when trying new things or making errors!
- A general workflow will be:
- Make changes to complete a sub-item of the issue
- Type in terminal `git add .``
- Type in terminal
git commit -m"Add/Modify sub-item" - Repeat
3.3.4 Push your commits to remote repository
Once you finish making all the changes in the source code to complete your issue, you will have to pull the changes to the remote Github repository. Make sure not to push any change that could reveal private keys or accounts. Once you push the changes to the remote repository, anyone can see them.
To push all your commits to the remote repository, type: `git push origin [branch-name]``
Following our example: `git push origin teach-42-write-chapter-iii-bookdown-edit-app``
3.3.5 Create a Pull request
Go to the Teachvatory GitHub repository, then go to section “Pull Requests”, then click “New Pull request”.
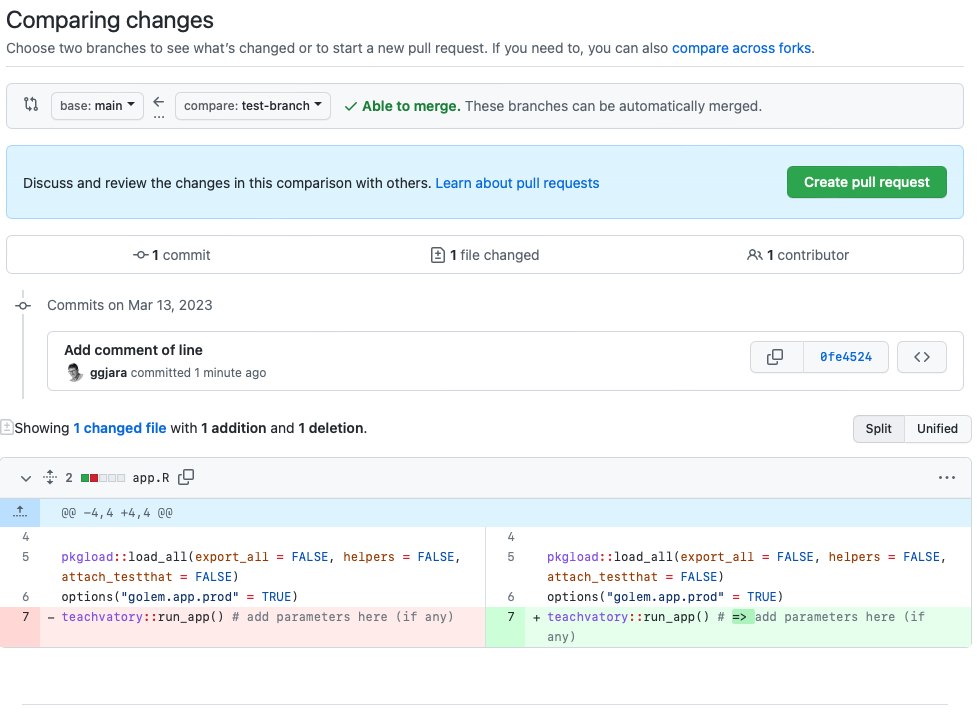
Create the pull request from [branch-name] to [main].
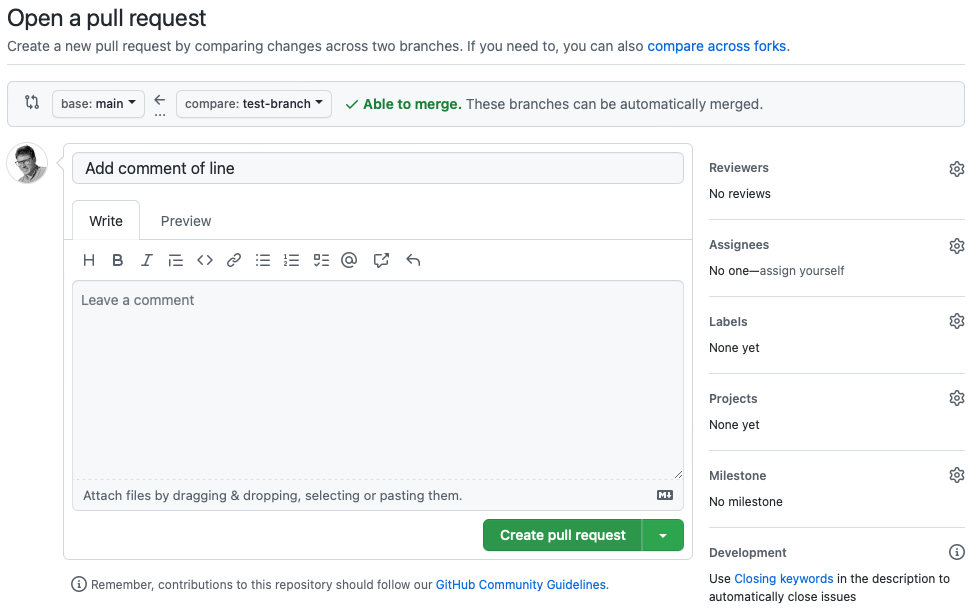
You have finished your edit process, congratulations! Now the admin will review and accept your changes so they are merged into the main branch.