第 3 章 Start a Project
3.1 GitHub Desktop
以下在GitHub Desktop進行:
3.1.1 Sign in
依圖示叫出Sign in畫面
點GitHub.com的Sign In:
輸入你GitHub.com的username和password:
再回到步驟1,但這次點畫面的Git,填入你要顯示的匿稱及當時註冊email。
3.2 Create New Repository
Name與Local Path填你的訊息:
3.3 R Project
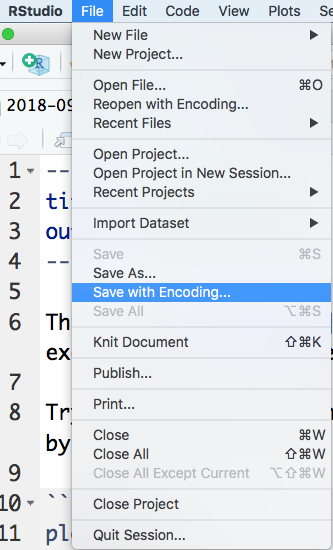
以下在RStudio進行:
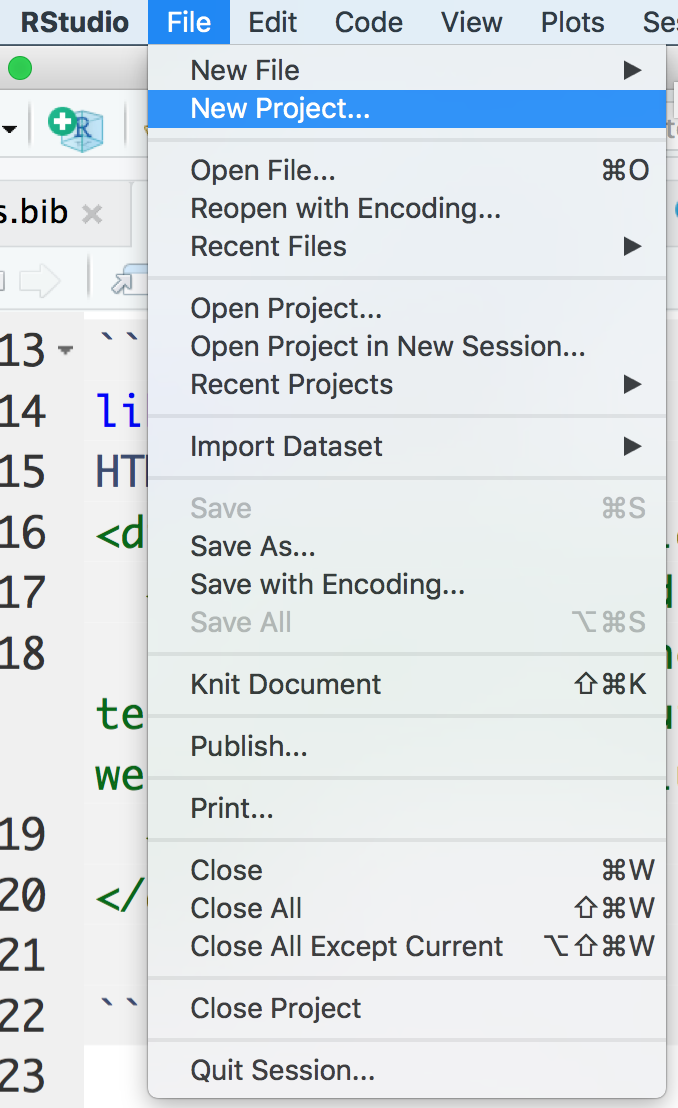
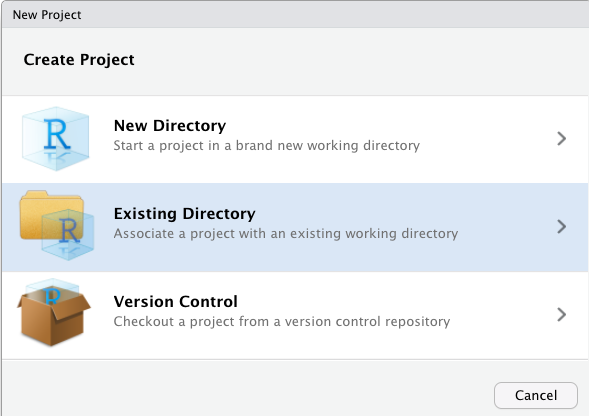
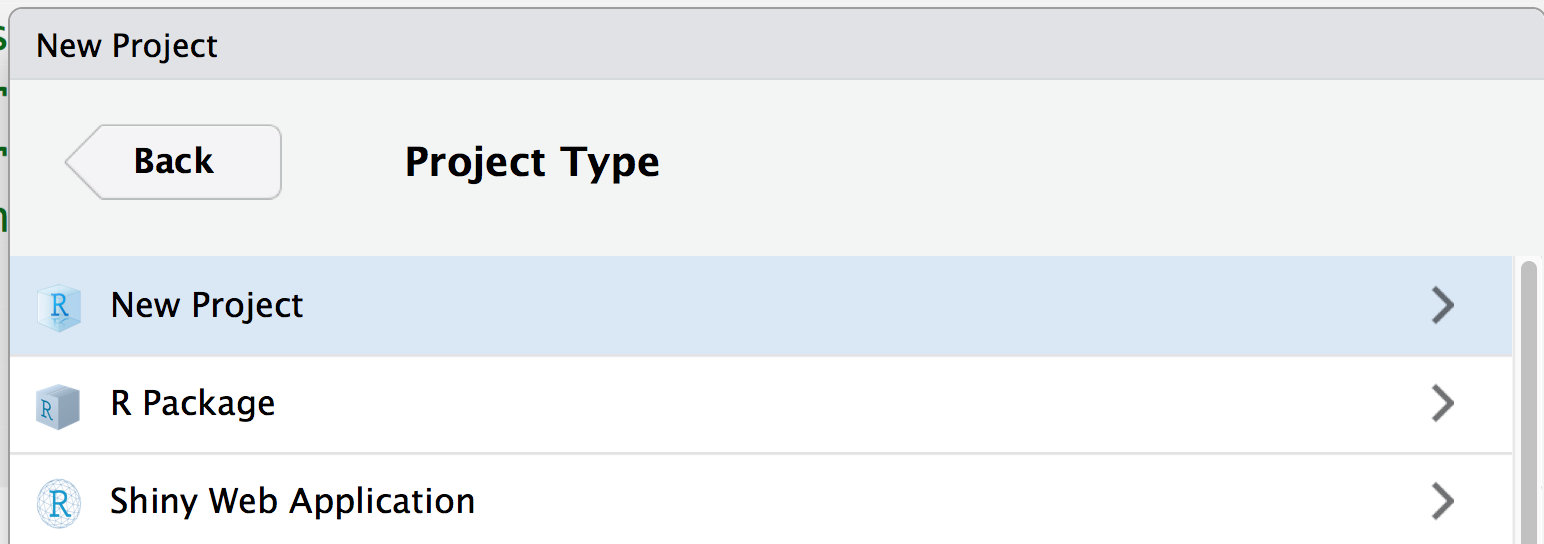
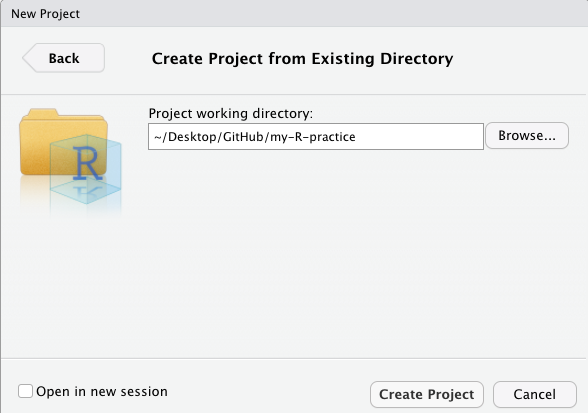
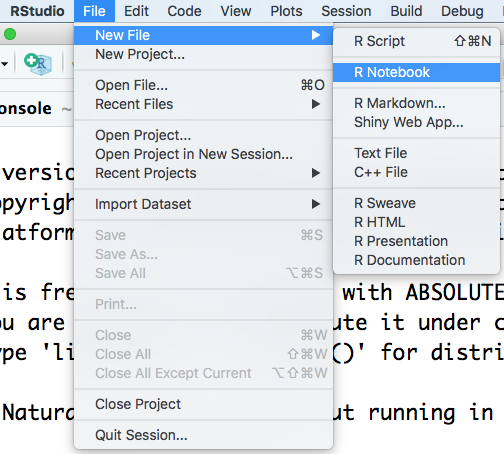
Start a new file
Create a notebook: File–>New File–>R Notebook.
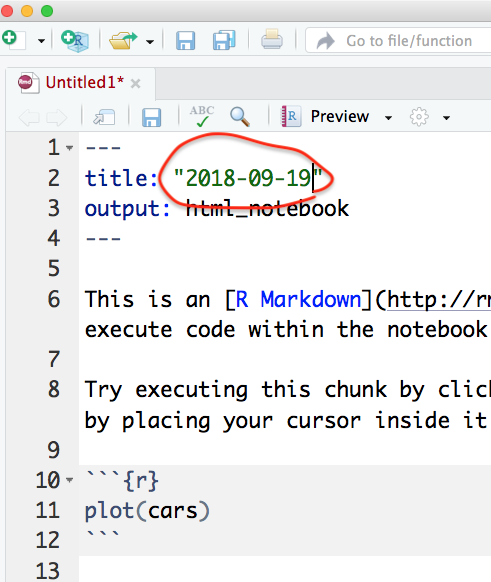
Title: “YYYY-MM-DD”
Click save: Name your file as YYYY-MM-DD
Step 1
Step 2
Step 3
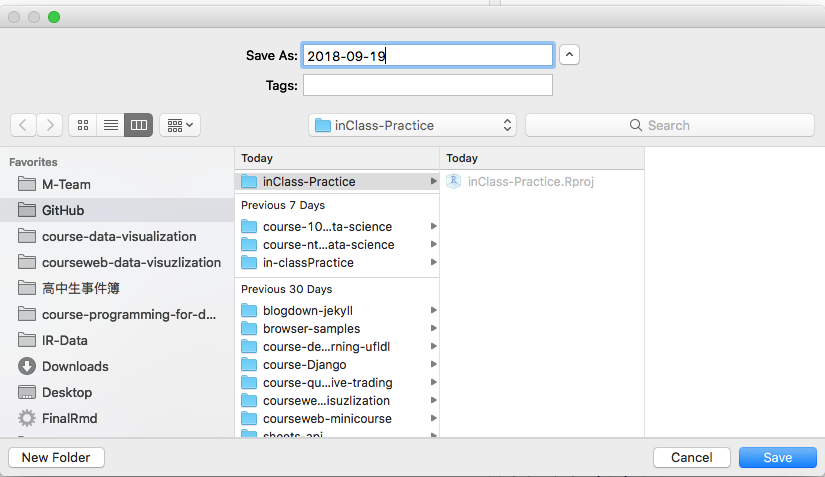
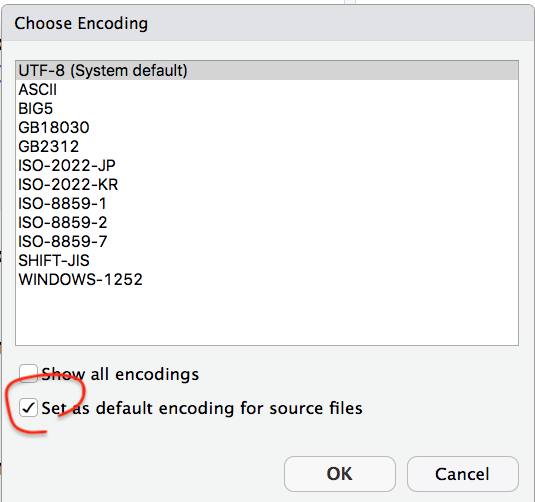
- 避免中文檔名
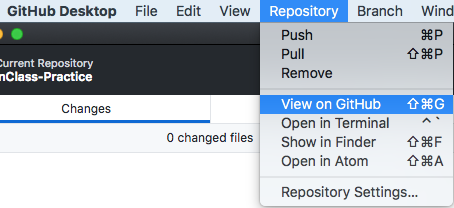
GitHub Commit & Publish repository
打開GitHub Desktop
Step 1
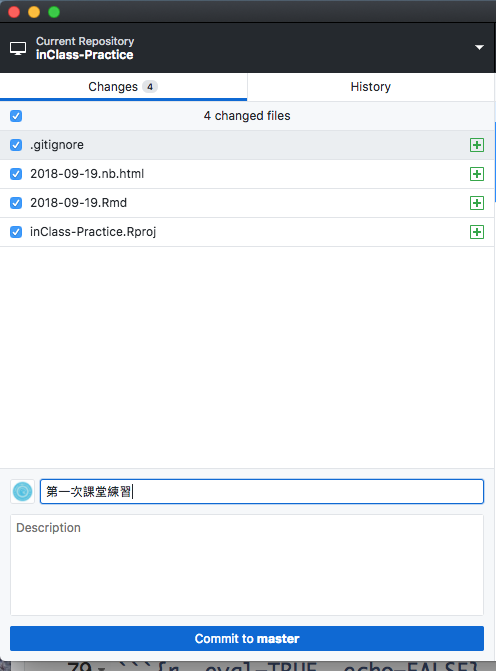
Step 2
Step 3
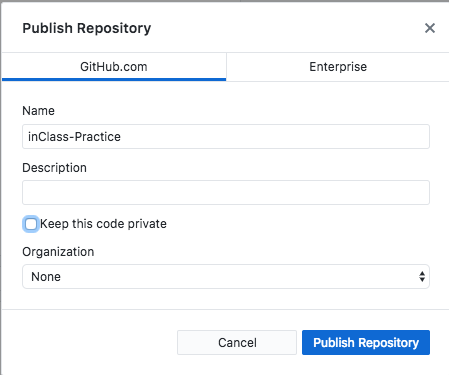
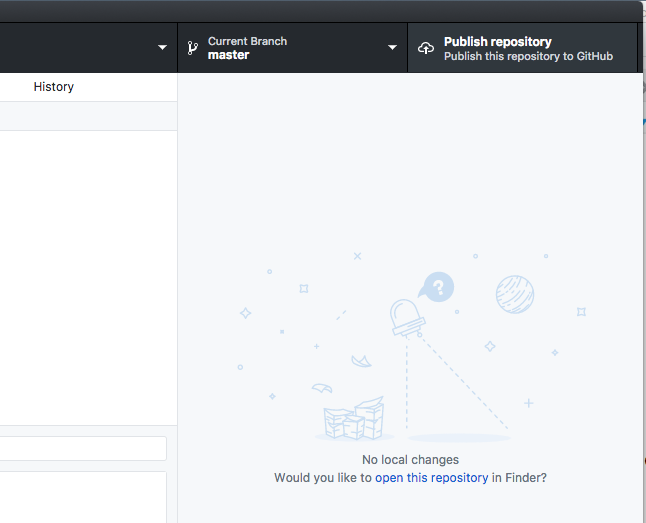
Step 1
Step 2
Step 3

往後的課堂練習同學請固定使用該repo。
請到以下表單填寫你的課堂練習repo資訊。 https://docs.google.com/forms/d/e/1FAIpQLSdvshSw-CxgRT_ZgGZCcmwNiqKght5O007Svi-QlGMVrkX27Q/viewform?usp=pp_url&entry.1897565094=107-2